- Vova1234.com
- Проблемы и их решение
- Прямой эфир
- Блоги
- Установка Windows на ProxMox
- Windows 7 guest best practices
- Contents
- Introduction
- Install
- Prepare
- Launch Windows install
- Install additional VirtIO drivers on running System
- Further information
- Disk-Image Format: raw vs qcow2
- VirtIO drivers
- Windows 10 guest best practices
- Contents
- Introduction
- Install
- Prepare
- Launch Windows install
- Install Guest Agent and Services
- Guest Agent
- Drivers and Services
- Check for missing drivers
- Further information
- Disk-Image Format: raw vs qcow2
- VirtIO drivers
- Windows VirtIO Drivers
- Contents
- Introduction
- Windows OS Support
- Installation
- Using the ISO
- Wizard Installation
- Manual Installation
- Downloading the Wizard in the VM
Vova1234.com
Проблемы и их решение
Прямой эфир
Блоги
- Интернет и сайты178
- Steam85
- Проблемы и их решение54
- Заметки35
- Сделал я19
- Почта15
- Блог проектов ABCVG12
- BILLmanager 510
- Товары с других стран8
- Хостинг6
- Блог сайта 8Gamers.NET4
- Игровые сервера4
- Домены4
- Все о DNS3
- Все о SSL3
- Блог сайта 8Next.com3
- Хочу халявную игру3
- Комиксы2
- Продукты ISP2
- Новости2
Установка Windows на ProxMox
Установка была сделана на сервере: Intel® Core(TM) i3-2130 CPU @ 3.40GHz, 2000GB SATA HDD, 8192 MB RAM.
VPS Proxmox VE 5 — эта версия пашет по мануалу.
VPS Proxmox VE 5 (ZFS) (BETA) (64bits) — эта версия не пашет по мануалу.
Готовые ISO образы:
ОС на сервере Debian.
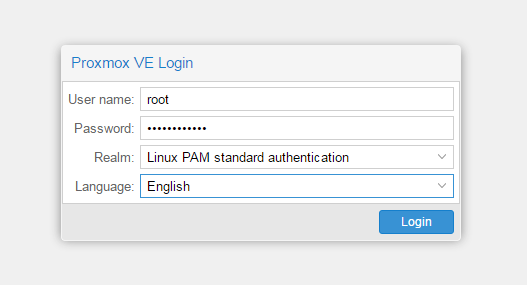
Идем на адрес: https:// ваш ip:8006. Вводим и заходим.
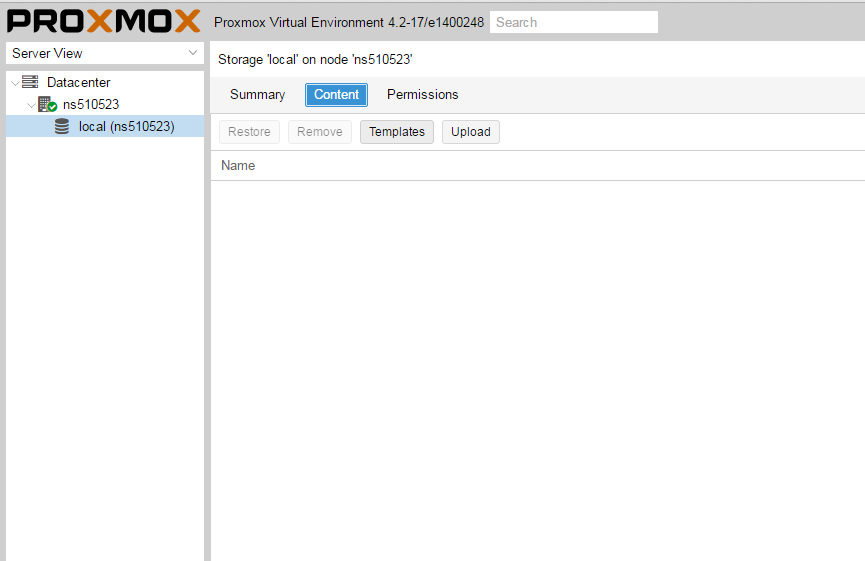
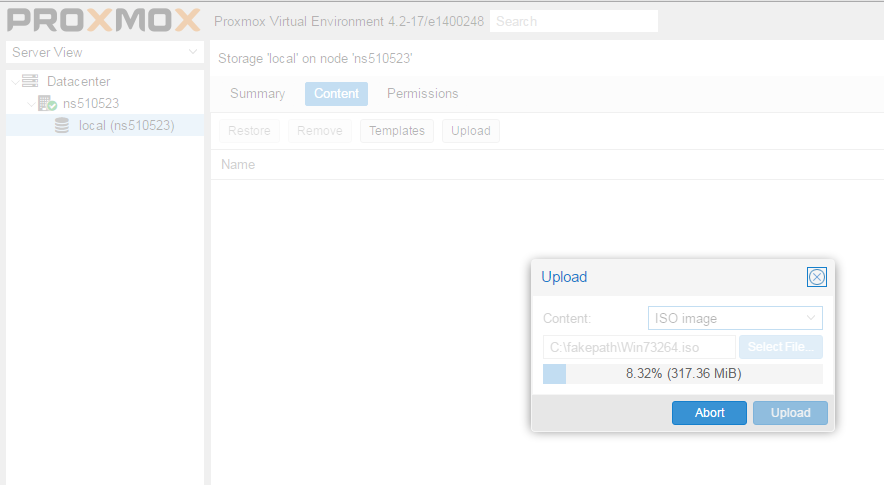
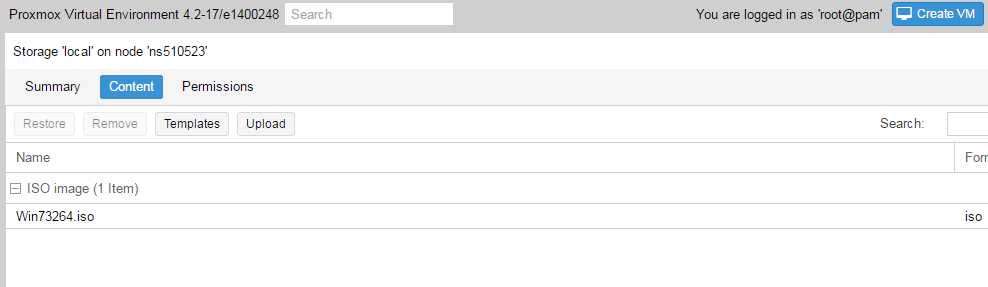
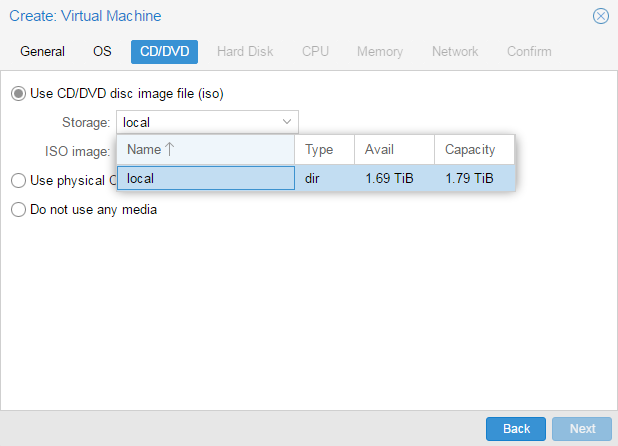
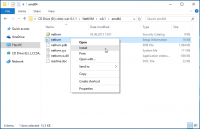
Открываем NS, далее local как на скриншоте внизу:
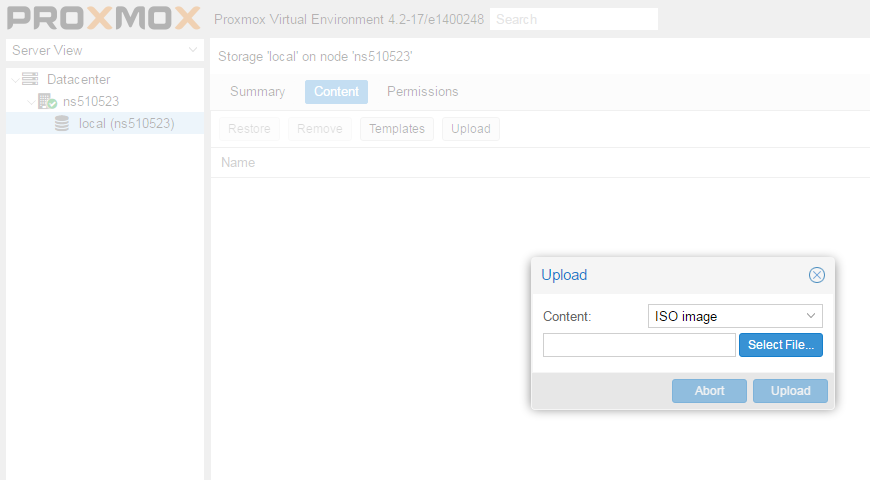
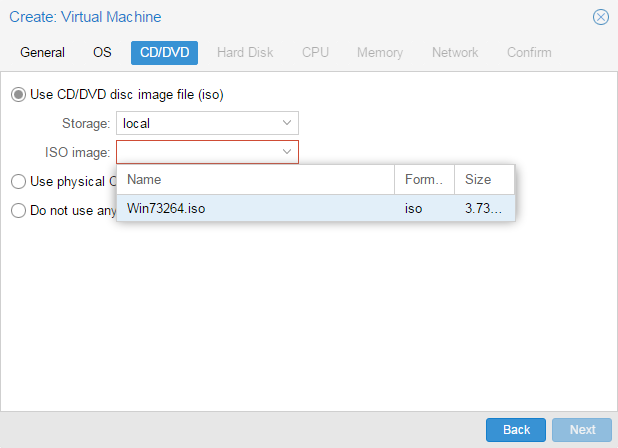
Жмем Upload. И грузим свой ISO образ Windows какой скачали по ссылке выше.
Ну и грузим его:
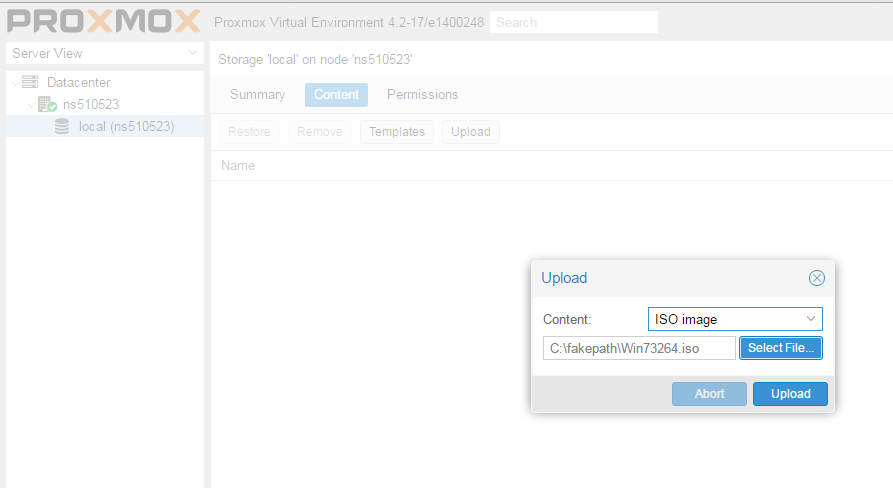
У меня 100 мегабит интернет по этому 3ГБ быстро загружается.
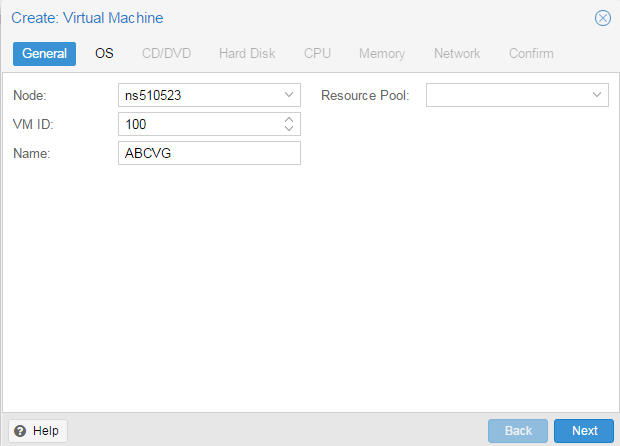
Нажимаем Create VM. Можем вписать свое имя виртуальной машины.
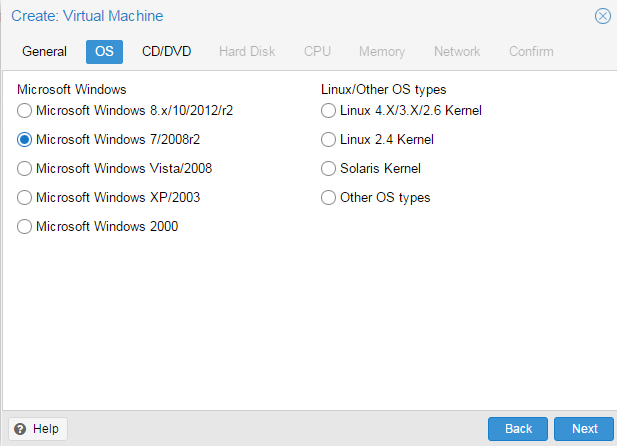
Я не вшарил зачем это выбирать если мы и так с образа устанавливаем.
Выбираем хранилище образов.
Выбираем образ наш загруженный.
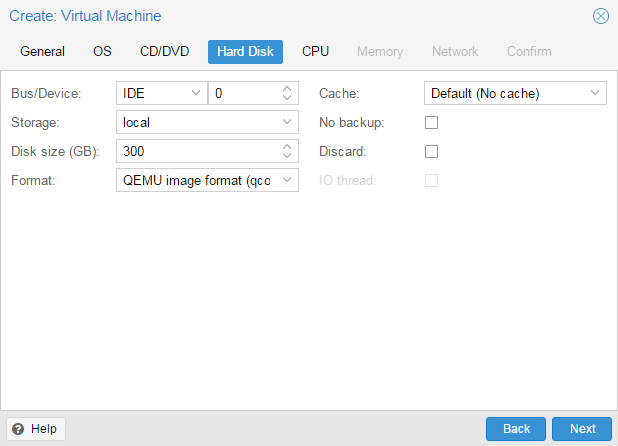
Указываем сколько места надо, 300 ГБ я выбрал.
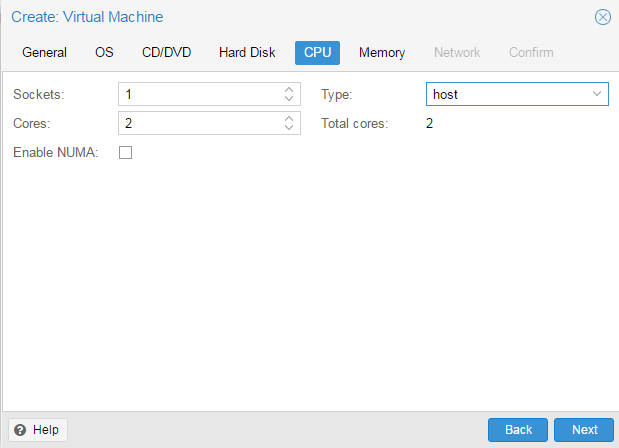
I3 имеет два ядра. Лучше ставить как есть.
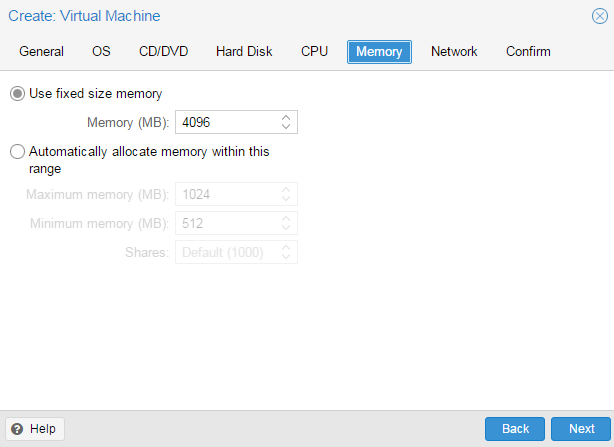
Половину доступной памяти поставил я. ProxMox резервирует оперативную под всю виртуальную машину.
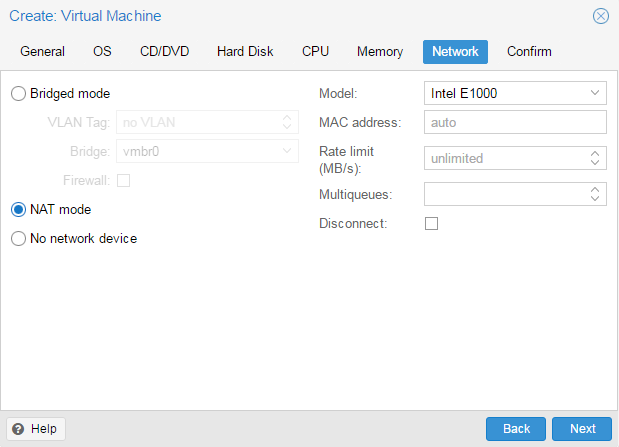
NAT mode ставить надо по дефолту.

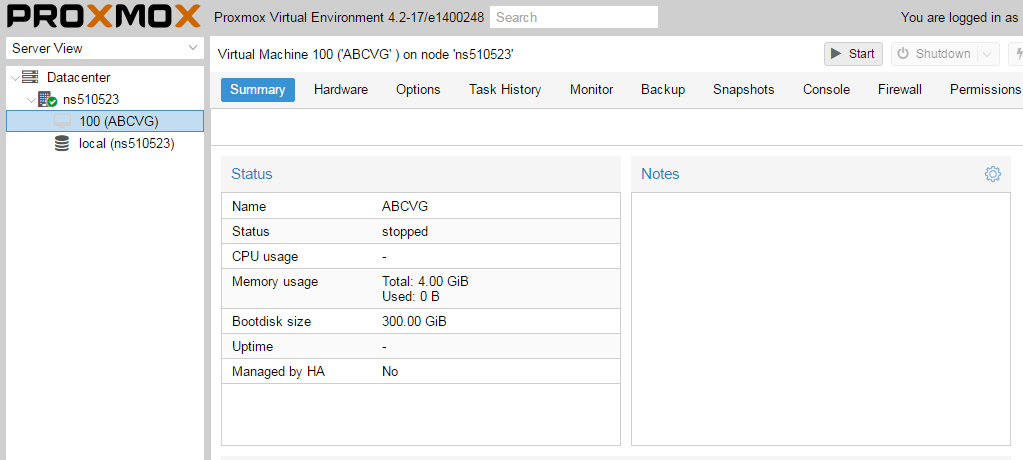
Запускаем. И видим что все ок, запустилось.
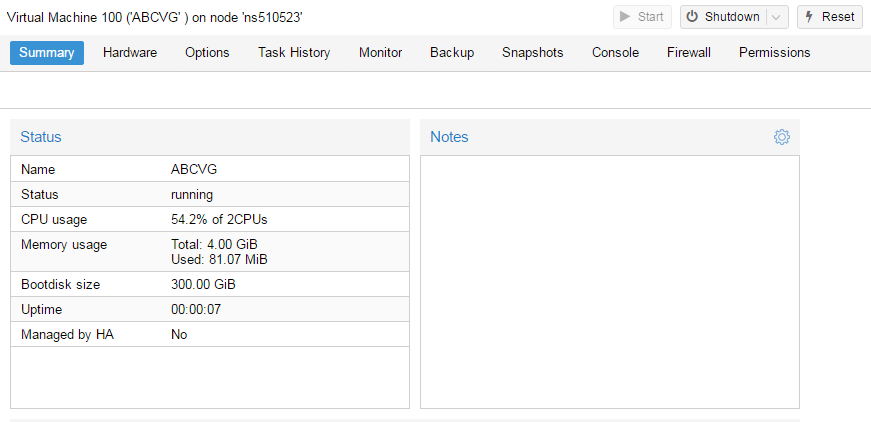
Переходим в консоль и видим как идет установка Windows.


Как настроить удаленный рабочий стол на ProxMox, статья здесь: клац
Windows 7 guest best practices
Contents
Introduction
This is a set of best practices to follow when installing a Windows 7 guest on a Proxmox VE server 4.x. Right now it’s a work in progress.
Install
Prepare
To obtain a good level of performance, we will install the Windows VirtIO Drivers during the Windows installation.
- Create a new VM, select «Microsoft Windows 7/2008» continue and mount your Windows 7 ISO in the CDROM drive
- For your virtual hard disk select «VirtIO» as bus and «Write back» as cache option for best performance (the No cache default is safer, but slower)
- Configure your memory settings as needed, continue and set «VirtIO (paravirtualized)» as network device, finish your VM creation.
- For the VirtIO drivers, upload the driver ISO (use the stable VirtIO iso, get it from here) to your storage, create a new CDROM drive (use «Add -> CD/DVD drive» in the hardware tab), and load the Virtio Drivers ISO in the new virtual CDROM drive
- Now your ready to start the VM, just follow the Windows installer.
Launch Windows install
- After starting your VM launch the console
- Follow the installer steps until you reach the installation type selection where you need to select «Custom (advanced)»
- Now click «Load driver» to install the VirtIO drivers for hard disk and the network. (successfully tested with «virtio-win-0.1.105.iso»)
- hard disk: Browse to the CD drive where you mounted the VirtIO driver and select folder «viostor\w7\amd64» and confirm. Select the «Red Hat VirtIO SCSI controller» and click next to install it. Now you should see your drive.
- Network: Repeat the steps from above (click again «Load driver», etc.) and select the folder «NetKVM\w7\amd64», confirm it and select «Redhat VirtIO Ethernet Adapter» and click next.
- Memory Ballooning: Again, repeat the steps but this time select the «Balloon\w7\amd64» folder, then the «VirtIO Balloon Driver» and install it by clicking next. With these three drivers you should be good covered to run a fast virtualized Windows 10 system.
- Choose the drive and continue the Windows installer steps.
Install additional VirtIO drivers on running System
If you miss some VirtIO drivers, you may install them as follows on a running system.
To do so, start the file explorer, select the CDROM drive with the VirtIO iso image mounted and browse to the folder folder of the desired component. Some often needed, using the virtio-win-0.1.105 version, are:
- Ethernet Adapter: NetKVM\w7\amd64 here right-click the setup information file «netkvm» and select install.
- Virtual Memory Balloon Driver: Balloon\w7\amd64 here right-click the setup information file «balloon» and select install.
- Hard disk: viostor\w7\amd64 here right-click the setup information file «viostor» and select install.
After the installation process the device should work as expected.
For more information and configuration about ballooning, see Dynamic Memory Management
Further information
Disk-Image Format: raw vs qcow2
Raw file format provides slightly better performance while qcow2 offers advanced features such as copy on write and Live_Snapshots. Since V2.3, qcow2 is the default format.
VirtIO drivers
Make it really easy: Build your ISO with drivers already included: Windows guests — build ISOs including VirtIO drivers
Windows 10 guest best practices
Contents
Introduction
This is a set of best practices to follow when installing a Windows 10 guest on a Proxmox VE server 6.x. Right now it’s a work in progress.
Install
Prepare
To obtain a good level of performance, we will install the Windows VirtIO Drivers during the Windows installation.
- Create a new VM, select «Microsoft Windows 10/2016/2019» as Guest OS and enable the «Qemu Agent» in the System tab. Continue and mount your Windows 10 ISO in the CDROM drive
- For your virtual hard disk select «SCSI» as bus with «VirtIO SCSI» as controller. Set «Write back» as cache option for best performance (the «No cache» default is safer, but slower) and tick «Discard» to optimally use disk space (TRIM).
- Configure your memory settings as needed, continue and set «VirtIO (paravirtualized)» as network device, finish your VM creation.
- For the VirtIO drivers, upload the driver ISO (use the stable VirtIO ISO, download it from here) to your storage, create a new CDROM drive (use «Add -> CD/DVD drive» in the hardware tab) with Bus «IDE» and number 3. Load the Virtio Drivers ISO in the new virtual CDROM drive.
- Now your ready to start the VM, just follow the Windows installer.
Launch Windows install
- After starting your VM launch the noVNC console
- Follow the installer steps until you reach the installation type selection where you need to select «Custom (advanced)»
- Now click «Load driver» to install the VirtIO drivers for hard disk and the network.
- Hard disk: Browse to the CD drive where you mounted the VirtIO driver and select folder «vioscsi\w10\amd64» and confirm. Select the «Red Hat VirtIO SCSI pass-through controller» and click next to install it. Now you should see your drive.
- Network: Repeat the steps from above (click again «Load driver», etc.) and select the folder «NetKVM\w10\amd64», confirm it and select «Redhat VirtIO Ethernet Adapter» and click next.
- Memory Ballooning: Again, repeat the steps but this time select the «Balloon\w10\amd64» folder, then the «VirtIO Balloon Driver» and install it by clicking next. With these three drivers you should be good covered to run a fast virtualized Windows 10 system.
- Choose the drive and continue the Windows installer steps.
HINT: There is a video showing the process for a Windows Server 2016 installation which is the same as for Windows 10.
Install Guest Agent and Services
Guest Agent
If you enabled the Qemu Agent option for the VM the mouse pointer will probably be off after the first boot.
To remedy this install the «Qemu Guest Agent». The installer is located on the driver CD under guest-agent\qemu-ga-x86_64.msi.
Drivers and Services
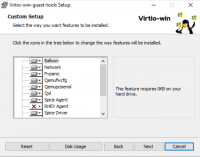
The easiest way to install missing drivers and services is to use the provided MSI installer. It is available on the driver CD since version «virtio-win-0.1.173-2».
Run the «virtio-win-gt-x64.msi» file located directly on the CD. If you do not plan to use SPICE you can deselect the «Qxl» and «Spice» features. Restart the VM after the installer is done.
After all this the RAM usage and IP configuration should be shown correctly in the summary page of the VM.
For more information and configuration about ballooning, see Dynamic Memory Management
Check for missing drivers
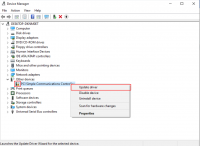
Go to the Device Manager to see if there are any drivers missing. For any unknown device:
- Right click an select «Update driver».
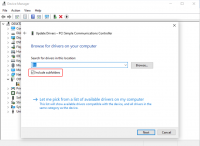
- Select «Browse my computer for driver software».
- Select the Driver CD. Make sure that «Include subfolders» is checked.
- Once a driver has been found you might be prompted with a security warning asking if you «Would like to install this device software». Click «Install».
Further information
Disk-Image Format: raw vs qcow2
Raw file format provides slightly better performance while qcow2 offers advanced features such as copy on write and Live_Snapshots. Since V2.3, qcow2 is the default format.
VirtIO drivers
Make it really easy: Build your ISO with drivers already included: Windows guests — build ISOs including VirtIO drivers
Windows VirtIO Drivers
Contents
Introduction
VirtIO Drivers are paravirtualized drivers for kvm/Linux (see http://www.linux-kvm.org/page/Virtio). In short, they enable direct (paravirtualized) access to devices and peripherals for virtual machines using them, instead of slower, emulated, ones.
A quite extended explanation about VirtIO drivers can be found here http://www.ibm.com/developerworks/library/l-virtio.
At the moment these kind of devices are supported:
You can maximize performances by using VirtIO drivers. The availability and status of the VirtIO drivers depends on the guest OS and platform.
Windows OS Support
Windows does not have native support for VirtIO devices included. But, there is excellent external support through opensource drivers, which are available compiled and signed for Windows:
Note that this repository provides not only the most recent, but also many older versions. Those older versions can still be useful when a Windows VM shows instability or incompatibility with a newer driver version.
The binary drivers are digitally signed by Red Hat, and will work on 32-bit and 64-bit versions of Windows
Installation
Using the ISO
You can download the latest stable or you can download the most recent build of the ISO. Normally the drivers are pretty stable, so one should try out the most recent release first.
You can access the ISO can in a VM by mounting the ISO with a virtual CD-ROM/DVD drive on that VM.
Wizard Installation
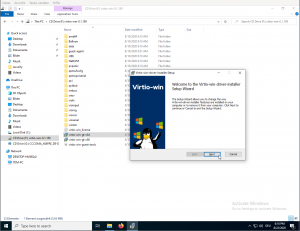
You can use an easy wizard to install all, or a selection, of VirtIO drivers.
- Open the Windows Explorer and navigate to the CD-ROM drive.
- Simply execute (double-click on) virtio-win-gt-x64
- Follow its instructions.
- (Optional) use the virtio-win-guest-tools wizard to install the QEMU Guest Agent and the SPICE agent for an improved remote-viewer experience.
- Reboot VM
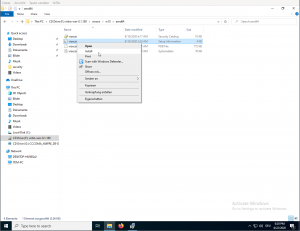
Manual Installation
- Open the Windows Explorer and navigate to the CD-ROM drive. There you can see that the ISO consists of several directories, each having sub-directories for supported OS version (for example, 2k19, 2k12R2, w7, w8.1, w10, . ).
- Balloon
- guest-agent
- NetKVM
- qxl
- vioscsi
- .
Downloading the Wizard in the VM
You can also just download the most recent virtio-win-gt-x64.msi or virtio-win-gt-x86.msi from inside the VM, if you have already network access.
Then just execute it and follow the installation process.


