- Prepare Installation Media
- Prepare a USB Flash Drive as Installation Medium
- Instructions for GNU/Linux
- Find the Correct USB Device Name
- Instructions for macOS
- Instructions for Windows
- Using Etcher
- Using Rufus
- Boot your Server from the USB Flash Drive
- USB Devices in Virtual Machines
- Contents
- Introduction
- Simple Way: pass the USB device ID to the guest
- Alternate way: pass the USB port to the guest
- Example
- Show Device Types
- Show Device Map and Types
- Complete Information
- Assigning Devices to VMs
- In Configuration
- General Remark
- USB1.x, USB2.0
- USB3.0
- Assign Devices to an already Running VM
- USB1.x, USB2.0
- USB3.0
- Reassign to Host
- Vova1234.com
- Проблемы и их решение
- Прямой эфир
- Блоги
- Установка Windows на ProxMox
- Windows VirtIO Drivers
- Contents
- Introduction
- Windows OS Support
- Installation
- Using the ISO
- Wizard Installation
- Manual Installation
- Downloading the Wizard in the VM
Prepare Installation Media
The Proxmox VE installation media is a hybrid ISO image. It works in two ways:
An ISO image file ready to burn to a CD or DVD.
A raw sector (IMG) image file ready to copy to a USB flash drive (USB stick).
Using a USB flash drive to install Proxmox VE is the recommended way because it is the faster option.
Prepare a USB Flash Drive as Installation Medium
The flash drive needs to have at least 1 GB of storage available.
| Do not use UNetbootin. It does not work with the Proxmox VE installation image. |
| Make sure that the USB flash drive is not mounted and does not contain any important data. |
Instructions for GNU/Linux
On Unix-like operating system use the dd command to copy the ISO image to the USB flash drive. First find the correct device name of the USB flash drive (see below). Then run the dd command.
| Be sure to replace /dev/XYZ with the correct device name and adapt the input filename (if) path. |
| Be very careful, and do not overwrite the wrong disk! |
Find the Correct USB Device Name
There are two ways to find out the name of the USB flash drive. The first one is to compare the last lines of the dmesg command output before and after plugging in the flash drive. The second way is to compare the output of the lsblk command. Open a terminal and run:
Then plug in your USB flash drive and run the command again:
A new device will appear. This is the one you want to use. To be on the extra safe side check if the reported size matches your USB flash drive.
Instructions for macOS
Open the terminal (query Terminal in Spotlight).
Convert the .iso file to .img using the convert option of hdiutil for example.
| macOS tends to automatically add .dmg to the output file name. |
To get the current list of devices run the command:
Now insert the USB flash drive and run this command again to determine which device node has been assigned to it. (e.g., /dev/diskX).
| replace X with the disk number from the last command. |
| rdiskX, instead of diskX, in the last command is intended. It will increase the write speed. |
Instructions for Windows
Using Etcher
Etcher works out of the box. Download Etcher from https://etcher.io. It will guide you through the process of selecting the ISO and your USB Drive.
Using Rufus
Rufus is a more lightweight alternative, but you need to use the DD mode to make it work. Download Rufus from https://rufus.ie/. Either install it or use the portable version. Select the destination drive and the Proxmox VE ISO file.
| Once you Start you have to click No on the dialog asking to download a different version of GRUB. In the next dialog select the DD mode. |
Boot your Server from the USB Flash Drive
Connect the USB flash drive to your server and make sure that booting from USB is enabled (check your servers firmware settings). Then follow the steps in the installation wizard.
USB Devices in Virtual Machines
Contents
Introduction
There can be good reasons to access to USB hardware directly from a guest as it would be part of the VM itself, e.g.:
- Storage exclusively for the VM
- Separate NIC for the VM, but Direct I/O not avaiable
- Special device which needs a driver which exists only in the VM
The assignment of such devices can be predefined in the configuration file or «plugged» into the VM while it is running.
Simple Way: pass the USB device ID to the guest
Assigning an Alcor memory stick connected to the host to VM 804.
Figure out in the host the Device Type by
Assign it to the VM by
Shutdown the VM (if running) and start it again.
Alternate way: pass the USB port to the guest
Example
In order to demonstrate how devices, physically connected to the host can be identified it´s assumed the following 7 USB devices are currently connected:
- External HD Toshiba USB 3.0
- memory stick Cruzer Blade USB 2.0
- memory stick SanDisk USB 2.0
- memory stick SanDisk USB 2.0 behind a USB hub
- memory stick Alcor behind the same USB hub as above
- Ethernet Network adapter USB 1.1 behind the same USB hub as above
- External HD Western Digital USB 3.0
Show Device Types
This is the simplest form and sufficient in most cases.
The numbers on the far right refer to the previously defined example. The other entries are the USB hubs of the system.
Note that the «Device» number is just a number assigned automatically by the host, independent where the device is connected to. If the device is removed and plugged in again it gets a new number.
Show Device Map and Types
Sometimes it is necessary to specify where a device is physically connected. This information can be obtained by
where «804» is the ID of a running VM — regardless which VM is specified, the following command inside of the monitor reports always the same
in case of our example it is
The devices behind the external hub have port addresses 1.2.x
This form shows also the currently used USB protocol (btw: even the device (6) calls itself «USB 2.0 10/100M Ethernet Adaptor» it works only as USB 1.1 device)
- 12 MB/s = USB 1.1
- 480 Mb/s = USB 2.0
- 5000 Mb/s = USB 3.0
Just the map can be displayed by
but it´s sometimes not complete and not recommended.
Complete Information
which contains everything but i´s a little bit difficult to read — for the current subject it´s sufficient to use the qm monitor as described above. The only one thing is a running VM must exist when processing the command.
Assigning Devices to VMs
Note that only «real» devices can be assigned, i.e. assigning of USB hubs is not possible.
In Configuration
General Remark
Using the below mentioned «qm set» command has the same effect as writing directly into the conf file. Moreover a preconfigured usb configuration file /usr/share/qemu-server/pve-usb.cfg could be adapted. But in order to avoid confusion this article recommends to use only the «qm set» command.
USB1.x, USB2.0
The syntax for assigning in configuration is (see also man page for qm)
qm set -usb[ ] host=< -
According to the above example let´s say the Alcor stick and the Cruzer Edge connected to the external hub (which is device (4) from the example) should be assigned to VM 804:
For the Alcor stick (as already shown):
For the Cruzer Edge this form will not be sufficient — there are two devices from the same type. Therefore the form specifying bus and port is used:
More details about ports can be found here — but note as already mentioned the «lsusb -t» call is not reliable. Use «qm monitor» and «info usbhost» instead!
When the usb devices have to be removed from configuration the conf file has to be changed. In our example remove in /etc/pve/qemu-server/804.conf the following two lines:
USB3.0
since qemu-server package version 4.0-55 you also can set USB3 devices directly via the command line
it will automatically add the appropriate xhci controller at an available pci address
for any version 1 Device
The external Toshiba drive should be assigned VM 804 and work with USB 3.0 protocol on a USB 3.0 port.
Note that «addr=0x5» works only if there is no other device assigned to this address. If a failure occurs because of double use of this address choose another one.
When the usb device has to be removed from configuration the conf file has to be changed. In our example remove in /etc/pve/qemu-server/804.conf the following line:
More Devices
For one machine only one «-args» argument is possible. If already an «-args» advice was given giving another one overwrites the first. Moreover, the usb3 driver needs only to be defined once. In the following example 2 USB3 devices are assigned to the VM, the second one has the ID 1058:0820
Assign Devices to an already Running VM
How to connect devices to a running machine without shutting it down is demonstrated by the examples from above. If device is assigned in that way the assignment is valid until the machine stops. The assignment is independent of the actual status of the device (whether it´s currently plugged in or not), i.e. it can be plugged in and out multiple times and will be always assigned to the VM; regardless if the «Productid» or «busaddress» method is used.
USB1.x, USB2.0
Note that the «usb_add» command offered in «qm monitor» is NOT FUNCTIONING for this case!
someid and someotherid are ids of your choice, those can later be used to remove the usb device from the guest
USB3.0
anotherid is chosen by you, so the device can later be removed again
Reassign to Host
To remove an USB device from a guest do the following:
- make sure the USB device is not in use in your guest operating system (e.g. with «Remove USB device» in Windows)
- connect to the qemu monitor for the vm either on the command line
- qm monitor VMID
- or on the web interface under VM->Monitor
- enter the following and replace with the id of the usb device (e.g. usb0)
now your USB device should be removed from your guest and reappear on the host, until you stop and start the VM again
to remove the USB device from the config of a VM, do
where usbX is the id of the USB device
caution: this does not remove the usb device from a running VM
Vova1234.com
Проблемы и их решение
Прямой эфир
Блоги
- Интернет и сайты178
- Steam85
- Проблемы и их решение54
- Заметки35
- Сделал я19
- Почта15
- Блог проектов ABCVG12
- BILLmanager 510
- Товары с других стран8
- Хостинг6
- Блог сайта 8Gamers.NET4
- Игровые сервера4
- Домены4
- Все о DNS3
- Все о SSL3
- Блог сайта 8Next.com3
- Хочу халявную игру3
- Комиксы2
- Продукты ISP2
- Новости2
Установка Windows на ProxMox
Установка была сделана на сервере: Intel® Core(TM) i3-2130 CPU @ 3.40GHz, 2000GB SATA HDD, 8192 MB RAM.
VPS Proxmox VE 5 — эта версия пашет по мануалу.
VPS Proxmox VE 5 (ZFS) (BETA) (64bits) — эта версия не пашет по мануалу.
Готовые ISO образы:
ОС на сервере Debian.
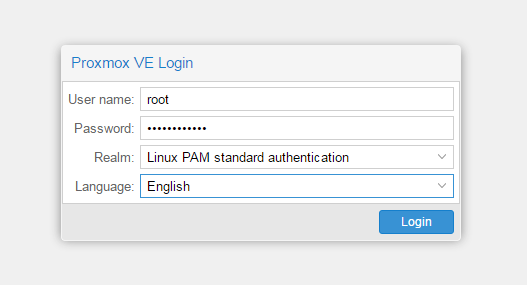
Идем на адрес: https:// ваш ip:8006. Вводим и заходим.
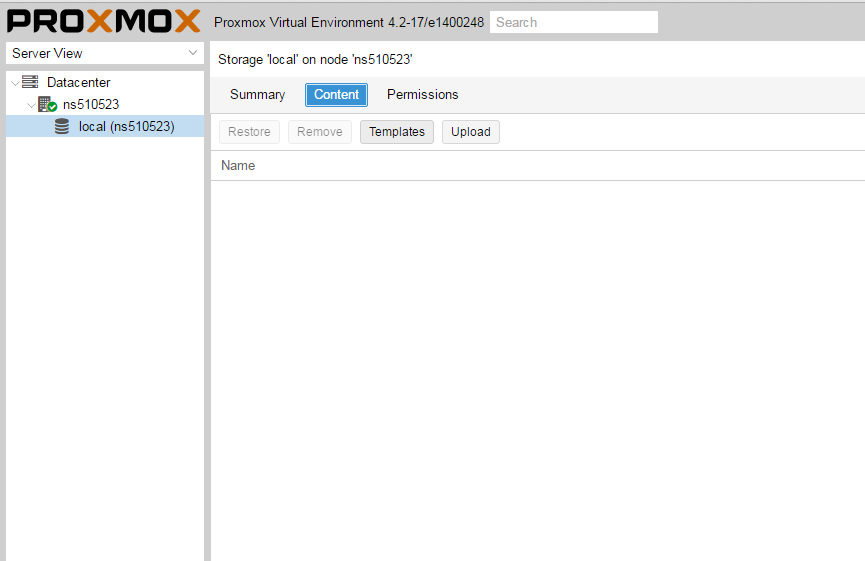
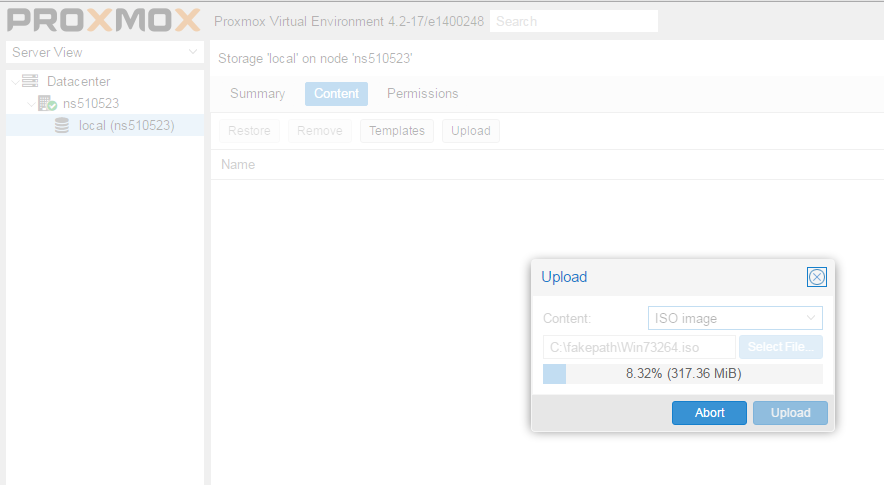
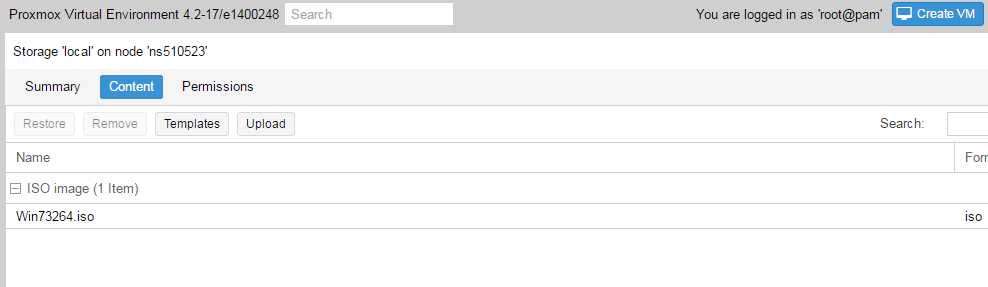
Открываем NS, далее local как на скриншоте внизу:
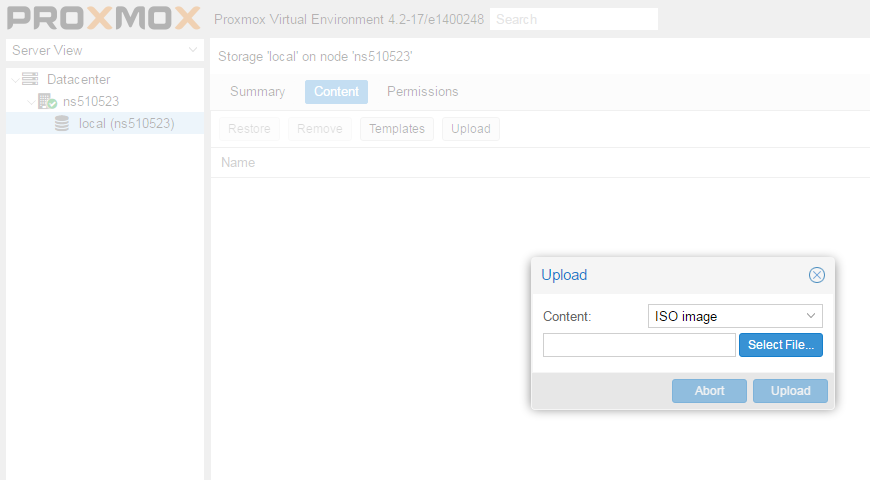
Жмем Upload. И грузим свой ISO образ Windows какой скачали по ссылке выше.
Ну и грузим его:
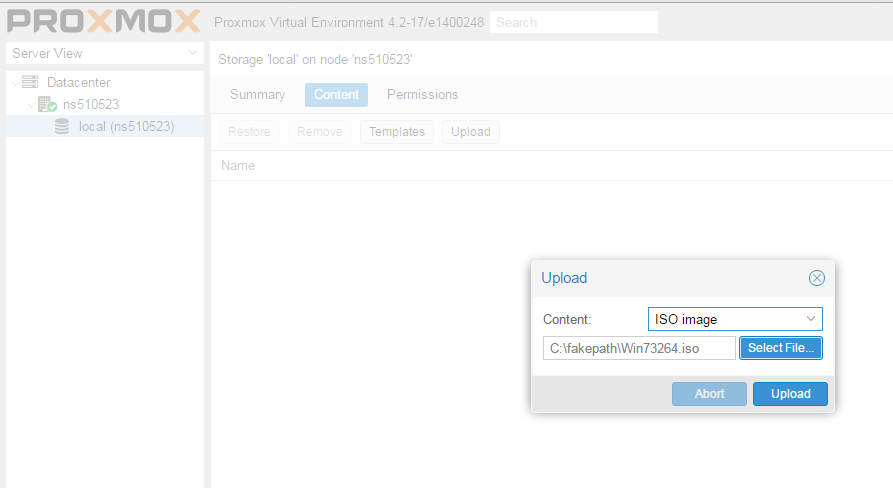
У меня 100 мегабит интернет по этому 3ГБ быстро загружается.
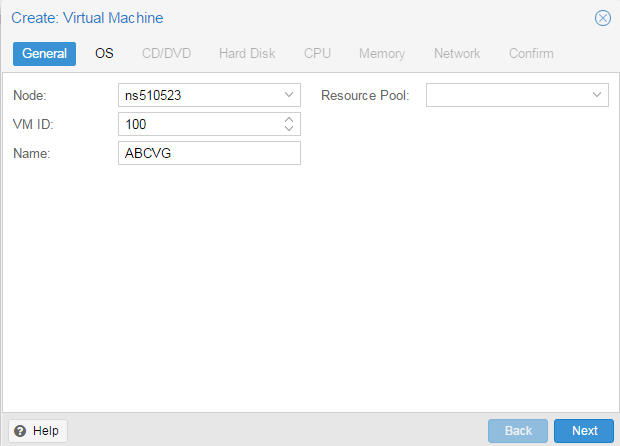
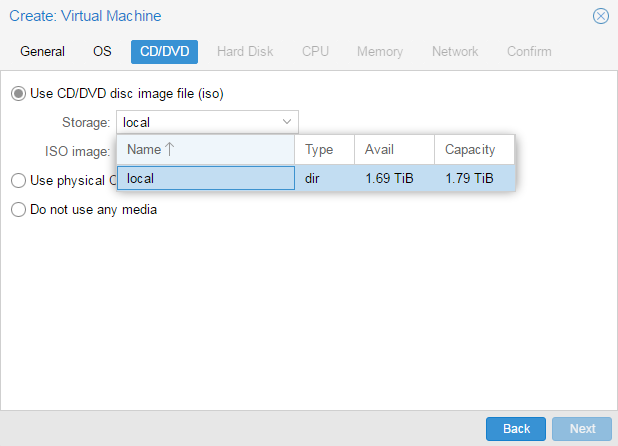
Нажимаем Create VM. Можем вписать свое имя виртуальной машины.
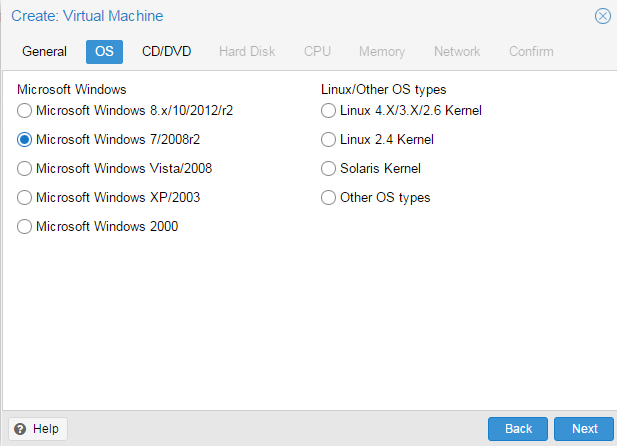
Я не вшарил зачем это выбирать если мы и так с образа устанавливаем.
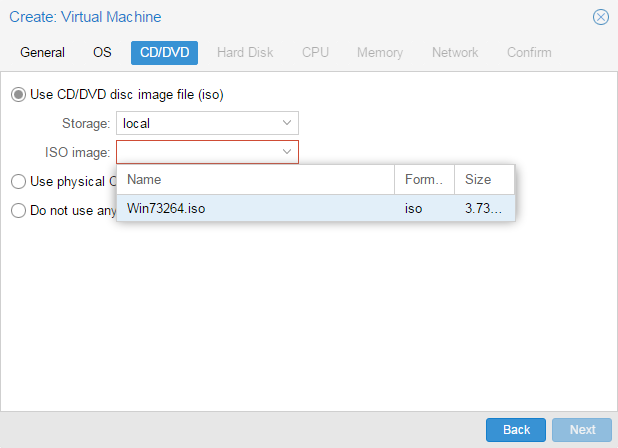
Выбираем хранилище образов.
Выбираем образ наш загруженный.
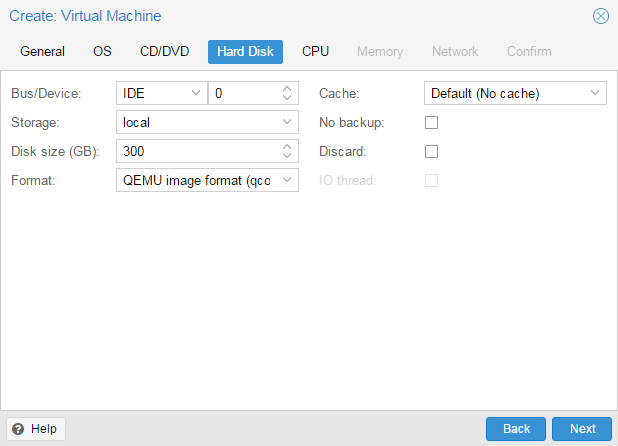
Указываем сколько места надо, 300 ГБ я выбрал.
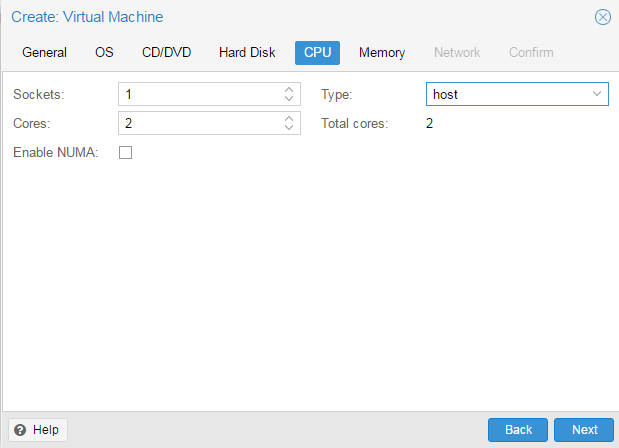
I3 имеет два ядра. Лучше ставить как есть.
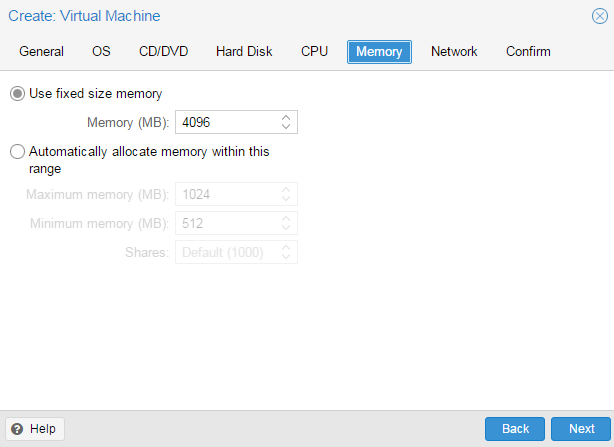
Половину доступной памяти поставил я. ProxMox резервирует оперативную под всю виртуальную машину.
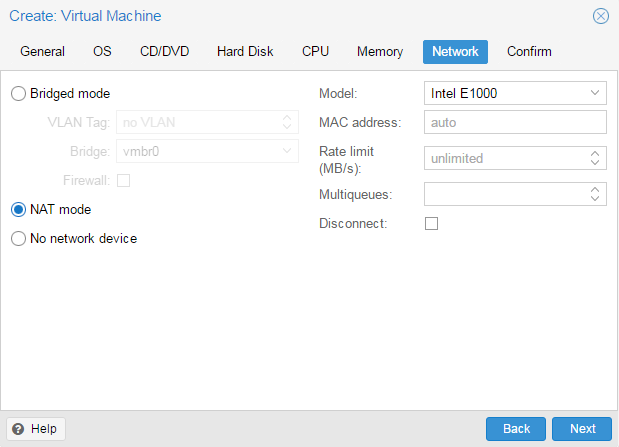
NAT mode ставить надо по дефолту.

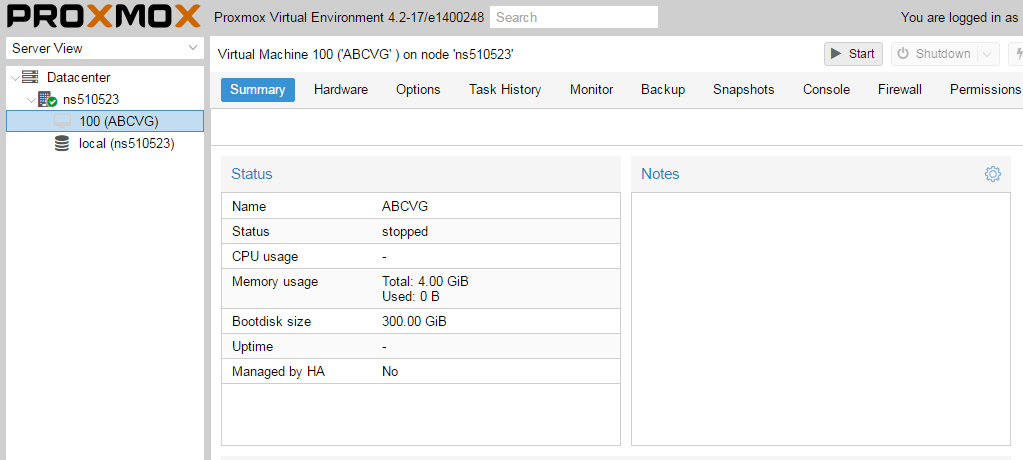
Запускаем. И видим что все ок, запустилось.
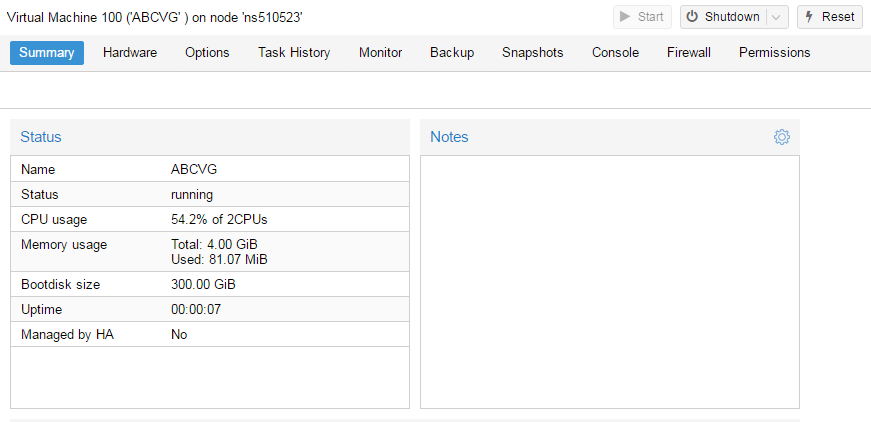
Переходим в консоль и видим как идет установка Windows.

Как настроить удаленный рабочий стол на ProxMox, статья здесь: клац
Windows VirtIO Drivers
Contents
Introduction
VirtIO Drivers are paravirtualized drivers for kvm/Linux (see http://www.linux-kvm.org/page/Virtio). In short, they enable direct (paravirtualized) access to devices and peripherals for virtual machines using them, instead of slower, emulated, ones.
A quite extended explanation about VirtIO drivers can be found here http://www.ibm.com/developerworks/library/l-virtio.
At the moment these kind of devices are supported:
You can maximize performances by using VirtIO drivers. The availability and status of the VirtIO drivers depends on the guest OS and platform.
Windows OS Support
Windows does not have native support for VirtIO devices included. But, there is excellent external support through opensource drivers, which are available compiled and signed for Windows:
Note that this repository provides not only the most recent, but also many older versions. Those older versions can still be useful when a Windows VM shows instability or incompatibility with a newer driver version.
The binary drivers are digitally signed by Red Hat, and will work on 32-bit and 64-bit versions of Windows
Installation
Using the ISO
You can download the latest stable or you can download the most recent build of the ISO. Normally the drivers are pretty stable, so one should try out the most recent release first.
You can access the ISO can in a VM by mounting the ISO with a virtual CD-ROM/DVD drive on that VM.
Wizard Installation
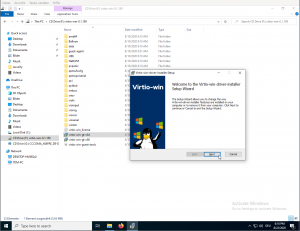
You can use an easy wizard to install all, or a selection, of VirtIO drivers.
- Open the Windows Explorer and navigate to the CD-ROM drive.
- Simply execute (double-click on) virtio-win-gt-x64
- Follow its instructions.
- (Optional) use the virtio-win-guest-tools wizard to install the QEMU Guest Agent and the SPICE agent for an improved remote-viewer experience.
- Reboot VM
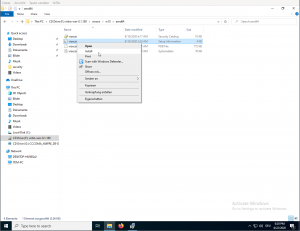
Manual Installation
- Open the Windows Explorer and navigate to the CD-ROM drive. There you can see that the ISO consists of several directories, each having sub-directories for supported OS version (for example, 2k19, 2k12R2, w7, w8.1, w10, . ).
- Balloon
- guest-agent
- NetKVM
- qxl
- vioscsi
- .
Downloading the Wizard in the VM
You can also just download the most recent virtio-win-gt-x64.msi or virtio-win-gt-x86.msi from inside the VM, if you have already network access.
Then just execute it and follow the installation process.


