- How to Install Python IDLE in Linux
- IDLE Features
- Install Python IDLE IDE in Linux
- Writing First Python Program Using IDLE
- If You Appreciate What We Do Here On TecMint, You Should Consider:
- How to Install IDLE Python IDE on Ubuntu 20.04
- What is IDLE?
- How to Install IDLE?
- Launch IDLE
- Your first Python program in IDLE
- Karim Buzdar
- Начало работы с Python 3: установка Python IDLE
- Небольшое описание
- Установка Python на Windows:
- Скачивание Python IDLE:
- Установка:
- Установка Python на Linux:
- Установка на Android:
- Проверяем на работоспособность
- Поделиться ссылкой:
- Добавить комментарий Отменить ответ
- Install Python3 and IDLE on Ubuntu 18.04
- Installing Python 3
- Installing Python 3.6:
- Installing Python 3.7:
- Installing Python 3 IDLE for Developing Python Program
- For Python 3.6:
- For Python 3.7:
- Using IDLE to Develop a Python 3 Program
- Customizing Python 3 IDLE
How to Install Python IDLE in Linux
IDLE is an Integrated and learning environment created with Python using the GUI Tkinter toolkit. This is mainly used by beginners to get familiar with Python. IDLE is a cross-platform application that works with Mac OS, Windows, and Linux. In windows, IDLE comes by default with the installation. For Mac OS and Linux, we have to install the IDLE separately.
IDLE Features
- Interactive Interpreter.
- A multi-window text editor.
- Smart intends.
- Code coloring.
- Call tips.
- Auto indentation.
- Debugger with persistent breakpoints.
- Stepping and Viewing of local and global Namespace.
If you are a beginner to Python programming or new to programming, IDLE is the best place to start with. But if you are an experienced programmer switching from another language to Python then you may try more advanced editors like Pycharm, VScode, Sublime Text, VIM, etc.
Install Python IDLE IDE in Linux
In most of today’s modern Linux distributions, Python is installed by default and it comes with the IDLE application. However, If isn’t installed, you can install it using your default package manager as shown.
Once the installation is completed type «idle» from the terminal or go to start menu → type «idle» → Launch application.
When you open the IDLE, the interactive terminal will be displayed first. The interactive terminal provides auto-completion too, you can press (ALT + SPACE) for auto-completion.
![]() IDLE Interactive Terminal
IDLE Interactive Terminal
Writing First Python Program Using IDLE
Go to File → New File → To open the text editor. Once the editor is opened you can write the program. To run the program from the text editor, save the file and press F5 or Run → Run Module.
![]() Write First Python Program
Write First Python Program
To access the debugger go to Debug → Debugger. Debug mode will be on, you can debug and step through the code.
![]() Python IDLE Debug
Python IDLE Debug
Go to Options → Configure IDLE. This will open settings windows.
![]() Python IDLE Settings
Python IDLE Settings
That’s all for today. We have seen what IDLE is and how to install it in Linux. How to write the first python program through interpreter and Text editor. How to access the builtin debugger and how to change the settings of IDLE.
If You Appreciate What We Do Here On TecMint, You Should Consider:
TecMint is the fastest growing and most trusted community site for any kind of Linux Articles, Guides and Books on the web. Millions of people visit TecMint! to search or browse the thousands of published articles available FREELY to all.
If you like what you are reading, please consider buying us a coffee ( or 2 ) as a token of appreciation.

We are thankful for your never ending support.
Источник
How to Install IDLE Python IDE on Ubuntu 20.04
What is IDLE?
IDLE stands for Integrated DeveLopment Environment. It is an IDE for Python, written in Python language itself and based on Tkinter with bindings to the Tk widget set. IDLE is most suitable for beginners as it is easy to use and not feature overloaded. Hence, it is very popular in educational environments.
IDLE is a cross-platform IDE solution that comes with a basic feature set that includes:
- Multi-window text editor with syntax highlighting, auto-completion, smart indent, and other features to make coding easy.
- Python shell with syntax highlighting.
- Integrated debugger with stepping, persistent breakpoints, and call stack visibility.
For more information on IDLE, visit the following official documentation:
In this article, we will be installing IDLE through the Ubuntu command line. The article also explains how to launch IDLE and use it to write and run a simple Python script.
We have run the commands and procedures mentioned in this article on a Ubuntu 18.04 or Ubuntu 20.04 system.
How to Install IDLE?
Python is installed by default on all the latest Ubuntu releases and it also usually comes with the IDLE application. However, if you have a minimal installation of Ubuntu that lacks any IDLE UI application, you can install it by following this method:
Open the Ubuntu command line, The Terminal, either through the system Dash or the Ctrl+Alt+T shortcut.
Then, you need to update your system’s repository index through the following command as sudo:
This way your system’s repository gets in-line with the Internet repositories and that helps you in installing the latest version of any available software.

You need to run this command as sudo because only an authorized user can add/remove, update, and configure software on Ubuntu. The system will ask you the password for sudo and then execute the rest of the command when you have provided a correct password.
The next step is to run the following command in order to install IDLE3. This is the best-suited version when you have either Python 2 or Python 3 installed on your system. Advertisement

The system might ask you for a Y/n input in order to make sure that you indeed want to install the software. Please enter Y and then hit Enter, after which IDLE3 will be installed on your system.
Launch IDLE
You can launch IDLE both through the command line or the Ubuntu UI.
Run the following command in the Terminal in order to launch IDLE.

Or else, enter keywords relevant to IDLE in your Ubuntu Dash search as follows:

This will list all the IDLE applications installed on your system. Click on any one of them to Launch the Python integrated development environment.
Your first Python program in IDLE
Open the IDLE application, which by default looks like this:

Your first line of code starts from where you see the three “greater than” or “>” symbols.
Place the cursor at this point and write or copy & paste the following line of code:
This is a simple print statement that can be used to print anything inside the parentheses “( )”, on the screen.
When you hit Enter, the output is displayed as follows:

You can even choose to save the program (through the Save/Save As option from the File menu) and access it later (through the Open option from the File menu or directly by clicking it from where you have saved it).
After reading this article, you can integrate the IDLE Python development environment into your Ubuntu system and make the best use of its UI-based simple and easy to use feature set.
Karim Buzdar
About the Author: Karim Buzdar holds a degree in telecommunication engineering and holds several sysadmin certifications. As an IT engineer and technical author, he writes for various web sites. You can reach Karim on LinkedIn
Источник
Начало работы с Python 3: установка Python IDLE
Всем привет. Данной статьёй мы хотели бы ознаменовать начало цикла уроков посвящённых языку программирования Python 3.
Небольшое описание
Немного расскажем о самом языке:
Python — мощный высокоуровневый язык программирования общего назначения, применяемый во многих сферах, от WEB программирования до математических вычислений.
В качестве преимуществ можно отметить следующие вещи:
- простоту синтаксиса
- красоту кода
- большую востребованность на рынке
В данной же статье я объясню, как установить Python 3 на операционные системы, такие как: Windows, Linux и даже Android.
Начнём пожалуй с Windows, как с самой популярной ОС.
Установка Python на Windows:
Скачивание Python IDLE:
Официальная среда разработки Python 3 абсолютно бесплатна, а потому скачаем её с официального сайта.
Для этого нам нужно:
- Зайти на офф. сайт Python вот сюда.
- Выбрать вашу операционную систему (зависит от разрядности вашей версии Windows) и способ установки (лично я скачиваю готовый инсталлер, однако есть возможность установки с одновременным скачиванием).

- Собственно скачиваем небольшой установщик.

Установка:
- Откройте python-3.5.1.exe (название может незначительно отличаться).
- При возникновении вопросов со стороны Windows разрешите работу установщика.
- Далее следуйте инструкциям установщика.

Установка Python на Linux:
Теперь инструкция по установке на Linux:
- Откройте терминал.
- Для начала введите:
Часто в дистрибутивы Linux уже включён Python.
Если на выходе вы получили нечто на подобии этого:
Значит Python у вас уже есть и устанавливать его не нужно.
Иначе введите следующее для установки:
Вы можете так же установить IDLE или пользоваться своим любимым редактором.
Для установки IDLE введите в терминале:
Однако, например в Linux Mint и Ubuntu такого пакета нет и там нужно вводить:
Установка на Android:
Самая простая инструкция на сегодня. Мы будем устанавливать бесплатную среду QPython 3.
- Найдите в Google Play или пройдите по ссылке(Google Play) QPython 3.
- Установите 🙂
Таким образом мы сделали большой шаг в мир Python 3.
В следующих уроках мы рассмотрим Python 3 поближе и постепенно, пройдя его от корки до корки, научимся на нём программировать. А сейчас давайте проверим установленную среду.
Проверяем на работоспособность
Для того, чтобы узнать, работает ли у вас Python, сделайте следующие:
- Откройте Python 3 (в Windows и Linux введите в консоли python и python3 соответственно, в Android просто откройте Qpython3 -> Console) .
- Введите в консоль следующею строку:
Если на выход вы получили «Hello Python!», то поздравляю вы все правильно сделали.
Теперь можно поэксперементировать. Попробуйте ввести например:
Посмотрите что выйдет 🙂
Спасибо за внимание. До скорой встречи!
Поделиться ссылкой:
Добавить комментарий Отменить ответ
Здравствуйте.
Очень полезная и интересная статья!
Спасибо Вам за эту информацию.
Источник
Install Python3 and IDLE on Ubuntu 18.04
In this article, I will show you how to install Python 3.6 and Python 3.7 in case you don’t have it installed. Let’s get started.
Installing Python 3
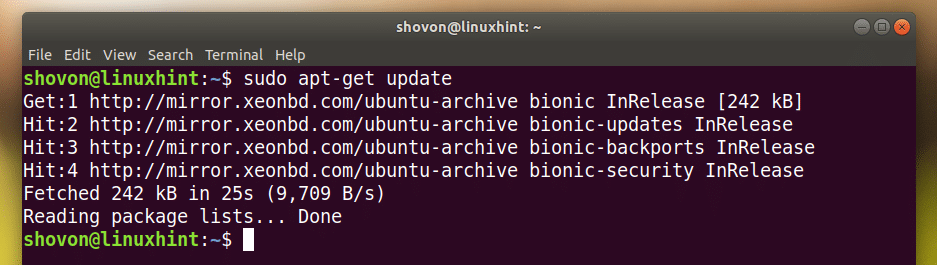
First update the package repository cache with the following command:
The package repository cache should be updated.
Installing Python 3.6:
Now to install Python 3.6, run the following command:

As you can see from the screenshot below, Python 3.6 is already installed as I said.

Installing Python 3.7:
To install Python 3.7 (still in beta at the time of this writing), run the following command:
Press y and then press .

Python 3.7 should be installed.

You can run the following command to verify whether Python 3.7 is working:
As you can see, it’s working.

Installing Python 3 IDLE for Developing Python Program
Python 3 IDLE is a graphical program for writing python 3 programs and test them. It is beginner friendly. You can always start writing Python 3 code with Python 3 IDLE. It is lightweight and has nice syntax highlighting ability.
Python 3 IDLE is available in the official package repository of Ubuntu 18.04 LTS.
For Python 3.6:
To install Python 3 IDLE for Python 3.6, run the following command:

Press y and then press to continue.
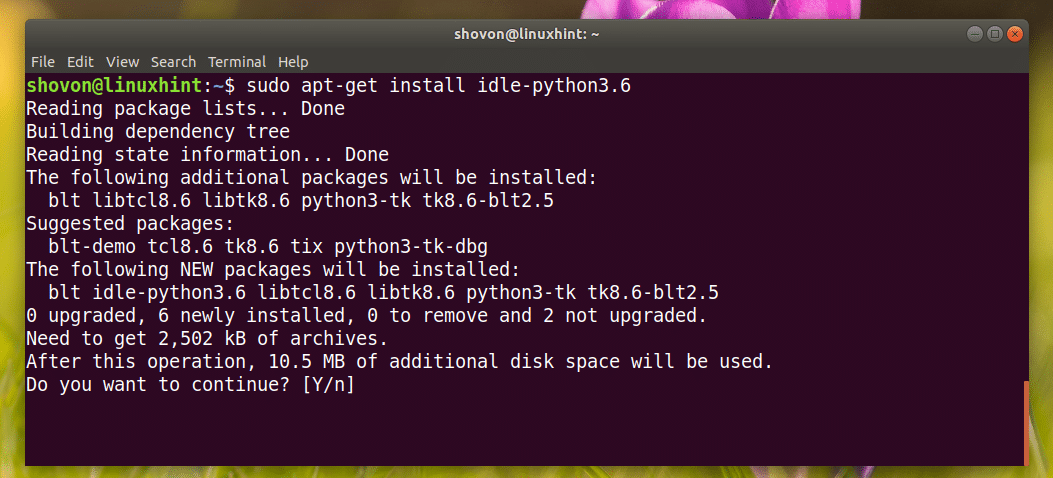
It should be installed.

For Python 3.7:
To install Python 3 IDLE for Python 3.7, run the following command:
Using IDLE to Develop a Python 3 Program
Now that you have Python 3 IDLE installed, you can go to the Application Menu and search for Python 3 IDLE.
You should see the following icon as marked in the screenshot below, click on it.
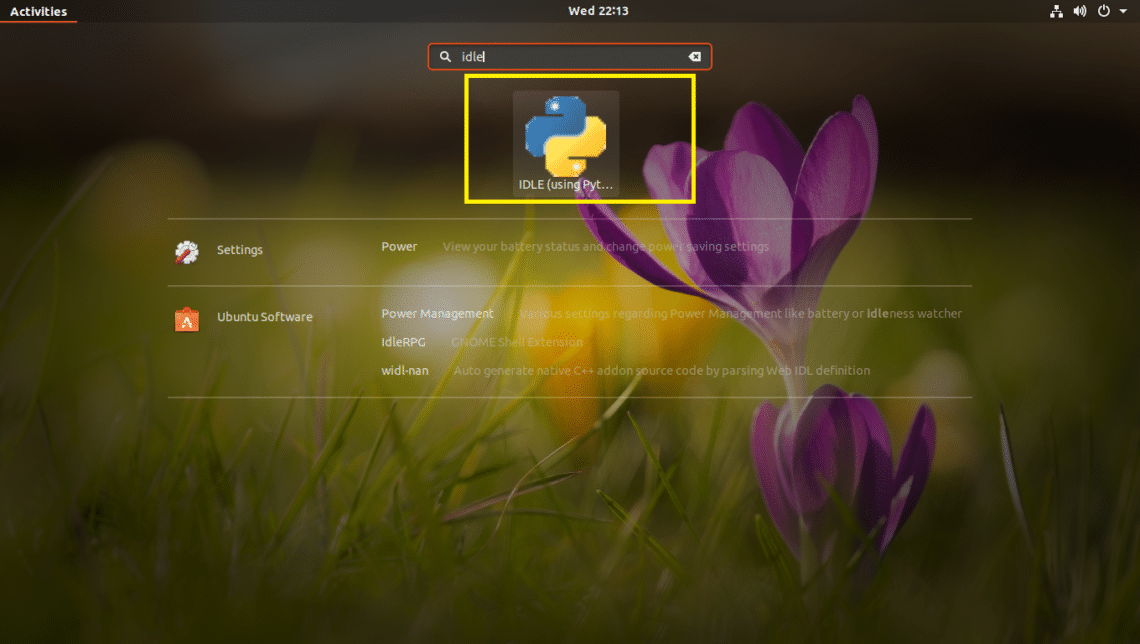
You should see the following window. This is a Python 3.6 shell where you can execute python codes, one line at a time. It is good for testing very simple codes or logics before putting it to your Python 3 source code file.

Now to go to the graphical editor, click on File and you should see the following menu. From here you can click on Open… to open an existing Python 3 source code file in the graphical editor.
NOTE: You can also press + o to open an existing Python 3 source file in the graphical editor.
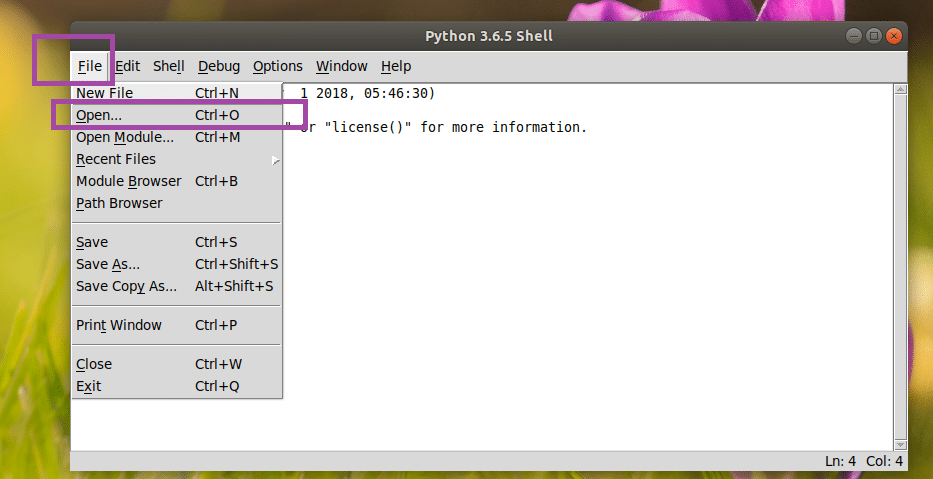
Or you can click on New File… to create a new file and open it in the graphical editor.
NOTE: You can also press + n to create a new file and open it in the graphical editor.

I created a new file, and when you do, it should look something like this. This is the graphical code editor.
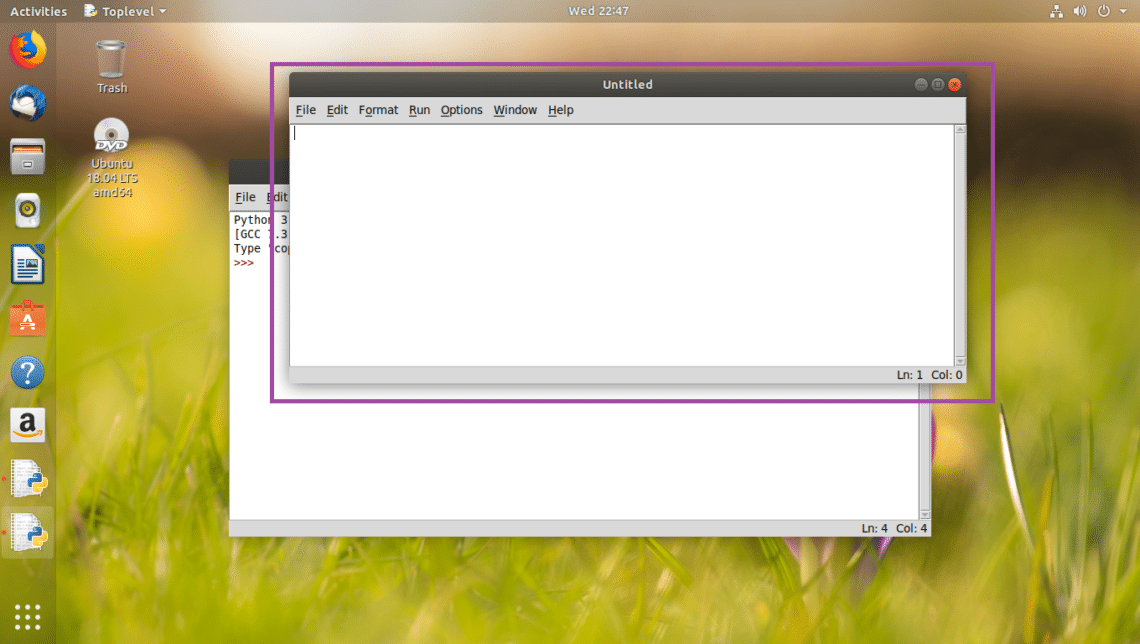
Once you write some code in it, save it somewhere on your filesystem. To save the file, click on File and then click on Save as shown in the screenshot below.
NOTE: You can also save the file by pressing + s.

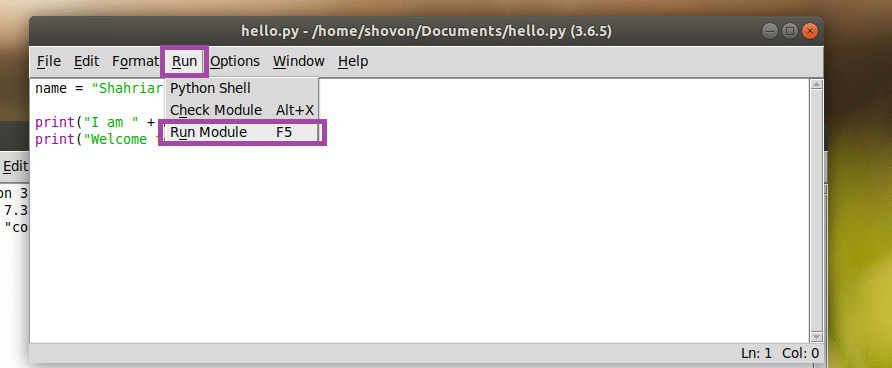
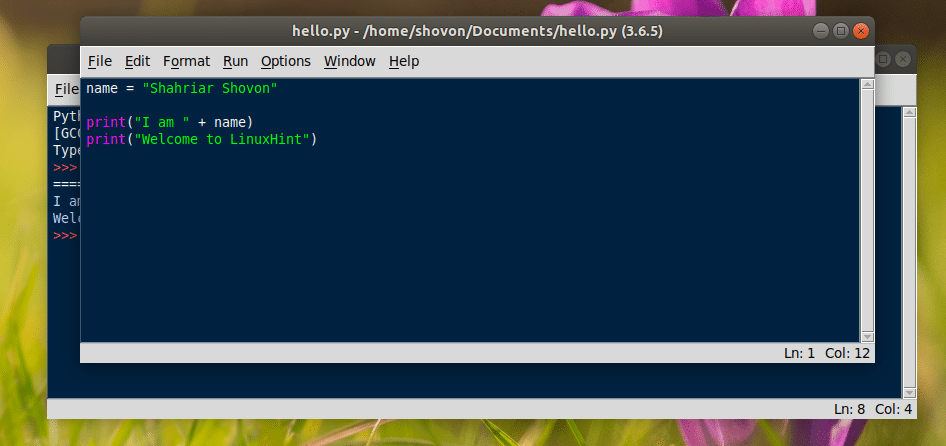
Now let’s write our very first Python 3 program and save it as hello.py somewhere on your filesystem.

To run the program, click on Run and then click on Run Module. You can also press F5 to run the program.
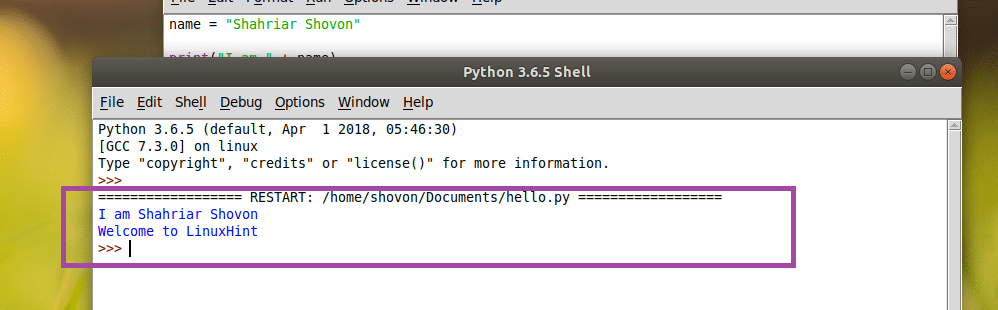
As you can see, the correct output is displayed on the console.
Customizing Python 3 IDLE
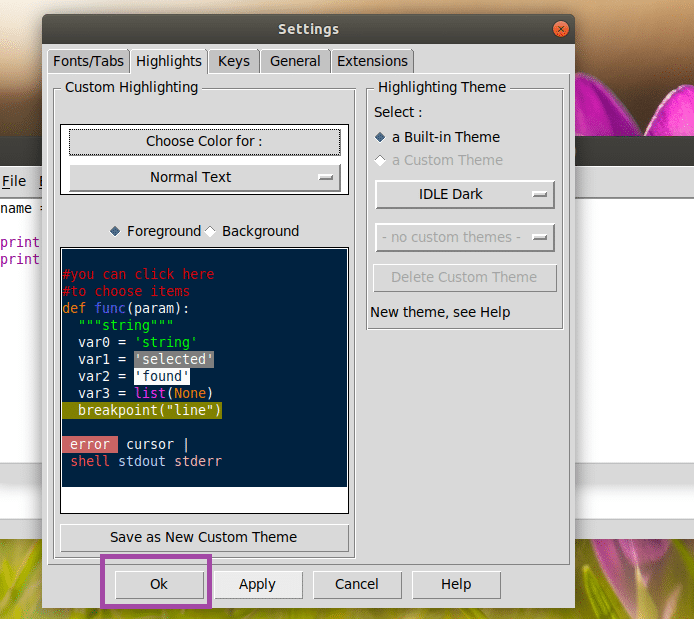
You can go to Options and then Configure IDLE to go to the configuration window of Python 3 IDLE.

Settings window should open as you can see in the screenshot below. From the Fonts/Tabs tab, you can change your IDLE font, font size, the default indentation width.

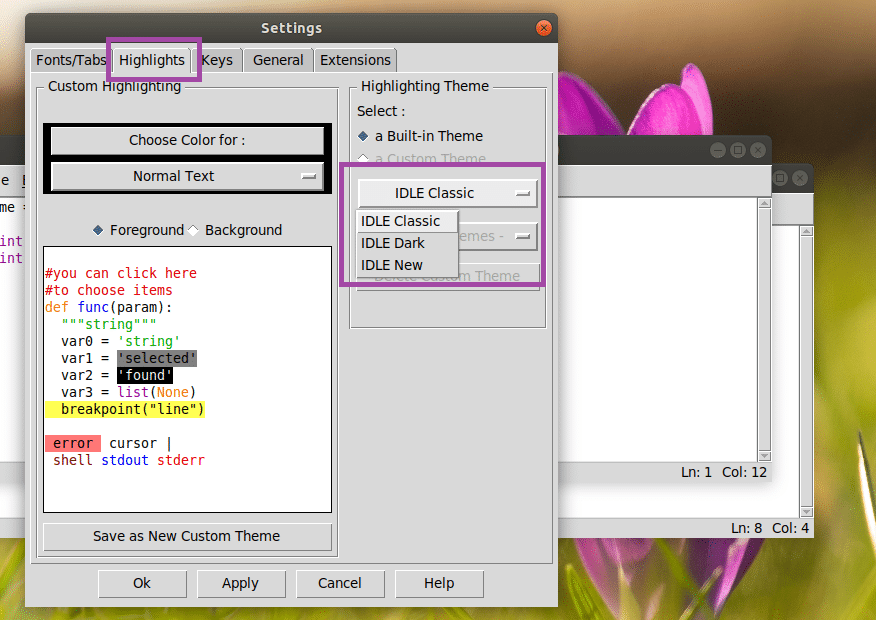
From the Highlights tab, you can change the Color Scheme or Theme of IDLE. By default, IDLE Classic is set. You can also choose IDLE Dark and IDLE New as you can see in the marked section of the screenshot below.
Once you’re done, click on OK. The changes should be applied.
IDLE Dark theme:
That’s how you install Python 3 and start learning Python 3 on Ubuntu 18.04 LTS. Thanks for reading this article.
Источник


