- Python Execute Unix / Linux Command Examples
- os.system example (deprecated)
- Say hello to subprocess
- Related media
- Запуск python скрипта в Linux
- Запуск python скрипта в Linux
- 2. Using Python on Unix platforms
- 2.1. Getting and installing the latest version of Python
- 2.1.1. On Linux
- 2.1.2. On FreeBSD and OpenBSD
- 2.1.3. On OpenSolaris
- 2.2. Building Python
- 2.3. Python-related paths and files
- 2.4. Miscellaneous
- 2.5. Custom OpenSSL
- How to Execute Linux Commands in Python
- Table of contents
- Prerequisites
- Introduction
- Building an application to ping servers
- Conclusion
- About the author
Python Execute Unix / Linux Command Examples
H ow do I execute standard Unix or Linux shell commands using Python? Is there a command to invoke Unix commands using Python programs?
| Tutorial details | |
|---|---|
| Difficulty level | Easy |
| Root privileges | No |
| Requirements | Python |
| Est. reading time | N/A |
You can execute the command in a subshell using os.system() . This will call the Standard C function system(). This function will return the exit status of the process or command. This method is considered as old and not recommended, but presented here for historical reasons only. The subprocess module is recommended and it provides more powerful facilities for running command and retrieving their results.
os.system example (deprecated)
In this example, execute the date command:
In this example, execute the date command using os.popen() and store its output to the variable called now:
Say hello to subprocess
The os.system has many problems and subprocess is a much better way to executing unix command. The syntax is:
In this example, execute the date command:
You can pass the argument using the following syntax i.e run ls -l /etc/resolv.conf command:
Another example (passing command line args):
In this example, run ping command and display back its output:
The only problem with above code is that output, err = p.communicate() will block next statement till ping is completed i.e. you will not get real time output from the ping command. So you can use the following code to get real time output:
Related media
A quick video demo of above python code:
References:
🐧 Get the latest tutorials on Linux, Open Source & DevOps via
| Category | List of Unix and Linux commands |
|---|---|
| Documentation | help • mandb • man • pinfo |
| Disk space analyzers | df • duf • ncdu • pydf |
| File Management | cat • cp • less • mkdir • more • tree |
| Firewall | Alpine Awall • CentOS 8 • OpenSUSE • RHEL 8 • Ubuntu 16.04 • Ubuntu 18.04 • Ubuntu 20.04 |
| Linux Desktop Apps | Skype • Spotify • VLC 3 |
| Modern utilities | bat • exa |
| Network Utilities | NetHogs • dig • host • ip • nmap |
| OpenVPN | CentOS 7 • CentOS 8 • Debian 10 • Debian 8/9 • Ubuntu 18.04 • Ubuntu 20.04 |
| Package Manager | apk • apt |
| Processes Management | bg • chroot • cron • disown • fg • glances • gtop • jobs • killall • kill • pidof • pstree • pwdx • time • vtop |
| Searching | ag • grep • whereis • which |
| Shell builtins | compgen • echo • printf |
| Text processing | cut • rev |
| User Information | groups • id • lastcomm • last • lid/libuser-lid • logname • members • users • whoami • who • w |
| WireGuard VPN | Alpine • CentOS 8 • Debian 10 • Firewall • Ubuntu 20.04 |
Comments on this entry are closed.
307 ms?
That’s a long interval 😉
Hi, please more small and usefull examples with python like it! more code snippets!
A very comprehensive explanation, being useful to beginners to python.
where to find the command of linux
these commands are very helpfull us….please give more example like this.
What exactly does Shell=True does?
please tell the exact usage of the shell argumet.
First off, enjoy all your posts and youtube videos. Recently viewed your tutorial on installing freebsd. So thank you for sharing your knowledge.
I have a query regarding launching an external bash script file (.sh) in freebsd.
For linux I used:
os.system(‘sh ‘ + filepath)
For Mac:
os.system(‘open ‘ + filepath)
And for windows:
os.startfile(filepath)
I am unable to get any of these to work for freebsd. I know startfile is only for windows, however was wondering if there was an equivalent for freebsd without using subprocess. Or if not possible at all how to use subprocess to call a external script.
Also, in freebsd, what would be the equivalent of say:
sudo chown -R user:user file.bundle
as both sudo and chown are not installed by default.
Any help would be appreciated.
What if I want to create a variable in Python, then pass that variable to a bash command line?
Something like this:
….
celsius = sensor.read_temperature()
import subprocess
subprocess.call([“myscript.sh”, “-v”, “-t $celsius”])
Is that possible?
Of course you can. In python’s new formatting it would look like this:
subprocess.call([«myscript.sh», «-v», «-t <>«.format(celsius)])
I use split so I dont have to write literal arrays. Works most of the time.
Источник
Запуск python скрипта в Linux
Python — очень популярный язык программирования для написания различных системных скриптов в Linux. В Windows, там где не хватает возможностей командной оболочки используется PowerShell. В Linux же, когда возможностей Bash не хватает используется язык Python.
На этом языке написано огромное количество системных программ, среди них пакетный менеджер apt, видеоредактор OpenShot, а также множество скриптов, которые вы можете установить с помощью утилиты pip. В этой небольшой статье мы рассмотрим как запустить Python скрипт в Linux с помощью терминала различными способами.
Запуск python скрипта в Linux
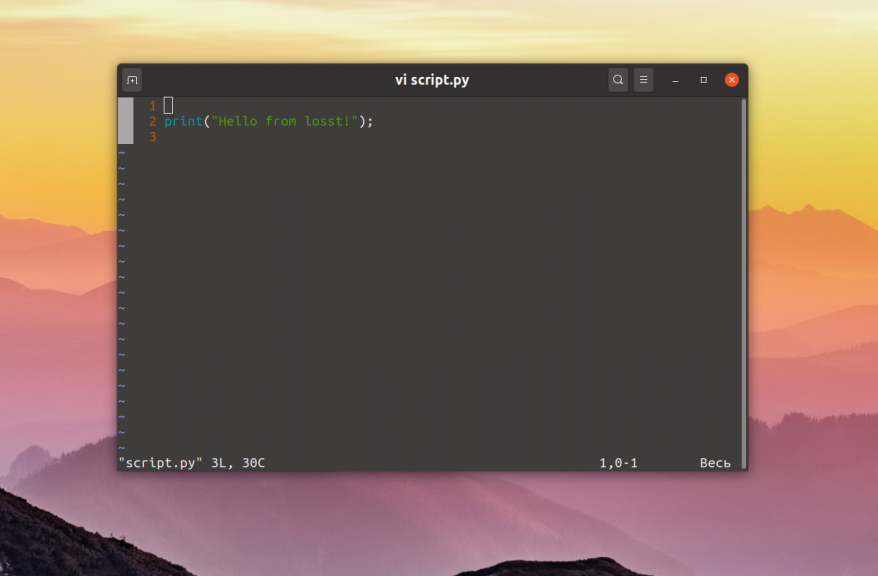
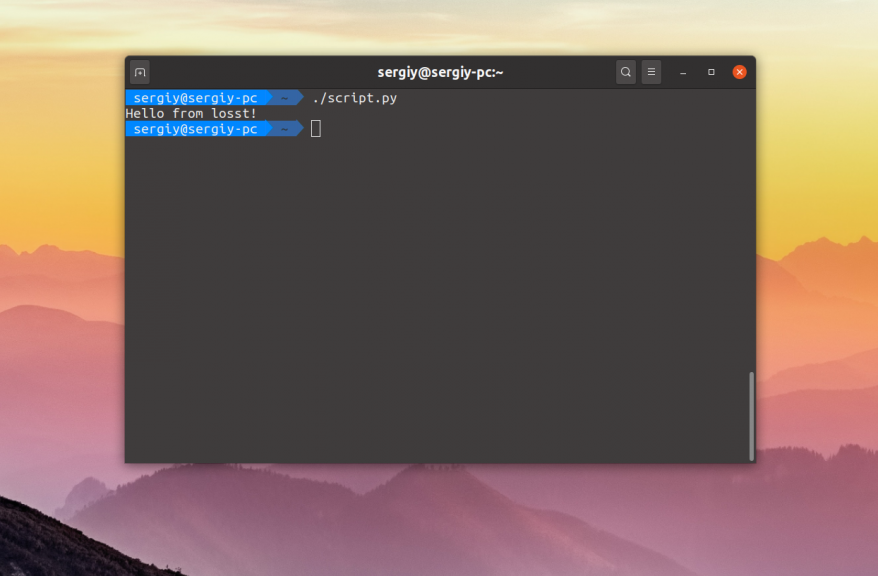
Для примера нам понадобится Python скрипт. Чтобы не брать какой-либо из существующих скриптов, давайте напишем свой:
print(«Hello from losst!»)
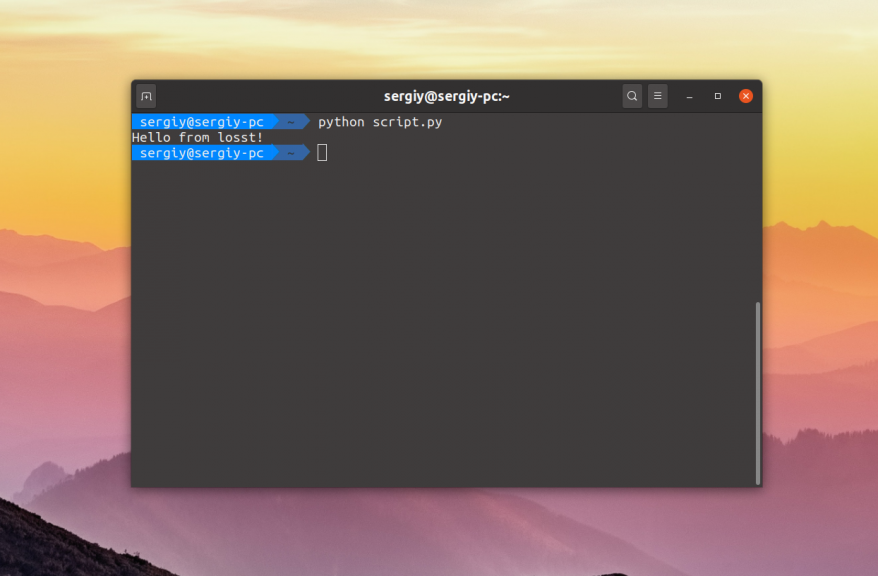
Для того чтобы запустить скрипт необходимо передать его интерпретатору Python. Для этого просто откройте терминал с помощью сочетания клавиш Ctrl + Alt + T, перейдите в папку со скриптом и выполните:
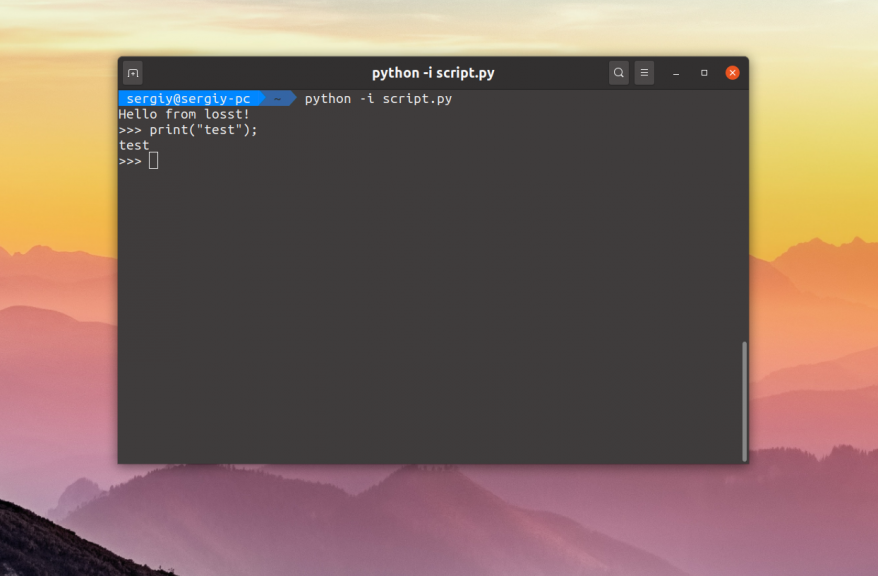
Если вы хотите, чтобы после выполнения скрипта открылась консоль, в которой можно интерактивно выполнять команды языка Python используйте опцию -i:
python -i script.py
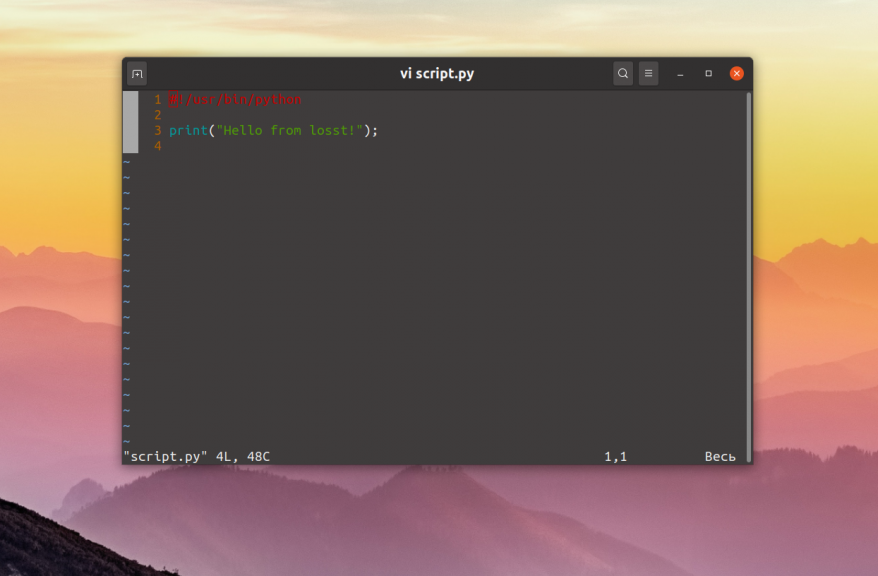
Но как вы могли заметить, при запуске apt или openshot не надо писать слово python. Это намного удобнее. Давайте разберемся как это реализовать. Если вы не хотите указывать интерпретатор в командной строке, его надо указать в самом скрипте. Для этого следует в начало скрипта добавить такую строчку:
Сохраните изменения, а затем сделайте файл скрипта исполняемым с помощью такой команды:
chmod ugo+x script.py
После этого можно запустить скрипт Python просто обращаясь к его файлу:
Если убрать расширение .py и переместить скрипт в каталог, находящийся в переменной PATH, например /usr/bin/, то его можно будет выполнять вот так:
Как видите, запуск команды python Linux выполняется довольно просто и для этого даже есть несколько способов. А каким способом пользуетесь вы? Напишите в комментариях!
Источник
2. Using Python on Unix platforms
2.1. Getting and installing the latest version of Python
2.1.1. On Linux
Python comes preinstalled on most Linux distributions, and is available as a package on all others. However there are certain features you might want to use that are not available on your distro’s package. You can easily compile the latest version of Python from source.
In the event that Python doesn’t come preinstalled and isn’t in the repositories as well, you can easily make packages for your own distro. Have a look at the following links:
for Debian users
for OpenSuse users
for Fedora users
for Slackware users
2.1.2. On FreeBSD and OpenBSD
FreeBSD users, to add the package use:
OpenBSD users, to add the package use:
For example i386 users get the 2.5.1 version of Python using:
2.1.3. On OpenSolaris
You can get Python from OpenCSW. Various versions of Python are available and can be installed with e.g. pkgutil -i python27 .
2.2. Building Python
If you want to compile CPython yourself, first thing you should do is get the source. You can download either the latest release’s source or just grab a fresh clone. (If you want to contribute patches, you will need a clone.)
The build process consists of the usual commands:
Configuration options and caveats for specific Unix platforms are extensively documented in the README.rst file in the root of the Python source tree.
make install can overwrite or masquerade the python3 binary. make altinstall is therefore recommended instead of make install since it only installs exec_prefix /bin/python version .
2.3. Python-related paths and files
These are subject to difference depending on local installation conventions; prefix ( $
For example, on most Linux systems, the default for both is /usr .
Recommended location of the interpreter.
prefix /lib/python version , exec_prefix /lib/python version
Recommended locations of the directories containing the standard modules.
prefix /include/python version , exec_prefix /include/python version
Recommended locations of the directories containing the include files needed for developing Python extensions and embedding the interpreter.
2.4. Miscellaneous
To easily use Python scripts on Unix, you need to make them executable, e.g. with
and put an appropriate Shebang line at the top of the script. A good choice is usually
which searches for the Python interpreter in the whole PATH . However, some Unices may not have the env command, so you may need to hardcode /usr/bin/python3 as the interpreter path.
To use shell commands in your Python scripts, look at the subprocess module.
2.5. Custom OpenSSL
To use your vendor’s OpenSSL configuration and system trust store, locate the directory with openssl.cnf file or symlink in /etc . On most distribution the file is either in /etc/ssl or /etc/pki/tls . The directory should also contain a cert.pem file and/or a certs directory.
Download, build, and install OpenSSL. Make sure you use install_sw and not install . The install_sw target does not override openssl.cnf .
Build Python with custom OpenSSL (see the configure –with-openssl and –with-openssl-rpath options)
Patch releases of OpenSSL have a backwards compatible ABI. You don’t need to recompile Python to update OpenSSL. It’s sufficient to replace the custom OpenSSL installation with a newer version.
Источник
How to Execute Linux Commands in Python
January 13, 2021
Linux is one of the most popular operating systems used by software developers and system administrators. It is open-source, free, customizable, very robust, and adaptable. Making it an ideal choice for servers, virtual machines (VMs), and many other use cases.
Therefore, it is essential for anyone working in the tech industry to know how to work with Linux because it is used almost everywhere. In this tutorial, we are going to look at how we can automate and run Linux commands in Python.
Table of contents
Prerequisites
- Basic understanding of Linux and shell scripting.
- Basic programming skills in Python.
Introduction
Python has a rich set of libraries that allow us to execute shell commands.
A naive approach would be to use the os library:
The os.system() function allows users to execute commands in Python. The program above lists all the files inside a directory. However, we can’t read and parse the output of the command.
In some commands, it is imperative to read the output and analyze it. The subprocess library provides a better, safer, and faster approach for this and allows us to view and parse the output of the commands.
| OS | subprocess |
|---|---|
| os.system function has been deprecated. In other words, this function has been replaced. | The subprocess module serves as a replacement to this and Python officially recommends using subprocess for shell commands. |
| os.system directly executes shell commands and is susceptible to vulnerabilities. | The subprocess module overcomes these vulnerabilities and is more secure. |
| The os.system function simply runs the shell command and only returns the status code of that command. | The subprocess module returns an object that can be used to get more information on the output of the command and kill or terminate the command if necessary. This cannot be done in the os module. |
Although you can execute commands using the OS module, the subprocess library provides a better and newer approach and is officially recommended. Therefore, we are going to use subprocess in this tutorial. This documentation explores the motivation behind creating this module.
Building an application to ping servers
Let’s use the subprocess library to write a script that pings multiple servers to see whether they are reachable or not. This would be a good use case when you have multiple hosts, servers, or VMs(AWS ec2 instances) and want to check if they are up and running without any problems.
A simple solution is to just ping these servers and see if they respond to the request. However, when you have a considerable amount of machines, it will be extremely tedious and time-consuming to manually ping them. A better approach is to use Python to automate this process.
According to the official documentation, the subprocess module allows you to spawn new processes, connect to their input/output/error pipes, and obtain their return codes.
This module intends to replace several older modules and functions. The subprocess library has a class called Popen() that allows us to execute shell commands and get the output of the command.
Create a Python file and add the following code. We also need to create a file called “servers.txt”, where we can add a list of all the servers we need to ping. The Python script will read from this file and ping each server listed in it.

I have added 4 servers, out of which two exist and the other two do not. Only the servers that exist can be “pinged”.

As you can see in the output, we get the message “name or service not known” for the two servers that did not exist.
In the program above, the ping() function takes a list of servers and returns the output of each running ping command on each server. If a server is unreachable, it displays an output saying “ping: somethingthatdoesntexist: Name or service not known”.
The Popen() is a constructor method of the Popen class and takes in the following arguments:
A list of commands and any additional options these commands might require. For example, the ls command can be used with ‘-l’ option. To execute the ls -l command, the argument list would look like this: [‘ls’, ‘-l’] . The commands are specified as strings. In the example above, we use the ping command with the option -c 1 so that it only sends one packet of data, and the server replies with a single packet . Without this limit, the command would run forever until an external process stops it.
The stdout argument is optional and can be used to set where you want the subprocess to display the output. By default, the output is sent to the terminal. However, if you don’t want to dump a large output onto the terminal, you can use subprocess.PIPE to send the output of one command to the next. This corresponds to the | option in Linux.
The stderr argument is also optional and is used to set where you want the errors to be displayed. By default, it sends the errors to the terminal. Since we need to get a list of servers that cannot be reached, we don’t need to change this. The servers that cannot be reached (error) will be displayed to us on the terminal.
The output of the command is stored in a variable called temp . The communicate() function allows us to read the output and the str function can be used to convert it to a string. Once we get the output, we can parse it to extract only the essential details or just display it as it is. In this example, I am storing the output in a list for future use.
Conclusion
In conclusion, automation is one of the hottest topics in the industry, and almost every company is investing huge amounts of money to automate various manual tasks. In this tutorial, we explored the process of automatically running and analyzing Linux commands on multiple hosts using Python.
An old way of doing this is by using shell scripts. However, using Python gives developers more power and control over the execution and output of the commands. Now that you have understood the basics of executing Linux commands, you can go ahead and experiment with different commands and build more complex and robust applications.
About the author
Adith Bharadwaj is a senior at the National Institute of Engineering (NIE) and a Software Engineer Intern at Cisco — India. Adith has a keen interest in solving challenging problems and is a data science and machine learning enthusiast. When he’s not coding, he loves drawing, working out, and watching great TV shows, movies or anime.
Источник


