- All guides / Install Ruby on Rails on macOS 10
- Overview
- Installing the Windows Subsystem for Linux
- Installing Ruby
- Configuring Git
- Installing Rails
- Setting Up MySQL
- Setting Up PostgreSQL
- Final Steps
- Установка Ruby On Rails на Windows Server
- Что это такое?
- Загрузка и установка
- Настройка
- Rails Deployment Environment on Windows
- 2 Answers 2
- How to install ruby on rails in windows
- 2 Answers 2
All guides / Install Ruby on Rails on macOS 10
A guide to setting up a Ruby on Rails development environment
Operating System
Version
Overview
This will take about 45 minutes.
We will be setting up a Ruby on Rails development environment on Windows 10.
The reason we’re going to be using Bash on Ubuntu on Windows because it allows you to run Linux on your Windows machine. Most Ruby on Rails tutorials and dependencies work best on Linux, so this allows you to get the best of both worlds. A Windows machine for your day to day work, and a Linux subsystem for Ruby on Rails development.
This only works on 64-bit installations of Windows. This is also in beta, so this won’t be nearly as robust as running a Linux virtual machine, but it can definitely do the basics well enough.
Installing the Windows Subsystem for Linux
Windows 10 allows you to run various Linux operating systems inside of Windows similar to a virtual machine, but natively implemented. We’ll use this to install Ruby and run our Rails apps.
Open Powershell as Administrator and run:
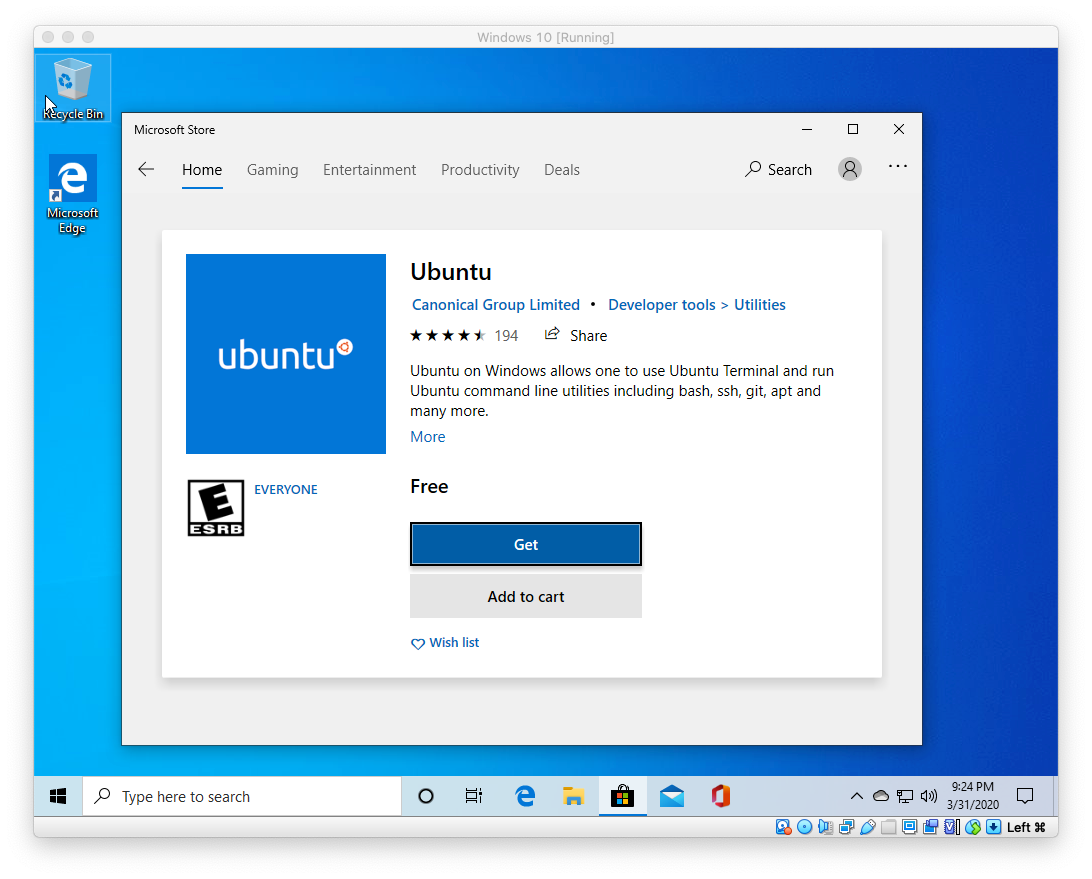
Now open Ubuntu in the Start menu or by running wsl in PowerShell or the command prompt. You’ll be asked to setup a new user for Ubuntu. Remember this password as it’s what you’ll use later on when installing packages with sudo .
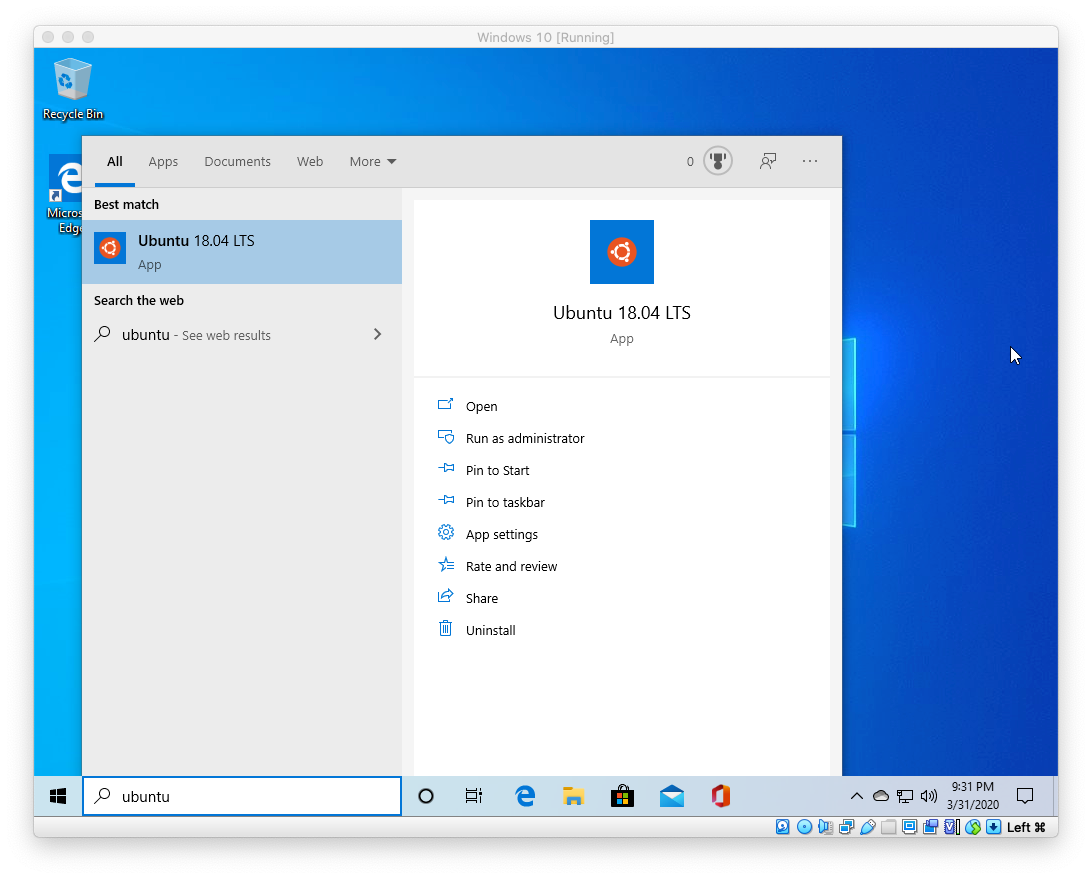
Congrats! You’ve now got a Ubuntu terminal on Windows. You’ll use this to run your Rails server and other processes for development.
Installing Ruby
Choose the version of Ruby you want to install:
The first step is to install some dependencies for Ruby.
Next we’re going to be installing Ruby using one of three methods. Each have their own benefits, most people prefer using rbenv these days, but if you’re familiar with rvm you can follow those steps as well. I’ve included instructions for installing from source as well, but in general, you’ll want to choose either rbenv or rvm.
Choose one method. Some of these conflict with each other, so choose the one that sounds the most interesting to you, or go with my suggestion, rbenv.
Installing with rbenv is a simple two step process. First you install rbenv , and then ruby-build :
The installation for rvm is pretty simple:
Arguably the least useful Ruby setup for development is installing from source, but I thought I’d give you the steps anyways:
The last step is to install Bundler
rbenv users need to run rbenv rehash after installing bundler.
Configuring Git
We’ll be using Git for our version control system so we’re going to set it up to match our Github account. If you don’t already have a Github account, make sure to register. It will come in handy for the future.
Replace my name and email address in the following steps with the ones you used for your Github account.
The next step is to take the newly generated SSH key and add it to your Github account. You want to copy and paste the output of the following command and paste it here.
Once you’ve done this, you can check and see if it worked:
You should get a message like this:
Installing Rails
Choose the version of Rails you want to install:
Since Rails ships with so many dependencies these days, we’re going to need to install a Javascript runtime like NodeJS and a package manager called Yarn.
To install NodeJS and Yarn, we’re going to add it using the official repository:
And now, without further adieu:
If you’re using rbenv, you’ll need to run the following command to make the rails executable available:
Now that you’ve installed Rails, you can run the rails -v command to make sure you have everything installed correctly:
If you get a different result for some reason, it means your environment may not be setup properly.
Setting Up MySQL
Rails ships with sqlite3 as the default database. Chances are you won’t want to use it because it’s stored as a simple file on disk. You’ll probably want something more robust like MySQL or PostgreSQL.
There is a lot of documentation on both, so you can just pick one that seems like you’ll be more comfortable with.
If you’re new to Ruby on Rails or databases in general, I strongly recommend setting up PostgreSQL.
If you’re coming from PHP, you may already be familiar with MySQL.
You can install MySQL server and client from the packages in the Ubuntu repository. As part of the installation process, you’ll set the password for the root user. This information will go into your Rails app’s database.yml file in the future.
Installing the libmysqlclient-dev gives you the necessary files to compile the mysql2 gem which is what Rails will use to connect to MySQL when you setup your Rails app.
When you’re finished, you can skip to the Final Steps.
Setting Up PostgreSQL
The easiest way to setup PostgreSQL is to install it on Windows using one of the Windows installers. You’ll be able to run it in Windows and connect to it through Linux.
Pay attention to the username and password you setup during installation of Postgres as you will use this to configure your Rails applications later to login to Postgres when your Rails app runs.
You’ll also need to install the development headers on Ubuntu so you can install the pg gem.
Final Steps
The best place to develop Rails apps on the Windows Subsystem for Linux is to navigate to `/mnt/c`. This is actually the C: drive on Windows and it lets you use Sublime, Atom, VS Code, etc on Windows to edit your Rails application.
And now for the moment of truth. Let’s create your first Rails application:
You can now visit http://localhost:3000 to view your new website!
Now that you’ve got your machine setup, it’s time to start building some Rails applications!
If you received an error that said Access denied for user ‘root’@’localhost’ (using password: NO) then you need to update your config/database.yml file to match the database username and password.
To edit your code in Windows: open up Sublime, Atom, VS Code, or whatever editor your prefer and point them to your folders in C:\code and you’ll be able to safely edit your Rails apps in Windows and run them in Linux!
When you create a new Rails app, you might run into the following error: parent directory is world writable but not sticky.
If you run into this issue, you can run chmod +t -R
/.bundle and that should fix the permissions errors and let you finish the bundle install for your Rails app.
That’s it! Let us know in the comments below if you run into any issues or have any other protips to share!.
Установка Ruby On Rails на Windows Server
Инструкция по установке фреймворка Ruby On Rails на сервер под управлением операционной системы семейства Windows.
Что это такое?
Ruby on Rails — это фреймворк с открытым исходным кодом, написанный на языке программирования Ruby. Обычно Ruby on Rails используется для запуска приложений под ОС Linux, но иногда бывает крайне необходимо запустить приложение на Windows. Для этих целей созданы специальный установщики, например railsinstaller или rubyinstaller.
Загрузка и установка
Для начала необходимо загрузить удобный установщик от Engine Yard.

Запустите загруженный файл для начала процесса установки. Примите лицензионное соглашение.

Выберет каталог для установки фреймворка и необходимых зависимостей. Отметьте с помощью галочек установку всех дополнительных пакетов.

Начнется процесс установки.

После установки перейдите к конфигурации окружения, для этого отметьте галочкой «Configure git and ssh …».

Для конфигурации Git введите пользовательское имя и ваш почтовый адрес.

В итоге для вас будет cгенерирован публичный и приватный ключи.
Настройка
Для того, чтобы выполнить настройку и запустить rails-сервер, откройте консоль Comand Prompt with Ruby and Rails, которую можно найти в меню Win. Выполните установку gem-файла Rails:
gem install rails
Примечание: gem — пакетный менеджер.
Перейдите в каталог тестового проекта:
С помощью следующей команды установите зависимости объявленные в файле Gemfile:
Выполните миграцию базы данных:
bundle exec rake db:migrate RAILS_ENV=development
Выполните запуска Rails-сервера:
Перейдите в браузере по следующему адресу:
http://localhost:3000/
Если все настроено корректно, то вы увидите следующее окно.
Rails Deployment Environment on Windows
Is there any good way at all to deploy a Ruby on Rails app built on Ruby 1.9.3 and Rails 3.2.6 with Apache on a Windows machine? I’ve spent hours scouring the forums, but all of the posts seem to be too old to work with the newest versions of Ruby and Rails. Mongrel is no longer under development and constantly causes Rails to crash, thin has only rudimentary Windows support and on my computer causes the Ruby runtime to «terminate itself in an unusual way», Passenger is Linux-only. I’m kinda lost at this point.
Is there any stable, well-documented solution for serving Rails apps built on the newest frameworks with Apache on Windows?
UPDATE
I finally ended up working out my own solution. Check it out below for an up-to-date guide to Rails deployment on Windows.
2 Answers 2
UPDATE: I just returned to the company where I deployed with this process. After 11 months left completely unmaintained while the product was in use, the app and server environment are still functioning flawlessly 🙂
Ok, it looks like I finally figured it out. Note that I am deploying to a small pool of users on a company intranet, so my solution may not work for everyone. I am using the excellent Bitnami RubyStack, which contains an integrated Apache/Rails/MySQL installation. From there I did the following (worked for Rails 3.2.6 and Ruby 1.9.3):
Shut down all Apache and Rails (WEBrick/Thin/Mongrel/Unicorn) servers. Exit out of your site if you have any development versions of it open. Clear your browser cache.
If you haven’t already, migrate your database to production mode. From the RubyStack command line, cd to your app’s directory, then run bundle exec rake db:migrate db:schema:load RAILS_ENV=»production» . WARNING: db:schema:load will delete all data in your production database.
Precompile your assets: bundle exec rake assets:precompile . Note that this can take a very long time depending on your assets.
In your httpd.conf (for me it’s C:\RubyStack-3.2.5-0\apache2\conf\httpd.conf)
Make sure necessary modules aren’t commented out:
Then paste the following code somewhere in the file, with app_name being the folder name of your Rails app and *:82 being any port number that Apache is listening to (signified by the command Listen
Create one Windows Batch file (*.bat) for each of the Rails servers that your app will be using. Be sure to run them in production mode on the ports in your balancer. For instance, for your first server:
NOTE: The next few steps are necessary because the Rails servers need to run as services, or they will be shut down if there is no user logged in to the server. This also allows them to automatically restart upon failure. However, Windows cannot run Batch files as services, so we have to convert them to Windows EXEs. But standard Windows EXEs cannot be used as services because they don’t respond to the OnStart and OnStop methods. SO, to finally get our servers to run as Windows services, we have to use the Non-Sucking Service Manager as a frontend for our Windows EXEs.
Download a BAT to EXE converter (just google for one) and make EXEs from your batch files. Make sure the converter you get has an option to hide the command windows when it runs (that option is usually called «Visibility» or something like that.)
Download the Non-Sucking Service Manager (nssm.exe). Put it somewhere permanent and add that folder to your path.
Start a command prompt. Type nssm install , where is whatever you want your service to be called. You will be prompted to enter the path to the application you wish to run as a service; choose the Windows EXEs you created in step 7, then click install, leaving commandline options blank.
Repeat steps 6-8 for all of the ports in your balancer, creating a different service for every Rails server.
Start all of the Services you just created (Start Menu –> Administrative Tools –> Services). The services should start immediately, but you must give the Rails servers at least 30 seconds to initialize.
Start Apache. If it doesn’t start, check to see if you included all the necessary modules (listed in first part of step 4).
Navigate to localhost:82 , substituting your port number for 82 if you customized it. You should see your site looking exactly the same as it did in development.
Please let me know if this is too long to be appropriate for StackOverflow. I have just spent quite a lot of time struggling with this problem and figured it was high time someone wrote a up to date guide to Rails deployment on Windows (if there is one, I haven’t seen it yet). Good luck, let me know if anyone has problems or enhancements for this!
How to install ruby on rails in windows
Getting error while trying to install Ruby on Rails like below command
ERROR: Failed to build gem native extension.
current directory: C:/Ruby25-x64/lib/ruby/gems/2.5.0/gems/nio4r-2.2.0/ext/ni o4r
C:/Ruby25-x64/bin/ruby.exe -r ./siteconf20180224-8176-ibolzo.rb extconf.rb
current directory: C:/Ruby25-x64/lib/ruby/gems/2.5.0/gems/nio4r-2.2.0/ext/nio4r make «DESTDIR=» clean ‘make’ is not recognized as an internal or external command, operable program or batch file.
current directory: C:/Ruby25-x64/lib/ruby/gems/2.5.0/gems/nio4r-2.2.0/ext/nio4r make «DESTDIR=» ‘make’ is not recognized as an internal or external command, operable program or batch file.
make failed, exit code 1
Gem files will remain installed in C:/Ruby25-x64/lib/ruby/gems/2.5.0/gems/nio4r- 2.2.0 for inspection. Results logged to C:/Ruby25-x64/lib/ruby/gems/2.5.0/extensions/x64-mingw32/2.5.0 /nio4r-2.2.0/gem_make.out Temporarily enhancing PATH for MSYS/MINGW. Building native extensions. This could take a while.
Can anyone figure out what is the problem of getting this error


2 Answers 2
Follow those steps, actually, I have installed Ruby on Rails to many windows machine using these steps.
Step 1: Download Git BASH as the BASH emulation behaves just like the «git» command in LINUX and UNIX environments.
Step 1.1: Download and install latest NodeJS from here and check the NodeJS version
Step 2: Download the ruby latest version here and install it in your directory. Check the Ruby version
Step 3: Download Devkit here take the suitable one for matching your windows bit like 32 or 64 bit
Step 4: Create a devkit folder inside Ruby directory that means where created a default directory after installing ruby software, something like this disk (:C) or (:D)/Ruby25/devkit/
Step 5: Extract the DevKit file inside the devkit folder
Step 6: Open your GIT BASH inside the devkit folder and run this two commands
if above command running properly then done.
Step 7: Now you can run rails command for installing inside ruby folder
Step 8: Check the Rails version
if till now all are steps is ok? that’s it, now run rails command and create a rails project, like


