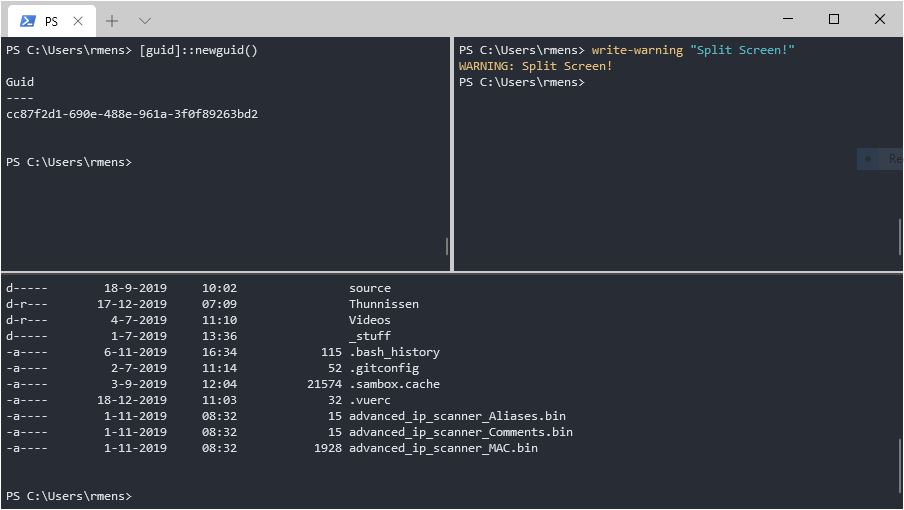
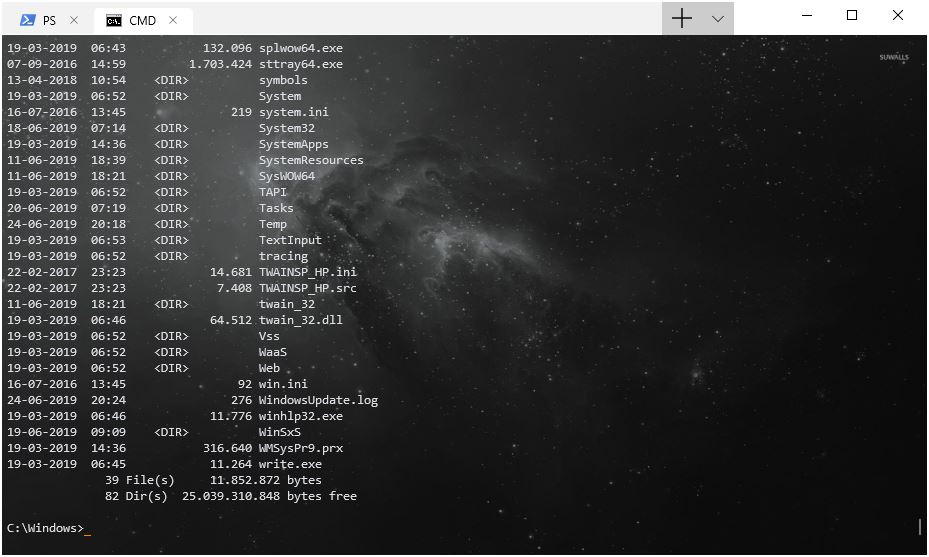
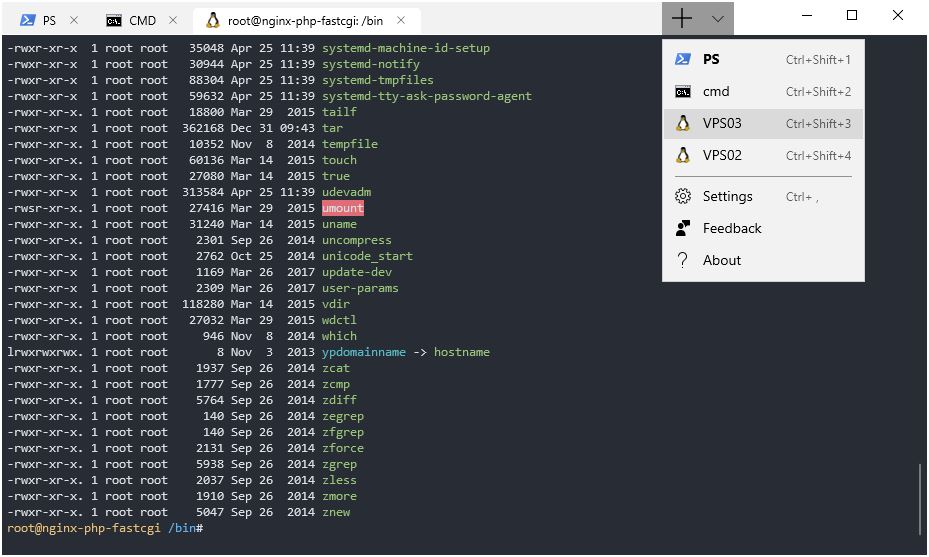
- Панели в Терминале Windows Panes in Windows Terminal
- Создание новой панели Creating a new pane
- С помощью клавиатуры Using the keyboard
- С помощью раскрывающегося меню (предварительная версия) Using the dropdown menu (Preview)
- Переключение между панелями Switching between panes
- Изменение размера панели Resizing a pane
- Закрытие панели Closing a pane
- Настройка панелей с помощью сочетания клавиш Customizing panes using key bindings
- Дублирование панели Duplicating a pane
- Новые аргументы в терминале New terminal arguments
- Новые аргументы терминала в Терминале Windows New Terminal Arguments in the Windows Terminal
- Разделение экранов в разных версиях Windows
- Разделите экран в Windows 10 с помощью функции Snap Assist
- Чтобы разделить экран в Windows 10 с помощью Snap Assist с помощью мыши:
- Разделение экрана Windows в Windows 8 и 8.1
- Чтобы разделить экран в Windows 8.1
- Разделение экрана Windows в Windows7
- Чтобы использовать функцию Snap в Windows 7 для размещения двух окон бок о бок:
- Релиз Windows Terminal (Preview) 0.10: поддержка ввода мышью и разделение экрана
- Windows Terminal App – everything you need to know
- Windows Terminal
- Windows Terminal Split-screen
- Installing
- Windows Terminal Profiles
- Customizing your terminal
- ColorScheme
- Cursor
- Padding
- Transparency
- Adding a background to Windows Terminal
- Adding SSH tab
- Conclusion
Панели в Терминале Windows Panes in Windows Terminal
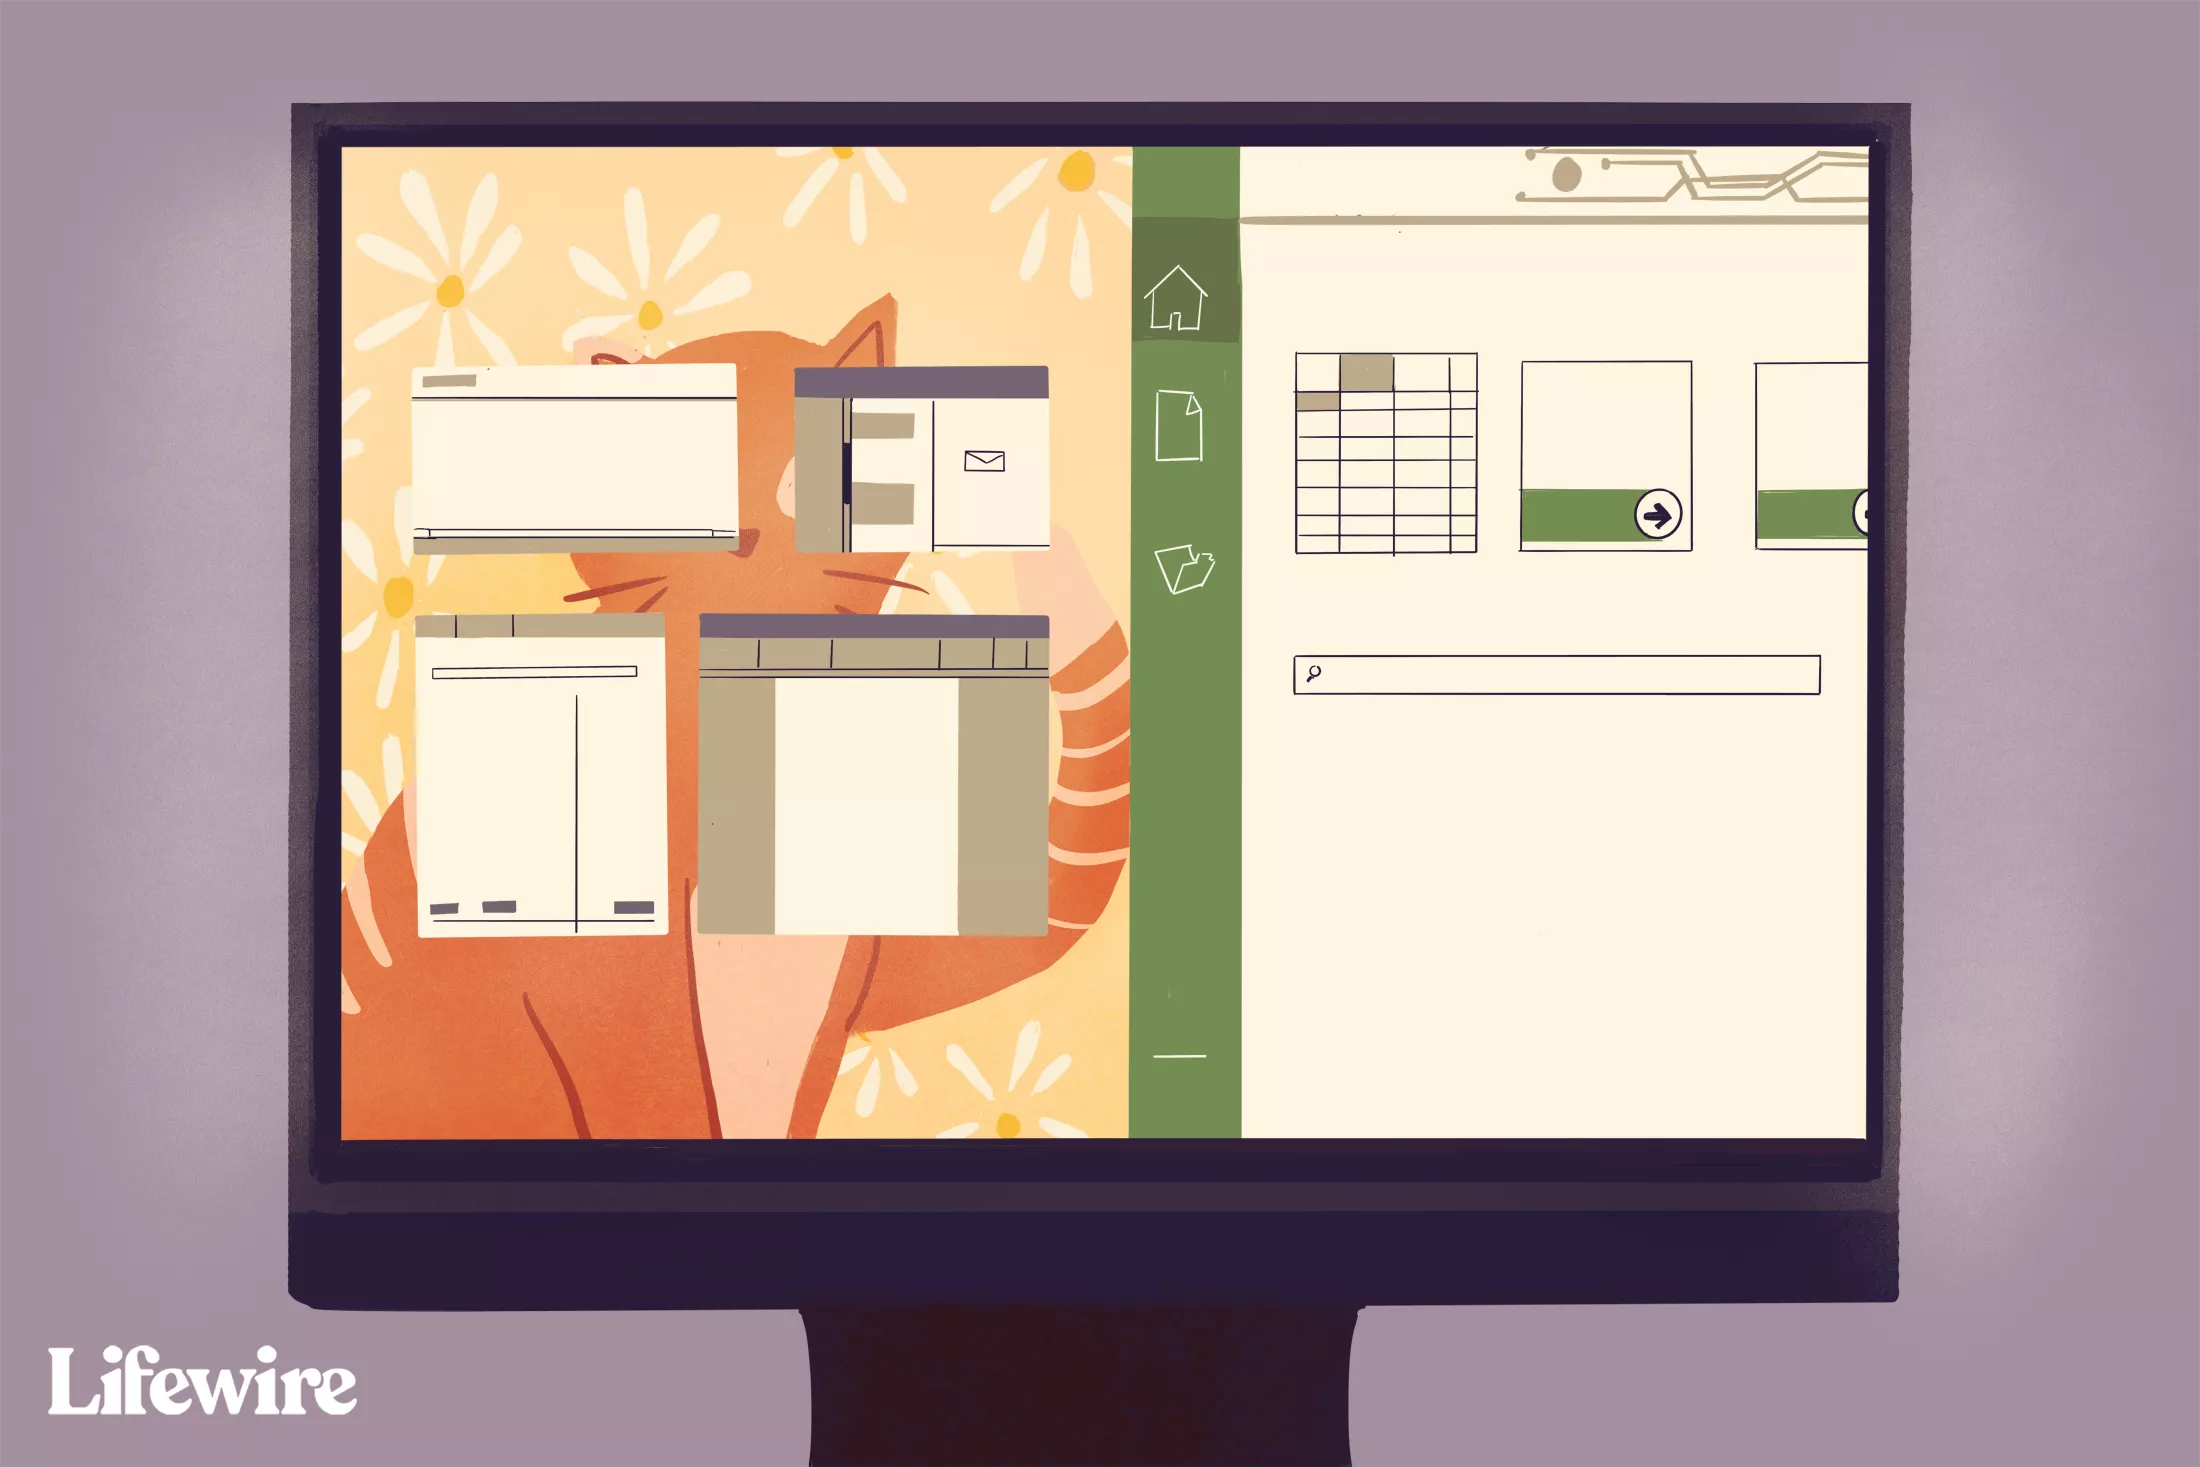
Панели позволяют запускать несколько приложений командной строки рядом друг с другом в пределах одной вкладки. Это сводит к минимуму необходимость переключения между вкладками и позволяет просматривать сразу несколько запросов. Panes give you the ability to run multiple command-line applications next to each other within the same tab. This minimizes the need to switch between tabs and lets you see multiple prompts at once.
Создание новой панели Creating a new pane
С помощью клавиатуры Using the keyboard
В окне Терминала Windows можно создать новую вертикальную или горизонтальную панель. You can either create a new vertical or horizontal pane in Windows Terminal. При разделении по вертикали новая панель откроется справа от выбранной панели, а при разделении по горизонтали — под выбранной панелью. Splitting vertically will open a new pane to the right of the focused pane and splitting horizontally will open a new pane below the focused pane. Создать новую вертикальную панель профиля по умолчанию можно с помощью клавиш ALT+SHIFT+PLUS . To create a new vertical pane of your default profile, you can type alt+shift+plus . Создать новую горизонтальную панель профиля по умолчанию можно с помощью клавиш ALT+SHIFT+MINUS . For a horizontal pane of your default profile, you can type alt+shift+- .
 Конфигурация: Raspberry Ubuntu Configuration: Raspberry Ubuntu
Если вы хотите изменить эти сочетания клавиш, можно создать новые, используя действие splitPane и vertical или значения horizontal для свойства split в файле profiles.json. If you would like to change these key bindings, you can create new ones using the splitPane action and vertical or horizontal values for the split property in your profiles.json file. Если требуется лишь панель с максимальным объемом контактной зоны, можно задать для split значение auto . If you just want a pane with the maximum amount of surface area, you can set split to auto . Дополнительные сведения о сочетаниях клавиш см. на этой странице. To learn more about key bindings, visit the key bindings page.
С помощью раскрывающегося меню (предварительная версия) Using the dropdown menu (Preview)
Если вы хотите открыть новую панель с помощью раскрывающегося меню, удерживайте клавишу ALT и щелкните нужный профиль. If you’d like to open a new pane through the dropdown menu, you can hold alt and click on your desired profile. При этом автоматически (в режиме auto ) создастся новая панель в активном окне или панели для выбранного профиля. This will auto split the active window or pane into a new pane of the selected profile. Режим разбиения auto выполняет разбиение в направлении, в котором находится самый дальний край окна. The auto split mode splits in the direction that has the longest edge to create a pane.

Эта функция доступна только в предварительной версии Терминала Windows. This feature is only available in Windows Terminal Preview.
Переключение между панелями Switching between panes
Терминал позволяет перемещаться между панелями с помощью клавиатуры. The terminal allows you to navigate between panes by using the keyboard. Зажав клавишу ALT , вы сможете перемещать фокус между панелями с помощью клавиш со стрелками. If you hold the alt key, you can use your arrow keys to move your focus between panes. Вы можете выбрать область фокуса на границе контрастного цвета. You can identify which pane is in focus by the accent color border surrounding it. Обратите внимание, что этот контрастный цвет задается в параметрах цвета Windows. Note that this accent color is set in your Windows color settings.

Для настройки переключения добавьте сочетания клавиш для команды moveFocus и задайте для direction значение down , left , right или up . You can customize this by adding key bindings for the moveFocus command and setting the direction to either down , left , right or up .
Изменение размера панели Resizing a pane
Размер панелей можно изменить, зажав сочетание клавиш ALT+SHIFT и используя клавиши со стрелками для изменения размера области фокуса. You can adjust the size of your panes by holding alt+shift and using your arrow keys to resize the focused pane.

Чтобы настроить это сочетание клавиш, можно добавить новые с помощью действия resizePane и задать для direction значение down , left , right или up . To customize this key binding, you can add new ones using the resizePane action and setting the direction to either down , left , right , or up .
Закрытие панели Closing a pane
Выбранную панель можно закрыть, нажав сочетание клавиш CTRL+SHIFT+W . You can close the focused pane by typing ctrl+shift+w . При наличии одной панели нажатие клавиш CTRL+SHIFT+W закроет вкладку. Закрытие последней вкладки приведет к закрытию окна. If you only have one pane, ctrl+shift+w will close the tab. As always, closing the last tab will close the window.

Клавиши для закрытия панели можно изменить, добавив сочетание клавиш, использующее команду closePane . You can change which keys close the pane by adding a key binding that uses the closePane command.
Настройка панелей с помощью сочетания клавиш Customizing panes using key bindings
Вы можете настроить открытие элементов в новой панели в зависимости от настраиваемых сочетаний клавиш. You can customize what opens inside a new pane depending on your custom key bindings.
Дублирование панели Duplicating a pane
Терминал позволяет дублировать профиль выбранной панели на другую панель. The terminal allows you to duplicate the focused pane’s profile into another pane.

Это можно сделать, добавив свойство splitMode со значением duplicate в сочетание клавиш splitPane . This can be done by adding the splitMode property with duplicate as the value to a splitPane key binding.
Новые аргументы в терминале New terminal arguments
Новые аргументы терминала в Терминале Windows New Terminal Arguments in the Windows Terminal
При открытии новой панели или вкладки с помощью настраиваемого сочетания клавиш можно указать используемый профиль, включив имя профиля, GUID или индекс. When opening a new pane or tab with a key binding, you can specify which profile is used by including the profile’s name, guid, or index. Если ни одно из этих значений не указано, используется профиль по умолчанию. If none are specified, the default profile is used. Указать значения можно, добавив profile или index в качестве аргумента в настраиваемое сочетание клавиш splitPane и newTab . This can be done by adding profile or index as an argument to a splitPane or newTab key binding. Обратите внимание, что индексация начинается с 0. Note that indexing starts at 0.
Кроме того, можно переопределить некоторые настройки профиля, такие как исполняемый файл в командной строке, начальный каталог или заголовок вкладки. Additionally, you can override certain aspects of the profile such as the profile’s command line executable, starting directory, or tab title. Это можно сделать, добавив commandline , startingDirectory и (или) tabTitle в настраиваемое сочетание клавиш splitPane или newTab . This can be accomplished by adding commandline , startingDirectory , and/or tabTitle to a splitPane or newTab key binding.
Разделение экранов в разных версиях Windows
Если вы работаете с несколькими открытыми окнами, вы, вероятно, будете много времени перемещаться между ними. В любой момент у вас может быть открыто несколько окон; веб-браузер для работы в Интернете, почтовая программа для управления электронной почтой, пара приложений для выполнения работы и, возможно, даже игра или две.
Используйте один из стандартных вариантов переключения между ними, например Alt + Tab и изменение размера открытых окон, но есть еще один вариант, который может лучше удовлетворить ваши потребности: разделение экрана Windows.
Разделите экран в Windows 10 с помощью функции Snap Assist

В Windows 10 есть несколько способов разделить экран, но самый простой — с помощью функции Snap Assist. Эта функция должна быть включена в меню «Пуск»> «Настройки»> «Система»> «Многозадачность», хотя она должна быть включена по умолчанию..
Snap Assist позволяет перетащить окно в угол или сторону экрана, чтобы «привязать» его туда, что, в свою очередь, освобождает место для привязки других приложений в результирующем пустом пространстве экрана.
Чтобы разделить экран в Windows 10 с помощью Snap Assist с помощью мыши:
1.Откройте два или более окон или приложений.
2. Наведите указатель мыши на пустую область в верхней части одного из окон, удерживая левую кнопку мыши, перетащите окно в левую часть экрана. Перемещайте его до упора, пока ваша мышь не перестанет двигаться.
3. Отпустите мышь, чтобы привязать это окно к левой части экрана. Теперь оно должен заполнить половину экрана или угол, если вам удалось перетащить его туда.
4. Выберите любое другое окно, которое теперь открыто с правой стороны, чтобы привязать его к правой стороне экрана.
5.Теперь, когда два экрана расположены рядом друг с другом, перетащите разделяющую их линию, чтобы изменить размер обоих окон одновременно. Это полезно, если вам нужно увидеть больше одного окна, а размер другого окна вы можете просто уменьшить.
Разделение экрана Windows в Windows 8 и 8.1
Microsoft предположила в Windows 8 и 8.1, что большинство людей будут использовать устройство с сенсорным экраном. При наличии сенсорного экрана используйте функцию привязки для одновременного размещения двух окон на экране с помощью пальца. В противном случае используйте мышь.
Чтобы разделить экран в Windows 8.1
1.Откройте два или более окон и / или приложений.
2.Наведите указатель мыши на пустую область в верхней части одного из окон, удерживая левую кнопку мыши, перетащите окно в левую часть экрана. Перемещайте его до упора, пока ваша мышь не перестанет двигаться.
3. Отпустите мышь, чтобы привязать это окно к левой части экрана.
4. Выберите любое из других окон, которые теперь открыты с правой стороны, чтобы привязать его к правой стороне экрана.
5. Когда вы перемещаете разделительную линию между окнами, она изменяет размер только одного экрана за раз, а не обоих, как в Windows 10.
Разделение экрана Windows в Windows7
Windows 7 была первой версией Windows, поддерживающей функцию Snap. По умолчанию она была включена.
Чтобы использовать функцию Snap в Windows 7 для размещения двух окон бок о бок:
1. Откройте два окна.
2. Поместите указатель мыши в пустую область в верхней части любого открытого окна, удерживая левую кнопку мыши, перетащите окно в левую часть экрана к центру этой стороны.
3. Отпустите мышь. Окно займет половину экрана.
4. Повторите шаг 2 для второго окна, на этот раз перетащив его вправо, прежде чем отпустить кнопку мыши. Окно займет вторую половину экрана.
Релиз Windows Terminal (Preview) 0.10: поддержка ввода мышью и разделение экрана
В данном релизе Windows Terminal (Preview) Microsoft добавила полную поддержку ввода с помощью мыши. Теперь пользователи могут полноценно пользоваться программами для терминала, которые работают с мышью, например Midnight Command, Tmux и др.
В новой версии Windows Terminal достаточно просто кликнуть по кнопке, файлу или экрану для переключения между объектами.
Чтобы выделить текст с помощью мыши для копирования, нужно зажать клавишу Shift во время выделения текста.
Microsoft также добавила поддержку разделения экрана на несколько рабочих областей с помощью горячей клавиши.
Для этого нужно нужно добавить опцию “duplicate” для клавиатурного сочетания, назначенного для выполнения команды «splitPane». В примере рассмотрим использование комбинации Ctrl + Shift + D для запуска этой команды. В файл profiles.json (вызывается через основное меню > Settings) добавьте запись:
Также в новой версии Windows Terminal исправлены следующие ошибки:
- Улучшена отрисовка текста при изменении размера окна.
- Исправлены белые границы при использовании темных тем оформления.
- Если Диспетчер задач была автоматически скрыт, а окно Windows Terminal было открыто на весь экран, то Диспетчер задач будет появляться при перемещении курсора в нижнюю часть экрана.
- Azure Cloud Shell может запускать PowerShell, поддерживает ввод мышью и может устанавливаться в качестве предпочитаемой оболочки.
- Исправлен темп прокрутки при использовании тачпада или сенсорного экрана.
Новая версия Windows Terminal доступна для скачивания в Магазине Microsoft.
Windows Terminal App – everything you need to know
The preview version of the new Windows Terminal app is now available. This new command-line app can be used for PowerShell, Cmd, SSH and WSL (Windows Subsystem for Linux). The great advantage of Windows Terminal is the support of multiple tabs, customization and the upcoming split-screen function.
As a SysAdmin, I have been looking out the (first) release of Window Terminal App. I use PowerShell and SSH a lot and have always multiple sessions open. So having everything in one place with tabs and even split-screen is really nice.
Windows Terminal
First, let’s start with some info about Windows Terminal itself before we get into the customization of it. Windows Terminal is set to be fully released at the end of 2019, but right now they released a preview version in the Windows Store. It’s still a bit buggy, but already great to play with.
The new terminal doesn’t only support multiple tabs and customization, it also supports Unicode, UTF-8 character, custom key-bindings and GPU accelerated text rendering engine
Windows Terminal Split-screen
One of the features I am mostly looking forward to, besides the tabs, is the support of split-screens. The feature isn’t released yet, but as you can read here on there GitHub page, they are currently working on it.
So split-screen is available now in Windows Terminal. It isn’t fully implemented yet, but what you can do is add the following key bindings to your profiles.json file:
At the moment the Split Screen function only works in the current shell. So if you are in a PowerShell session you can’t open an SSH session next to it.
Installing
To install Windows Terminal you will need Windows 10 May 2019 update. You can download Windows terminal here in the Windows Store. Just follow the link and click on Install in your Windows Store. Updates and bugfixes will be released regularly and installed automatically.
Windows Terminal Profiles
One of the coolest features about Windows Terminal is that you can customize it with the help of profiles and color-schemes. You can create profiles for every app you use, so a custom color scheme for PowerShell and something else for cmd for example.
The profiles are now created in a JSON file, but in the final release you should be able to create custom profiles from the app itself. Now because it’s a preview release, the documentation isn’t complete yet.
Customizing your terminal
After you installed Windows Terminal you click on the dropdown menu and you got to settings. A JSON file will open in your default editor. The first part of the JSON file is about the keybinding, just scroll down until you get to the profiles section.
Here above you see a profile section, in this case for PowerShell. The profiles for PowerShell and CMD are available by default. I customized mine a little bit, let me walk you through the most important settings
ColorScheme
Below the profiles are the available color schemes defined. By default there 5 schemes available, here you can set the color scheme for the tool.
Cursor
The color of the flashing cursor and the shape of it. For the shape you can choose between the following values: «vintage» ( ▃ ), «bar» ( ┃ ), «underscore» ( ▁ ), «filledBox» ( █ ), «emptyBox» ( ▯ )
Padding
Be default the padding is set to 0,0,0,0. This way the content of the console is stuck to the edge of the window. By setting it to 5,5,5,5 you will create some space between it.
Transparency
With the option useAcrylic on true and the opacity set, you can have a transparent/blurred background. This option can’t be combined with a custom background (yet).
The result of this profile looks like this:

I don’t have any background, just a different cursor color between the apps I am using.
Adding a background to Windows Terminal
You can also add a background to each profile, this can be an image or a gif (so yes you can have an animated background). To add a background to Windows terminal you will need to add the following lines in your profile:
For backgrounds to work you will have to set useAcrylic to false.
Adding SSH tab
You can add profiles for other CLI apps that you want to use, for example, Windows Subsystem for Linux or simple SSH. I have added a couple of SSH profiles that directly connect to some of the Linux servers I regularly use.
Add a new profile after the last one in the list of profiles (make sure you add a comma to the last profile before you add another to it)
The command-line and GUID are the most important lines. We can set up a ssh connection with the cmd ssh @ -p
. This way you only have to enter the password when you open the connection.
The GUID must be unique for every profile. Now you can change some random characters or generate a GUID with the following PowerShell cmd:
There are some default icons available in Windows Terminal, but those aren’t documented yet. You can add a custom one or use one of the icons in the list.
After you added your profiles you can find them in the dropdown list:
Conclusion
Even though it’s an (early) preview version of Windows Terminal I already like the look of it. There are coming to some nice features to it which will make this the most used terminal for sure on Windows (at least for me 😉 ).
If you are looking for more then a terminal alone, then check this article about the best remote connection manager tool that I like to use.


