- Redmine
- Latest releases
- Resources
- How to install Redmine in Linux, Windows and OS X using BitNami Redmine Stack
- What is BitNami Redmine Stack?
- Installing BitNami Redmine Stack
- Redmine
- Latest releases
- Resources
- Installing Redmine
- Requirements
- Operating system
- Ruby interpreter
- Supported database back-ends
- Optional components
- Redmine Version
- Installation procedure
- Step 1 — Redmine application
- Step 2 — Create an empty database and accompanying user
- MySQL
- PostgreSQL
- SQLite
- SQL Server
- Step 3 — Database connection configuration
- Step 4 — Dependencies installation
- Optional dependencies
- Additional dependencies ( Gemfile.local )
- Step 5 — Session store secret generation
- Step 6 — Database schema objects creation
- Step 7 — Database default data set
- Step 8 — File system permissions
- Step 9 — Test the installation
- Step 10 — Logging into the application
- Configuration
- Email / SMTP server settings
- SCM settings
- Attachment storage settings
- Logging configuration
- Backups
- Notes on Linux/Unix installation
- Notes on Windows installation
- Alternative to manual installation
Redmine
Latest releases
Resources
How to install Redmine in Linux, Windows and OS X using BitNami Redmine Stack
What is BitNami Redmine Stack?
BitNami Redmine Stack is an all-in-one installer that makes it easy to install Redmine on your computer. It is free, easy to use and self-contained. That means it bundles and automatically configures every piece of software (dependency) necessary to run Redmine for development or production purposes, including Apache, MySQL, Subversion and Ruby on Rails.
You can download the latest version of BitNami Redmine stack for Windows, Linux and OS X at http://bitnami.org/stack/redmine.
Installing BitNami Redmine Stack
Regardless of which operating system you are running (Windows / Linux / Mac), the install process is the same.
Download the latest version of Redmine Stack from the BitNami website.
Find the installer you just downloaded (the filename will be similar to bitnami-Redmine-VERSION-linux-installer.run). Double click on the icon to launch the installer.
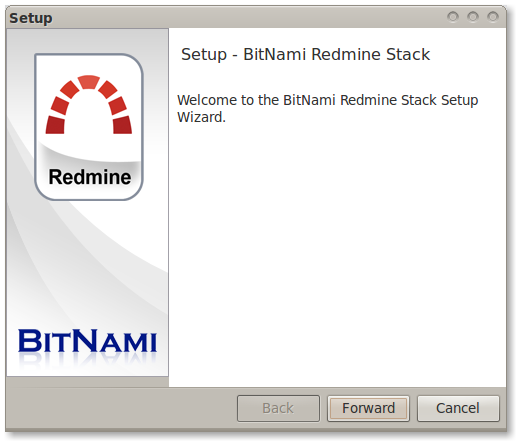
Click «Forward».

Now it will ask where do you want to install the program. Provide the location where you want to install the BitNami Redmine stack and click «Forward» when you are done.
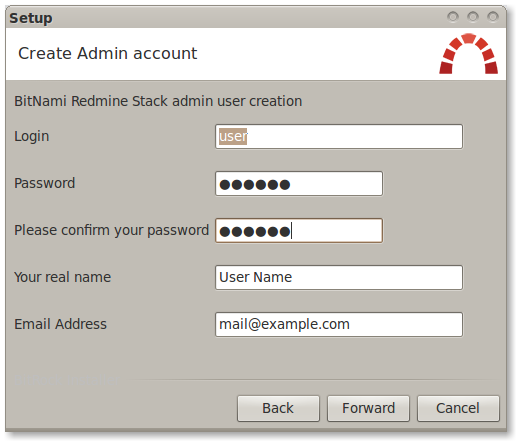
The user and password you provide here will be used to create the admin account in Redmine Click «Forward» when you are done.
Type in the name you want to use for your Redmine site, and click «Forward».
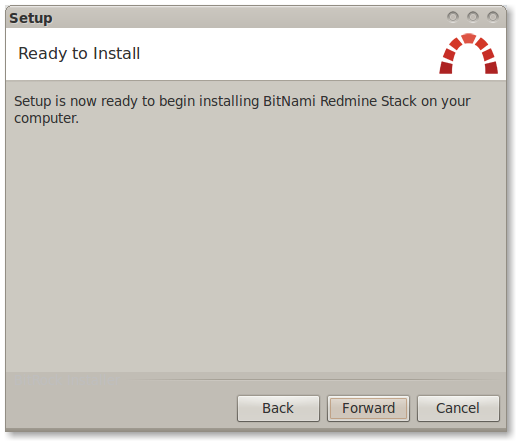
The installer is now ready to begin the installation process. Click «Forward».
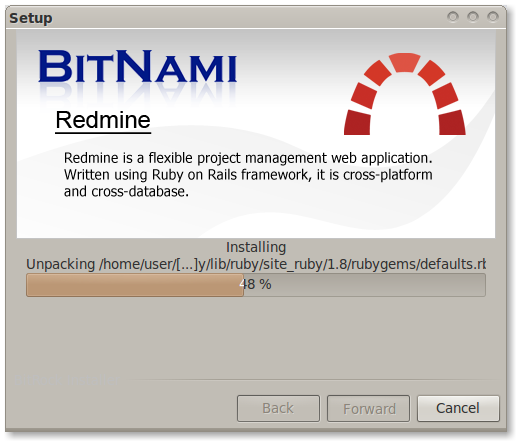
Wait a minute while the installer copies the files and configures your Redmine installation.
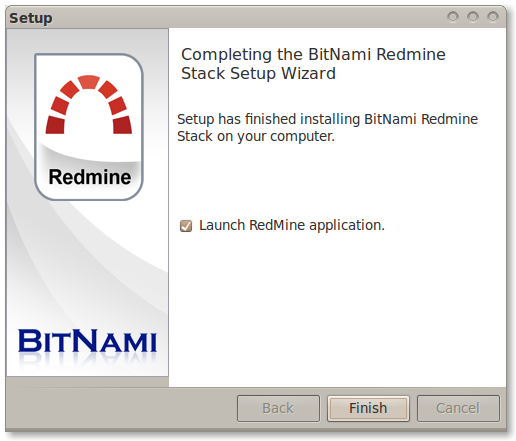
Redmine is now set up and ready to be used. Click «Finish» to launch the application.
You can now log in using the username and password you provided during the installation.
redmine_installing.png (52,054 КБ) Josue Alvarez, 2011-08-04 18:09
redmine_launch.png (48,906 КБ) Josue Alvarez, 2011-08-04 18:09
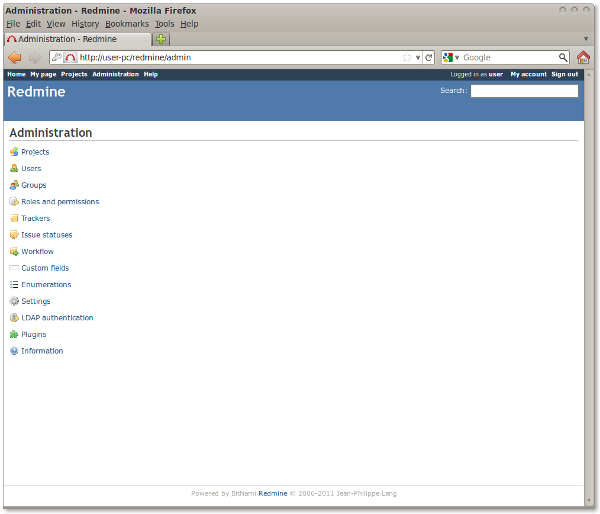
Main_application.png (47,736 КБ) Josue Alvarez, 2011-08-04 18:09
Redmine_welcome_screen.png (42,882 КБ) Josue Alvarez, 2011-08-04 18:09
Choose_directory.png (24,991 КБ) Josue Alvarez, 2011-08-04 18:09
User_data.png (33,071 КБ) Josue Alvarez, 2011-08-04 18:09
redmine_settings.png (27,547 КБ) Josue Alvarez, 2011-08-04 18:09
tf00000010.xlsx (16,854 КБ) Mukesh Narayan, 2017-04-18 12:10
Redmine
Latest releases
Resources
Installing Redmine
This is the installation documentation for Redmine 4.0 and higher. You can still read the document for older versions: 3.x , 1.4.x — 2.6.x, 1.3.x
Requirements
Operating system
Redmine should run on most Unix, Linux, macOS and Windows systems as long as Ruby is available on this platform. See specific installation HowTos here.
Ruby interpreter
The required Ruby versions for a given Redmine version is:
| Redmine version | Supported Ruby versions | Rails version used |
|---|---|---|
| trunk (>= r20913) | Ruby 2.5, 2.6, 2.7, 3.0 | Rails 6.1 |
| 4.2 | Ruby 2.4, 2.5, 2.6, 2.7 1 | Rails 5.2 |
| 4.1 | Ruby 2.3, 2.4, 2.5, 2.6 | Rails 5.2 |
| 4.0 | Ruby 2.2 2 , 2.3, 2.4, 2.5, 2.6 | Rails 5.2 |
1 Redmine 4.2 does not support Ruby 2.7.0 and 2.7.1. Use Ruby 2.7.2 or higher (see #31500#note-13).
2 Redmine prior to 4.0.6 supports Ruby >= 2.2.2. Redmine 4.0.6 and later don’t support Ruby 2.2 (see #32787).
- Support of Ruby 2.4 and earlier have ended by Ruby community. See the official announcements for details: 2.2, 2.3, 2.4
- Redmine does not support JRuby because activerecord-jdbc-adapter and loofah do not support Rails 4.2 or later.
Supported database back-ends
- MySQL 5.5 — 5.7
- MySQL 5.6 or higher and MariaDB have known issues (#19344, #19395, #17460).
- PostgreSQL 9.2 or higher
- make sure your database datestyle is set to ISO (Postgresql default setting). You can set it using: ALTER DATABASE «redmine_db» SET datestyle=»ISO,MDY»;
- Microsoft SQL Server 2012 or higher
- Redmine 4.0.0 to 4.0.6 and 4.1.0 don’t support SQL Server (#30285, #32737).
- SQLite 3 (not for multi-user production use!)
Optional components
- SCM binaries (eg. svn ), for repository browsing (must be available in your PATH). See RedmineRepositories for SCM compatibility and requirements.
- ImageMagick (to enable Gantt export to PNG image and thumbnails generation).
- Ghostscript (to enable thumbnails generation for PDF attachments in Redmine 4.1 or later).
Redmine Version
It is recommended that the majority of users install the proper point releases of redmine. Redmine currently releases a new version every 6 months, and these releases are considered very usable and stable. It is not recommended to install redmine from trunk, unless you are deeply familiar with Ruby on Rails and keep up with the changes — Trunk does break from time-to-time.
Installation procedure
Step 1 — Redmine application
Get the Redmine source code by either downloading a packaged release or checking out the code repository.
See the download page for details.
Step 2 — Create an empty database and accompanying user
Redmine database user will be named redmine hereafter but it can be changed to anything else.
MySQL
For versions of MySQL 5.5.2 or lower — use utf8 instead of utf8mb4
For versions of MySQL 5.0.2 or lower — skip the ‘CREATE USER’ step and instead:
PostgreSQL
SQLite
Skip this step. A database file will be created during Step 6.
SQL Server
The database, login and user can be created within SQL Server Management Studio with a few clicks.
If you prefer the command line option with SQLCMD , here’s some basic example:
Step 3 — Database connection configuration
Copy config/database.yml.example to config/database.yml and edit this file in order to configure your database settings for «production» environment.
Example for a MySQL database (default port):
If your server is not running on the standard port (3306), use this configuration instead:
Example for a PostgreSQL database (default port):
Example for a SQLite database:
Example for a SQL Server database (default host localhost , default port 1433 ):
Step 4 — Dependencies installation
Redmine uses Bundler to manage gems dependencies.
You need to install Bundler first if you use Ruby 2.5 or earlier:
Then you can install all the gems required by Redmine using the following command:
Optional dependencies
RMagick
RMagick is an interface between the Ruby programming language and the ImageMagick image processing library. The library is necessary for Redmine prior to 4.1.0 to export gantt charts to PNG or PDF.
If ImageMagick (6.4.9 — 6.9.10) is not installed on your system and you are installing Redmine 4.0 or earlier, you should skip the installation of the rmagick gem using:
If you have trouble installing rmagick on Windows, refer to this HowTo.
Database adapters
Redmine automatically installs the adapter gems required by your database configuration by reading it from the config/database.yml file (eg. if you configured only a connection using the mysql2 adapter, then only the mysql2 gem will be installed).
Don’t forget to re-run bundle install —without development test . after adding or removing adapters in the config/database.yml file!
Additional dependencies ( Gemfile.local )
If you need to load gems that are not required by Redmine core (eg. Puma, fcgi), create a file named Gemfile.local at the root of your redmine directory. It will be loaded automatically when running bundle install .
Step 5 — Session store secret generation
This step generates a random key used by Rails to encode cookies storing session data thus preventing their tampering.
Generating a new secret token invalidates all existing sessions after restart.
Step 6 — Database schema objects creation
Create the database structure, by running the following command under the application root directory:
Windows syntax:
It will create tables by running all migrations one by one then create the set of the permissions and the application administrator account, named admin .
If you get this error with Ubuntu:
Then you need to install libopenssl-ruby1.8 just like this: apt-get install libopenssl-ruby1.8 .
Step 7 — Database default data set
Insert default configuration data in database, by running the following command:
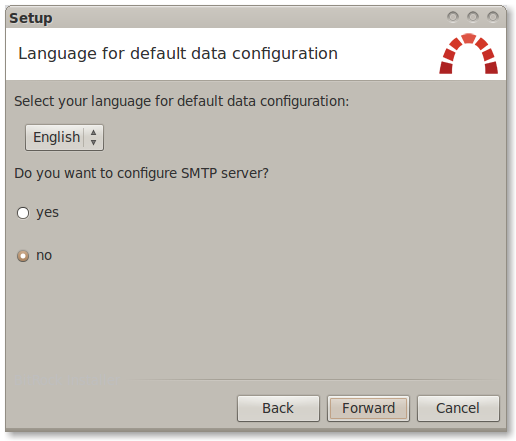
Redmine will prompt you for the data set language that should be loaded; you can also define the REDMINE_LANG environment variable before running the command to a value which will be automatically and silently picked up by the task.
Step 8 — File system permissions
NB: Windows users can skip this section.
The user account running the application must have write permission on the following subdirectories:
- files (storage of attachments)
- log (application log file production.log )
- tmp and tmp/pdf (create these ones if not present, used to generate PDF documents among other things)
- public/plugin_assets (assets of plugins)
E.g., assuming you run the application with a redmine user account:
Note: If you have files in these directories (e.g. restore files from backup), make sure these files are not executable.
Step 9 — Test the installation
Test the installation by running WEBrick web server:
Once WEBrick has started, point your browser to http://localhost:3000/. You should now see the application welcome page.
Note: Webrick is not suitable for production use, please only use webrick for testing that the installation up to this point is functional. Use one of the many other guides in this wiki to setup redmine to use either Passenger (aka mod_rails ), FCGI or a Rack server (Unicorn, Thin, Puma, hellip;) to serve up your redmine.
Step 10 — Logging into the application
Use default administrator account to log in:
You can go to Administration menu and choose Settings to modify most of the application settings.
Configuration
Redmine settings are defined in a file named config/configuration.yml .
If you need to override default application settings, simply copy config/configuration.yml.example to config/configuration.yml and edit the new file; the file is well commented by itself, so you should have a look at it.
These settings may be defined per Rails environment ( production / development / test ).
: don’t forget to restart the application after any change.
Email / SMTP server settings
Email configuration is described in a dedicated page.
SCM settings
Examples (with Subversion):
Command name override:
Attachment storage settings
You can set a path where Redmine attachments will be stored which is different from the default ‘files’ directory of your Redmine instance using the attachments_storage_path setting.
Logging configuration
Redmine defaults to a log level of :info, writing to the log subdirectory. Depending on site usage, this can be a lot of data so to avoid the contents of the logfile growing without bound, consider rotating them, either through a system utility like logrotate or via the config/additional_environment.rb file.
To use the latter, copy config/additional_environment.rb.example to config/additional_environment.rb and add the following lines. Note that the new logger defaults to a high log level and hence has to be explicitly set to info .
Backups
Please refer to Backing up and restoring Redmine for more details.
Notes on Linux/Unix installation
Be sure to disable security hardenning tools during the installation process if you run into bizarre permission problems. These problems are mostly silent and can be caused by tools like extended ACLs, SELinux, or AppArmor. There tools are mostly used in big companies with a strict security policy, default Linux/Unix distributions settings shouldn’t be a problem.
Notes on Windows installation
There is an prebuilt installer of Ruby MRI available from http://rubyinstaller.org.
After installing it, select Start Command Prompt with Ruby in the start menu.
When running command as described in this guide, you have to set the RAILS_ENV environment variable using a separate command.
I.e. commands with the following syntaxes:
have to be turned into 2 subsequent commands:
You may need to manually install the mysql gem using the following command:
And in some case it is required to copy the libmysql.dll file in your ruby/bin directory.
Not all libmysql.dll are ok this seem to works http://instantrails.rubyforge.org/svn/trunk/InstantRails-win/InstantRails/mysql/bin/libmySQL.dll.
Important note for Win7 and later
On Win7 and later, localhost is commented out in the hosts file 5 and IPV6 is the default 6 . As the mysql2 gem does no support IPV6 addresses 7 , a connection can’t be established and you get the error » Can’t connect to MySQL server on ‘localhost’ (10061) «.
You can confirm this by pinging localhost , if ping targets «::1:» IPV6 is being used.
Replace localhost with 127.0.0.1 in database.yml.
Alternative to manual installation
Some users may prefer to skip manual installation by using one of the third-party Redmine bundles on the download page.


