- Setspn windows server 2019
- Настройка windows server 2019 с нуля
- Настройка сети в Windows Server 2019
- Настройка имени и домена в Windows Server 2019
- Установка обновлений В WIndows Server 2019
- Отключение лишних служб
- Setspn
- SPN format
- Viewing SPNs
- Resetting SPNs
- Adding SPNs
- Removing SPNs
- Delegating Authority to Modify SPNs
- To grant permission to modify SPNs
- Syntax
- Parameters
- Remarks
Setspn windows server 2019
Добрый день! Многоуважаемые читатели и гости блога Pyatilistnik.org, казалось бы не так давно я вам рассказывал, о настройке Windows Server 2016, и прошло немного времени, как то же самое я вам хочу рассказать, про следующее поколение серверной операционной системы, а именно мы поговорим про базовую настройку Windows Server 2019 Standard. Мы поговорим, что нужно сделать на сервере, перед тем как его можно передавать заказчикам, разработчикам для внедрения новых корпоративных сервисов, думаю многим будет интересна данная информация.
Настройка windows server 2019 с нуля
В прошлый раз я вам подробнейшим образом показал процесс инсталляции серверной операционной системы Windows Server 2019 Standard. Как вы могли заметить, оно мало чем отличалось от предыдущих версий. После установки вы как ответственный системный инженер, просто не можете в таком виде отдать сервер в текущем состоянии вашим заказчикам, так как это покажет вас с не очень профессиональной стороны, незаконченность очень плохое состояние.
Что вы должны сделать перед сдачей сервера заказчикам:
- Во первых вы должны выделить статическийIP-адрес для него, я знаю, что в интернете ходит много споров, нужен ли он серверу или нет, так как все можно реализовать на DCHP-сервере, с помощью все той же резервации, и что легко потом управлять ими, например через IPAM, может быть это и так, но я привык по старинке, надежным топорным методом, со статикой на сервере
- Во вторых вы должны корректно присвоить ему имя, которое соответствует вашей политике именования серверов, это как в случае с называнием домена Active Directory. Данное имя будет фигурировать в зонах DNS-сервера.
- Произвести установку последних обновлений Windows Server 2019. Не для кого не секрет, что ОС от редмондского гиганта, в плане защищенности и всевозможных глюков, которые называют фичами очень богата, так, что я вам настоятельно рекомендую периодически устанавливать свежие апдейты.
- Отключить не нужные службы
- Присоединить к домену Active Directorry
- Установить необходимые роли или компоненты.
Настройка сети в Windows Server 2019
Перед тем как настроить сеть в 2019 сервере, вам необходимо у вашего сетевого инженера спросить, какой ip-адрес вы можете взять, его шлюз, DNS-сервера, при необходимости настроить правильный VLAN ID. В нормальных организациях трафик из разных сегментов принято разграничивать, серверный сегмент, пользовательский сегмент, сегмент управления. Когда у вас есть все реквизиты, то начинаем саму настройку.
Нажимаем сочетание клавиш WIN и R, чтобы у вас открылось окно выполнить, в котором вам нужно написать ncpa.cpl (Вызов сетевых настроек)

У вас появится окно «сетевые подключения» со списком доступных вам сетевых адаптеров. Щелкните по нужному правым кликом и выберите из контекстного меню пункт «Состояние»
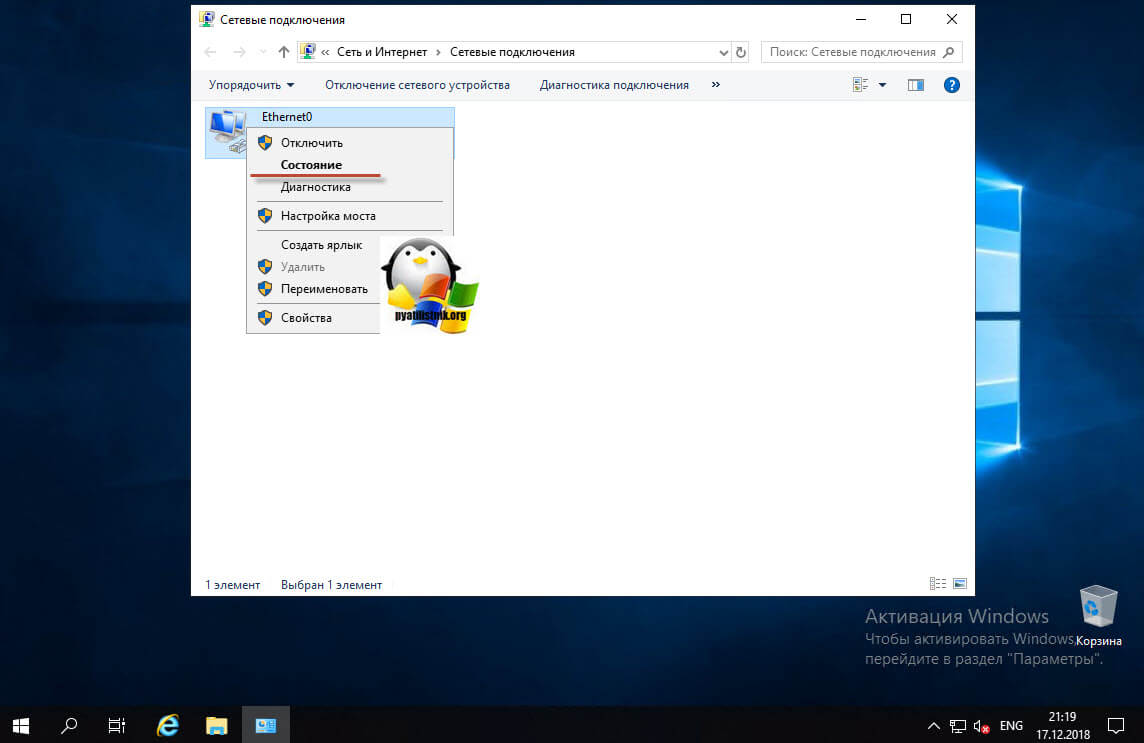
На вкладке «Общие» вы увидите несколько кнопок:
- Сведения — покажет текущие сетевые настройки, аналог команды ipconfig
- Свойства — тут производятся сами настройки
- Отключить
- Диагностика
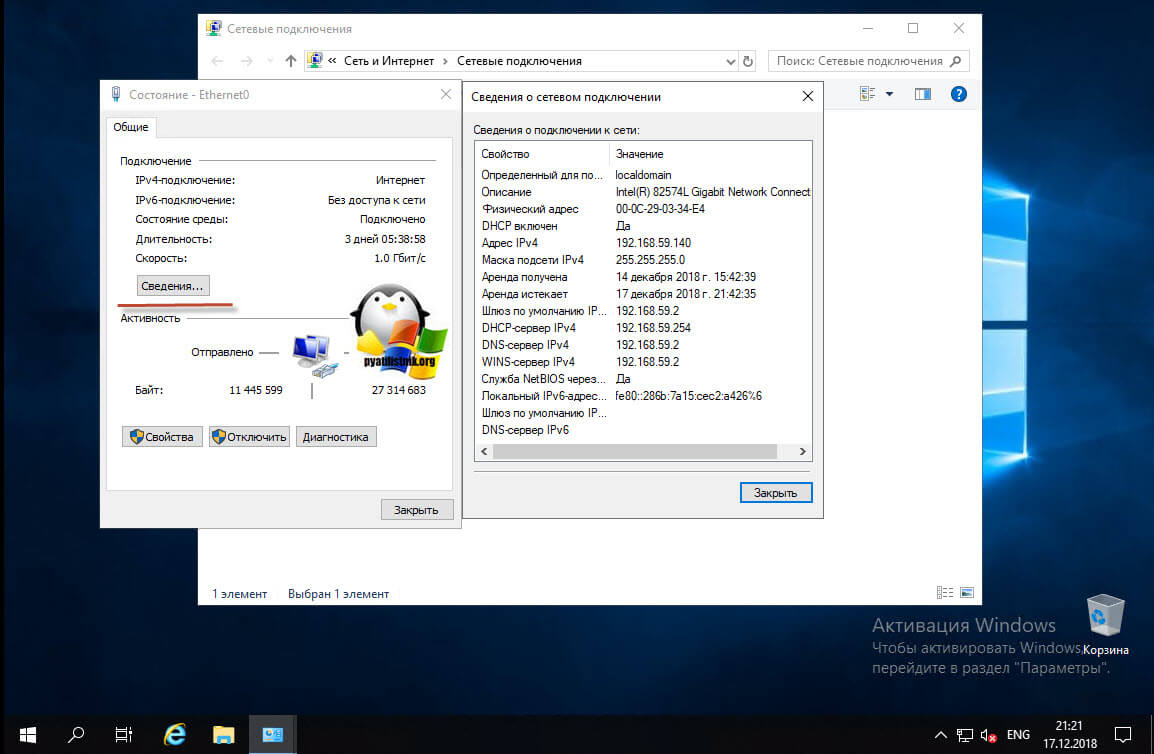
Для начала нажмите кнопку «Сведения», у вас откроется окно с текущим адресом, шлюзом и DNS-серверами, в моем случая я вижу сетевой сегмент, который был назначен DHCP-сервером. закрываем ее.
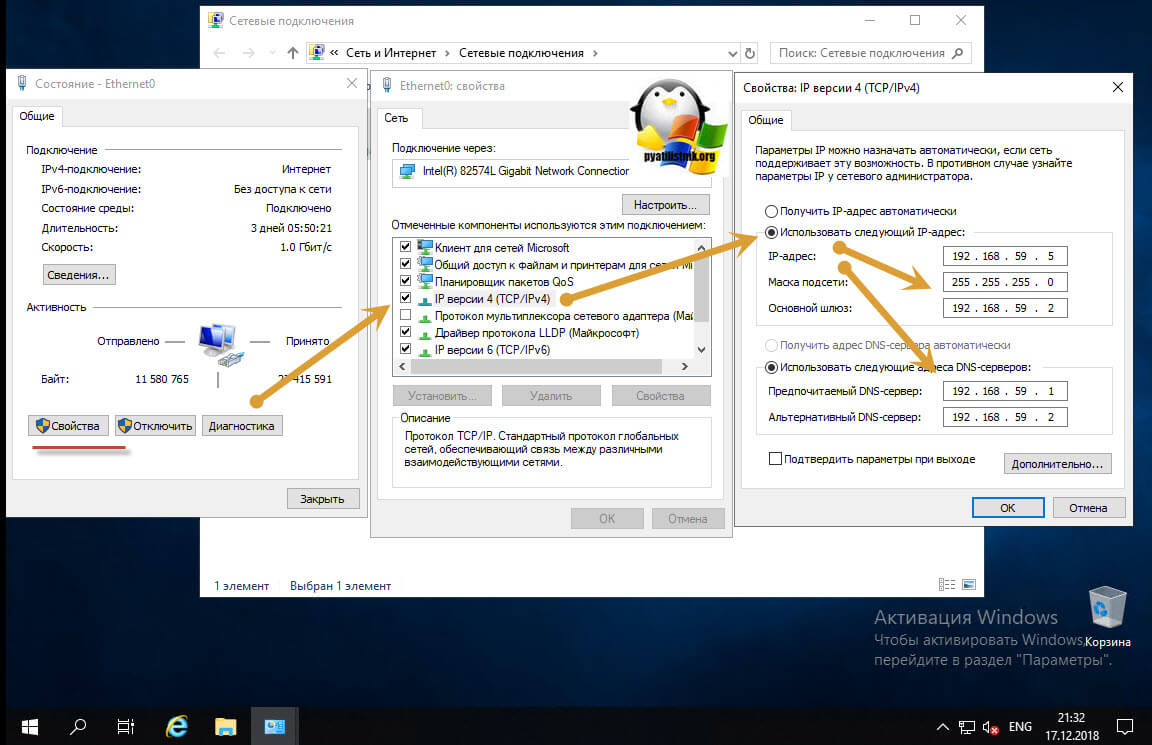
Теперь переходим к самой настройке сети, нажмите кнопку «Свойства», выберите протокол IPv4 и выберите свойства. В открывшемся окне переведите переключатель в пункт «Использовать следующий IP-адрес» и задаете:
Как только все готово, то сохраняем настройки пытаемся пропинговать DNS сервера или еще какой-нибудь сервер в сети, чтобы проверить соединение и правильность настроенной сети в Windows Server 2019.
Настройка имени и домена в Windows Server 2019
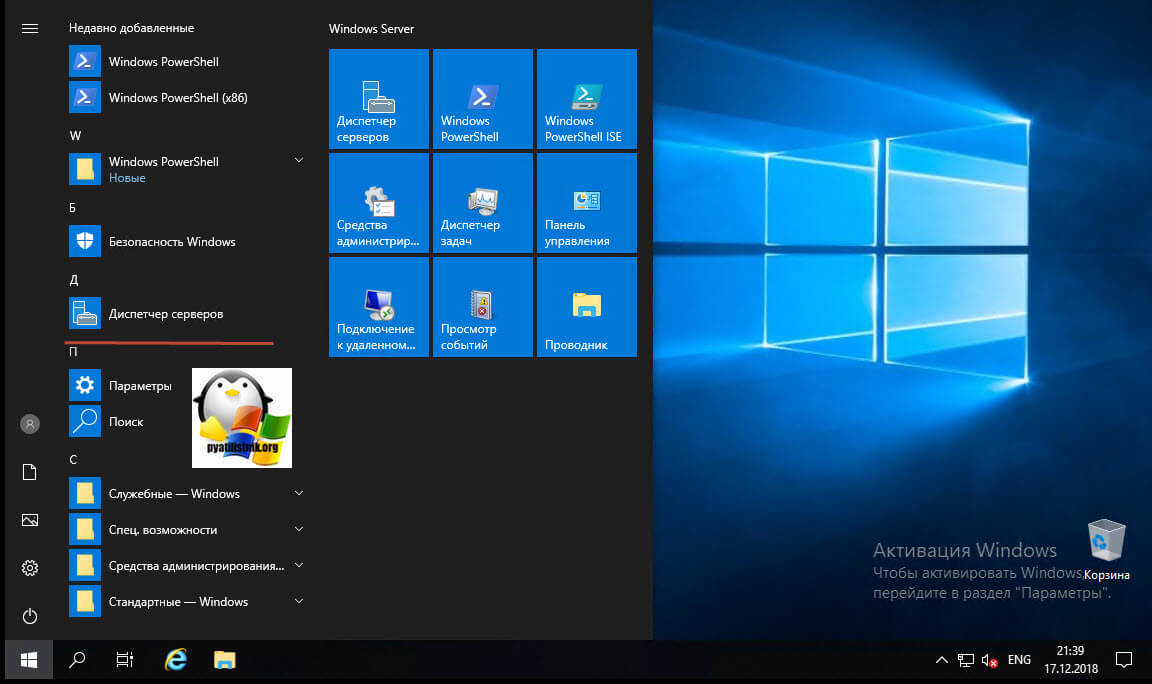
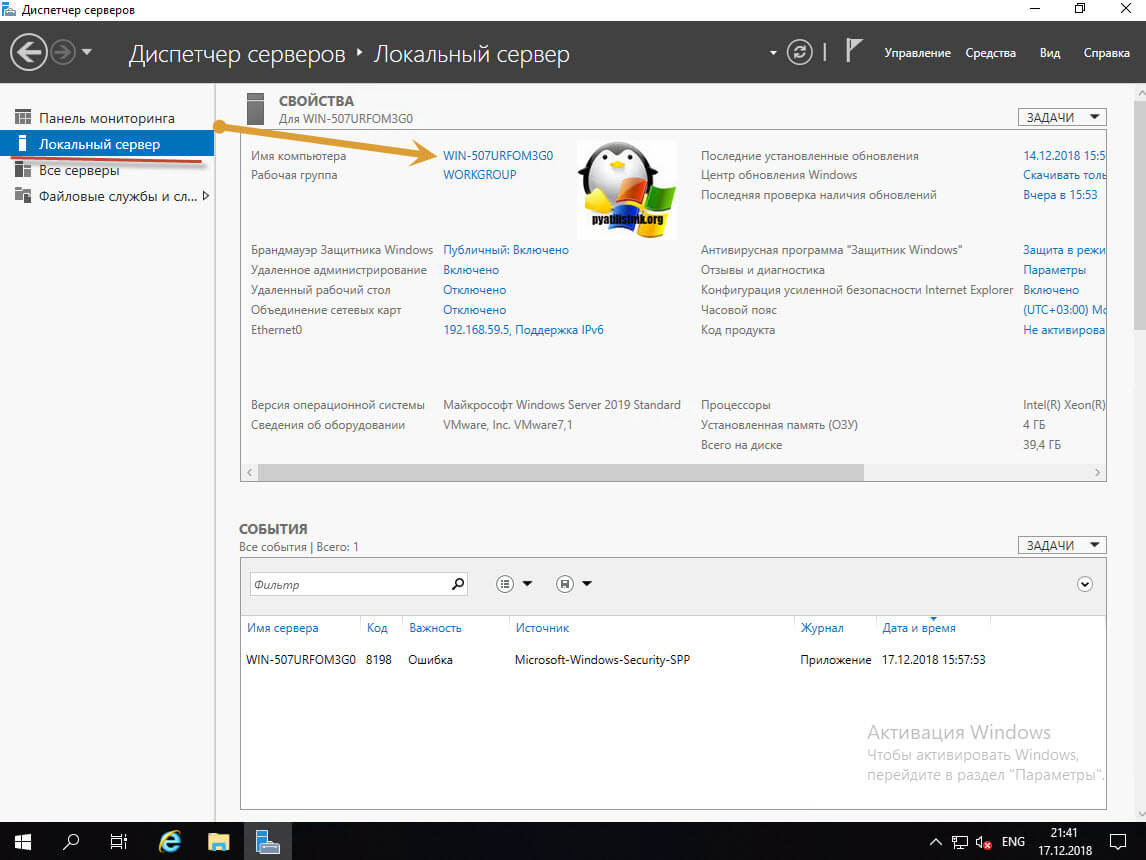
Следующим этапом базовой настройки Windows Server 2019 у нас будет правильное его именование и ввод в домен, напоминаю, что у вас должна быть какая-то система в вашей организации. Когда вы подобрали имя, то открывайте диспетчер серверов. Найти его можно в пунктах меню «Пуск».
В открывшейся оснастке «Диспетчер серверов», выберите пункт «Локальный сервер» и кликните по ссылке с полем «Имя компьютера»
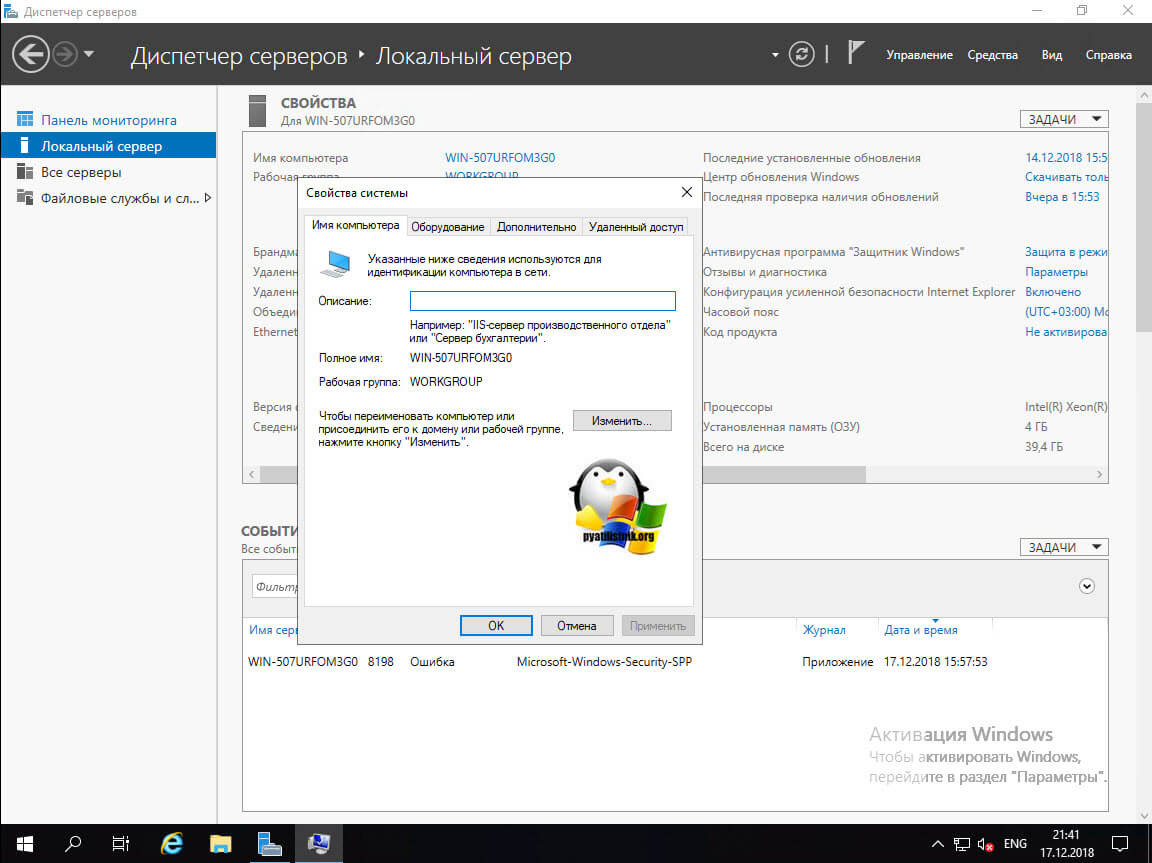
У вас откроется окно «Имя компьютера» в котором вам необходимо нажать кнопку «Изменить»
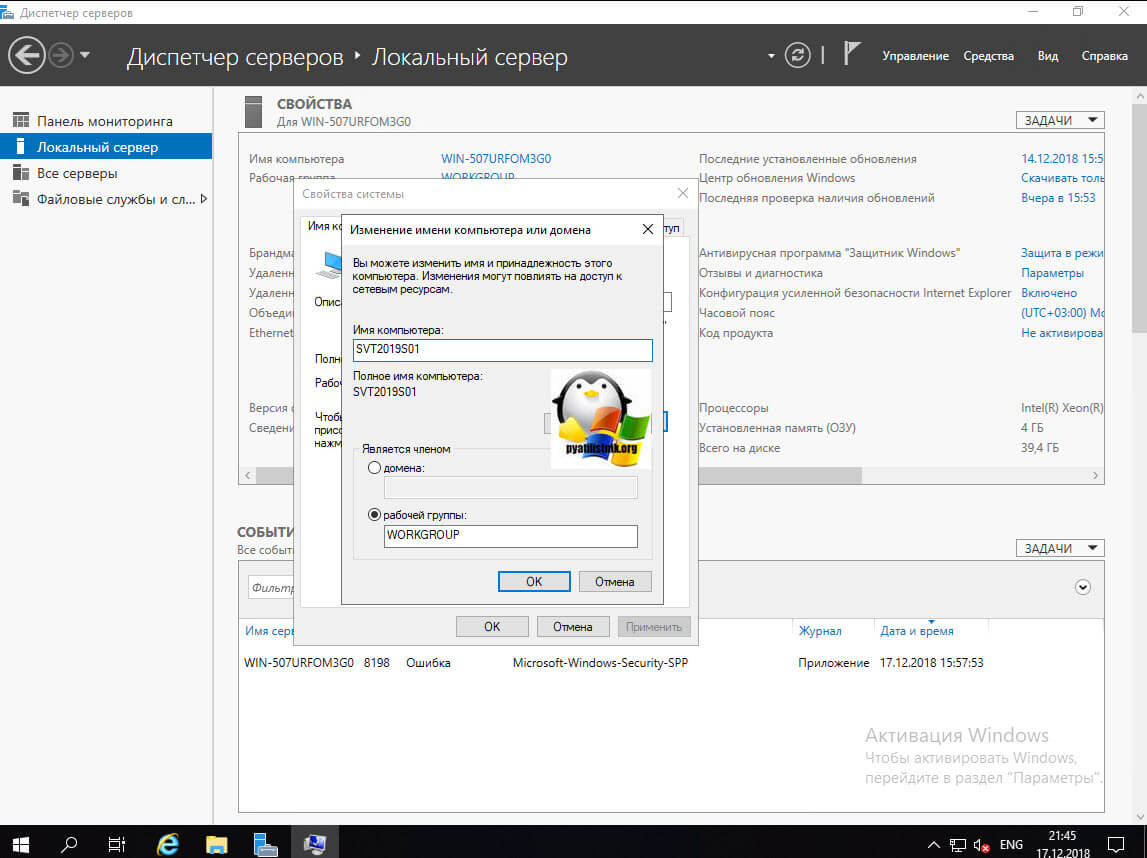
Указываем новое имя сервера и при необходимости вводим его в домен.
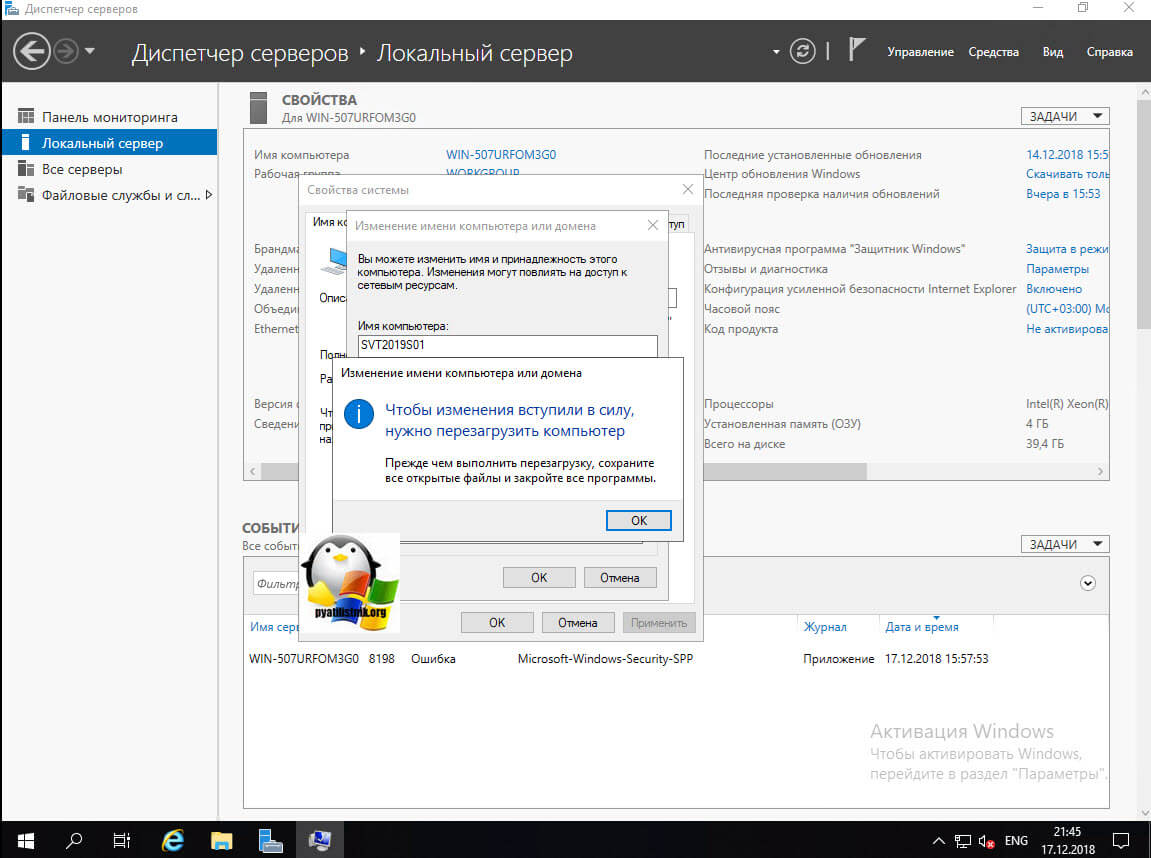
Обращаю внимание, что для применения настроек, вам потребуется перезагрузить сервер.
Установка обновлений В WIndows Server 2019
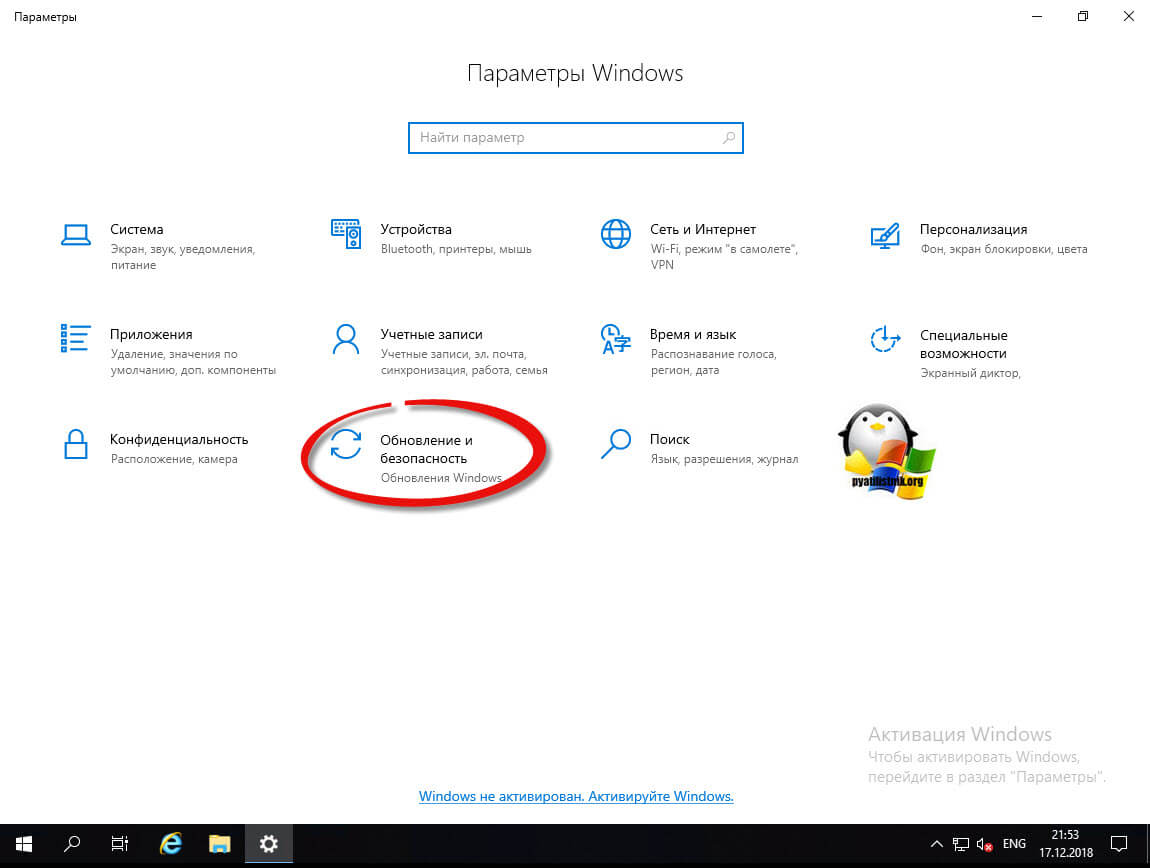
Третьим этапом базовой настройки сервера 2019, является установка самых последних обновлений безопасности. Нажмите горячую комбинацию Win+I, в результате чего у вас откроется окно «Параметры Windows». Выберите там пункт «Обновление и безопасность»
У вас будет открыто окно центра обновления Windows, в котором вам нужно нажать кнопку «Проверки наличия обновлений»
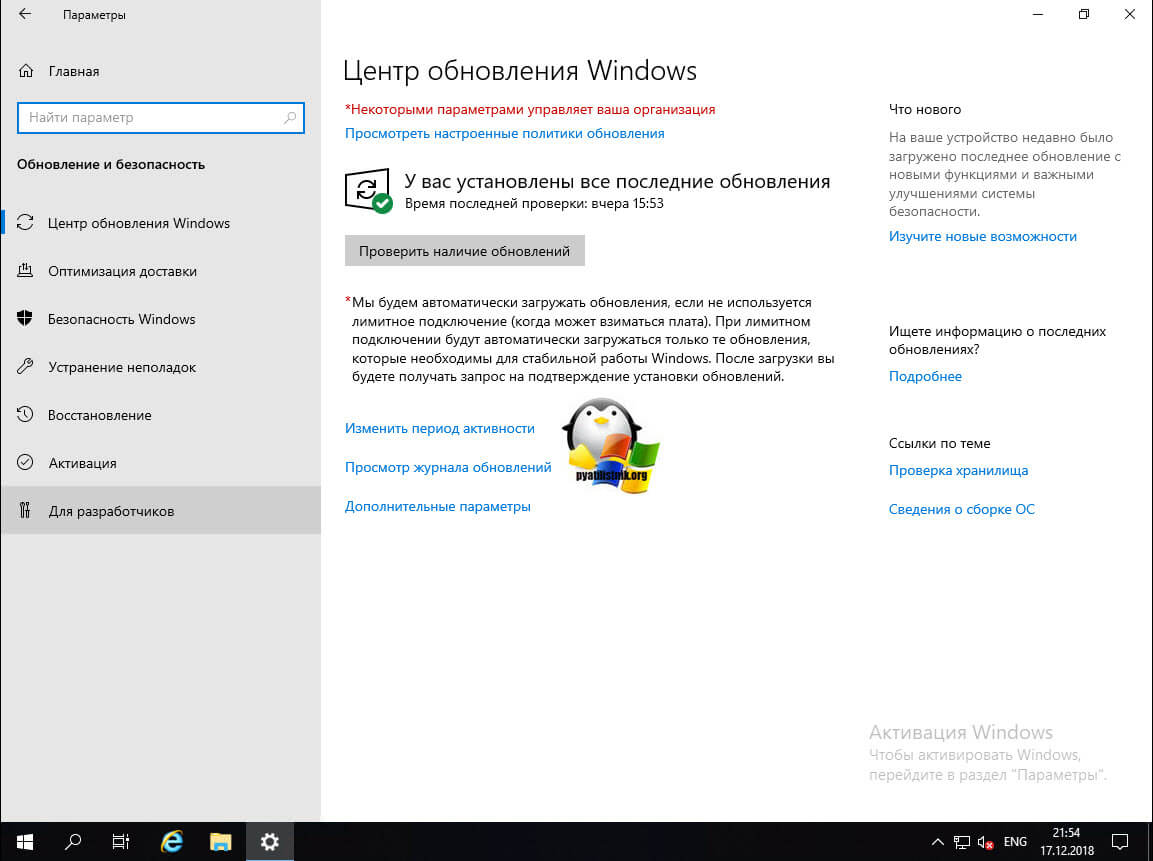
Начнется проверка наличия обновлений, если они обнаружатся, то система их установит и потребует перезагрузки сервера.

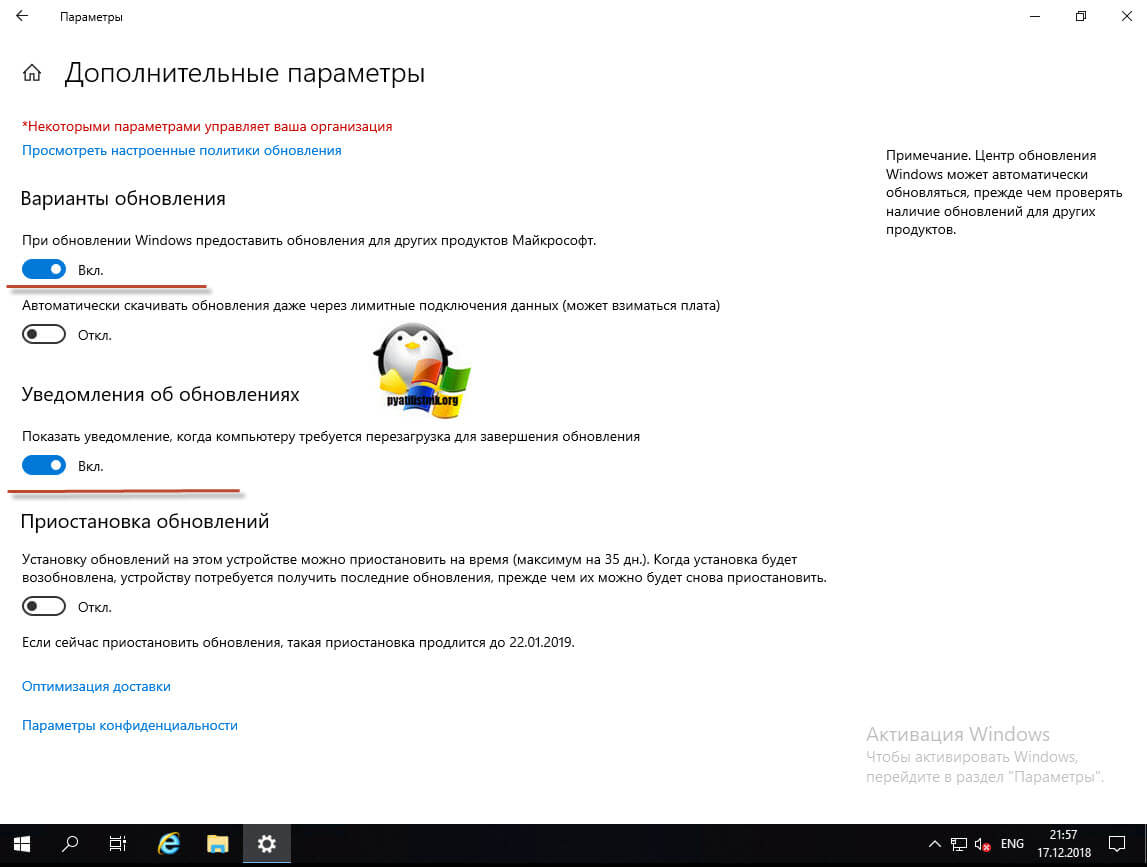
Так же вам советую нажать кнопку «Дополнительные параметры» и в открывшемся окне активировать два пункта:
- При обновлении Windows предоставлять обновления для других продуктов Майкрософт
- Показать уведомление, когда компьютеру требуется перезагрузка для завершения обновления
Отключение лишних служб
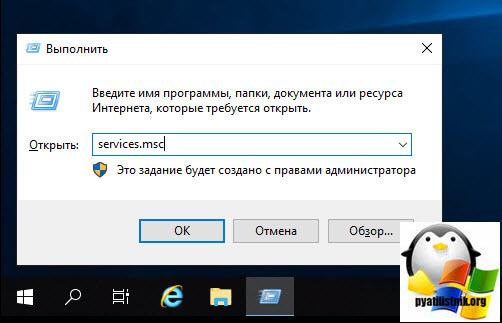
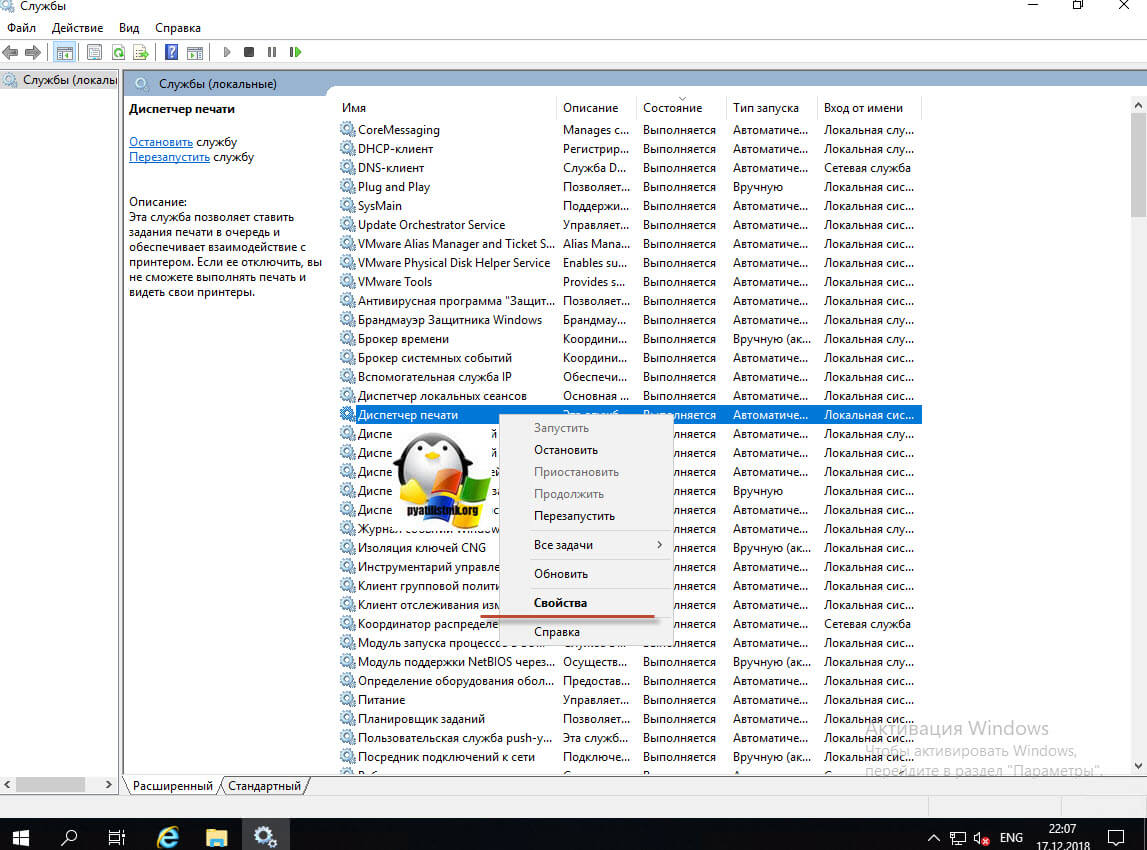
Завершающим этапом базовой настройки Windows Server 2019, я могу выделить две вещи, во первых это отключение не используемых служб, для примера, откройте окно «Выполнить» и введите в нем services.msc.
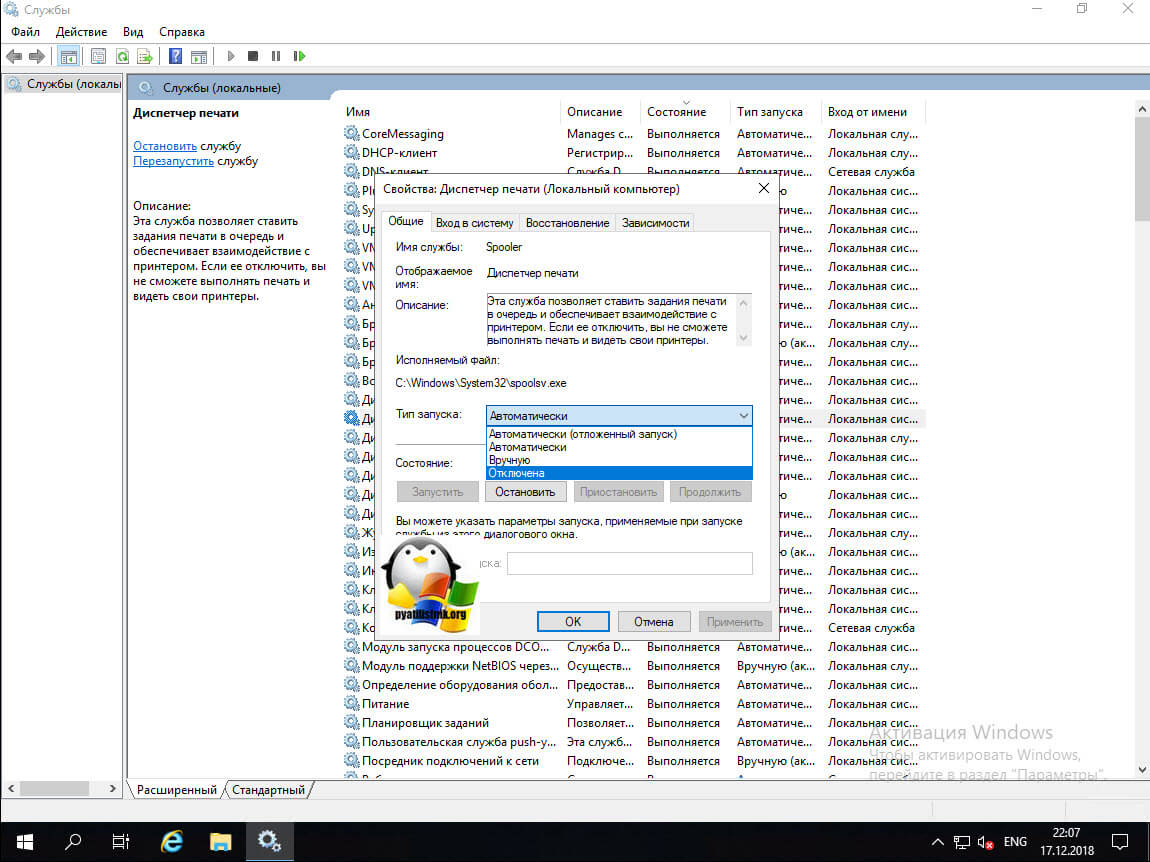
У вас откроется оснастке «Службы» в которой вам нужно пробежаться глазами и выявить те, которые в состоянии «Выполняется», прочитать их описание и отключить. В моем примере, я точно знаю, что на этом сервере печати не будет, поэтому я выключаю службу «Диспетчер печати», через свойства.
В типе запуска я выставляю «Отключена» и затем нажимаю кнопку «Остановить», так же я поступаю и с DHCP, так как у меня статический IP-адрес.
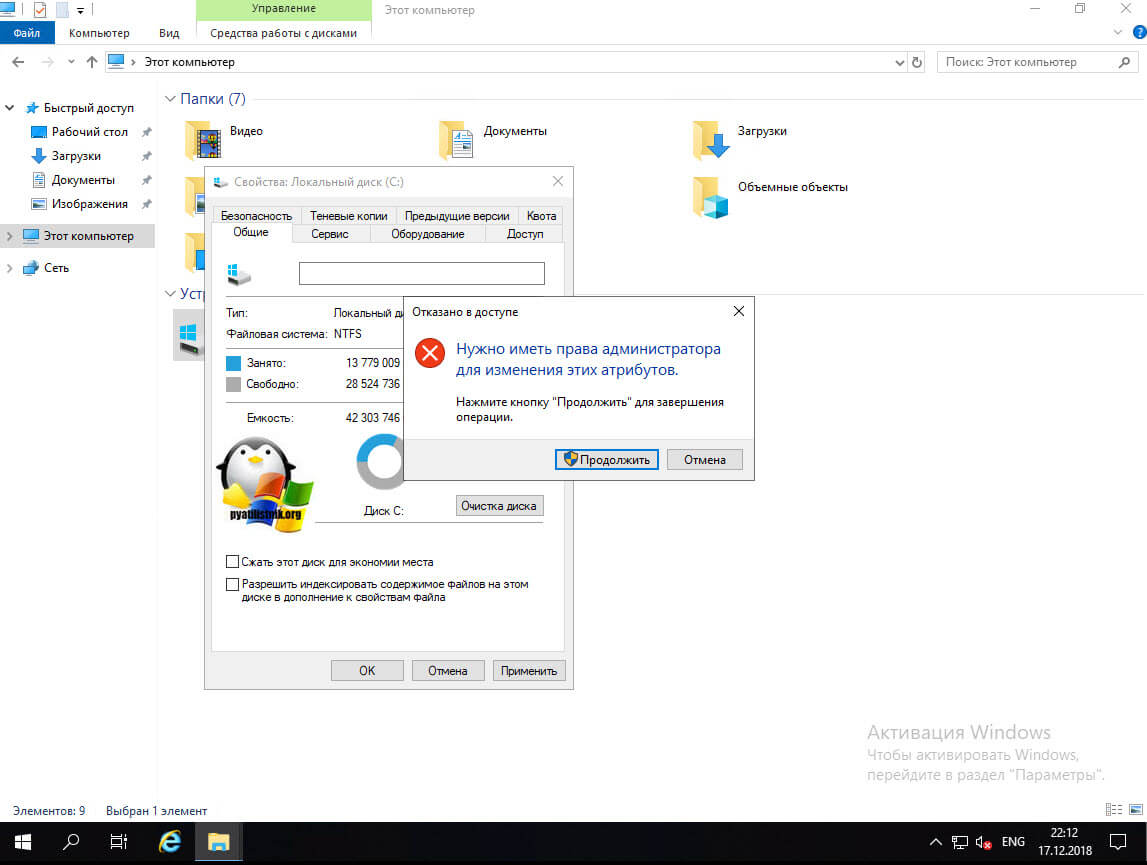
И еще я вам советую слегка оптимизировать ваши локальные диски, отключив в свойствах разделов
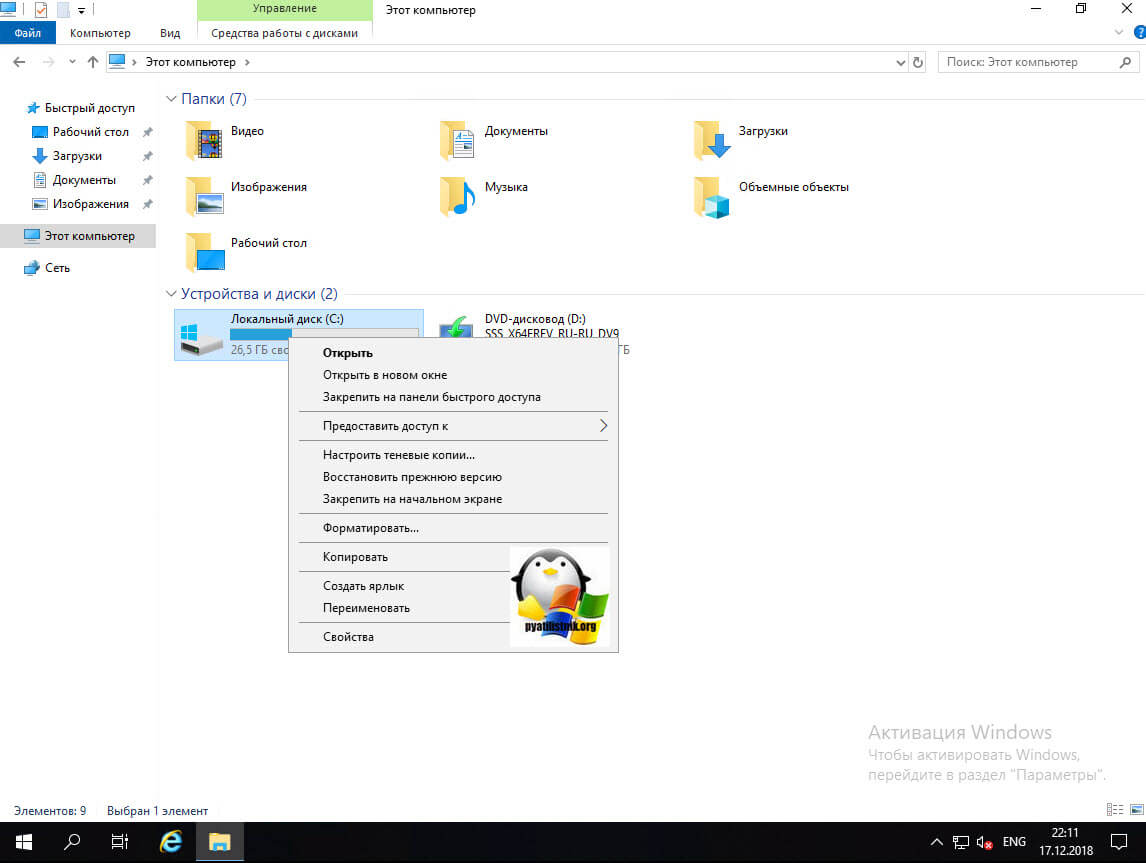
Службу индексации, для этого снимите галку «разрешить индексировать содержимое файлов на этом диске в дополнение к свойствам файла», нажмите применить, вас спросят к чему, оставьте «К диску C:\ и ко всем вложенным папкам и файлам»
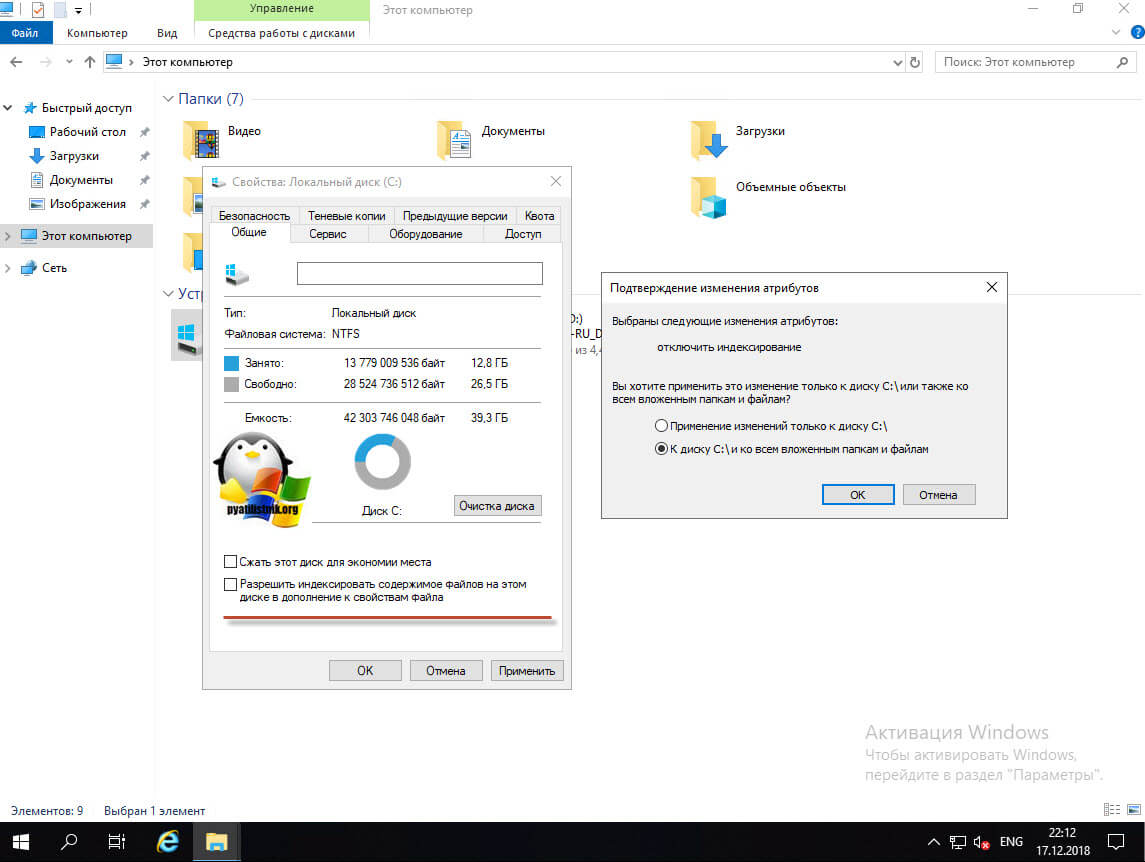
Подтвердите разрешение продолжить.
Далее нажимаем «Пропустить все»
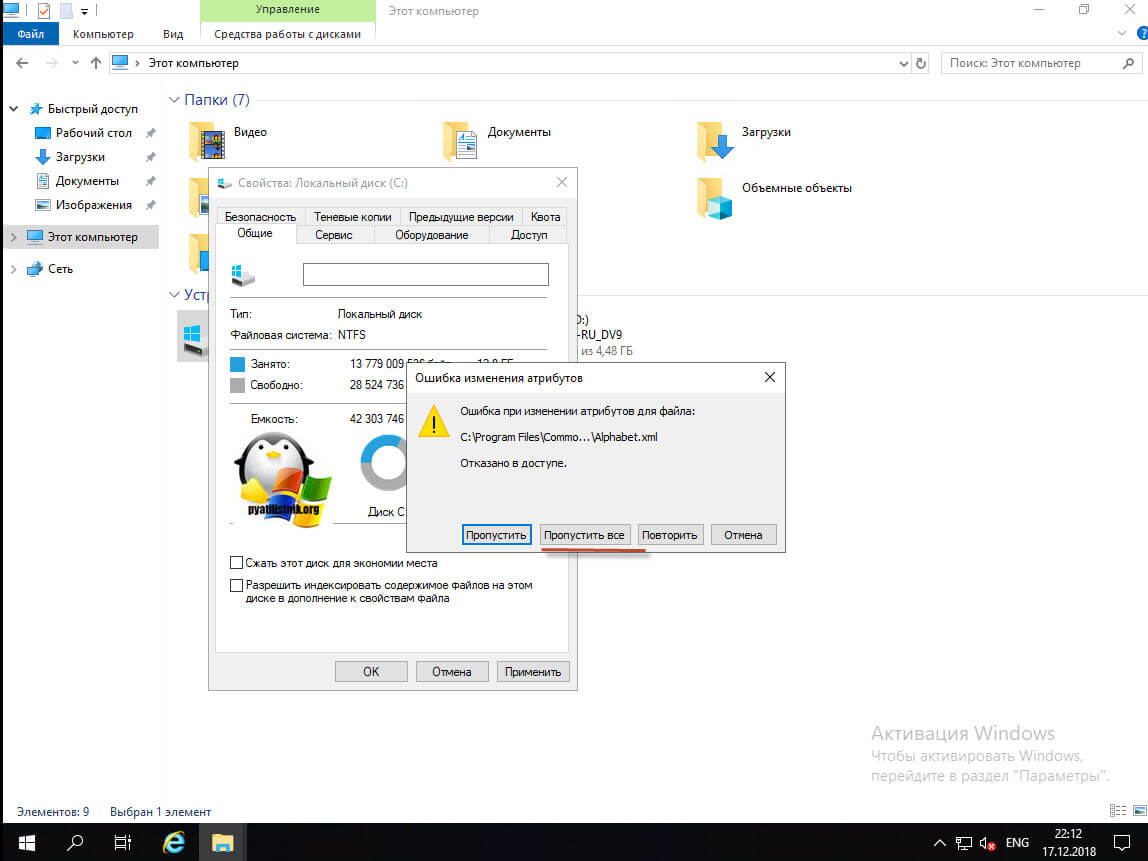
И ждем применение атрибутов, после этого на уровне дисков, операционная система будет чуть меньше обращаться к дискам и создавать лишние IOPS.
Setspn
Applies To: Windows Server 2008, Windows Server 2008 R2, Windows Server 2012, Windows 8
Reads, modifies, and deletes the Service Principal Names (SPN) directory property for an ActiveВ Directory service account. You use SPNs to locate a target principal name for running a service. You can use setspn to view the current SPNs, reset the account’s default SPNs, and add or delete supplemental SPNs.
Setspn is a command-line tool that is built into Windows ServerВ 2008. It is available if you have the ActiveВ Directory Domain Services (ADВ DS) server role installed. To use setspn, you must run the setspn command from an elevated command prompt. To open an elevated command prompt, click Start, right-click Command Prompt, and then click Run as administrator.
For examples of how to use this command, see Examples.
It is not usually necessary to modify SPNs. They are set up by a computer when it joins a domain and when services are installed on the computer. In some cases, however, this information can become stale. For instance, if the computer name is changed, the SPNs for installed services must be changed to match the new computer name. Also, some services and applications may require manual modification of a service account’s SPN information to authenticate correctly.
For more information about checking SPN registrations and troubleshooting SPNs, see Service Principal Names (https://go.microsoft.com/fwlink/?LinkId=198395). For more information about how a service registers SPNs and how clients compose a service’s SPN, see Service Principal Names (https://go.microsoft.com/fwlink/?LinkId=102556).
In ActiveВ Directory, the servicePrincipalName attribute is a multivalued, nonlinked attribute that is built from the DNS host name. The SPN is used in the process of mutual authentication between the client and the server hosting a particular service. The client finds a computer account based on the SPN of the service to which it is trying to connect.
To perform the tasks that are described in the following sections, you must have membership in Domain Admins, Enterprise Admins, or you must have been delegated the appropriate authority. For information on delegating the permissions to modify SPNs, see Delegating Authority to Modify SPNs.
The following sections describe how to run basic Setspn.exe commands. For additional information about the options for Setspn.exe, see Syntax, Remarks, and Examples.
SPN format
When you manipulate SPNs with the setspn, the SPN must be entered in the correct format. The format of an SPN is serviceclass/host:port/servicename, in which each item represents a name or value. Unless the service name and port are not standard, you do not have to enter them when you use setspn. For example, the default SPNs for a server named WS2003A that is providing remote desktop (RDP) services over the default port (TCPВ 3389) register the following two SPNs in its own ActiveВ Directory computer object:
The examples in the following sections assume that the default port and service name are used for SPNs, which is the typical situation. However, if you need to specify a nonstandard SPN configuration, see Name Formats for Unique SPNs
Viewing SPNs
To view a list of the SPNs that a computer has registered with Active Directory from a command prompt, use the setspn –l hostname command, where hostname is the actual host name of the computer object that you want to query.
To find the host name for a computer from a command prompt, type hostname , and then press ENTER.
For example, to list the SPNs of a computer named WS2003A, at the command prompt, type setspn -l S2003A, and then press ENTER. A domain controller named WS2003A in Cpandl.com, which is also functioning as a global catalog server and Domain Name System (DNS) server, registers the following SPNs:
Registered ServicePrincipalNames for CN=WS2003A,OU=Domain Controllers,DC=cpandl,DC=com:
The globally unique identifier (GUID) 70906edd-c8a5-4b7d-8198-4f970f7b9f52 identifies the NTDS Settings object of the domain controller (NTDS-DSA), which is unique for each domain controller. The other two GUIDs, NtFrs-88f5d2bd-b646-11d2-a6d3-00c04fc9b232 and E3514235-4B06-11D1-AB04-00C04FC2DCD2, identify the File Replication Service (NTFRS) and the Directory Replication Service (DRS) remote procedure call (RPC), respectively, and they are standard SPNs for all domain controllers.
If constrained delegation is in use on a Windows Server 2003 computer that requires an SPN modification, some SPNs may not appear. For more information, see article 936628 in the Microsoft Knowledge Base (https://go.microsoft.com/fwlink/?LinkID=102306).
Resetting SPNs
If the SPNs that you see for your server display what seems to be incorrect names; consider resetting the computer to use the default SPNs. To reset the default SPN values, use the setspn -rВ hostname command at a command prompt, where hostname is the actual host name of the computer object that you want to update.
For example, to reset the SPNs of a computer named server2, type setspn -r server2, and then press ENTER. You receive confirmation if the reset is successful. To verify that the SPNs are displayed correctly, type setspn -l server2, and then press ENTER.
For information related to troubleshooting SPN issues, see Service Logons Fail Due to Incorrectly Set SPNs (https://go.microsoft.com/fwlink/?LinkId=102554).
Adding SPNs
To add an SPN, use the setspn -sВ service/nameВ hostname command at a command prompt, where service/name is the SPN that you want to add and hostname is the actual host name of the computer object that you want to update. For example, if there is an ActiveВ Directory domain controller with the host name server1.contoso.com that requires an SPN for the Lightweight Directory Access Protocol (LDAP), type setspn -s ldap/server1.contoso.com server1, and then press ENTER to add the SPN.
Removing SPNs
To remove an SPN, use the setspn -dВ service/nameВ hostname command at a command prompt, where service/name is the SPN that is to be removed and hostname is the actual host name of the computer object that you want to update. For example, if the SPN for the Web service on a computer named Server3.contoso.com is incorrect, you can remove it by typing setspn -d http/server3.contoso.com server3, and then pressing ENTER.
Delegating Authority to Modify SPNs
If you need to allow delegated administrators to configure service principal names (SPNs), you must ensure that their user accounts have the Validated write to service principle name permission.
Membership in Domain Admins, or equivalent, is the minimum required to complete this procedure. Review details about using the appropriate accounts and group memberships at Local and Domain Default Groups (https://go.microsoft.com/fwlink/?LinkId=83477).В
To grant permission to modify SPNs
Open ActiveВ Directory Users and Computers.
To open Active Directory Users and Computers, click Start, click Run, type dsa.msc, and then press ENTER.
Click View, and verify that the Advanced Features check box is selected.
Click Advanced Features, if it is not selected.
If the domain to which you want to allow a disjoint namespace does not appear in the console, take the following steps:
In the console tree, right-click Active Directory Users and Computers, and then click Connect to Domain.
In the Domain box, type the name of the Active Directory domain to which you want to allow the disjoint namespace, and then click OK.
As an alternative, you can use the Browse button to locate the ActiveВ Directory domain.
In the console tree, right-click the node that represents the domain to which you want to allow a disjoint namespace, and then click Properties.
On Security tab, click Advanced.
On the Permissions tab, click Add.
In Enter the object name to select, type the group or user account name to which you want to delegate permission, and then click OK.
Configure the Apply onto box for Computer objects.
At the bottom of the Permissions box, select the Allow check box that corresponds to the Validated write to service principal name permissions, and then click OK on the three open dialog boxes to confirm your changes.
Close Active Directory Users and Computers.
Syntax
Setspn also has an –A that you can use to add SPNs, but you should use Setspn -S instead because -S will verify that there are no duplicate SPNs. However, if you are using Windows Server 2003 or earlier, you will not be able to use the -S switch because it is not available for that platform. In the case where you cannot use -S, then you should manually verify that there are no duplicate SPNs by first running Setspn -L.
In Windows ServerВ 2008В R2 and Windows ServerВ 2008, Setspn.exe has Edit Mode switches and modifiers and Query Mode switches and modifiers. The syntax is:
Where [accountname] can be the name or domain\name of the target computer or user account.
Parameters
Edit Mode Parameters
Specifies the desired ActiveВ Directory account object for which to configure the Service Principal Names (SPN). Normally, this is the NetBIOS name of the computer and optionally the domain that contains the computer account. However, any desired ActiveВ Directory object name can be used.
-lВ
Lists the currently registered SPN for computer.
Usage: setspn –l accountname
Resets the default SPN registrations for the host names for Computer.
Usage: setspn –r accountname
For example, to register SPN «HOST/daserver1» and «HOST/
setspn -R daserver1
Deletes the specified SPN for the Computer.
Usage: setspn –d SPN accountname
For example, to delete SPN «http/daserver» for computer «daserver1»:
setspn -D http/daserver daserver1
Adds the specified SPN for the computer, after verifying that no duplicates exist.
Usage: setspn –s SPN accountname
For example, to register SPN «http/daserver» for computer «daserver1»:
setspn -S http/daserver daserver1
Displays help at the command prompt. This parameter is the default: if you run setspn run without this parameter displays the SPN command-line usage.
Edit Mode modifiers
Specify that accountname is a computer account.
Specify that accountname is a user account.
For example, to register SPN «http/daserver» for user account «dauser»:
setspn -U -S http/daserver dauser
-C and -U are exclusive. If neither is specified, the tool will interpret accountname as a computer name if such a computer exists, and a user name if it does not.
Query Mode Parameters
Search for duplicate SPNs.
Query Mode modifiers
Perform queries at the forest, rather than domain level.
For example, to register SPN «http/daserver» for computer «daserver1» if no such SPN exists in the forest:
setspn -F -S http/daserver daserver1
Perform query on the specified domain or forest (when -F is also used).
Usage: setspn -T domain (switches and other parameters). Use «» or * to indicate the current domain or forest.
For example, to report all duplicate registration of SPNs in this domain and contoso domain:
setspn -T * -T contoso -X
To find all SPNs of the form */daserver registered in the forest to which contoso domain belongs:
setspn -T contoso -F -Q */daserver
Remarks
Query Mode modifiers can be used with the -S switch in order to specify where the check for duplicates should be performed before adding the SPN.
-T can be specified multiple times. -Q will execute on each target domain or forest. -X will return duplicates that exist across all targets. Service Principal Names (SPNs) are not required to be unique across forests, but duplicate SPNs can cause authentication issues during across-forest authentication.
SPNs can only be constructed by using the account base name as the Computer parameter. The directory service enforces this by generating a constraint violation error.
You may not have the rights to access or modify this property on some account objects. You can determine what your access rights are by viewing the security attributes of the account object using the Microsoft Management Console (MMC) in ActiveВ Directory Users and Computers. You can also delegate the permission by assigning the Validated write to service principal name permission to the desired user or group.
The built-in SPNs that are recognized for computer accounts are:


