- Скачать SuperLive Plus для ПК
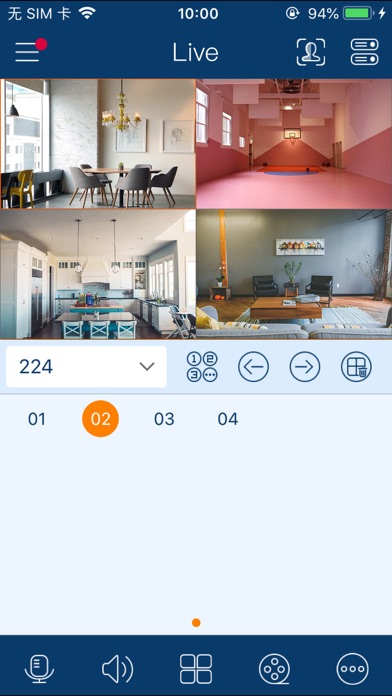
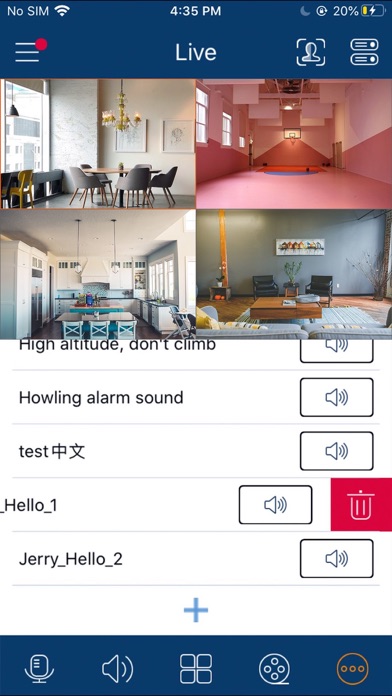
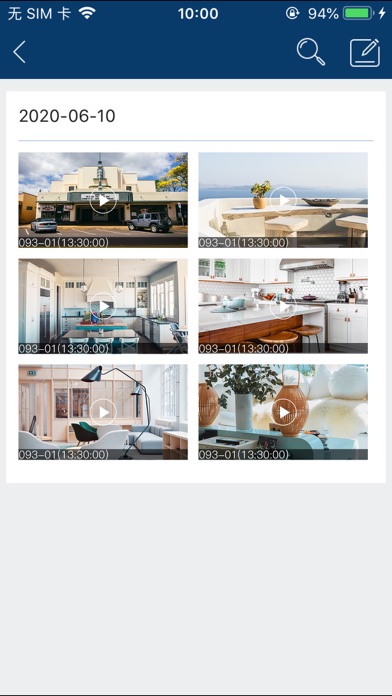
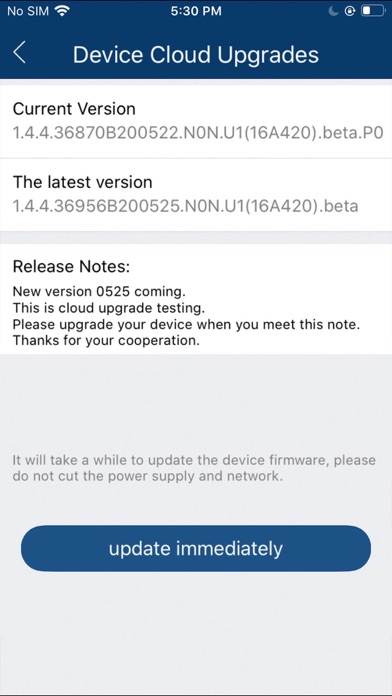
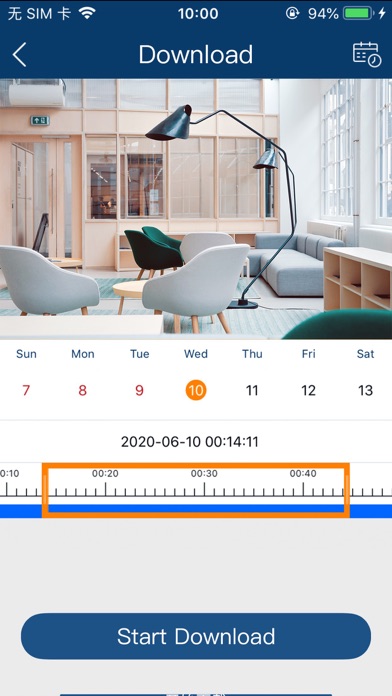
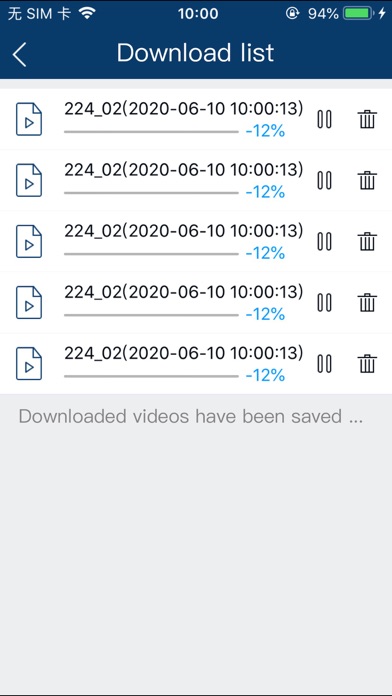
- SuperLive Plus для ПК Скриншоты
- загрузить и установить SuperLive Plus на вашем персональном компьютере и Mac
- Шаг 1: Загрузите эмулятор Android для ПК и Mac
- Шаг 2: установите эмулятор на ПК или Mac
- Шаг 3: SuperLive Plus для ПК — Windows 7/8 / 8.1 / 10
- Шаг 4: SuperLive Plus для Mac OS
- Superlive Plus For PC: Free Download for windows 7/8/10/MAC
- SuperLive Plus For PC Free Download For Windows
- Method 1 (SuperLive Plus For PC using NVMS 1000)
- Download the Setup from the given link below.
- Step 2
- Step 3
- Step 4
- Step 5
- Method 2 (SuperLive Plus For PC using BlueStack)
- SuperLive Plus For PC Free Download For MAC
- Step 1
- Download Superlive Plus for PC (MAC)
- Step 2
- Step 3
- Step 4
- Step 5
- SuperLive Plus on Windows Pc
- App Details
- App preview ([see all 6 screenshots])
- About this app
- How to install SuperLive Plus on Windows?
- Скачать Андроид на компьютер
- Описание SuperLivePro
Скачать SuperLive Plus для ПК
Опубликовано Peng AnTai
- Категория: Business
- Дата выпуска: 2020-11-18
- Текущая версия: 1.7.6
- Размер файла: 59.58 MB
- Совместимость: Требуется Windows 10/8.1/8/7/Vista
SuperLive Plus для ПК Скриншоты
загрузить и установить SuperLive Plus на вашем персональном компьютере и Mac
Некоторые приложения, например, те, которые вы ищете, доступны для Windows! Получите это ниже:
| SN | заявка | Скачать | рецензия | Разработчик |
|---|---|---|---|---|
| 1. |  Sunstar Sunstar | Скачать | /5 0 рецензия |
SUSE Linux Enterprise Server 154 рецензия
SUSE Linux Enterprise Server 15 SP10 рецензия
Или следуйте инструкциям ниже для использования на ПК :
Если вы хотите установить и использовать SuperLive Plus на вашем ПК или Mac, вам нужно будет загрузить и установить эмулятор Desktop App для своего компьютера. Мы усердно работали, чтобы помочь вам понять, как использовать app для вашего компьютера в 4 простых шагах ниже:
Шаг 1: Загрузите эмулятор Android для ПК и Mac
Хорошо. Прежде всего. Если вы хотите использовать приложение на своем компьютере, сначала посетите магазин Mac или Windows AppStore и найдите либо приложение Bluestacks, либо Приложение Nox . Большинство учебных пособий в Интернете рекомендуют приложение Bluestacks, и у меня может возникнуть соблазн рекомендовать его, потому что вы с большей вероятностью сможете легко найти решения в Интернете, если у вас возникнут проблемы с использованием приложения Bluestacks на вашем компьютере. Вы можете загрузить программное обеспечение Bluestacks Pc или Mac here .
Шаг 2: установите эмулятор на ПК или Mac
Теперь, когда вы загрузили эмулятор по вашему выбору, перейдите в папку «Загрузка» на вашем компьютере, чтобы найти приложение эмулятора или Bluestacks.
Как только вы его нашли, щелкните его, чтобы установить приложение или exe на компьютер или компьютер Mac.
Теперь нажмите «Далее», чтобы принять лицензионное соглашение.
Чтобы правильно установить приложение, следуйте инструкциям на экране.
Если вы правильно это сделаете, приложение Emulator будет успешно установлено.
Шаг 3: SuperLive Plus для ПК — Windows 7/8 / 8.1 / 10
Теперь откройте приложение Emulator, которое вы установили, и найдите его панель поиска. Найдя его, введите SuperLive Plus в строке поиска и нажмите «Поиск». Нажмите на SuperLive Plusзначок приложения. Окно SuperLive Plus в Play Маркете или магазине приложений, и он отобразит Store в вашем приложении эмулятора. Теперь нажмите кнопку «Установить» и, например, на устройстве iPhone или Android, ваше приложение начнет загрузку. Теперь мы все закончили.
Вы увидите значок под названием «Все приложения».
Нажмите на нее, и она перенесет вас на страницу, содержащую все установленные вами приложения.
Вы должны увидеть . Нажмите на нее и начните использовать приложение.
Шаг 4: SuperLive Plus для Mac OS
Привет. Пользователь Mac!
Шаги по использованию SuperLive Plus для Mac точно такие же, как для ОС Windows выше. Все, что вам нужно сделать, это установить Nox Application Emulator или Bluestack на вашем Macintosh. Вы можете получить Это здесь .
Спасибо за чтение этого урока. Хорошего дня!
Superlive Plus For PC: Free Download for windows 7/8/10/MAC
Here we are going to discuss SuperLive Plus for PC including window 7/8/10 and for MAC os as well. There are two methods by which you are able to take a good view of your CCTV cameras. In this post, you can free download setup for Superlive plus for PC. After downloading the setup we will learn how to configure Superlive plus for PC. Here we are going to use windows 7 and MAC but you can use the same setting for Windows 8 and Windows 10 as well. You can also use another application named “superlivepro for PC“So let’s start from the downloading the setup.

SuperLive Plus For PC Free Download For Windows
Here you can download the latest version of Superlive Plus on your computer. All you have to do is click on the download button according to your choice. Superlive Plus is also available for MAC PC you can live your cameras on your MAC PC also. Apply any given method and then you can see the live view of your cameras on your PC.
Method 1 (SuperLive Plus For PC using NVMS 1000)
Every CCTV company offers a CMS for Windows setup of its cameras. Superlive plus also offers its called NVMS 1000. By using this, you can get a view of SuperLive plus camera on your computer screen. So download the setup for that from the given link.
Step 1 .
Download the Setup from the given link below.
After downloading the setup open the folder where it has been downloaded the file name is “Superlive-Plus-for-PC. Just install this setup on your PC.
Step 2
Now come to the configuration of superlive plus for PC (windows).
After completing the installation process you will get an icon on your desktop named “NVMS-1000″. Just double click on that icon and it will ask for the registration of the user. Here assign a user name and password and register the user. You may leave other options on the registration screen. This user name and password are only for this software not for your DVR/NVR.
Step 3
Now a new screen will open asking for the username and password. Insert the username and password that you registered at step 2. A screen will appear in front of you as shown below.

Step 4
Just click the option “Device” and you will find the next screen as shown below.

Click on the “Add Device” option and come to the next screen.
Step 5
Click on the “manually add” option from the top of the screen. Here, you have to add a device serial number, IP address or a domain as per your mode of DVR/NVR’s registration.


So choose one of them as per your desire. After filling the information. Just click on the “Test link” button. Test link must be popped up “Test connection success” then clicks “ok” and then “Add” button.

Now the device is registered successfully now you can see all the cameras on your computer screen. To do this you should go to the “live preview” option.

Method 2 (SuperLive Plus For PC using BlueStack)
To use this method you have to use an android emulator on your PC. One of the best emulators is Bluestack. Just install it on your PC and follows the steps.
- Download and install the emulator.
- You will get an icon of the emulator to appear on the desktop.
- Now find the play store icon on the emulator. It is just like your android phone.
- Login to your play store.
- Search for the Superlive plus and install it.
- Now just put the information in the process of registration device.
- Just enjoy Superlive Plus for PC.
SuperLive Plus For PC Free Download For MAC
If you have a MAC system then you can also get your cameras on your MAC system. The company also offers set up it on your MAC OS. Here we are going to demonstrate how to download and configure super live plus for PC(MAC).
Step 1
Download the setup of superlive plus for pc from the given link below.
Download Superlive Plus for PC (MAC)
Just install it on your PC and come to the second step.
Step 2
Now you can see an icon on your computer screen named “MAC Super CMS…app”. Just open it and the screen will ask you for the account creation. Just create an account for that by putting a username and password.

After the registration window will ask you to log in. just logged in by using the username and password that you registered.

Step 3
After logging in you can see the screen as shown below.

On your right bottom, an option shows as “Add”. Click on that icon and you will see the next screen.
Step 4
In this step, a screen will appear as shown below.

It asks for some detail related to your device. Just fill it up. In the “Title” option you can choose a title your device as per your choice. In the address, you have put the IP address of the device(DVR/NVR/IP camera).
Title: As per your choice.
Address: The IP address or domain name of the device you want to add.
Port: The HTTP port of the device you want to add.
Account: The login account of the device. The default account is “admin”.
Password: The login password of the device. The default password is 123456.
Step 5
Now click on the “Save” button to save the information. Now you can see the DVR/NVR list in the device list as shown in the below picture.

So this is all about Superlive plus for PC . Using these steps you can easily configure the SuperlivePro DVR/NVR/IP camera for your window laptop and desktop. If you have any queries or suggestion please write to us in the comment box below.
SuperLive Plus on Windows Pc
Developed By: Peng Antai
Rating: 4,0/5 — 34.199 votes
Last Updated: February 06, 2021
Compatible with Windows 7/8/10 Pc & Laptop
App Details
| Version | 1.7.8 |
| Size | 45.4 MB |
| Release Date | February 05, 21 |
| Category | Business Apps |


