S use Linux is similar to RPM based Linux distro such as RHEL but does not comes with yum command. How do I install a rpm file or packages such as Apache or PHP under Suse Enterprise / OpenSuse Linux?
You need to use YaST (Yet another Setup Tool), in the openSUSE or Suse Enterprise Linux distribution.
Installing RPM In SLES
Simply use the following syntax to install rpm file as root user: rpm -ivh file.rpm OR yast2 -i file.rpm
Installing Binary Packages In SLES
The yum or up2date command can be used to install pakages from RHN or repos. The yast2 command can be used to install binary packages too as follows: yast2 -i packageName yast2 -i apache2 yast2 -i php5 php5-curl php5-fastcgi php5-gd php5-mysql php5-openssl php5-pear php5-zlib
Install Packages Using TUI or GUI Tools In SLES
Just type yast or yast2 comamnd to start yast in TUI (text based user interface over ssh session) or GUI mode: yast2 -i You can now select and install all supported packages. You can use the same system to remove or delete packages.
No ads and tracking
In-depth guides for developers and sysadmins at Opensourceflare✨
Join my Patreon to support independent content creators and start reading latest guides:
How to set up Redis sentinel cluster on Ubuntu or Debian Linux
How To Set Up SSH Keys With YubiKey as two-factor authentication (U2F/FIDO2)
How to set up Mariadb Galera cluster on Ubuntu or Debian Linux
A podman tutorial for beginners – part I (run Linux containers without Docker and in daemonless mode)
How to protect Linux against rogue USB devices using USBGuard
Join Patreon ➔
Installing RPM Files Using KDE GUI
You can install an RPM file in KDE. First, browse to where the RPM is located. Next, right-click the RPM file. From the menu, select ACTIONS, and then INSTALL WITH YAST. You need supply the root password.
Or you can just double click on the RPM file and it will allow you to install the same.
🐧 Get the latest tutorials on Linux, Open Source & DevOps via
Источник
How to Install PHP on OpenSUSE 15.2/15.1
Tutorial requirements
Requirements
OpenSUSE Linux with Nginx
Root privileges
Yes
Difficulty
Easy
Est. reading time
10m
Table of contents
Prerequisite to install PHP on OpenSUSE 15.1/15.2
It would be best if you start this tutorial installing Nginx web server. However, first update OpenSUSE Linux software and kernel using CLI: $ sudo zypper ref $ sudo zypper up Next open the terminal app and then type the following zypper command to install Nginx as it is needed for PHP: $ sudo zypper install nginx # enable and turn on Nginx for PHP # $ sudo systemctl enable nginx.service $ sudo systemctl start nginx.service See how to install and use Nginx on OpenSUSE Linux server for more information.
Installing PHP on OpenSUSE for Nginx
List all PHP 7.4 packages available on OpenSUSE by type the following command: $ sudo zypper search php7
Let us install php7-fpm and php7 packages, run: $ sudo zypper install php7-fpm php7
Verify PHP version
Type: $ php -v # CLI version $ php-fpm -v # FastCGI process manager for Nginx
Enable the PHP FastCGI service
You need to use the systemctl command: $ sudo systemctl enable php-fpm.service
How to configure PHP with Nginx
Let us set up config files using the cd command and cp command $ cd /etc/php7/fpm/ $ sudo cp -v php-fpm.conf.default php-fpm.conf
Edit the php-fpm.conf file using a text editor such as nano command/vim command: $ sudo vi php-fpm.conf Set open file descriptor rlimit for the master process:
Save and close the file in vim. Next, we are going to set up a new pool called www as follows: $ cd /etc/php7/fpm/php-fpm.d $ sudo cp -v www.conf.default www.conf
Edit the www.conf, run: $ sudo vi www.conf Unix user/group of processes needed that will run php-fpm:
Enable PHP error log to file named php-scripts.log:
Set resources and memory limits for PHP scripts for security reasons:
Start the PHP FastCGI service on OpenSUSE 15.2
$ sudo systemctl start php-fpm.service The above command will start php-fpm at 127.0.0.1:9000. It is the address on which to accept FastCGI requests and we will configure Nginx.
Stop the PHP FastCGI service on OpenSUSE Linux
$ sudo systemctl stop php-fpm.service
Restart the PHP FastCGI service on OpenSUSE
$ sudo systemctl restart php-fpm.service
Check the status of the PHP FPM service
$ sudo systemctl status php-fpm.service
Nginx and PHP configuration
Edit the nginx.conf or your virtual host domain file as follows: $ sudo vi /etc/nginx/vhosts.d/www.cyberciti.biz.conf Update Nginx server block as follows:
Save and close the file. Restart/reload php-fpm service: $ sudo systemctl restart php-fpm.service
Searching PHP extensions
Use the zypper as follows along with the grep command: $ sudo zypper search php7 # find module starting with ‘m’ # $ sudo zypper search php7-m\* $ sudo zypper search php7 | grep mysql
Installing PHP extensions
We can install MySQL database client for PHP as follows: $ sudo zypper install php7-mysql GD Graphics Library extension for PHP: $ sudo zypper install php7-gd A typical WordPress and MediaWiki installation needs the following modules: $ sudo zypper install php7-gd php7-json php7-opcache php7-readline php7-redis php7-exif php7-gettext php7-zlib php7-imagick php7-iconv php7-ctype php7-curl php7-intl php7-mbstring php7-pdo php7-mysql php7-fileinfo php7-openssl php7-zip php7-dom
Источник
SDB:LAMP setup
Tested on openSUSE
Contents
This article is updated to reflect the installation in currently supported openSUSE Leap and Tumbleweed. However it does not deviate much from lower versions of openSUSE.
Getting root access
To get root access, open a terminal and enter the following command:
After entering a valid password, the prompt should turn red and end with a #.
Apache
Webserver setup and configuration.
Installing Apache2
First of all, make sure you have root access and enter the following command:
Starting Apache2
To start the apache server, enter the following command:
or if you want to stop it
To automatically start the apache server after a reboot:
Testing the installation
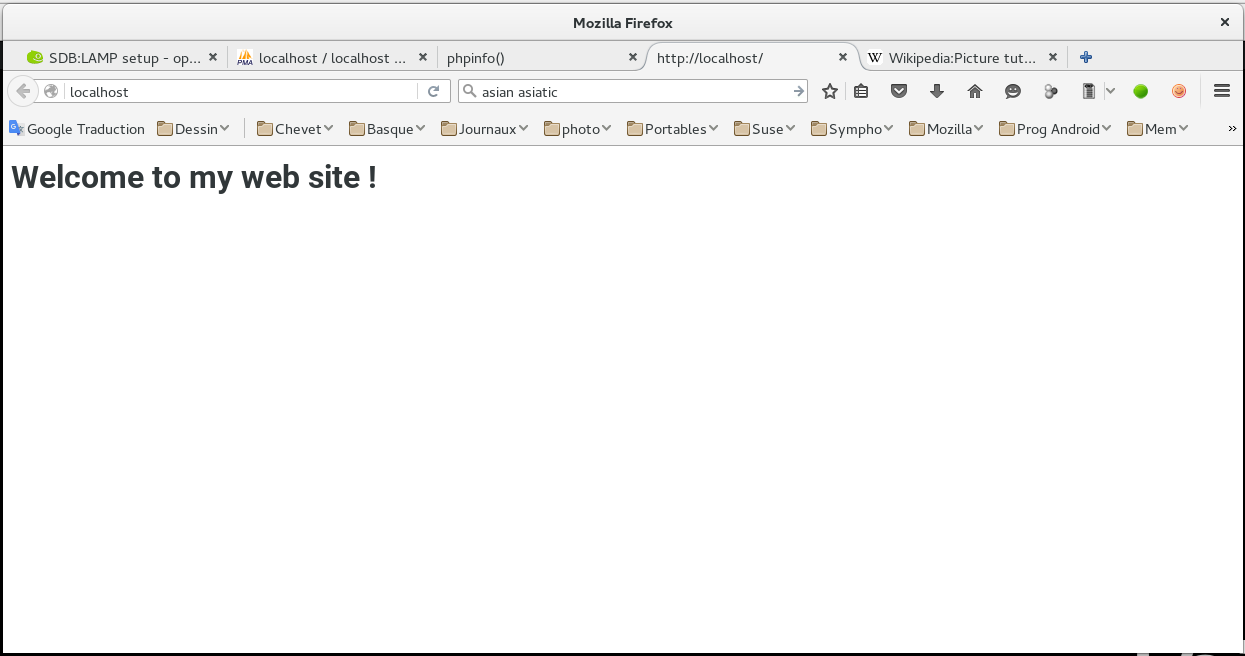
To check if you apache server works, use you favorite text editor «as root» and create an index.html file in the /srv/www/htdocs/ folder with the following content:
Now point your favorite Web browser to: ‘localhost’. You should see a page with Welcome to my web site! as a headline.
If you get an error, then make sure that you are loading the page with «http» and not «https».
Enabling public access to the web server
In this state the web server is only accessible as localhost. If you want to give access to it from a remote host, you have to open port http (=80) in the firewall. There are two firewalls common on SuSE distributions, SuSEfirewall2 and Firewalld which are treated in separate sections below.
SuSEfirewall2
To do this, edit the /etc/sysconfig/SuSEfirewall2 file and change the line
After editing you have to restart the firewall using:
Firewalld
As root execute this. Note that this assumes that the zone you have configured is public. Replace public with your zone you have selected.
Once you add the firewall rule reload firewall service.
Alternatively, you can use the graphic user interface through YaST
Open the YaST Control Center
Select Firewall
The Configuration for modification defaults under Runtime. Any changes you make will only affect the current Runtime of the machine
Note the Zone that the network is running and ensure that the current zone is selected under the Zones tab.
In the Services tab, locate apache2 in the window.
If you would like to make this change permanent under the selected Zone, select Options > Runtime to Permanent
If no further changes to the firewall are required, close the Configuration window, changes are immediate.
Setting up PHP
Installing PHP7
Make sure you have root access — see above. Install php7 using:
Don’t forget to enable mod-php by executing:
In addition, ensure that in `/etc/apache2/mod_mime-defaults.conf` there is a line
which makes apache treating files with ending `.php` with the correct mime-type, i.e. as php-sources.
Your are done, php7 is now installed.
To be sure, check by executing
Installing PHP5
If instead you want to install PHP5, the steps are the same as above with ‘php5’ instead of ‘php7’:
By need in `/etc/apache2/mod_mime-defaults.conf` add a line
Note you need to choose if to install php7 or php5. You cannot have both of them.
Restarting the webserver
Now that you have installed php, you have to restart the apache2 webserver:
Testing the installation
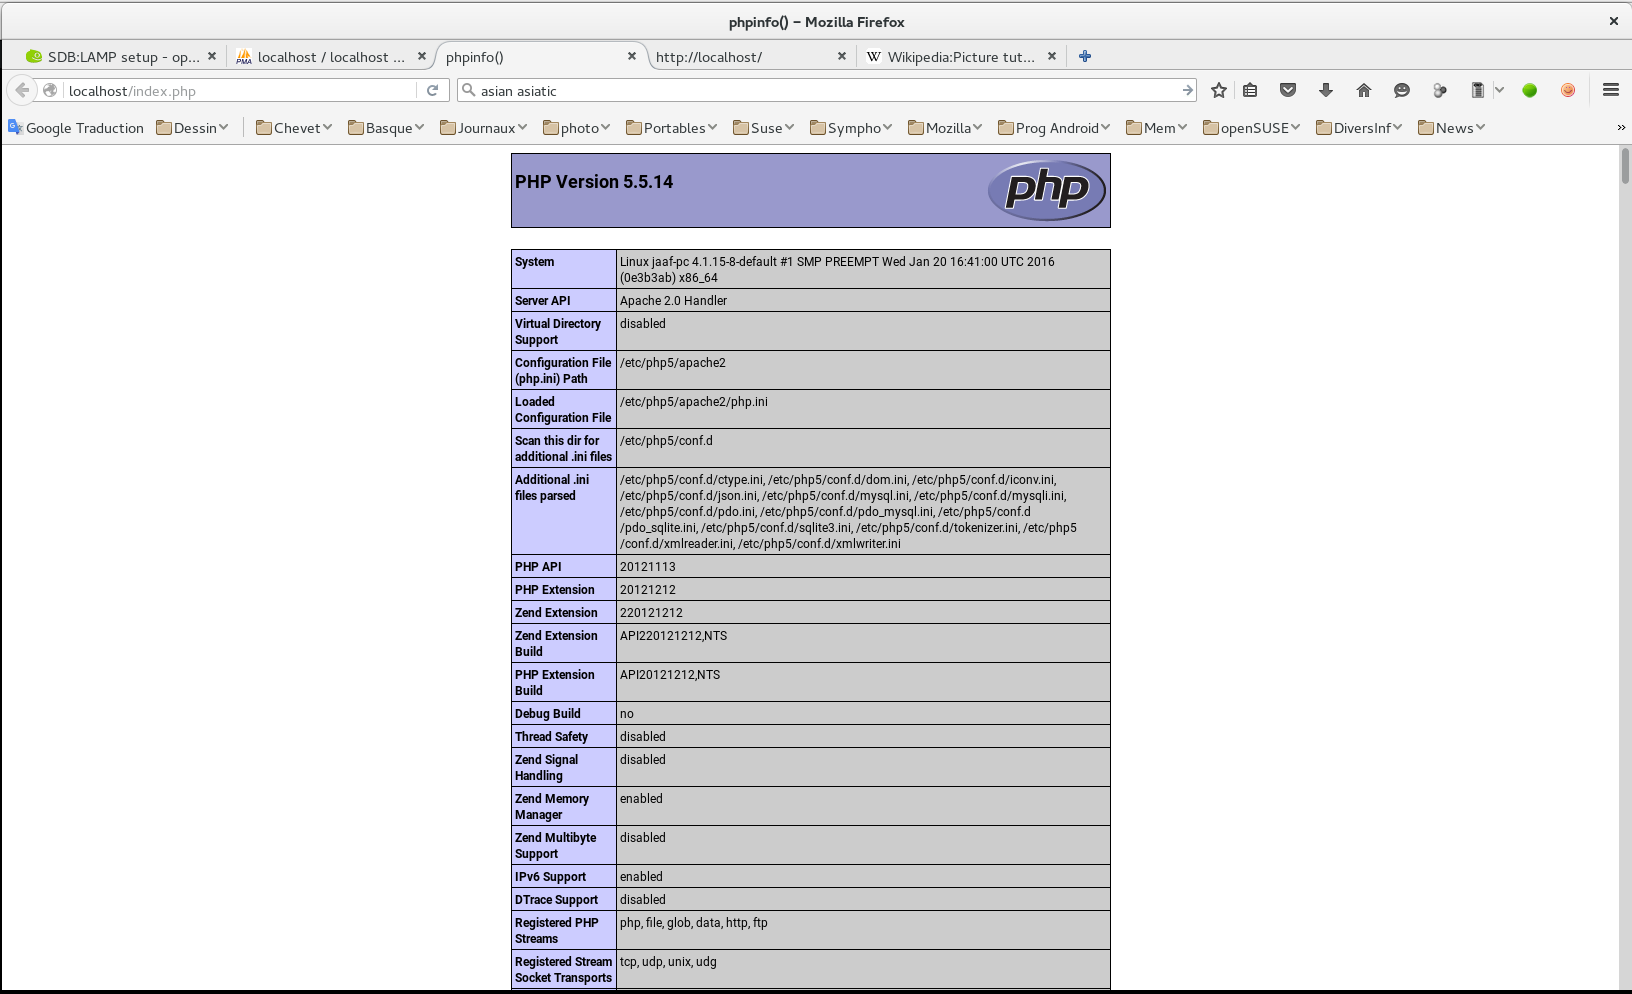
To verify that php is properly working, create a `index.php` file into the `/srv/www/htdocs/` folder with the following content:
Now, point your browser to ‘localhost/index.php’. You should see a page containing a table with all php settings displayed.
Setting up MariaDB
Installing MariaDB
Make sure you have root access — see above. We need to install mariadb and mariadb-tools:
Starting the MariaDB server
To start the MariaDB server, execute:
Ensure that the server will start at every boot:
or if you want to stop it
Configuring the MariaDB/MySql server
To configure the MariaDB server with improved security, please use the script ‘mysql_secure_installation provided by openSUSE. Hereafter is the description of the full process.
SERVERS IN PRODUCTION USE! PLEASE READ EACH STEP CAREFULLY!
In order to log into MariaDB to secure it, we’ll need the current password for the root user. If you’ve just installed MariaDB, and you haven’t set the root password yet, the password will be blank, so you should just press enter here.
Enter current password for root (enter for none):
Just press Enter here.
Setting the root password ensures that nobody can log into the MariaDB root user without the proper authorisation.
Set root password? [Y/n] y
Just enter y here.
Enter the password for root now. (MariaDb seems to reject special characters in passwords. If you use a password generator, restrict it to Alpha-Numeric characters)
Enter the password confirmation.
Reloading privilege tables.. . Success! By default, a MariaDB installation has an anonymous user, allowing anyone to log into MariaDB without having to have a user account created for them. This is intended only for testing, and to make the installation go a bit smoother. You should remove them before moving into a production environment.
Remove anonymous users? [Y/n]
Answer y to remove anonymous users.
Normally, root should only be allowed to connect from ‘localhost’. This ensures that someone cannot guess at the root password from the network.
Disallow root login remotely? [Y/n]
By default, MariaDB comes with a database named ‘test’ that anyone can access. This is also intended only for testing, and should be removed before moving into a production environment.
Remove test database and access to it? [Y/n]
. Success! — Removing privileges on test database. . Success! Reloading the privilege tables will ensure that all changes made so far will take effect immediately.
Reload privilege tables now? [Y/n]
Cleaning up. All done! If you’ve completed all of the above steps, your MariaDB installation should now be secure.
Thanks for using MariaDB!
For memory in older versions
Enter the present password or press only Enter if it has never been defined.
Logging in to the client
Now you can log in into the server client by executing
Then give your password.
Your MariaDB connection id is 154 Server version: 10.0.22-MariaDB openSUSE package
Copyright (c) 2000, 2015, Oracle, MariaDB Corporation Ab and others.
Type ‘help;’ or ‘\h’ for help. Type ‘\c’ to clear the current input statement.
To go back to the terminal, execute:
Installing phpMyAdmin
What is phpMyAdmin?
phpMyAdmin — a.k.a. pma — is a tool to administrate your databases from a Web interface written in php.
Installing phpMyAdmin
To install phpMyAdmin execute:
This also installs a number of needed php modules and restarts the apache2 server.
Defining Admin User for phpMyAdmin
From mysql 5.7 and mariadb 10.4 on, one cannot use ‘root’ login with default authentication method. One solution is to create a new admin user for the database just for phpMyAdmin. To that end proceed in the following steps.
Login into mariadb
Create user via which uses
or more explicit with
Grant privileges via
To check the result type
This yields a table of users with passwords. Note that password of `pmaUser` is encrypted.
Logging into phpMyAdmin
To log in to phpMyAdmin:
Navigate to localhost/phpMyAdmin or to ip_address/phpMyAdmin
Enter the root username and the root password of your mysql server
Click on the ‘go’ button
Checking phpMyAdmin
Now point your browser at http://localhost/phpMyAdmin/ or http://ip_address/phpMyAdmin/ and enter the mysql root username and its passord. In newer versions of mariadb or mysql root is no longer possible and one has to user a special user `pmaUser` as described above.
That’s all! You can now administer your databases from a Web interface. Logout icon is the small second after `phpMyAdmin` headline.
You can read the documentation on phpMyAdmin on the phpMyAdmin website.