System windows control label
Windows Controls: The Label
Introduction to Labels
 from the Toolbox and click the object that would host it.
 Topic Applied: Introducing Labels
- Start Microsoft Visual Studio
- Create a Windows Forms Application named ElementaryAddition1
- From the Common Control section of the Toolbox, click Label and click the form
- From the Common Control section of the Toolbox, click the Label again and click the form
- From the Common Control section of the Toolbox, click the Label again and click the form

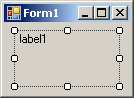
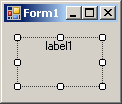
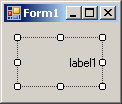
- On the form, click the first label
- In the Properties window, click Text and type 00
- Click (Name) and type lblOperand1
- Click TextAlign and the arrow of its combo box to select MiddleCenter
- Click the + button of the Font field and change the characteristics as follows:
Name: Tahoma
Font Style: Bold
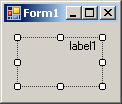
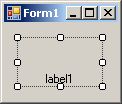
Size: 48 - On the form, click the second label and, in the Properties window, change its characteristics as follows:
Text: +
TextAlign: MiddleCenter
(Name): lblOPeration
Font -> Name: Arial
Font -> Font Style: Bold
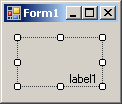
Font -> Size: 48 - On the form, click the third label and, in the Properties window, change its characteristics as follows:
Text: 00
TextAlign: MiddleCenter
(Name): lblOperand2
Font -> Name: Arial
Font -> Font Style: Bold
Font -> Size: 48
- Click an unoccupied area of the form and press Ctrl + A to select all three labels
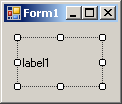
- In the Properties window, double-click AutoSize to set the value to False
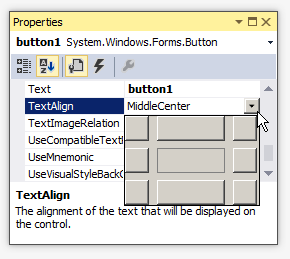
| TopLeft | TopCenter | TopRight |
 |  |  |
| MiddleLeft | MiddleCenter | MiddleRight |
 |  |  |
| BottomLeft | BottomCenter | BottomRight |
 |  |  |
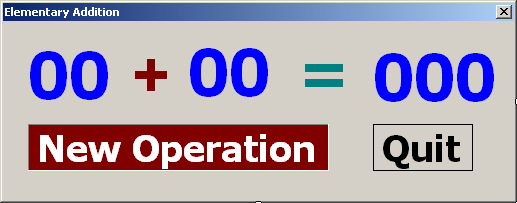
- Complete the design of the form as follows:

Control Text Name TextAlign Font Additional Properties Label 00 lblOperand1 Center Name: Tahoma
Font Style: Bold
Size: 48ForeColor: Blue Label + Center Name: Arial
Font Style: Bold
Size: 48ForeColor: Maroon Label 00 lblOperand2 Center Name: Tahoma
Font Style: Bold
Size: 48ForeColor: Blue Label = Center Name: Arial
Font Style: Bold
Size: 48ForeColor: Green Label 00 lblResult Center Name: Tahoma
Font Style: Bold
Size: 48Label New Operation lblNewOperation Center Name: Tahoma
Font Style: Bold
Size: 28BorderStyle: Fixed3D
ForeColor: White
BackColor:MaroonLabel Quit lblQuit Center Name: Tahoma
Font Style: Bold
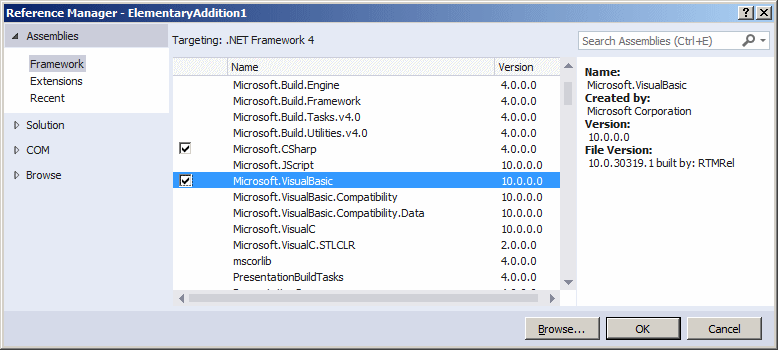
Size: 28BorderStyle: FixedSingle - To be able to use the Visual Basic library, in the Solution Explorer, right-click References and click Add Reference.
- In the Reference Manager, click the chek box of Microsoft.VisualBasic
 |
 |
 |
 |
 |
Labels and Data Record Selection
Text-based controls are the prime candidate for showing the value of a column of a table. Probably the simplest way to do this is by assigning a value gotten from a SQL data reader. Here is an example:
An alternative is to use the Binding class. In this case, you must access the DataBindings property of the label and call the Add() method of the property. In the parentheses, use the primary constructor of the class to pass the Text property as a string, the index of the first table of the data set, and the name of the column of the table. This can be done as follows:
Элемент управления Label (Windows Forms) Label Control (Windows Forms)
ToolStripLabelЭлемент управления заменяет и расширяет функциональные возможности Label элемента управления. The ToolStripLabel control replaces and adds functionality to the Label control. Можно использовать ToolStripLabel с другими новыми элементами управления, такими как ToolStripDropDown . You can use the ToolStripLabel with other new controls such as the ToolStripDropDown. Однако этот Label элемент управления сохраняется как для обратной совместимости, так и для использования в будущем, если вы решили. However, the Label control is retained for both backward compatibility and future use, if you choose.
LabelЭлементы управления Windows Forms используются для вывода текста или изображений, которые не могут быть изменены пользователем. Windows Forms Label controls are used to display text or images that cannot be edited by the user. Они используются для обнаружения объектов в форме — для предоставления описания того, что может делать определенный элемент управления, например, или для вывода сведений в ответ на событие или процесс во время выполнения в приложении. They are used to identify objects on a form—to provide a description of what a certain control will do if clicked, for example, or to display information in response to a run-time event or process in your application. Поскольку Label элемент управления не может получать фокус, он также может использоваться для создания ключей доступа для других элементов управления. Because the Label control cannot receive focus, it can also be used to create access keys for other controls.
в этом разделе In This Section
Общие сведения об элементе управления Label Label Control Overview
Описание элемента управления, его основных возможностей и свойств. Explains what this control is and its key features and properties.
Практическое руководство. Определение клавиш доступа с помощью элементов управления Label в Windows Forms How to: Create Access Keys with Windows Forms Label Controls
Описывает использование метки для определения ключа доступа для другого элемента управления. Describes how to use a label to define an access key for another control.
Справочник Reference
Label
Описание класса и всех его членов. Describes this class and has links to all its members.
Связанные разделы Related Sections
Элементы управления для использования в формах Windows Forms Controls to Use on Windows Forms
Полный список элементов управления Windows Forms со ссылками на информацию об их применении. Provides a complete list of Windows Forms controls, with links to information on their use.


