- Включение и отключение компонентов Windows 10
- Работаем с Windows Features
- Управление Features on Demand (FOD)
- Установка и переустановка пакетов языков (Language Interface Packs, LIP)
- Turn Windows Features on or off: Here’s how to use it
- How do I turn on or off optional Windows features?
- Access this feature from Control Panel
- What features are available to be installed?
- Enable and Disable Windows Features
- Windows Vista, 7/8/10
- Windows XP
Включение и отключение компонентов Windows 10
Как известно, Windows 10 отличается набором компонентов от предыдущих версий операционных систем Windows. Зачастую требуется их включить или выключить, чтобы они не потребляли системные ресурсы, да и просто не мешали. В этой статье мы рассмотрим как это сделать быстрее и эффективнее.
Начнем с того, что существует два основных способа работы с компонентами (они еще называются features) — утилита DISM и командлеты Powershell. И то и другое встроено в Windows 10, в отличие от Windows 7, где dism можно было добавить или установив пакет Windows ADK, или руками скопировав dism.exe с другого компьютера.
Сразу отмечу, что утилиту dism и среду powershell для работы с системой необходимо запускать от имени администратора, даже если ваш аккаунт уже находится в группе локальных админов. Итак, вы или находите cmd или windows powershell в меню и, кликнув правой кнопкой мышки, выбираете «Запуск от имени администратора».
В Windows 10 есть понятие Features и Capabilities. Первое — это привычные нам компоненты, которые можно найти в Панели управления -> Программы и компоненты -> Включение и отключение компонентов Windows. То есть это встраиваемые модули, которые выполняют определенный сервисный функционал.
Capabilities — это дополнительные возможности, которые расширяют возможности интерфейса и увеличивают удобство пользователя. Среди них — Language packs, наборы шрифтов. Да, Microsoft удалил часть нестандартных шрифтов, которые теперь вынесены в опциональные компоненты. Скачать эти компоненты можно в виде ISO файла с сайта Volume Licensing Service Center или напрямую через Internet и графический интерфейс Windows. Такую концепцию Microsoft назвала Features on Demand (FOD). Их в более ранних версия Windows не было.
Работаем с Windows Features
Итак, список установленных компонентов можно посмотреть командой
Dism /online /Get-Features
Вот как в Powershell можно получить список всех компонентов командлетами Get-WindowsFeature (для Windows Server) или Get-WindowsOptionalFeature (Windows 10):
Чтобы получить список отключенных компонентов, введите:
Get-WindowsOptionalFeature -Online | ? state -eq ‘disabled’ | select featurename
Этот список также можно вывести в файл (для windows Server):
Get-WindowsFeature | Where-Object <$_.Installed -match “True”>| Select-Object -Property Name | Out-File C:\Temp\WindowsFeatures.txt
Посмотрев список названий и их состояние, можно использовать эти названия для того, чтобы компоненты включить или выключить:
Dism /online /Enable-Feature /FeatureName:TFTP /All
ключ /All позволяет включить также все дочерние компоненты;
Установка компонентов через Powershell выполняется командой Enable-WindowsOptionalFeature.
Enable-WindowsOptionalFeature -Online -FeatureName RSATClient-Roles-AD-Powershell
Параметр -All включает все дочерние компоненты.
Dism /online /Disable-Feature /FeatureName:TFTP
Аналогично, через Powershell это можно сделать командой Disable-Windowsoptionalfeature -online -featureName [feature name].
Обратите внимание, некоторые фичи имеют разные названия в Windows 7 и Windows 10. Например, RSAT в Windows 7 — это RemoteServerAdministrationTools, а в Windows 10 — RSATclient.
Управление Features on Demand (FOD)
Если вы устанавливаете их через графический интерфейс, то вам необходимо пройти “System –> App & features –> Manage optional features” и нажать знак + напротив необходимых компонентов.
Чтобы сделать это автоматизированно через командную строку, наберите чтобы получить список доступных компонентов:
DISM.EXE /Online /Get-Capabilities
или на Powershell:
Как и прежде, запомните название необходимых вам компонентов, чтобы включить их командой (на примере .Net Framework 3):
DISM.EXE /Online /Add-Capability /CapabilityName:NetFx3
или на Powershell:
Add-WindowsCapability –Online -Name NetFx3
Если же у вас нет доступа в Интернет, то есть выход. Итак, вы скачиваете ISO образ диска с FOD компонентами с сайта Volume Licensing Service Center. Файлы будут разные для разных релизов Windows 10 — 1511, 1607, 1703, 1709. Важно помнить, что компоненты одного релиза не подходят к другому. Если вы сделаете in-place upgrade (установка одного релиза поверх другого через обновление), то несовместимые установленные компоненты будут удалены без вашего желания! Да, Microsoft удаляет то, что считает несовместимым при обновлении.
Так вот, ISO файл содержит набор неизвестных и сложных для понимания файлов с расширением cab. Вот чудесный файлик на сайта Microsoft, который обясняет назначение каждого файла. Итак, существуют следующие типы FOD:
- Microsoft-Windows-LanguageFeatures-Basic — проверка правописания для различных языков и раскладок клавиатуры;
- Microsoft-Windows-LanguageFeatures-Fonts — национальные шрифты, например, азиатские
- Microsoft-Windows-LanguageFeatures-OCR — средства для распознавания шрифтов
- Microsoft-Windows-LanguageFeatures-Handwriting — средства для распознавания рукописного ввода
- Microsoft-Windows-LanguageFeatures-TextToSpeech — средства преобразования текста в голос, используемые подсказчиком Cortana
- Microsoft-Windows-LanguageFeatures-Speech — распознавание голоса
- Microsoft-Windows-InternationalFeatures — пакеты национальных настроек, например, для Тайваня
Итак, для добавления таких FOD компонентов, используйте команды вида (замените имя компонента):
Dism /Online /Add-Capability /CapabilityName:Language.Basic
Для удаления FOD:
Dism /Online /Remove-Capability /CapabilityName:Language.Basic
Установка и переустановка пакетов языков (Language Interface Packs, LIP)
Язык интерфейса Windows можно поменять, установив так называемые LIP. ранее они назывались MUI (Multi user interface). Файлы LIP выглядят так: Microsoft-Windows-Client-Language-Pack_x64_es-es.cab для испанского языка. Выглядеть установка будет примерно так:
Dism /Add-Package /online /PackagePath:»C:\Languages\Microsoft-Windows-Client-Language-Pack_x64_fr-fr.cab»
Dism /Remove-Package /online /PackageName:Microsoft-Windows-Client-LanguagePack-Package
В следующей статье мы поговорим как с помощью DISM и Powershell управлять так называемыми Modern-приложениями AppX.
Turn Windows Features on or off: Here’s how to use it


Windows 10 is a great operating system, but it also comes with several hidden features that you might not know about. All these features are listed in the Turn Windows features on or off section, and in today’s article, we’ll show you how you can enable or disable them.
How do I turn on or off optional Windows features?
Access this feature from Control Panel
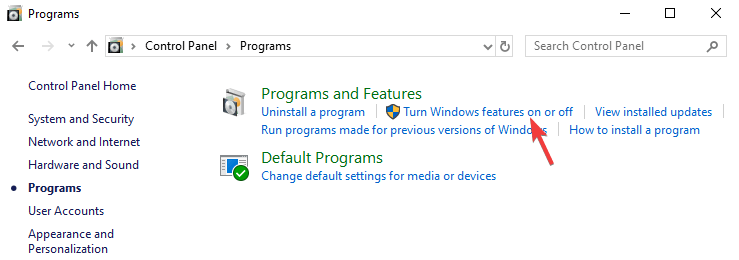
- Open Control Panel and go to Programs.
- Now select Turn Windows features on or off.

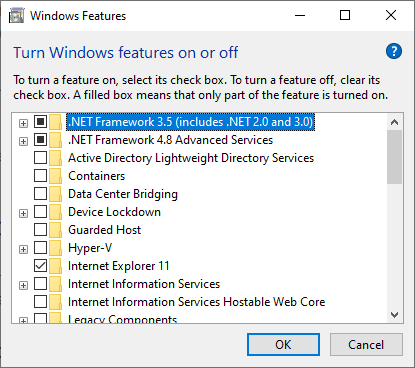
- List of features will now appear. Just check the feature you want to install or uncheck the one you want to remove and click OK.
- You’ll be asked to restart your PC in order to apply the changes.
If you want to access this feature quickly, you can use the following method:
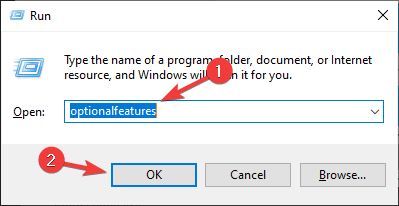
- Press Windows Key + R to open the Run window.
- Now enter optionalfeatures and press Enter or click OK.
What features are available to be installed?

There are about 30+ optional features available to be installed, but we’re going to focus on several most important ones.
- .NET Framework 3.5 (includes .NET 2.0 and 3.0)and.NET Framework 4.6 Advanced Services– These two features are required in order to run applications created using the .NET Framework 3.5 or 4.6.
- Hyper-V– Microsoft’s virtualization technology that lets you run virtual machines on your PC without third-party software.
- Internet Explorer 11– If you still need to use Internet Explorer on your PC, you should know it’s still available on Windows 10.
- Media Features – This includes Windows Media Player and other multimedia components.
- Microsoft Print to PDF – A feature that lets you “print” your documents straight to PDF files instead of an actual printer.
- Windows PowerShell 2.0 – Command Line interface similar to the Command Prompt, but more advanced.
- Windows Subsystem for Linux (Beta)– This feature gives you the access to the Ubuntu command line and it allows you to use the same commands you’d use on a Linux system.
These are some of the most notable features that you can enable/disable, but there are a lot more available.
There you go, a quick and easy guide on how to use Turn Windows Features on or off on your PC.
As you can see, most of the features available here are made for advanced users, and you most likely won’t have to enable or disable them on your own anytime soon.
We hope you found this article informative and that you now have a better understanding of optional Windows Features.
Enable and Disable Windows Features
Never use IE? You can uninstall it here!
No matter which version of Windows you use, there is a lot of features that are installed with the system by default, many of which you probably will never use. Disabling Windows features you don’t use can optimize your system, making it faster and saving precious hard disk space.
This article shows you how to enable and disable features in Windows 7/8/10, Vista, and XP.
Windows Vista, 7/8/10
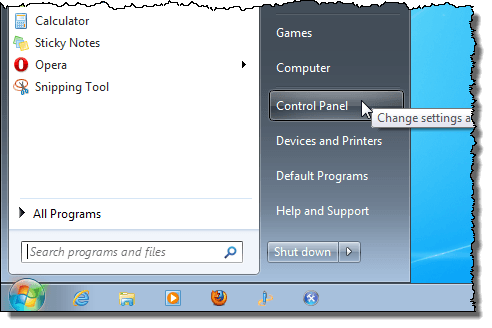
To turn Windows features in Windows Vista to Windows 10 on or off, click Control Panel on the Start menu. You can also click on Start and then type in control panel.
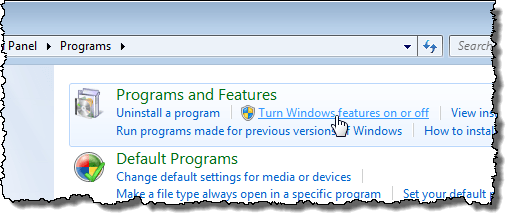
Click the Programs link.
NOTE: If you are in Classic View, the link reads Programs and Features.
Under the Programs and Features heading, click the Turn Windows features on or off link.
NOTE: If you are in the Classic View, the Turn Windows features on or off link is on the left panel.
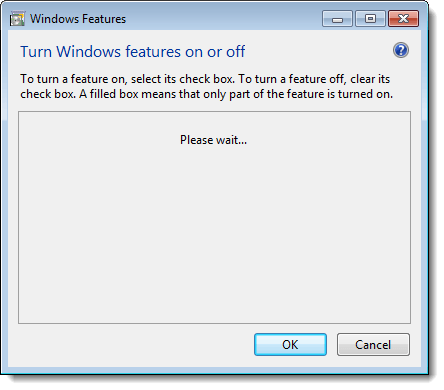
The Windows Features dialog box displays with a “Please wait…” message, while the features list is loaded.
When the list of features displays, you can move your mouse over one of the features and view a description of that feature.
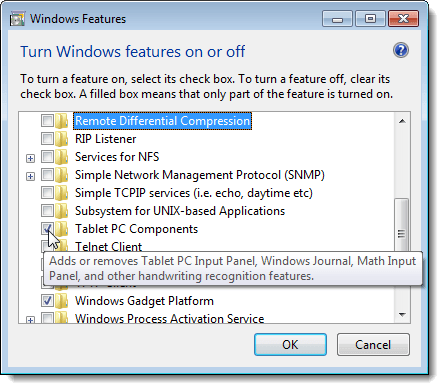
For each feature you want to turn off, select the check box to the left of the feature so there is NO check mark in the box. For example, since we are not using a Tablet PC, we decided to turn off the Tablet PC Components feature, along with some other features we don’t use. Once you have made your changes, click OK to close the Windows Features dialog box.

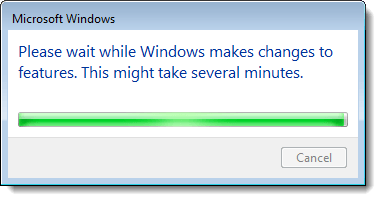
A dialog box displays showing the progress of the changes being made to your Windows system.
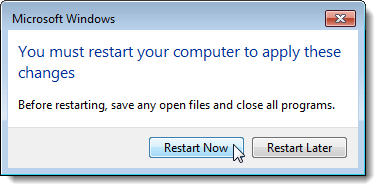
You must restart your computer for the changes to be completed. Click Restart Now if you are ready to restart the computer now. If you want to wait to restart the computer, click Restart Later.
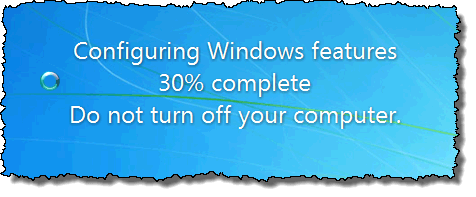
While the computer is shutting down and again while it is starting up, the following message displays. Be sure you don’t shut off the computer while the features are being configured.
Windows XP
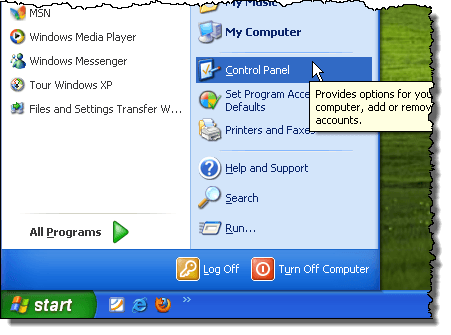
To turn Windows features in Windows XP, click Control Panel on the Start menu.
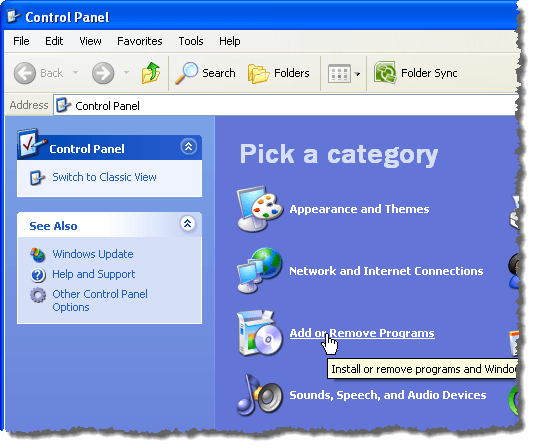
Click the Add or Remove Programs link (or the icon in Classic View) on the Control Panel window.
On the Add or Remove Programs dialog box, click Add/Remove Windows Components in the left panel.

A dialog box displays asking you to wait while the list of Windows features is generated.
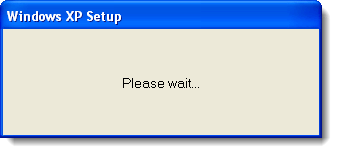
The Windows Components Wizard displays with a list of Components. If the check box to the left of a component has a gray background, there are sub-components within that component. Click Details to view the components under that main component.
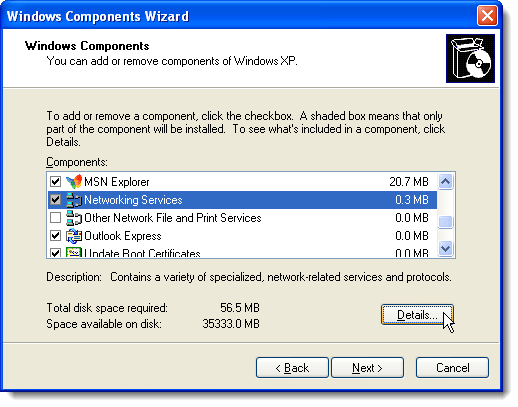
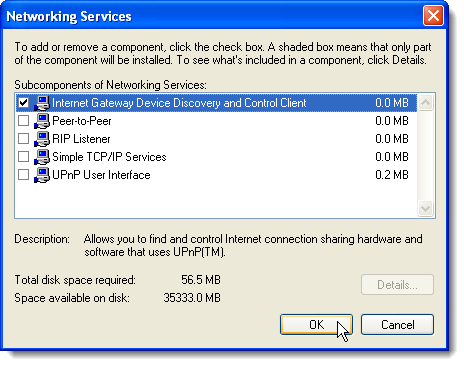
For example, the following dialog box shows the components available under the Network Services main component. You can turn on or off any of these components and click OK to accept your changes and return to the Windows Components Wizard.
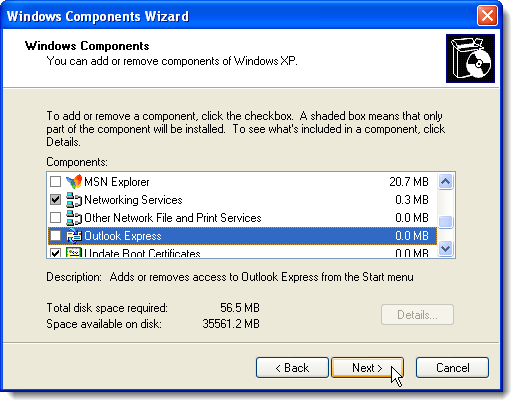
For each feature you want to turn off, select the check box to the left of the feature so there is NO check mark in the box. For example, we are not using MSN Explorer or Outlook Express, in addition to some other features. Once you have made your changes, click Next.
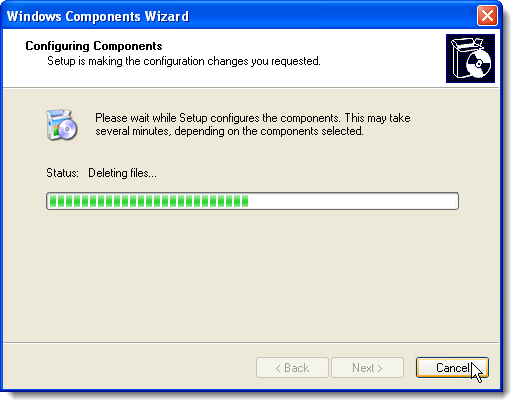
The Configuring Components screen displays the progress of the changes being made to your system.
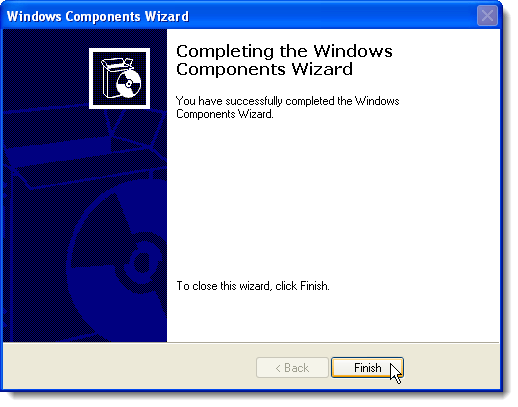
When the changes have been made, the Completing the Windows Components Wizard dialog box displays. Click Finish.
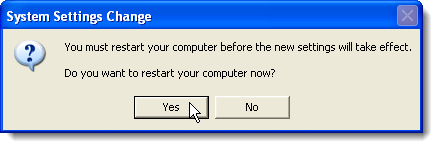
You must restart your computer for the changes to be completed. Click Yes if you are ready to restart the computer now. If you want to wait to restart the computer, click No.
You can turn on any of the Windows features again, if desired, simply by following these procedures and selecting the check boxes for features you want so there is a check mark in each check box. Enjoy!
Founder of Help Desk Geek and managing editor. He began blogging in 2007 and quit his job in 2010 to blog full-time. He has over 15 years of industry experience in IT and holds several technical certifications. Read Aseem’s Full Bio


