- Unity Pro
- Develop better, iterate faster, and grow your business
- Resolve issues and increase productivity
- High-end content
- Create together, faster
- Keep making your games better
- Incredible possibilities for all industries and applications
- Frequently asked questions
- Unlock your creativity
- Create with Unity in three steps
- Simplify your journey
- Resources
- Unity Platform
- Why Unity?
- Unlock your creativity
- Create with Unity in three steps
- Simplify your journey
- Resources
- Сборка билдов Unity3D на Jenkins в Mac OS X. Часть 1
- Предыстория
- Техническое задание
- Железо
- Установка системы
- Установка Xcode
- Установка Unity3D
- Установка Java, JDK, Android SDK
- Установка SVN
- Установка Jenkins
- Автозагрузка, перезапуск, смерть
- Что имеем
Unity Pro
Develop better, iterate faster, and grow your business
Splash screen customization
Advanced Cloud Diagnostics
Technical support available
Source code available
Ads and In‑App Purchases

Resolve issues and increase productivity
Position your teams for success with direct, prioritized support. Priority access to dedicated Success Advisors helps you find key resources and get the most from your subscription, and priority Customer Service helps get you fast answers to account and billing inquiries.
High-end content
Pro subscribers get a comprehensive, high-fidelity art package created by top-talent industry icons, free. Buried Memories: Yggdrasil retails for $249 on the Asset Store.

Create together, faster
Unity Pro includes three seats of Unity Teams Advanced per organization, which enables faster teamwork with features such as project collaboration and history, cloud storage, automatic cloud builds, and integrations with popular collaboration tools for project and build notifications.

Keep making your games better
Integrated Live-Ops Analytics give you real-time gameplay data and insights to help keep your players more engaged and help you maximize monetization revenue. Analyze player behavior and take actions right away to tweak gameplay experiences for better results.
Incredible possibilities for all industries and applications
Unity is the world’s leading real-time 3D development platform, offering what you need to create, operate and monetize amazing games and experiences across the widest range of platforms in the industry. Build once, deploy anywhere, captivate everyone.
Frequently asked questions
Yes. You fully own the content you create with Unity, even if you cancel your subscription.
No, Unity is royalty free. We don’t charge on a per title basis or require a revenue share model.
All Learn Premium content and live offerings are freely available to all users on the Unity Learn platform. Simply head over to the platform and start learning.
There is no cancellation policy or reimbursement for a subscription. Once you commit to a subscription you are obligated to pay all monthly payments owing.
Yes, your subscription will automatically renew with the same commitment term and payment frequency as your original subscription, unless you change your renewal settings or plan option in your Unity ID before your next scheduled renewal date.
If your subscription originally included different renewal options, you will continue to have those options while you stay subscribed.
After you have completed your purchase (and are eligible to receive Advanced Teams for free) you will receive an email, within a week of your purchase, with the voucher code to claim Teams Advanced. When you receive the voucher code, log into your Unity ID and click on “Redeem a product code” under “My Account.” Enter the voucher code in the field and click the button “Redeem a product code.”
Yes. You must redeem the Teams Advanced voucher code and download it within 30 days of purchase.
Источник
Unlock your creativity
Download the world’s most popular development platform for creating 2D and 3D multiplatform games and interactive experiences.
Create with Unity in three steps
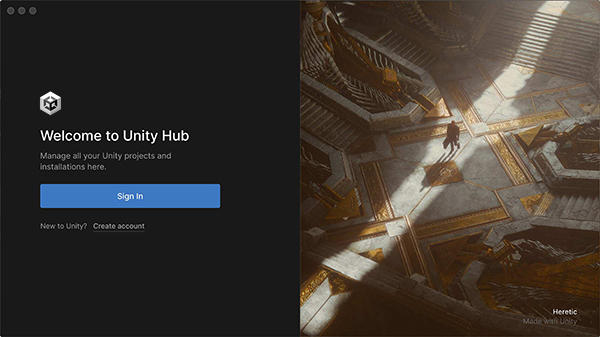
1. Download the Unity Hub
Follow the instructions onscreen for guidance through the installation process and setup.
2. Choose your Unity version
Install the latest version of Unity, an older release, or a beta featuring the latest in-development features.
3. Start your project
Begin creating from scratch, or pick a template to get your first project up and running quickly. Access tutorial videos designed to support creators, from beginners to experts.
OS:
Windows 7 SP1+, 8, 10, 64-bit versions only; Mac OS X 10.12+; Ubuntu 16.04, 18.04, and CentOS 7.
GPU:
Graphics card with DX10 (shader model 4.0) capabilities.
Use the Unity Hub to manage multiple installations of the Unity Editor, create new projects, and access your work.
Simplify your journey
The Unity Hub comes with fun, guided learning paths to help new users become creators more quickly.

Pick a Microgame
Start with game-ready templates designed to help you personalize and share your first game, including a LEGO® Microgame, Karting, Platformer, or FPS.

Personalize with Mods
Take the fun of game creation to a whole new level. Through mini-adventures we call Creative Mods, you can easily add your own unique style and ideas to your game.
Share your playable game
Show off your new skills and get instant feedback. In just a few steps, you can publish a playable version of your game on the web to share with anyone.
Resources
Support and services
Keep your project moving toward the finish line. We offer a variety of support options and services so you can get the right kind of help, at the right time.
Documentation
The Unity User Manual is the definitive repository for in-depth and procedural information on all of Unity’s features, UI, and workflows.
Knowledge Base
Whether you’re creating an account, importing assets, or baking a scene, this comprehensive library of articles created by experts has you covered.
Источник
Unity Platform
Unity’s real-time 3D development platform lets artists, designers and developers work together to create amazing immersive and interactive experiences. (Available for Windows, Mac, and Linux.)
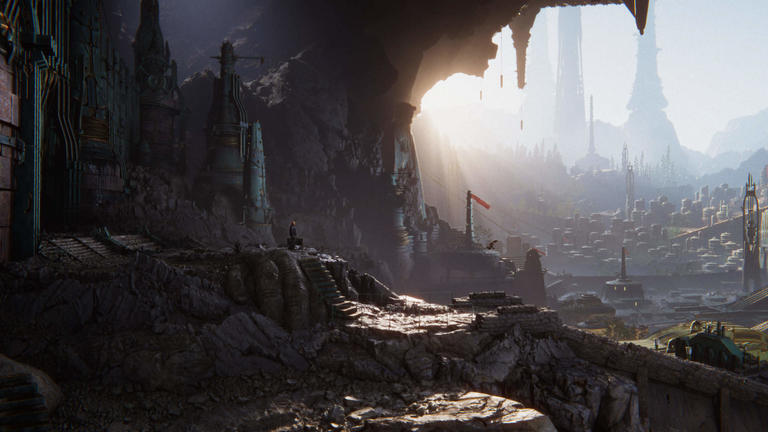
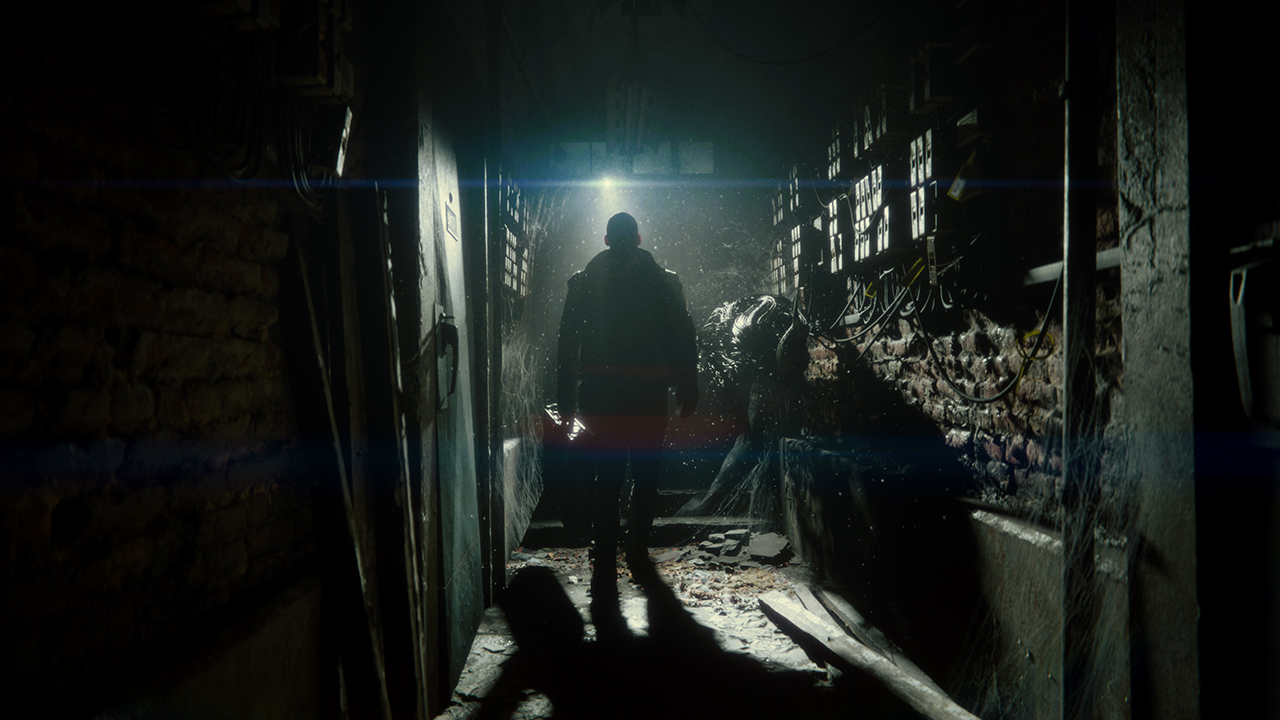
The Heretic: a short film created with Unity 2019.3
Unity is the world’s leading platform for creating and operating interactive, real-time 3D content, providing the tools to make amazing games and publish them to a wide range of devices. The Unity core platform enables entire creative teams to be more productive together.
Why Unity?

Real-time 3D creation for everyone
A creative hub for artists, designers, and programmers, the Unity core platform enables rapid editing and iteration in your development cycles, with real-time previews of your work. You can create 2D or 3D scenes, animations or cinematics directly in the Unity Editor.

Create once, deploy anywhere
Reach the widest audience and feel confident that your IP is future-proof, no matter how the industry evolves or where your imagination takes you. Build your content once and deploy across over 20 platforms, including Windows, Mac, iOS, Android, PlayStation, Xbox, Nintendo Switch, and the leading AR and VR platforms.
Graphics rendering – beauty, performance, scalability
When it comes to graphics, you need control to shape your vision and power to push your visuals. Unity’s real-time rendering capabilities enable you to produce amazing visual fidelity with the Scriptable Render Pipeline.
Источник
Unlock your creativity
Download the world’s most popular development platform for creating 2D and 3D multiplatform games and interactive experiences.
Create with Unity in three steps
1. Download the Unity Hub
Follow the instructions onscreen for guidance through the installation process and setup.
2. Choose your Unity version
Install the latest version of Unity, an older release, or a beta featuring the latest in-development features.
3. Start your project
Begin creating from scratch, or pick a template to get your first project up and running quickly. Access tutorial videos designed to support creators, from beginners to experts.
OS:
Windows 7 SP1+, 8, 10, 64-bit versions only; Mac OS X 10.12+; Ubuntu 16.04, 18.04, and CentOS 7.
GPU:
Graphics card with DX10 (shader model 4.0) capabilities.
Use the Unity Hub to manage multiple installations of the Unity Editor, create new projects, and access your work.
Simplify your journey
The Unity Hub comes with fun, guided learning paths to help new users become creators more quickly.
Pick a Microgame
Start with game-ready templates designed to help you personalize and share your first game, including a LEGO® Microgame, Karting, Platformer, or FPS.
Personalize with Mods
Take the fun of game creation to a whole new level. Through mini-adventures we call Creative Mods, you can easily add your own unique style and ideas to your game.
Share your playable game
Show off your new skills and get instant feedback. In just a few steps, you can publish a playable version of your game on the web to share with anyone.
Resources
Support and services
Keep your project moving toward the finish line. We offer a variety of support options and services so you can get the right kind of help, at the right time.
Documentation
The Unity User Manual is the definitive repository for in-depth and procedural information on all of Unity’s features, UI, and workflows.
Knowledge Base
Whether you’re creating an account, importing assets, or baking a scene, this comprehensive library of articles created by experts has you covered.
Источник
Сборка билдов Unity3D на Jenkins в Mac OS X. Часть 1
Предыстория
Есть проект на Unity3D. Есть уже несколько лет (родился в феврале 2012 года). Через полгода я начала работать на нем программистом, а через два года мне не повезло и я стала ответственной за сборку билдов. В наследство мне достался MacMini с установленным сборщиком Jenkins, минимум документации и отсутствие адекватной сборки для iOS.
Хочется наконец написать адекватную инструкцию — ибо на первоначальную настройку было убито несколько недель, а при переносе на iMac мои старые наработки уже устарели. Итак…
Техническое задание
Железо
Почему собираем на яблочной продукции? Потому что надо собирать iOS приложения и отправлять их в AppStore. Иметь хакинтош или виртуалку — иметь проблемы.
Итак, есть старенький MacMini в офисе и новейший iMac дома. Оба справляются со своей работой, разница в производительности и подходе — на первый отсутствует гарантия и его не жалко (желание убить его об стол возникает каждую неделю), второй — любовно протирается тряпочкой и бережется.
Итак, для желающих — ознакомиться со сборкой и разборкой первого девайса — добро пожаловать сюда. Потребность в сборке возникла после смерти старого диска. Благодаря инструкции — успешно вскрыт и вставлен новый диск на 1 ТБ.
Здесь стоит сделать отступление — я предпочитаю иметь жесткий диск с несколькими разделами, а возможно даже и с несколькими операционками. Однако, если тип накопителя Fusion Drive — сделать это не получится (мой iMac имеет на диске максимум — два раздела, и на втором обитается Windows). Если диск обычный — проблем никаких. Можно хранить все важные данные в одном разделе (и бэкапить его с помощью Time Machine), а тяжеловесные копии проекта хранить на другом.
Установка системы
Заслуживает отдельной статьи. Кратко:
- На новейших маках есть интернет-установка. Иначе — нужен дисковод или флешка с образом системы. Вход в меню установки Cmd+R.
- Все диски и разделы обзываем понятными именами. Разделы с системой и рабочими данными форматируем обязательно в Mac OS Extended (Journaled). Обязательно — не Case-sentive.
- Для установки софта потребуется Apple Id. Желательно, чтобы этот Apple Id соответствовал аккаунту разработчика Apple, который используется при подготовке и заливке билдов.
- Помимо аккаунта администратора необъодим аккаунт с обычными правами. Называем его jenkins, паролим также.
- Если кто-то нуждается в удаленном доступе через Chrome Remote Desktop — придется предоставить аккаунту права администратора.
- Ставим нормальный браузер и полезный софт по желанию.
- Если возникли проблемы с отображением страниц — Steam Community, YouTube и других — смотрим раз и два.
Установка Xcode
Установка Unity3D
Движок можно скачать на оффсайте (нужна Mac версия) версия или на любимом трекере. На оффсайте регистрируемся и приобретаем нужную лицензию, в зависимости от нужд проекта.
По умолчанию после установки Unity.app, MonoDevelop.app и документация лежат в /Applications/Unity. Если требуется установить несколько версий — сначала переименовываем старую папку установки, к примеру /Applications/Unity_4_6_6_f2, только после этого ставим новую версию и переименовываем место установки тоже. Все версии и патчи можно найти здесь.
MonoDevelop достаточно оставить самый свежий, прописав в настройках каждой Unity путь. В папке /Users/Shared можно обнаружить дефолтный проект Unity — его можно снести.
Для пользователя jenkins необходимо проставить права на запуск всех файлов. При необходимости — и на все содержимое .app.
Также в настройках отключаем автооткрытие последнего проекта и регистрируем каждую копию.
Установка Java, JDK, Android SDK
JDK и JRE можно скачать с оффсайта. Android SDK качаем отсюда. После установки — обновляем SDK и прописываем в каждой Unity путь до него и проверяем на тестовой сборке. Пример работающей конфигурации:
- OS X 10.10.5
- Unity 4.6.6f2
- jdk-8u60-macosx-x64
- Android SDK: Tools 24.3.4
- Android SDK: Platform-tools 23.0.1
- Android SDK: Build-tools 23.0.1
- Android SDK: SDK Platform API 23
Конфигурация подбирается только опытным путем. Нет никакой гарантии, что при обновлении одного из этих компонентов сборка билдов не упадет…
Установка SVN
Согласно этому — subversion поставляется в комплекте с системой. Для установки специфической версии — рекомендую использовать Homebrew, подробнее ищем здесь.
Установка Jenkins
- Все операции выполняем под пользователем jenkins
- Качаем с оффсайта установщик. Ставим, переносим в удобное место, к примеру в/Users/jenkins/WORK/JENKINS_WAR/jenkins.war
- Заходим в терминал, выполняем команду запуска сборщика:
Удаляем старый файл конфигурации:
Заносим следующие параметры (можно поменять, по желанию):
Выгружаем демона дженкинса командой:
Выходим из-под администратора:
Подробнее можно узнать здесь и здесь.
Автозагрузка, перезапуск, смерть
Проблема смерти и реанимации сборщика усугубляется использованием Mac и сборки на Unity. Пишем и сохраняем скрипты:
- Скрипт запуска сборщика jenkins-runner.sh:
Скрипт убийства сборщика jenkins-killer.sh:
Скрипт перезапуска jenkins-restart.sh:
Для автоматического старта сборщика создаем специальное приложение при помощи Automator. Выбираем шаблон Run AppleScript и создаем jenkins-restart.app в той же папке, куда сбросили остальные скрипты. Код программы ниже:
В случае, если скрипты лежат не в домашней папке — соответствующе редактируем пути.
В настройках пользователя jenkins ставим автоматический запуск написанного приложения. При желании его можно использовать и вручную. Самого пользователя ставим на автоматический логин при старте системы (если это офисный сборщик, а нам лень приходить пораньше, чтобы его запустить).
Подробнее о демоне — смотреть на вики или в общей справке. Вообще говоря, можно было бы не использовать Automator, а оставить данный механизм, добавив в скрипты выгрузку и загрузку демона. Однако плагины выключения и перезагрузки сборщика могут работать некорректно.
Что имеем
На данный момент система должна работать. Сборщик (пока пустой) автоматически запускается при старте системы. Любой проект на Unity должен нормально собираться (руками) из-под пользователя jenkins. При возникновении ошибок — смотрим на разрешения, установленные компоненты, оплачиваем задолжности за лицензию. Самое интересное впереди…
Источник


