- Установка java development kit windows
- System Requirements for Installing the JDK on 64-Bit Windows Platform
- JDK Installation Instruction Notation for Windows
- JDK Installation Instructions for Windows
- Downloading the JDK Installer
- Running the JDK Installer
- Installing the JDK Silently
- Setting the PATH Environment Variable
- Beginning to Use the JDK
- Uninstalling the JDK on Windows
- Uninstalling the JDK in Silent Mode
- JDK Installation Troubleshooting
- Установка JDK на компьютере под управлением Windows 10
- Шаг 1: Загрузка установщика с официального сайта
- Шаг 2: Инсталляция JDK
- Шаг 3: Настройка операционной системы
- Шаг 4: Проверка работы JDK
Установка java development kit windows
This topic includes the following sections:
System Requirements for Installing the JDK on 64-Bit Windows Platform
JDK Installation Instruction Notation for Windows
For any text in this document that contains the following notation, you must substitute the appropriate update version number:
For example, if you are downloading the JDK installer for 64-bit systems for update 11 Interim 0, Update 0, and Patch 0, then the file name jdk- 11 . interim.update.patch _windows-x64_bin.exe becomes jdk- 11 _windows-x64_bin.exe .
JDK Installation Instructions for Windows
You run a self-installing executable file to unpack and install the JDK on Windows computers.
Install JDK on Windows computers by performing the actions described in the following topics:
Downloading the JDK Installer
Access Java SE Downloads page and click Accept License Agreement . Under the Download menu, click the Download link that corresponds to the .exe for your version of Windows.
Download the file jdk- 11 . interim.update.patch _windows-x64_bin.exe .
Verify the successful completion of file download by comparing the file size on the download page and your local drive. Alternatively, you can ensure that the downloaded file’s checksum matches the one provided on the Java SE Downloads page.
Running the JDK Installer
- Start the JDK 11 installer by double-clicking the installer’s icon or file name in the download location.
- Follow the instructions provided by the Installation wizard.
- After the installation is complete, delete the downloaded file to recover the disk space.
Installing the JDK Silently
Instead of double-clicking or opening the JDK installer, you can perform a silent, non interactive, JDK installation by using command-line arguments.
The following table lists example installation scenarios and the commands required to perform them. The notation jdk stands for the downloaded installer file base name, such as jdk- 11 _windows-x64_bin.exe .
| Installation Scenario | Command |
|---|---|
| Install JDK in silent mode. | |
| Install development tools and source code in silent mode. |
Setting the PATH Environment Variable
It is useful to set the PATH variable permanently for JDK 11 so that it is persistent after rebooting.
If you do not set the PATH variable, then you must specify the full path to the executable file every time that you run it. For example:
- Select Control Panel and then System .
- Click Advanced and then Environment Variables .
- Add the location of the bin folder of the JDK installation to the PATH variable in System Variables .
The PATH environment variable is a series of directories separated by semicolons (;) and is not case-sensitive. Microsoft Windows looks for programs in the PATH directories in order, from left to right.
You should only have one bin directory for a JDK in the path at a time. Those following the first instance are ignored.
If you are not sure where to add the JDK path, append it.
The new path takes effect in each new command window that you open after setting the PATH variable.
The following is a typical value for the PATH variable:
Beginning to Use the JDK
Use the Java Development Kit in the Windows Start menu to access information related to Reference Documentation.
During JDK install, Java menu items are added to the Windows Start menu to provide easy access to Reference Documentation, which is online documentation web page.
During JDK installation and uninstallation processes, the appropriate start menu items are updated so that they are associated with the latest JDK version on the system
The Windows 7 and Windows 10 have a Start menu; however, the menu is not available in Windows 8 and Windows 8.1. The JDK and Java information in Windows 8 and Windows 8.1 is available in the following Start directory: %ALLUSERSPROFILE%\Microsoft\Windows\Start Menu\Programs .
Uninstalling the JDK on Windows
Uninstalling the JDK in Silent Mode
You can use the command line for uninstalling the JDK.
For example, to uninstall JDK 11, run the command:
- This command can be run from anywhere.
- The msiexec.exe executable is located in the windows system directory.
- A reboot is required only if some files are in use during uninstallation; it is not necessary everytime. However, to manually suppress reboot while uninstalling, append REBOOT=R option to the command.
- Append /l “C:\ path >setup.log” option to the command if you want to create a log file describing the uninstallation status.
Windows Installer dialog appears prompting you for confirmation. Click Yes to uninstall JDK.
Finding the JDK Registry Key and UninstallString Value
- Go to Start and type Regedit .
- In the Registry Editor, go to HKEY_LOCAL_MACHINE/Software/Microsoft/Windows/CurrentVersion/Uninstall .
Under the Uninstall folder, you will find many registry entries within curly brackets.
Highlight Uninstall folder before performing search for a particular registry.
The registry key is highlighted on the right-hand side of the pane and values of various uninstall strings are displayed on the left-hand pane.
JDK Installation Troubleshooting
The following sections provide tips for resolving issues, if any, while installing JDK.
System Error During Decompression
If you see the error message: system error during decompression , then there might not be enough space on the disk that contains the TEMP directory.
Program Cannot Be Run in DOS Mode
If you see the error message: This program cannot be run in DOS mode , then do the following:
Open the MS-DOS shell or command prompt window.
Right-click the title bar.
Select the Program tab.
Ensure that the item Prevent MS-DOS-based programs from detecting Windows is not selected.
Select OK again.
Exit the MS-DOS shell.
Restart your computer.
Characters That Are Not Part of the System Code Page
A 1722 error may occur if the installation directory is not part of the system locale’s code page. To prevent this, ensure that the user and system locales are identical, and that the installation path contains only characters that are part of the system locale’s code page. User and system locales can be set in the Regional Options or Regional Settings control panel.
The associated bug number is 4895647.
Cleanup the Registry After a Failed JDK Uninstall
Sometimes, attempts to uninstall JDK through the Windows Add/Remove program leave behind some Java entries in the registry that are not fully removed. These left behind registry entries can cause problems in installing a new version of Java. The following are the methods to cleanup registry entries:
- Program Install and Uninstall troubleshooter (Recommended Method)
- Manual Registry Edit
Program Install and Uninstall troubleshooter (Recommended Method)
Run the Program Install and Uninstall troubleshooter to repair the corrupted registry keys that prevent programs from being completely uninstalled, or blocks new installations and updates.
Manually edit the registry (Use this only if the Fix It utility does not work)
Incorrectly editing your registry may severely damage your system. You should back up any valued data from your computer before making changes to the registry.
Use the File->Export functionality of the registry editor to save the registry key before deleting. In case you deleted the wrong registry key, you can restore the registry from your saved backup file, by using the File->Import functionality.
To delete the registry key:
Highlight the key, Right click and select Delete .
Установка JDK на компьютере под управлением Windows 10

Начинающие разработчики, изучающие язык программирования Java, сталкиваются с надобностью установки на свой компьютер фирменного компонента под названием JDK (Java Development Kit), ведь в нем присутствует необходимый компилятор и стандартные библиотеки, позволяющие реализовывать привычные функции на этом ЯП. Большинство даже самых неопытных программистов знают, как инсталлировать подобные файлы на свой компьютер, однако некоторые сталкиваются с трудностями при попытке установки и настройки компонента. Поэтому сегодня мы хотим затронуть эту тему, детально расписав процесс добавления JDK в Windows 10.
Шаг 1: Загрузка установщика с официального сайта
Весь процесс начинается с загрузки всего одного файла формата EXE с официального сайта. Если вы уже сделали это или прекрасно знаете, как производится подобная задача, просто переходите к следующему шагу. В противном случае ознакомьтесь с этой инструкцией.
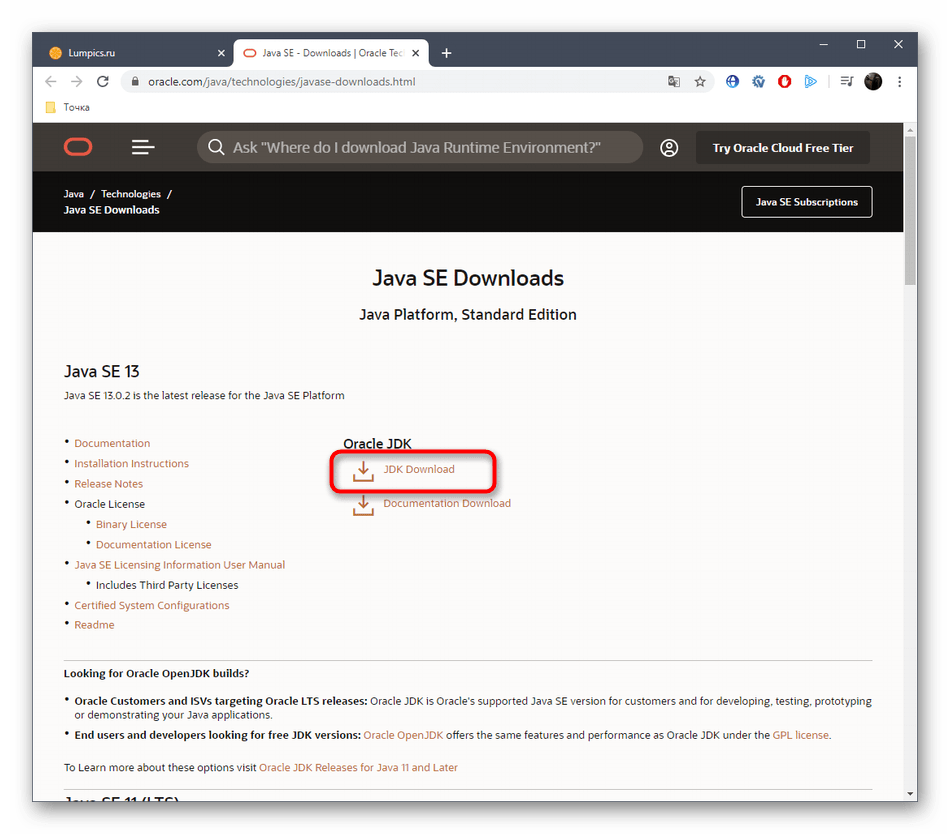
- Воспользуйтесь ссылкой выше, чтобы попасть на официальный сайт Oracle. Там вас интересует строка «JDK Download». Нажмите по ней левой кнопкой мыши, чтобы начать загрузку компонента.
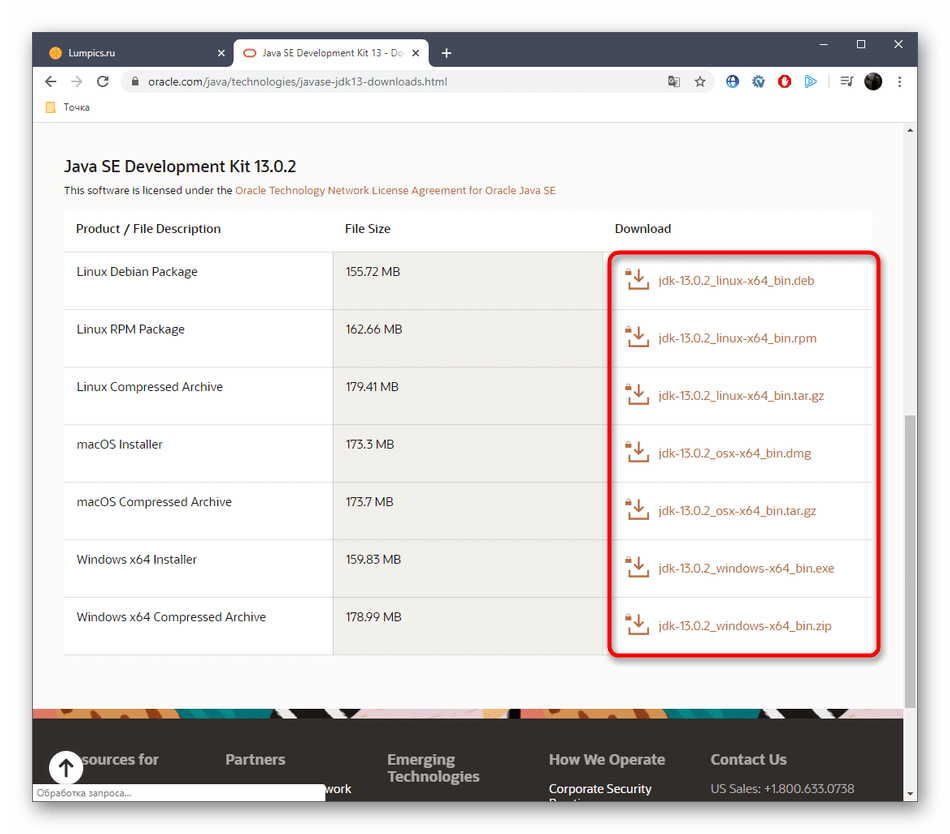
Следующим этапом будет выбор версии для своей операционной системы. В нашем случае будет выбран «Windows x64 Installer». Обратите внимание, что на 32-битных системах Java Development Kit не поддерживается.
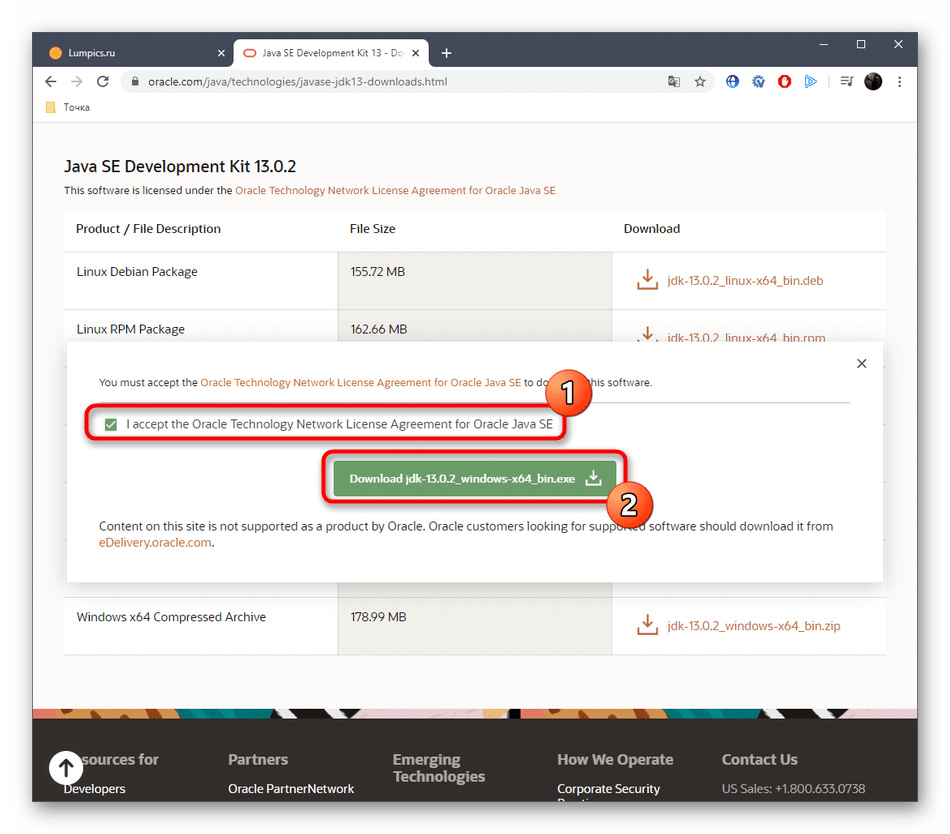
После нажатия по соответствующей кнопке откроется всплывающее окно, где следует подтвердить лицензионное соглашение, а уже потом кликнуть по активной кнопке, чтобы начать скачивание исполняемого файла.
Шаг 2: Инсталляция JDK
Этот этап выполняется еще проще предыдущего, поскольку от пользователя требуется только следовать инструкциям, отобразившимся в открытом окне. Однако давайте на нем тоже остановимся более детально, чтобы больше ни у кого не возникло вопросов по этой теме.
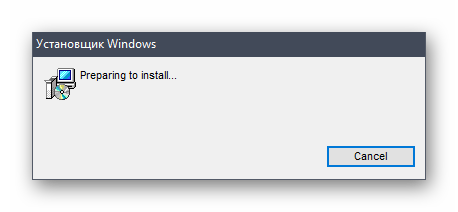
- После открытия исполняемого файла начнется подготовка к инсталляции. Это не займет много времени, а вам нужно лишь не закрывать активное окно.
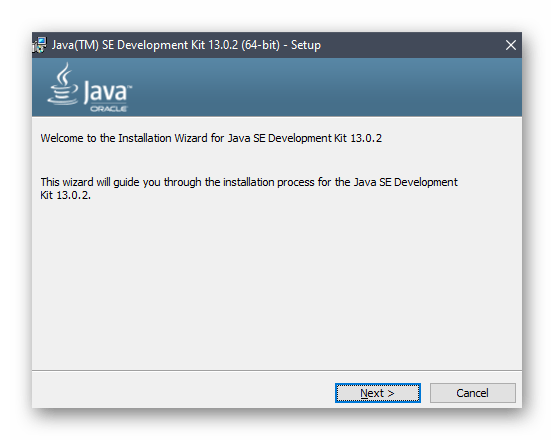
При открытии приветственного меню переходите к следующему шагу, щелкнув по кнопке «Next».
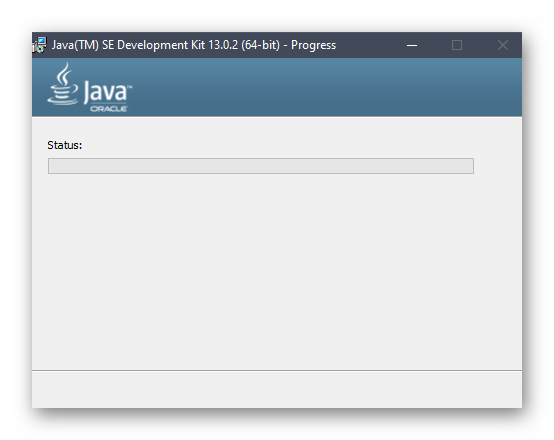
Начнется процедура установки, занимающая несколько минут. Продолжительность зависит от скорости жесткого диска и общего быстродействия операционной системы.
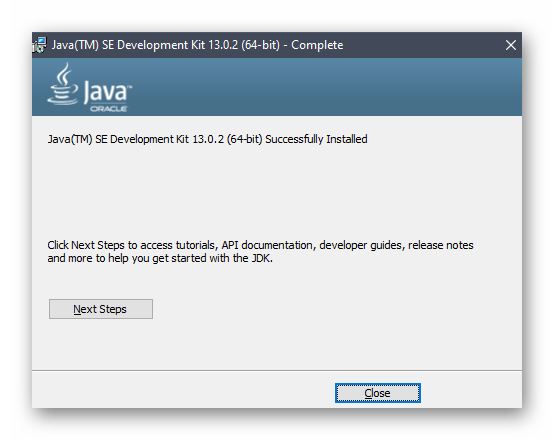
Вы получите уведомление о том, что инсталляция прошла успешно. В этом же окне находится кнопка «Next Steps». При нажатии на нее откроется страница в браузере, где будет находиться вся сопутствующая документация и уроки по взаимодействию с установленным компонентом.
Шаг 3: Настройка операционной системы
Этот этап считается самым важным и сложным, поскольку именно от него зависит корректность функционирования установленного компонента в дальнейшем. Суть заключается во внесении новых переменных окружения, что позволит работать компилятору и встроенным в JDK библиотекам. Производится конфигурация следующим образом:
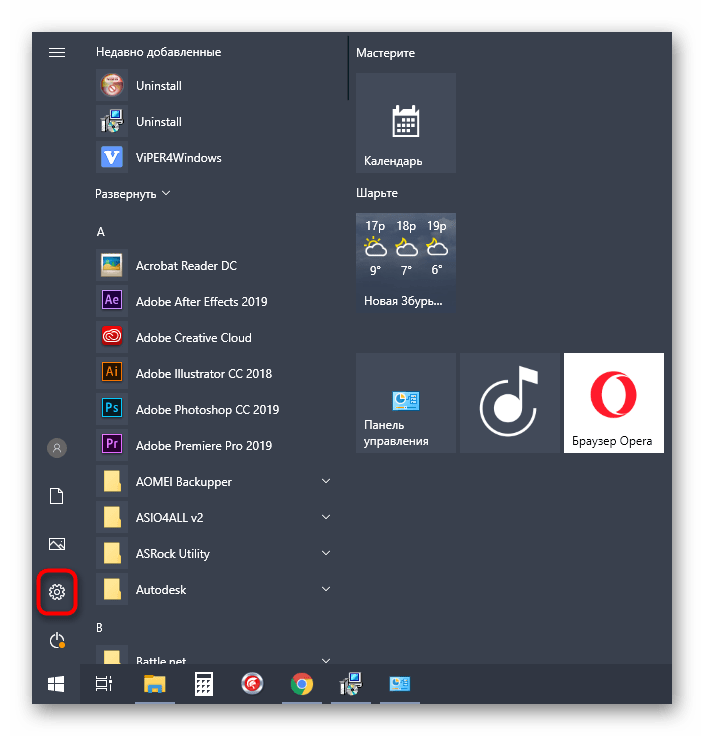
- Откройте «Пуск» и перейдите в меню «Параметры», кликнув по специально отведенной кнопке на левой панели.
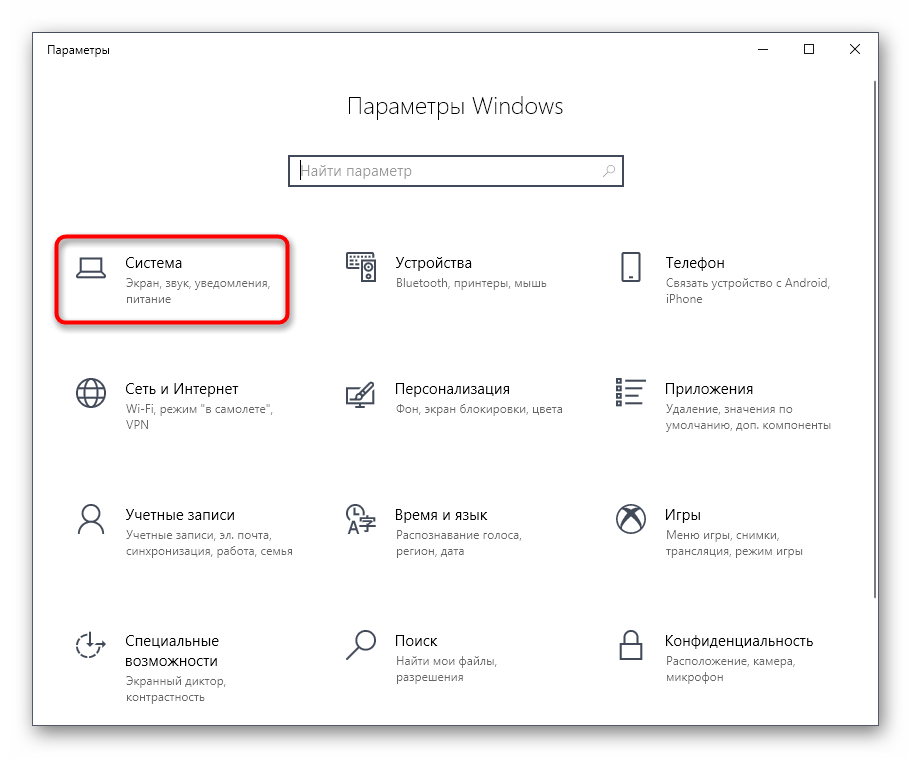
Здесь вам нужен раздел «Система».
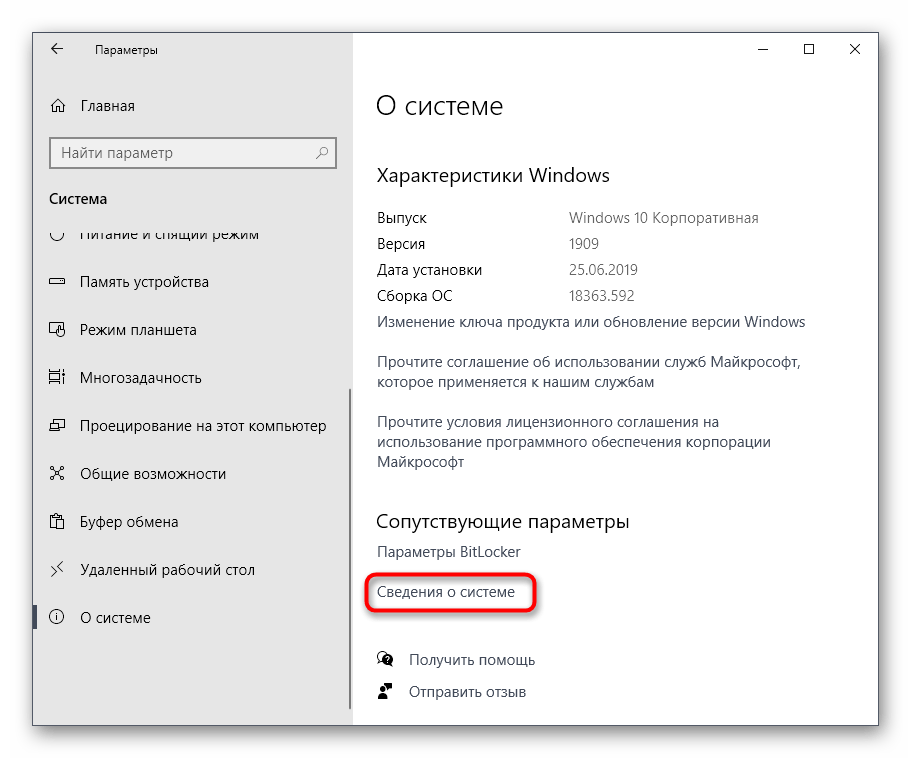
Опуститесь вниз и выберите категорию «О системе».
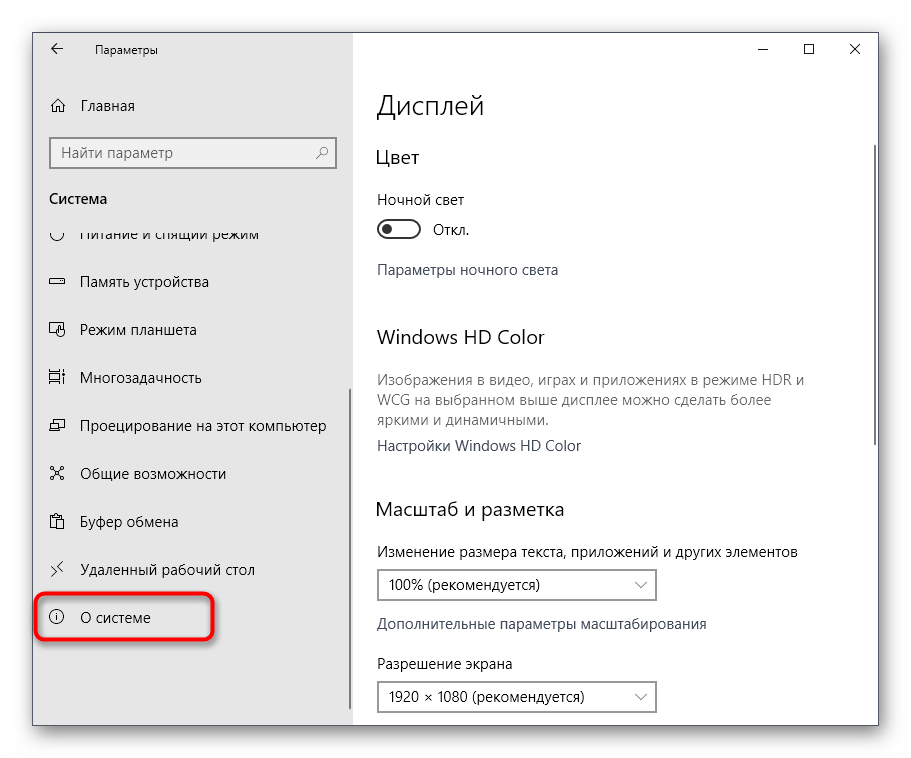
Внизу окна находится надпись «Сведения о системе», по которой и следует нажать для перехода в необходимое меню.
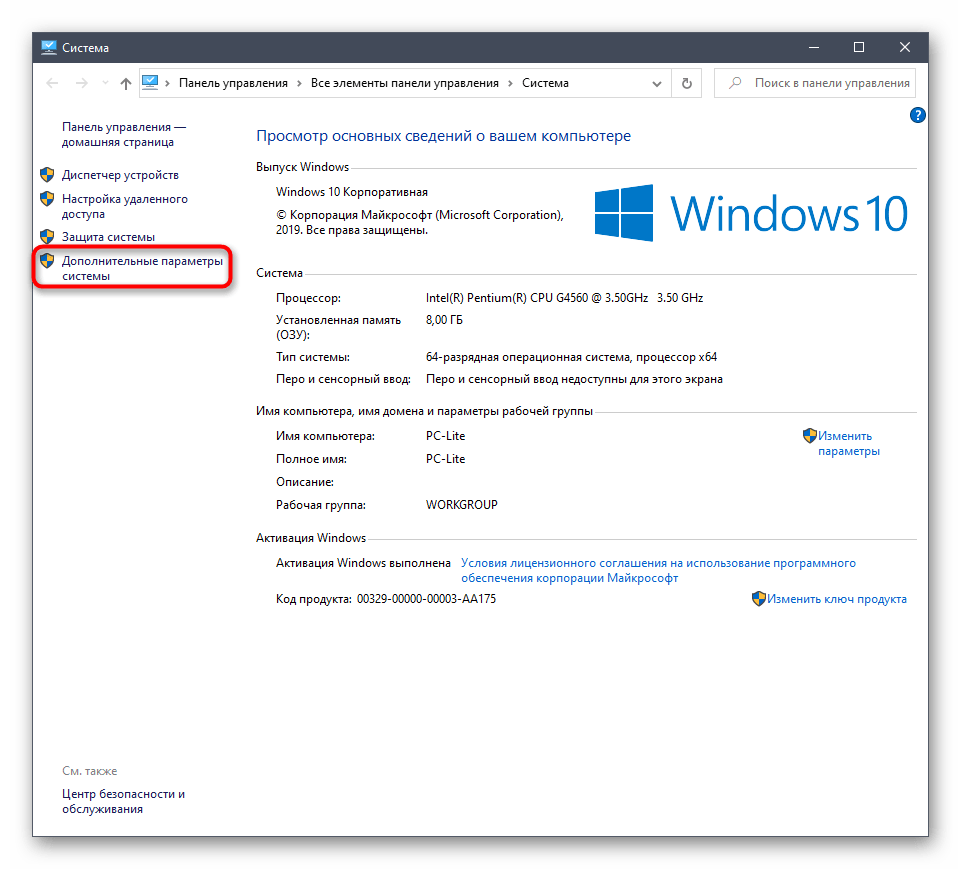
Откроется категория Панели управления «Система». Здесь на левой панели щелкните по кликабельной надписи «Дополнительные параметры системы».
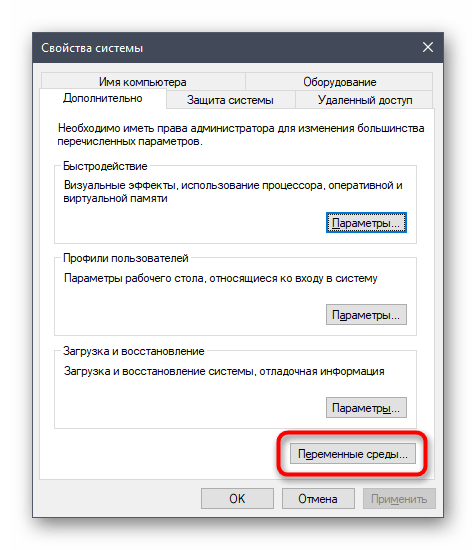
Отобразится окно «Свойства системы», где на первой же вкладке «Дополнительно» воспользуйтесь кнопкой «Переменные среды».
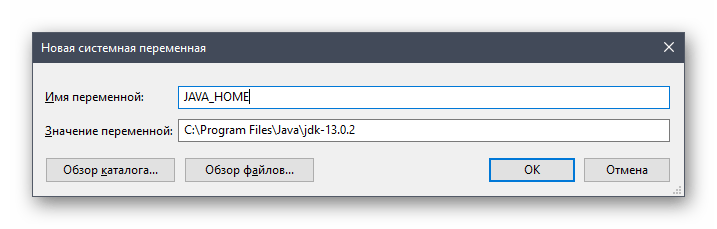
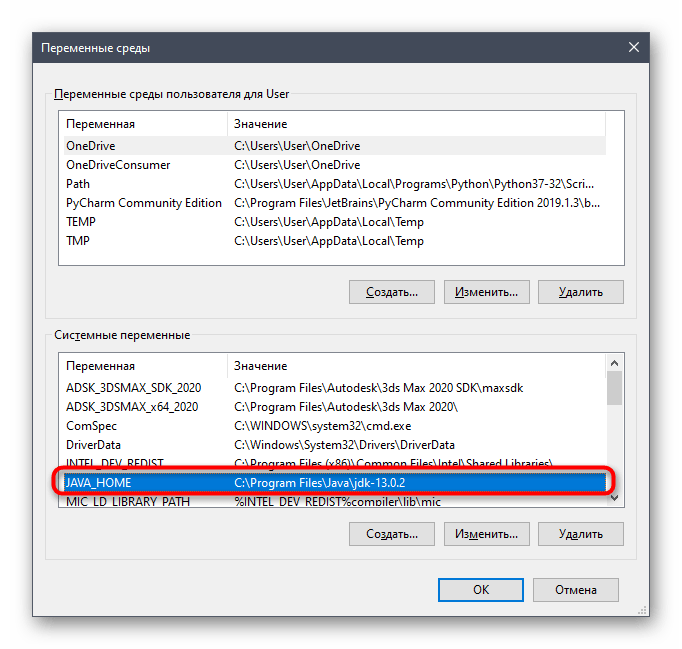
Добавьте новую переменную для системы, кликнув по кнопке «Создать».

Задайте ей название. По умолчанию используется «JAVA_HOME», поэтому и мы рекомендуем придерживаться этого правила. В поле «Значение переменной» вставьте путь к папке JDK. Стандартно он имеет вид C:\Program Files\java\jdk-13.0.2 , где 13.0.2 — номер установленной версии компонента.
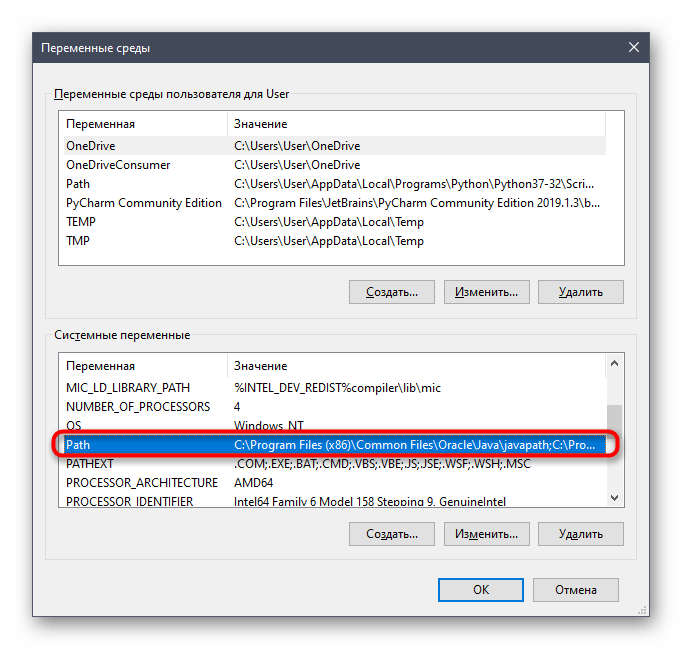
Сохраните изменения и убедитесь в том, что новая строка появилась в блоке «Системные переменные».
После этого там же отыщите переменную «Path» и щелкните по ней дважды, чтобы открыть окно редактирования.
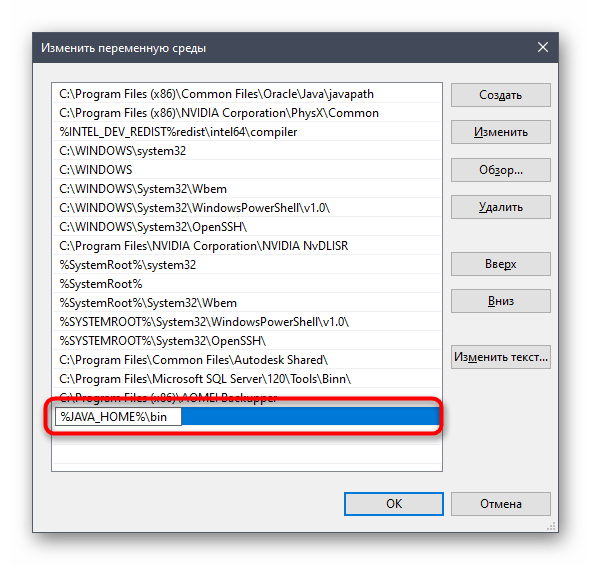
Пропишите там %JAVA_HOME%\bin , указав тем самым только что созданную переменную, и сохраните изменения.
По завершении данной операции рекомендуется перезагрузить компьютер, чтобы все изменения вступили в силу. Уже после этого можно смело переходить к тестированию функционирования JDK или сразу к работе с языком программирования, если проверка работоспособности не требуется.
Шаг 4: Проверка работы JDK
Завершающий этап сегодняшнего материала заключается в проверке работоспособности Java Development Kit, что иногда требуется сделать для подтверждения корректной обработки запросов компилятором и успешной интеграции библиотек. Осуществляется эта задача через стандартную консоль путем ввода всего двух команд.
- Откройте приложение «Командная строка» любым удобным методом, например, отыскав ее через «Пуск».
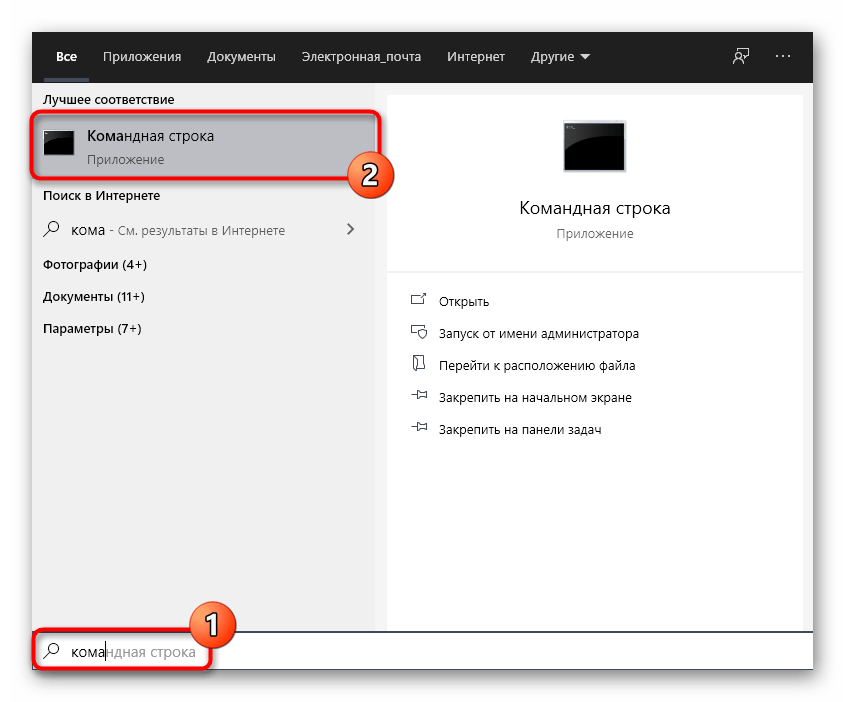
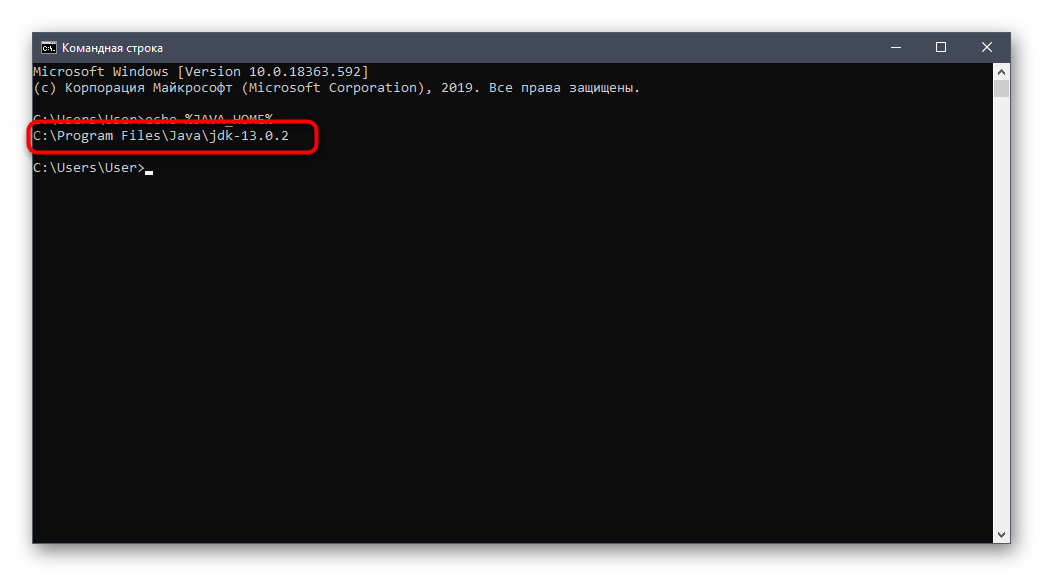
Введите там echo %JAVA_HOME% и нажмите на клавишу Enter для активации команды.

Следующей строкой отобразится место сохранения всех файлов компонента и будет означать то, что переменная функционирует корректно.
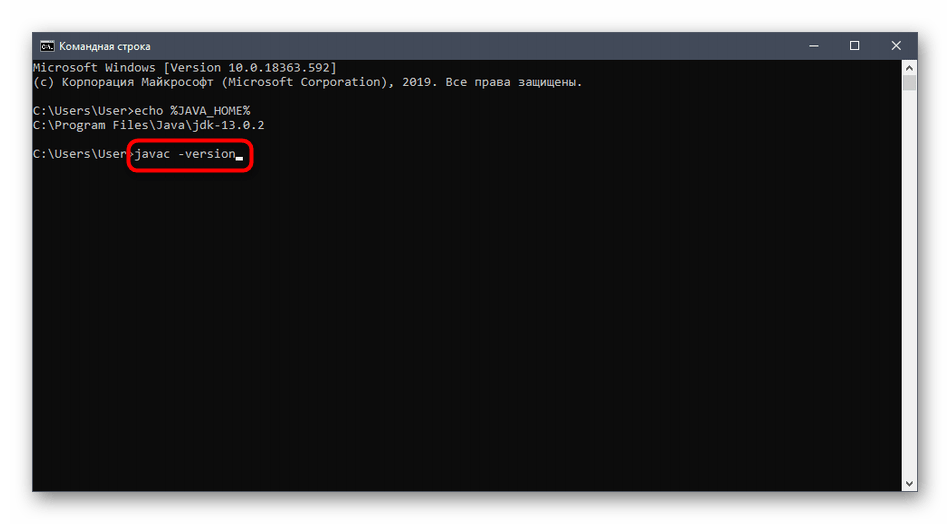
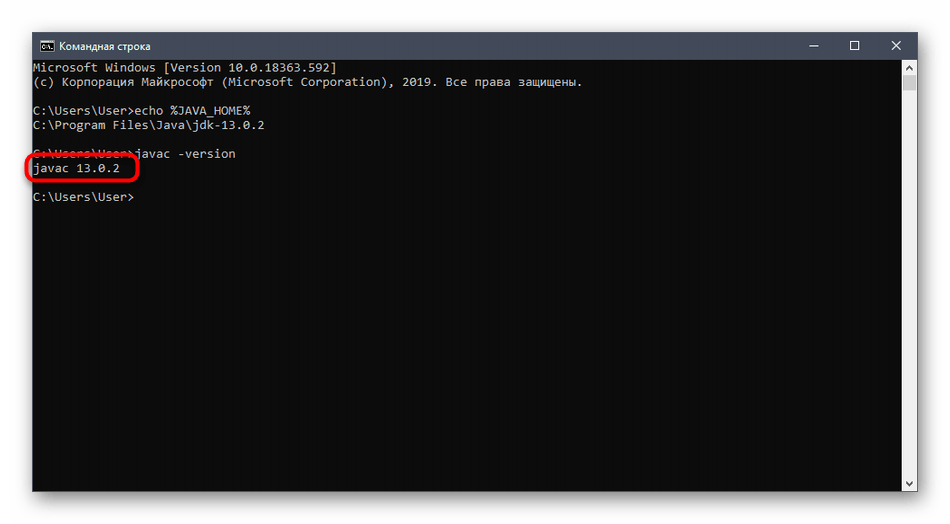
Далее напишите javac -version и снова активируйте эту команду.
В результате вы получите строку с информацией о текущей рабочей версии JDK.
Установка JDK не займет много времени и в большинстве случаев производится без каких-либо дополнительных трудностей. Сразу после этого можно приступать к написанию кода на Java и быть уверенным в том, что он корректно скомпилируется, а библиотеки будут подключены.


