- Установка и порядок работы в PyCharm
- Видео по теме
- Install PyCharm
- System requirements
- Install using the Toolbox App
- Install the Toolbox App
- Install the Toolbox App
- Install the Toolbox App
- Standalone installation
- Install using tar archives
- Install using snap packages
- Silent installation on Windows
- Silent configuration file
Установка и порядок работы в PyCharm
Среда разработки программ на Python IDLE (Python 3.8.1) не очень удобна и если вы думаете всерьез программировать на этом языке, то лучше воспользоваться другой средой. Хорошим выбором здесь является интегрированная среда разработки PyCharm, доступной по адресу:
Устанавливается она очень просто. На главной странице нажимаем кнопку «DOWNLOAD» и, затем, можно выбрать версию Community, т.к. она бесплатна. Для решения большинства задач ее будет вполне достаточно. Нажимаем «Download» и скачиваем приложение для установки PyCharm. Запускаем его, нажимаем «Next», выбираем каталог размещения программы, отмечаем, что хотим создать ярлык на рабочем столе и привязать расширение py к данной среде, нажимаем «Next» и, затем, «Install».
После установки программа предложит запустить PyCharm. Запускаем. Появляется окно для импортирования настроек из предыдущей версии (если она была). Я этот шаг пропущу «Do not import settings». В следующем окне мы выбираем тему оформления. Я выберу светлую. Вы можете выбрать другую, это дело вкуса. Далее, нажимаем на кнопку «Skip Remaining and Set Defaults» пропустить все напоминания и сделать дальнейшие установки по умолчанию.
Здесь при первом запуске необходимо создать новый проект. Нажимаем «Create New Project». В поле «Location» указывается расположение проекта и его имя. Пусть проект называется «p_course». Раскрываем вкладку «Project interpreter» интерпретатор проекта, здесь укажем существующий интерпретатор. Если его в списке нет, то нажмите вот на это троеточие и в новом окне выберите «System Interpreter». В этом списке отображаются все интерпретаторы, установленные на компьютере. Но я оставлю тот, что был найден по умолчанию. Нажимаем кнопку «Create» и создаем проект. Перед нами откроется окно PyCharm. Слева отображается структура проекта. И он не содержит ни одного файла с текстом программы. Создадим его. Нажимаем правую кнопку мыши, выбираем «New» -> «Python File». Вводим имя файла, например, ex1 и этот файл автоматически добавляется в наш проект. Здесь мы можем писать наши программы, как всегда, это:
Для запуска программы можно в меню выбрать «Run» -> «Run ex1», программа будет выполнена и внизу появится результат работы этой программы. Но, чаще всего программисты пользуются «горячими клавишами» для выполнения типовых команд. В частности для запуска проекта можно нажать комбинацию клавиш
И мы увидим тот же результат выполнения. Как видите, с помощью клавиш запускать программы гораздо удобнее и быстрее. Но здесь есть один небольшой нюанс. Если у нас в проекте будет несколько файлов с текстом программ (а обычно так оно и бывает). Например, добавим еще один файл с названием ex2 и пропишем в нем строчку:
Отобразим эти вкладки одновременно. Для этого щелкнем правой кнопкой мыши по второй вкладке и выберем «Move Right». Теперь содержимое обоих файлов будет у нас перед глазами.
Спрашивается: какой из этих файлов будет запущен? Давайте это сделаем и видим, что запускается первый, т.к. он по умолчанию был выбран средой для исполнения. Чтобы выполнить наш второй файл, вот здесь в верхнем углу его явно нужно указать.
Либо, можно в области текста программы нажать правую кнопку мыши и запустить именно этот файл на выполнение. То есть, всегда обращайте внимание какой файл находится на исполнении, чтобы избежать лишних ошибок.
Далее, я увеличу шрифт в окне программы. Заходим в меню «File» -> «Settings», выбираем вкладку «Editor», справа нажимаем на «Font» и укажем размер 18 пунктов.
Теперь посмотрим на возможности среды PyCharm. Если сделать в файле несколько пустых строк, затем, зажать клавишу Alt и переместить курсор выше (или отметить мышкой), то сможем одновременно набирать текст во всех этих строчках:
Далее, если у нас в программе имеются какие-либо синтаксические ошибки, то среда автоматически их подчеркивает красной волнистой линией:
Разумеется, при запуске программы мы получим соответствующие ошибки. Но, благодаря отметкам среды, можем их быстро и оперативно исправить.
Следующая полезная функция – это автодополнение. Смотрите, если мы наберем какую-либо букву, то среда подскажет какие варианты нам доступны. Также это можно сделать, если нажать
Или так. Объявим строковую переменную:
и на следующей строчке при обращении к этой переменной через точку у нас высветится список доступных методов строк. Если вместо строки записать, например, список:
то через точку увидим список методов именно списка. И так далее. Это бывает очень удобно, если программист забывает синтаксис того или иного метода.
Следующая полезная возможность программы – быстрое комментирование. Находясь в любом месте строки, мы можем поставить комментарий, нажав комбинацию клавиш:
При повторном нажатии комментарий будет убран. То же самое можно делать с несколькими строками. Для этого нам нужно их выбрать и нажать Ctrl + /.
Далее, при нажатии клавиш
то среда отформатирует текст программы по стандарту PEP8:
PEP8 – руководство по написанию кода на Python
В данном стандарте указаны все правила написания программ на питоне. Я не буду здесь заострять на этом внимание, каждый из вас может почитать эту справочную информацию в Интернете. Приведу такой пример:
При нажатии на клавиши Alt+Ctrl+L получаем отформатированный текст по этому стандарту. Как видите, здесь были добавлены некоторые пробелы.
Но самое главное достоинство среды PyCharm – возможность пошагового выполнения программы, или, попросту, ее отладки. Предположим, что у нас имеется вот такая программа:
И для ее отладки укажем точку останова, или несколько, если это необходимо. То есть, при запуске в режиме отладки программа остановится именно в этом месте. Запустим. Выберем «Debug» вместо «Run». И видите, программа остановилась на указанной строчке. Среда здесь ждет от нас определенных действий. Например, мы можем нажать вот на эту стрелку (или клавишу F8), чтобы выполнить эту строку и перейти дальше по программе. Нажимая на F8 мы видим по какому пути идет выполнение программы. Это бывает очень удобно для обнаружения сложных ошибок.
Запустим эту программу еще раз в режиме отладки. Смотрите, здесь у нас также имеется окно, где отображаются переменные с их значениями. И по мере выполнения программы эти переменные также меняются.
Как видите, эта среда дает гораздо больше возможностей при написании и отладки программ на Python. И в качестве задания выполните установку данной среды, напишите простую программу и выполните ее.
Видео по теме

Python 3 #1: установка и запуск интерпретатора языка

Python 3 #2: переменные, оператор присваивания, типы данных

Python 3 #3: функции input и print ввода/вывода

Python 3 #4: арифметические операторы: сложение, вычитание, умножение, деление, степень

Python 3 #5: условный оператор if, составные условия с and, or, not

Python 3 #6: операторы циклов while и for, операторы break и continue

Python 3 #7: строки — сравнения, срезы строк, базовые функции str, len, ord, in

Python 3 #8: методы строк — upper, split, join, find, strip, isalpha, isdigit и другие

Python 3 #9: списки list и функции len, min, max, sum, sorted

Python 3 #10: списки — срезы и методы: append, insert, pop, sort, index, count, reverse, clear

Python 3 #11: списки — инструмент list comprehensions, сортировка методом выбора

Python 3 #12: словарь, методы словарей: len, clear, get, setdefault, pop

Python 3 #13: кортежи (tuple) и операции с ними: len, del, count, index

Python 3 #14: функции (def) — объявление и вызов

Python 3 #15: делаем «Сапер», проектирование программ «сверху-вниз»

Python 3 #16: рекурсивные и лямбда-функции, функции с произвольным числом аргументов

Python 3 #17: алгоритм Евклида, принцип тестирования программ

Python 3 #18: области видимости переменных — global, nonlocal

Python 3 #19: множества (set) и операции над ними: вычитание, пересечение, объединение, сравнение

Python 3 #20: итераторы, выражения-генераторы, функции-генераторы, оператор yield

Python 3 #21: функции map, filter, zip

Python 3 #22: сортировка sort() и sorted(), сортировка по ключам

Python 3 #23: обработка исключений: try, except, finally, else

Python 3 #24: файлы — чтение и запись: open, read, write, seek, readline, dump, load, pickle

Python 3 #25: форматирование строк: метод format и F-строки

Python 3 #26: создание и импорт модулей — import, from, as, dir, reload

Python 3 #27: пакеты (package) — создание, импорт, установка (менеджер pip)

Python 3 #28: декораторы функций и замыкания

Python 3 #29: установка и порядок работы в PyCharm

Python 3 #30: функция enumerate, примеры использования
© 2021 Частичное или полное копирование информации с данного сайта для распространения на других ресурсах, в том числе и бумажных, строго запрещено. Все тексты и изображения являются собственностью сайта
Install PyCharm
PyCharm is a cross-platform IDE that provides consistent experience on the Windows, macOS, and Linux operating systems.
PyCharm is available in three editions: Professional , Community , and Edu . The Community and Edu editions are open-source projects and they are free, but they have fewer features. PyCharm Edu provides courses and helps you learn programming with Python. The Professional edition is commercial, and provides an outstanding set of tools and features. For details, see the editions comparison matrix.
System requirements
| Requirement | Minimum | Recommended |
|---|---|---|
| RAM | 4 GB of free RAM | 8 GB of total system RAM |
| CPU | Any modern CPU | Multi-core CPU. PyCharm supports multithreading for different operations and processes making it faster the more CPU cores it can use. |
| Disk space | 2.5 GB and another 1 GB for caches | SSD drive with at least 5 GB of free space |
| Monitor resolution | 1024×768 | 1920×1080 |
| Operating system | Latest 64-bit version of Windows, macOS, or Linux (for example, Debian, Ubuntu, or RHEL) |
You do not need to install Java to run PyCharm because JetBrains Runtime is bundled with the IDE (based on JRE 11).
Python 2: version 2.7
Python 3: from the version 3.6 up to the version 3.10
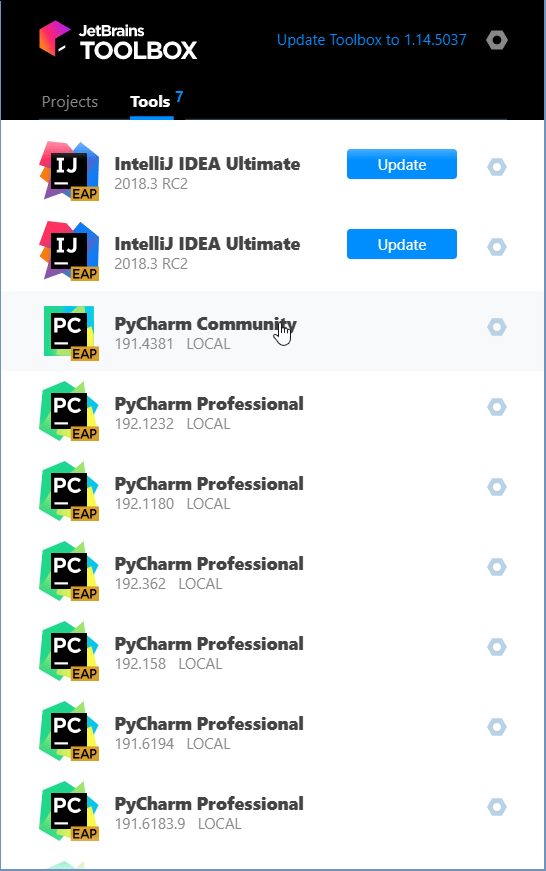
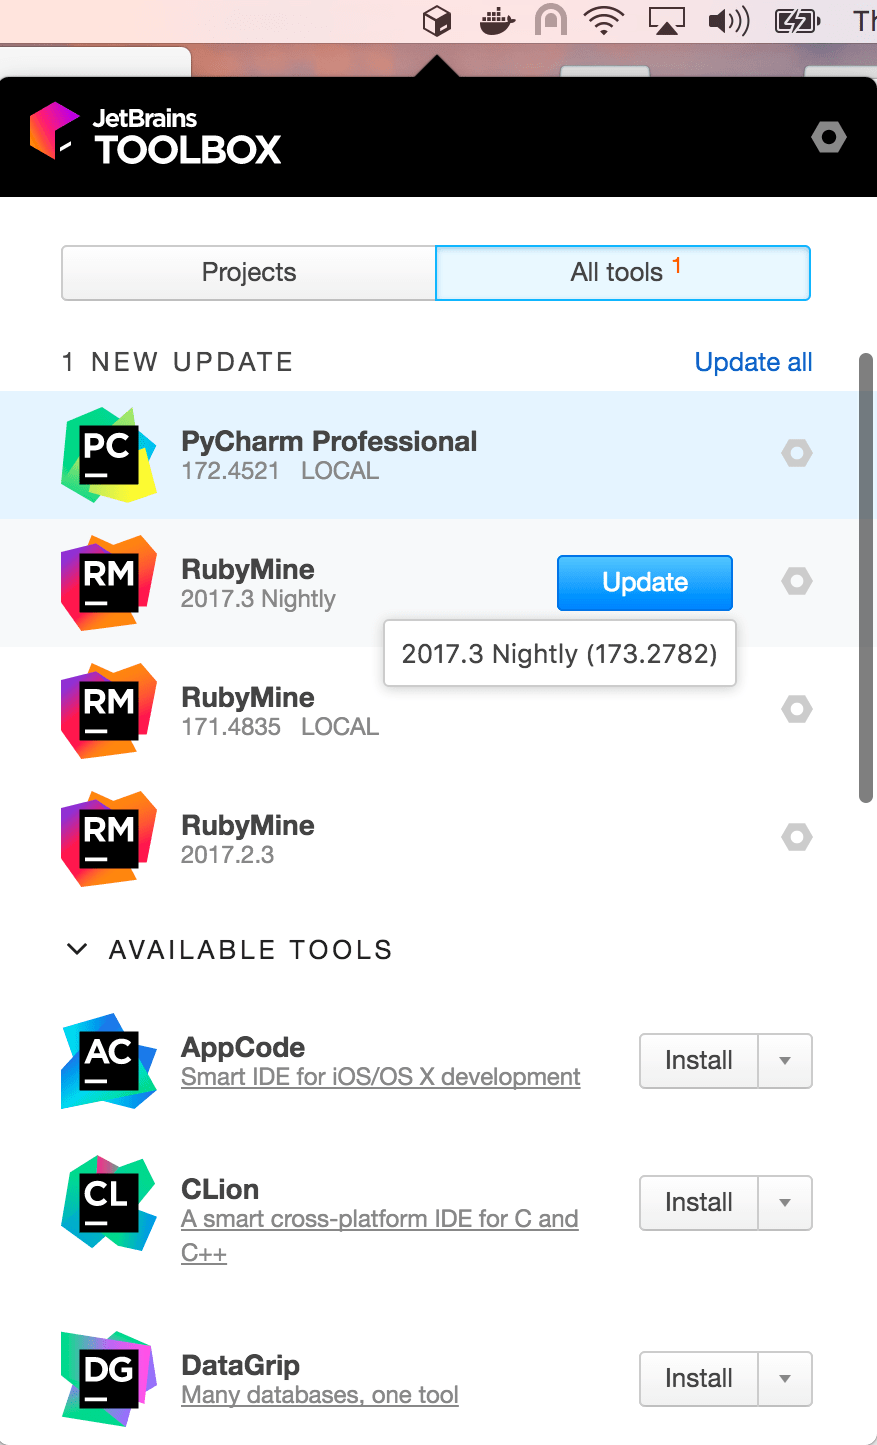
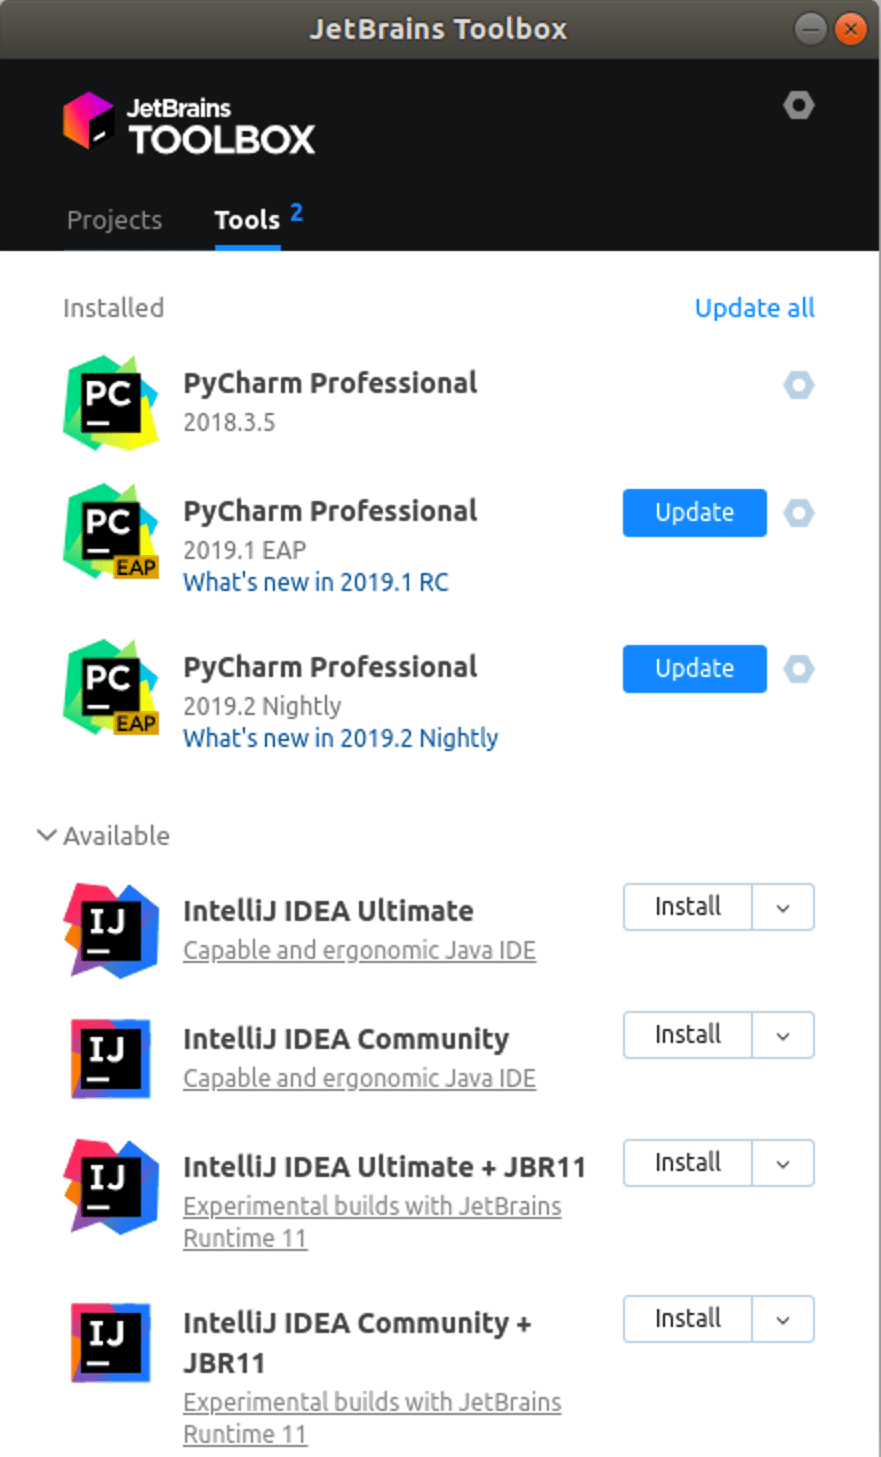
Install using the Toolbox App
The JetBrains Toolbox App is the recommended tool to install JetBrains products. Use it to install and manage different products or several versions of the same product, including Early Access Program (EAP) releases, update and roll back when necessary, and easily remove any tool. The Toolbox App maintains a list of all your projects to quickly open any project in the right IDE and version.
Install the Toolbox App
Download the installer .exe from the Toolbox App web page.
Run the installer and follow the wizard steps.
After you run the Toolbox App, click its icon in the notification area and select which product and version you want to install.
Log in to your JetBrains Account from the Toolbox App and it will automatically activate the available licenses for any IDE that you install.
Install the Toolbox App
Download the disk image .dmg from the Toolbox App web page.
There are separate disk images for Intel and Apple Silicon processors.
Mount the image and drag the JetBrains Toolbox app to the Applications folder.
After you run the Toolbox App, click its icon in the main menu and select which product and version you want to install.
Log in to your JetBrains Account from the Toolbox App and it will automatically activate the available licenses for any IDE that you install.
Install the Toolbox App
Download the tarball .tar.gz from the Toolbox App web page.
Extract the tarball to a directory that supports file execution.
For example, if the downloaded version is 1.17.7391, you can extract it to the recommended /opt directory using the following command:
Execute the jetbrains-toolbox binary from the extracted directory to run the Toolbox App and select which product and version you want to install. After you run the Toolbox App for the first time, it will automatically add the Toolbox App icon to the main menu.
Log in to your JetBrains Account from the Toolbox App and it will automatically activate the available licenses for any IDE that you install.
You can use this shell script that automatically downloads the tarball with the latest version of the Toolbox App, extracts it to the recommended /opt directory, and creates a symbolic link in the /usr/local/bin directory.
Standalone installation
Install PyCharm manually to manage the location of every instance and all the configuration files. For example, if you have a policy that requires specific install locations.
To verify the integrity of the installer, use the SHA checksum linked from the Download page.
Run the installer and follow the wizard steps.
Mind the following options in the installation wizard
64-bit launcher : Adds a launching icon to the Desktop.
Open Folder as Project : Adds an option to the folder context menu that will allow opening the selected directory as a PyCharm project.
.py : Establishes an association with Python files to open them in PyCharm.
Add launchers dir to the PATH : Allows running this PyCharm instance from the Console without specifying the path to it.
To run PyCharm, find it in the Windows Start menu or use the desktop shortcut. You can also run the launcher batch script or executable in the installation directory under bin .
There are separate disk images for Intel and Apple Silicon processors.
To verify the integrity of the downloaded disk image, use the SHA checksum linked from the Download page.
Mount the image and drag the PyCharm app to the Applications folder.
Run the PyCharm app from the Applications directory, Launchpad, or Spotlight.
Install using tar archives
Unpack the pycharm-*.tar.gz file to a different folder, if your current Download folder doesn’t support file execution:
The recommended installation location according to the filesystem hierarchy standard (FHS) is /opt . To install PyCharm into this directory, enter the following command:
To verify integrity of the downloaded archive, use the SHA checksum linked from the Download page.
Switch to the bin subdirectory:
Run pycharm.sh from the bin subdirectory.
Install using snap packages
For Ubuntu 16.04 and later, you can use snap packages to install PyCharm.
PyCharm is distributed via two channels:
The stable channel includes only stable versions. To install the latest stable release of PyCharm, run the following command:
The —classic option is required because the PyCharm snap requires full access to the system, like a traditionally packaged application.
The edge channel includes EAP builds. To install the latest EAP build of PyCharm, run the following command:
Run pycharm-professional , pycharm-community , or pycharm-educational in the Terminal.
To create a desktop entry, do one of the following:
On the Welcome screen, click Configure | Create Desktop Entry
From the main menu, click Tools | Create Desktop Entry
When you run PyCharm for the first time, some steps are required to complete the installation, customize your instance, and start working with the IDE.
For information about the location of the default IDE directories with user-specific files, see Default IDE directories.
Silent installation on Windows
Silent installation is performed without any user interface. It can be used by network administrators to install PyCharm on a number of machines and avoid interrupting other users.
To perform silent install, run the installer with the following switches:
/S : Enable silent install
/CONFIG : Specify the path to the silent configuration file
/D : Specify the path to the installation directory
This parameter must be the last in the command line and it should not contain any quotes even if the path contains blank spaces.
To check for issues during the installation process, add the /LOG switch with the log file path and name between the /S and /D parameters. The installer will generate the specified log file. For example:
Silent configuration file
The silent configuration file defines the options for installing PyCharm. With the default options, silent installation is performed only for the current user: mode=user . If you want to install PyCharm for all users, change the value of the installation mode option to mode=admin and run the installer as an administrator.
The default silent configuration file is unique for each JetBrains product. You can modify it to enable or disable various installation options as necessary.
It is possible to perform silent installation without the configuration file. In this case, omit the /CONFIG switch and run the installer as an administrator. Without the silent configuration file, the installer will ignore all additional options: it will not create desktop shortcuts, add associations, or update the PATH variable. However, it will still create a shortcut in the Start menu under JetBrains .


