- » Installing Vagrant
- » Running Multiple Hypervisors
- » Linux, VirtualBox, and KVM
- » Windows, VirtualBox, and Hyper-V
- Development Environments Made Easy
- Simple and Powerful
- Production Parity
- Works where you work
- Trusted By
- Running macOS in Vagrant
- Laptop Specs
- Downloads
- The Gritty Bits
- Creating your ISO File
- Troubleshooting
- Using your VHD file with VirualBox
- Quickest Vagrant Tutoral Ever
- Quintessence
- Share this post
- Defeating Invisicharacters with Pie
- Feeding the Line: Carriage Returns Matter
- tbonesteaks / mac-vagrant-howto.rst
- How to Install Vagrant in Mac OS X — Step by Step Procedure
» Installing Vagrant
Installing Vagrant is extremely easy. Head over to the Vagrant downloads page and get the appropriate installer or package for your platform. Install the package using standard procedures for your operating system.
The installer will automatically add vagrant to your system path so that it is available in terminals. If it is not found, please try logging out and logging back in to your system (this is particularly necessary sometimes for Windows).
Looking for the gem install? Vagrant 1.0.x had the option to be installed as a RubyGem. This installation method is no longer supported. If you have an old version of Vagrant installed via Rubygems, please remove it prior to installing newer versions of Vagrant.
Beware of system package managers! Some operating system distributions include a vagrant package in their upstream package repos. Please do not install Vagrant in this manner. Typically these packages are missing dependencies or include very outdated versions of Vagrant. If you install via your system’s package manager, it is very likely that you will experience issues. Please use the official installers on the downloads page.
» Running Multiple Hypervisors
Sometimes, certain hypervisors do not allow you to bring up virtual machines if more than one hypervisor is in use. If you are lucky, you might see the following error message come up when trying to bring up a virtual machine with Vagrant and VirtualBox:
Other operating systems like Windows will blue screen if you attempt to bring up a VirtualBox VM with Hyper-V enabled. Below are a couple of ways to ensure you can use Vagrant and VirtualBox if another hypervisor is present.
» Linux, VirtualBox, and KVM
The above error message is because another hypervisor (like KVM) is in use. We must blacklist these in order for VirtualBox to run correctly.
First find out the name of the hypervisor:
The one we’re interested in is kvm_intel . You might have another.
Blacklist the hypervisor (run the following as root):
Restart your machine and try running vagrant again.
» Windows, VirtualBox, and Hyper-V
If you wish to use VirtualBox on Windows, you must ensure that Hyper-V is not enabled on Windows. You can turn off the feature by running this Powershell command:
You can also disable it by going through the Windows system settings:
- Right click on the Windows button and select ‘Apps and Features’.
- Select Turn Windows Features on or off.
- Unselect Hyper-V and click OK.
You might have to reboot your machine for the changes to take effect. More information about Hyper-V can be read here.
Источник
Development Environments Made Easy
Simple and Powerful
HashiCorp Vagrant provides the same, easy workflow regardless of your role as a developer, operator, or designer. It leverages a declarative configuration file which describes all your software requirements, packages, operating system configuration, users, and more.
Production Parity
The cost of fixing a bug exponentially increases the closer it gets to production. Vagrant aims to mirror production environments by providing the same operating system, packages, users, and configurations, all while giving users the flexibility to use their favorite editor, IDE, and browser. Vagrant also integrates with your existing configuration management tooling like Ansible, Chef, Docker, Puppet or Salt, so you can use the same scripts to configure Vagrant as production.

Works where you work
Vagrant works on Mac, Linux, Windows, and more. Remote development environments force users to give up their favorite editors and programs. Vagrant works on your local system with the tools you’re already familiar with. Easily code in your favorite text editor, edit images in your favorite manipulation program, and debug using your favorite tools, all from the comfort of your local laptop.


Trusted By
Vagrant is trusted by thousands of developers, operators, and designers everyday. Here are just a few of the organizations that choose Vagrant to automate their development environments, in lightweight and reproducible ways.
Источник
Running macOS in Vagrant
Well Holy Hannah, I received my first Twitter DM over a blog post I’ve written. I’m officially a pro now 🧐
The DM was from a user that was having some issues with the instructions I provided on a post I wrote in 2015 for S&W here about how to run the then-current release of macOS inside a Vagrant box.
So I thought, what the heck that blog post is 2 yrs old and in computer time that’s pratically middle aged. And Trump’s been president for essentially a full year now and let’s not even talk about what that’s done to the flow of time.

Source: Space.com article, here. Article credits NASA/JPL-CalTech.
tldr — it’s worth revisiting, Me Said To Me

Laptop Specs
- 15″ 2015 Macbook Pro
- 16 GB of RAM
- 2.8 GHz CPU
- 1 TB SSD
- macOS High Sierra, 10.13.2
Downloads
- macOS High Sierra from the App Store
- Image is approximately 5.2 GB
- latest Vagrant from Hashicorp
- As of this post the latest release is 2.0.1
- Image is approximately 70 MB
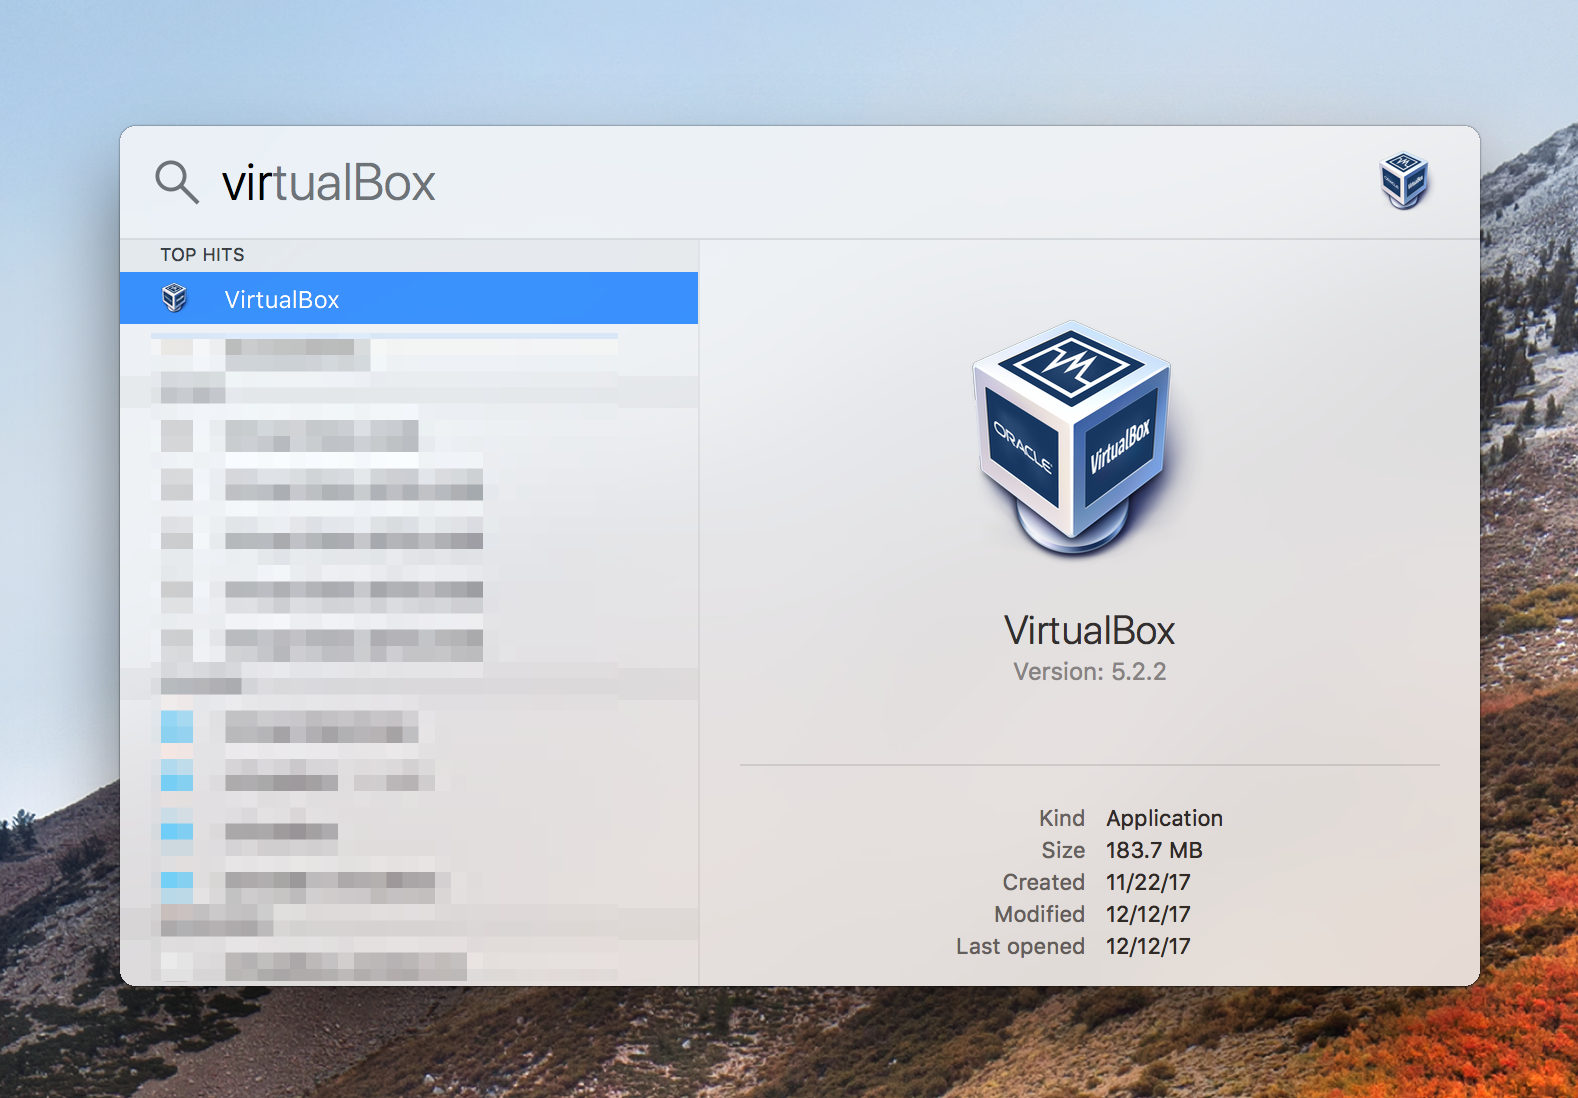
- latest release of VirtualBox from Oracle
- As of this post the latest release is 5.2.2
- Image is approximately 93 MB
- Homebrew — a package installer for macOS. Not required but recommended / encouraged.
- iTerm — an alternative to the Terminal app included in macOS. Again, not required but recommended. For the rest of this post «terminal» can be used interchangeably for iTerm or Terminal, whichever you chose.
Protip: you can install Vagrant and VirtualBox using Homebrew:
- Open terminal
- Install Homebrew ( brew ) using the command provided on the link above
- Install Vagrant
brew cask install vagrant - Install VirtualBox
brew cask install virtualbox
The main benefit of using a package installer like this is that your packages, like Vagrant and VirtualBox, can now be kept updated with brew update rather than manually downloading / updating package installers from various websites.
For the VirtualBox install you will be prompted to open System Preferences → Security & Privacy at some point. If you don’t do this «fast enough» (by the system’s pre-programmed determination) then the install may error out. Fear not! It caches the install like so:
So if the install halts for this reason, or because Connection reset by peer (typically that means slow internet connection), or for any other reason, then you can just hit the up arrow to re-run the last command and hit Enter. Just make sure you fix whatever it asks you to first 😉
What this will essentially look like in terminal:

Documented on my frequently used assets page.
The Gritty Bits
Ok, so now that we have All the Things we need to do . quite a few steps, actually.
Creating your ISO File
First, when you download High Sierra, or any other macOS release to date, you are downloading the file as a DMG, which is a proprietary Apple disk image format. In order to run macOS in VirtualBox, we’ll need to convert the DMG file to a more general format such as an ISO. To do this, we’re going to start by converting the installer DMG that we downloaded from the App Store into an image of the full OS, store that in a DMG, and then use a utility called PowerISO to do the final conversion.
If that just read like a paragraph of panic, don’t worry! We’re going through it step by step.
The output will look like this:
Troubleshooting
What to do if you see the following error:
This most likely means that you’ve already mounted the InstallESD image. Go into Disk Utility and unmount it:
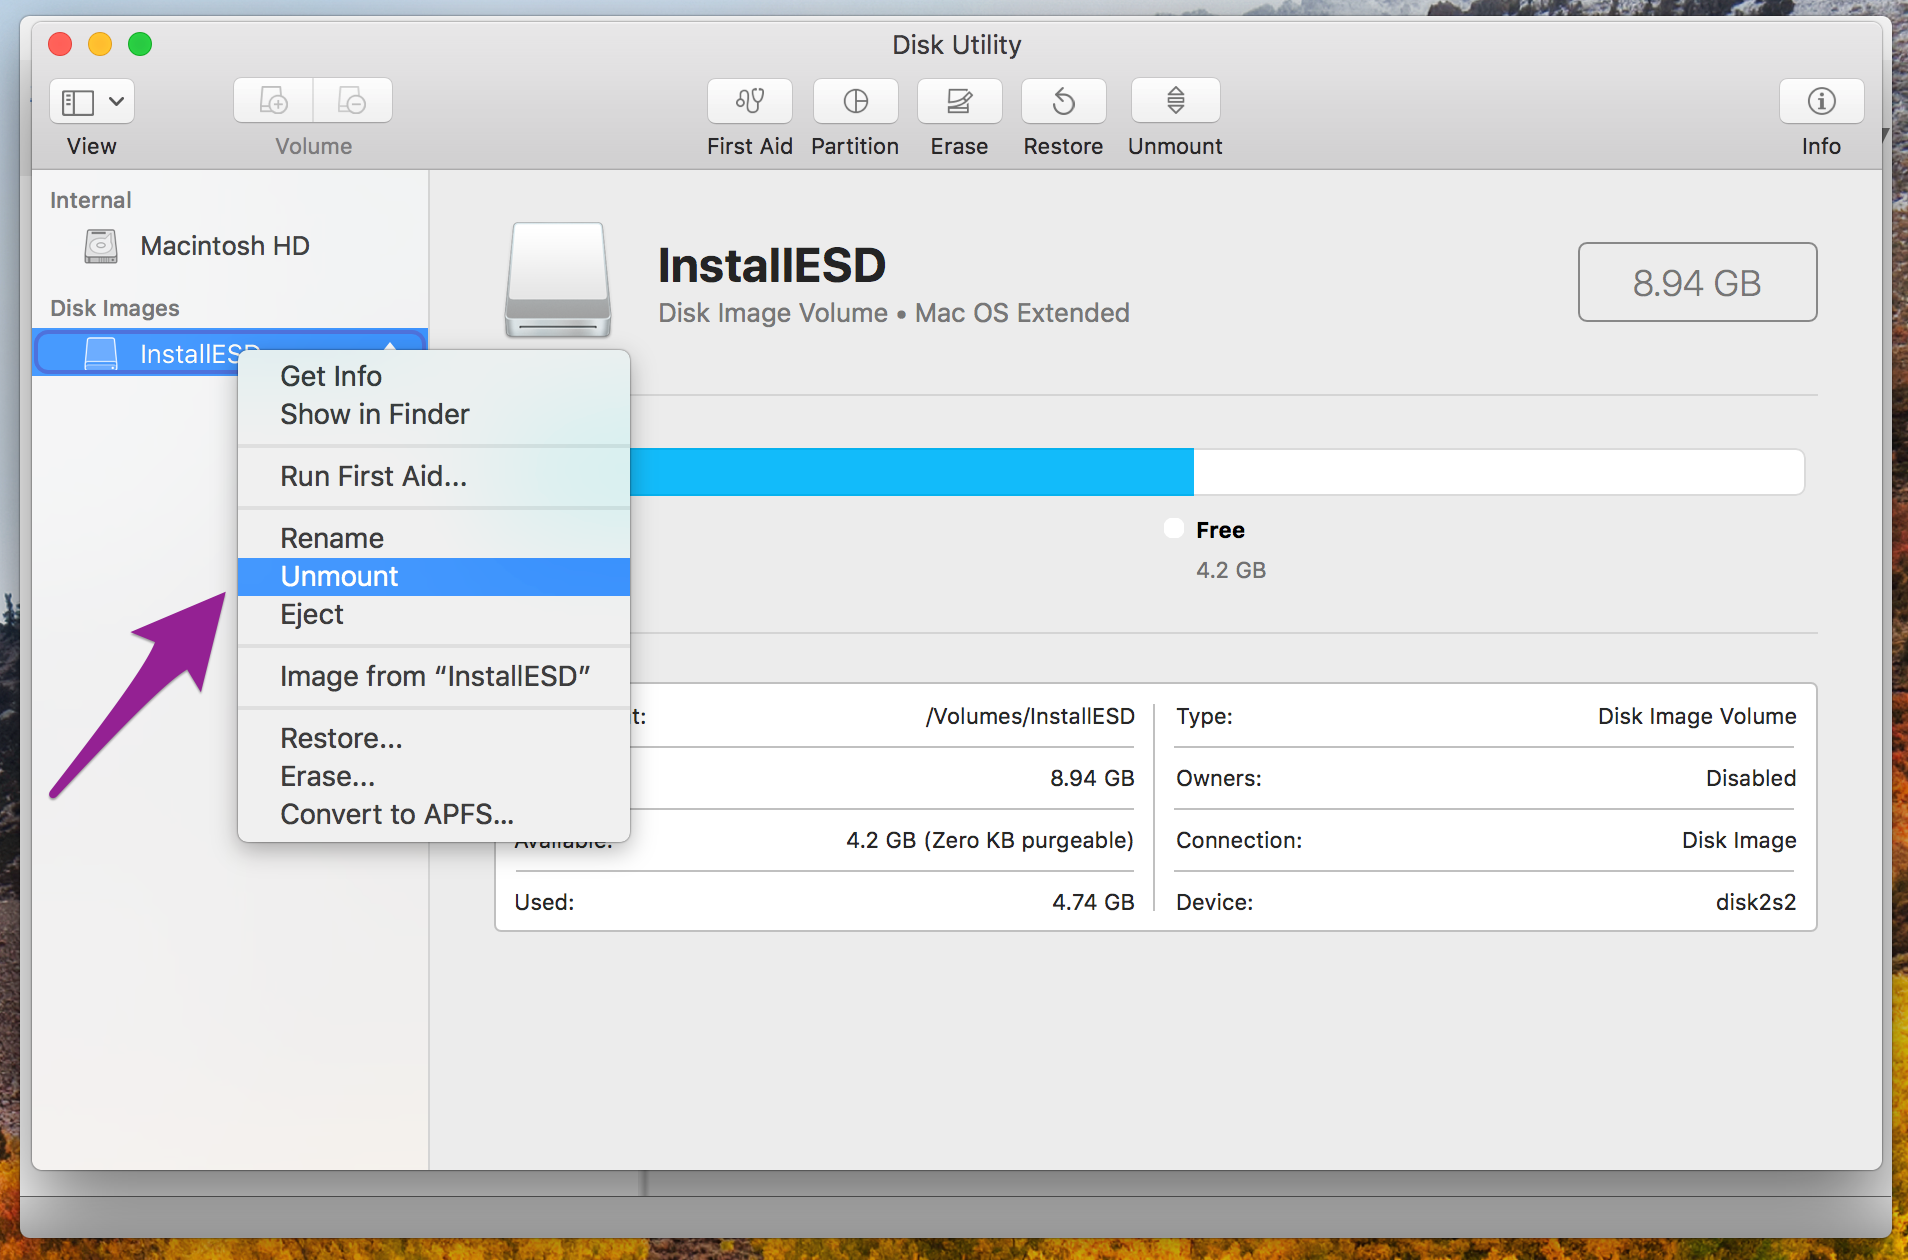
This likely happened when the High Sierra download completed and immediately opened the installer.
Using your VHD file with VirualBox
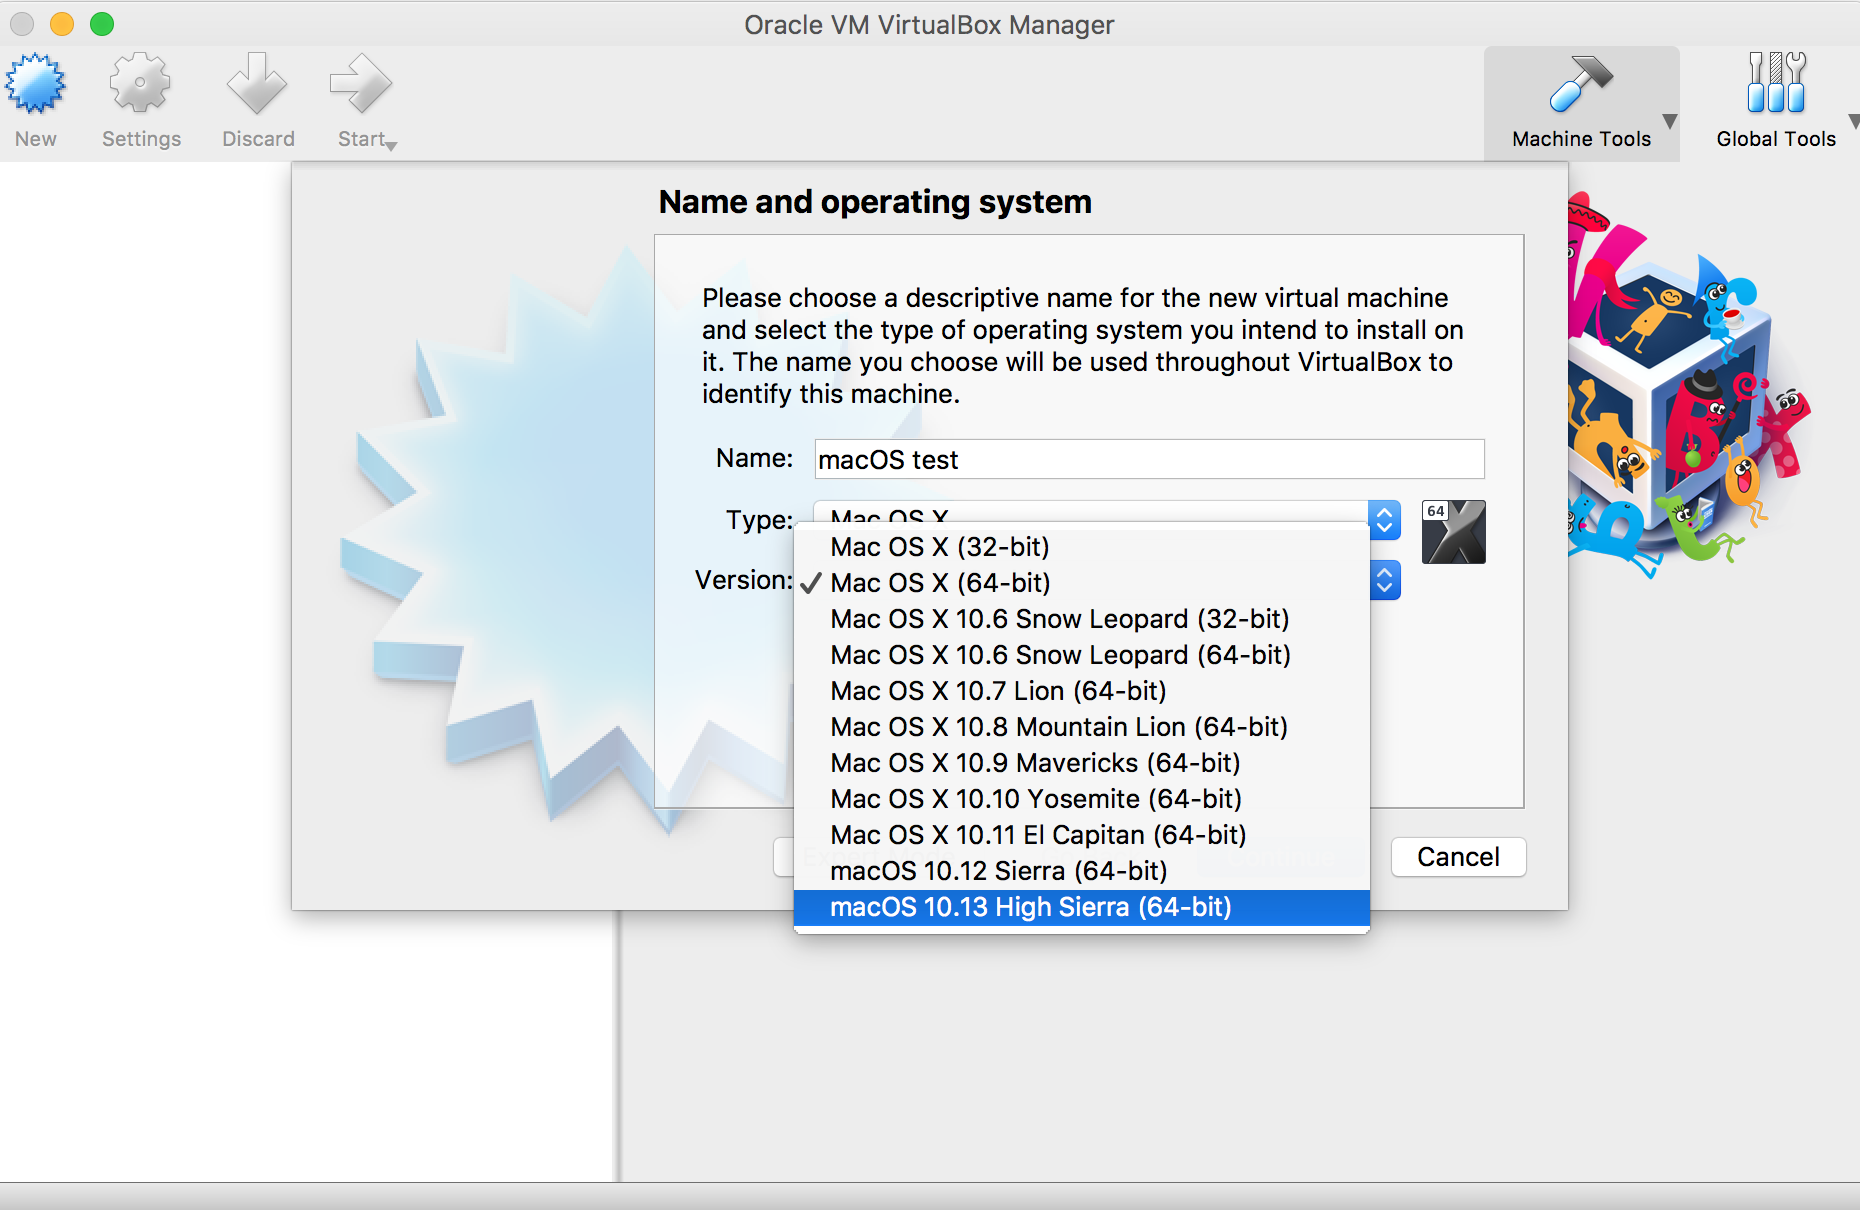
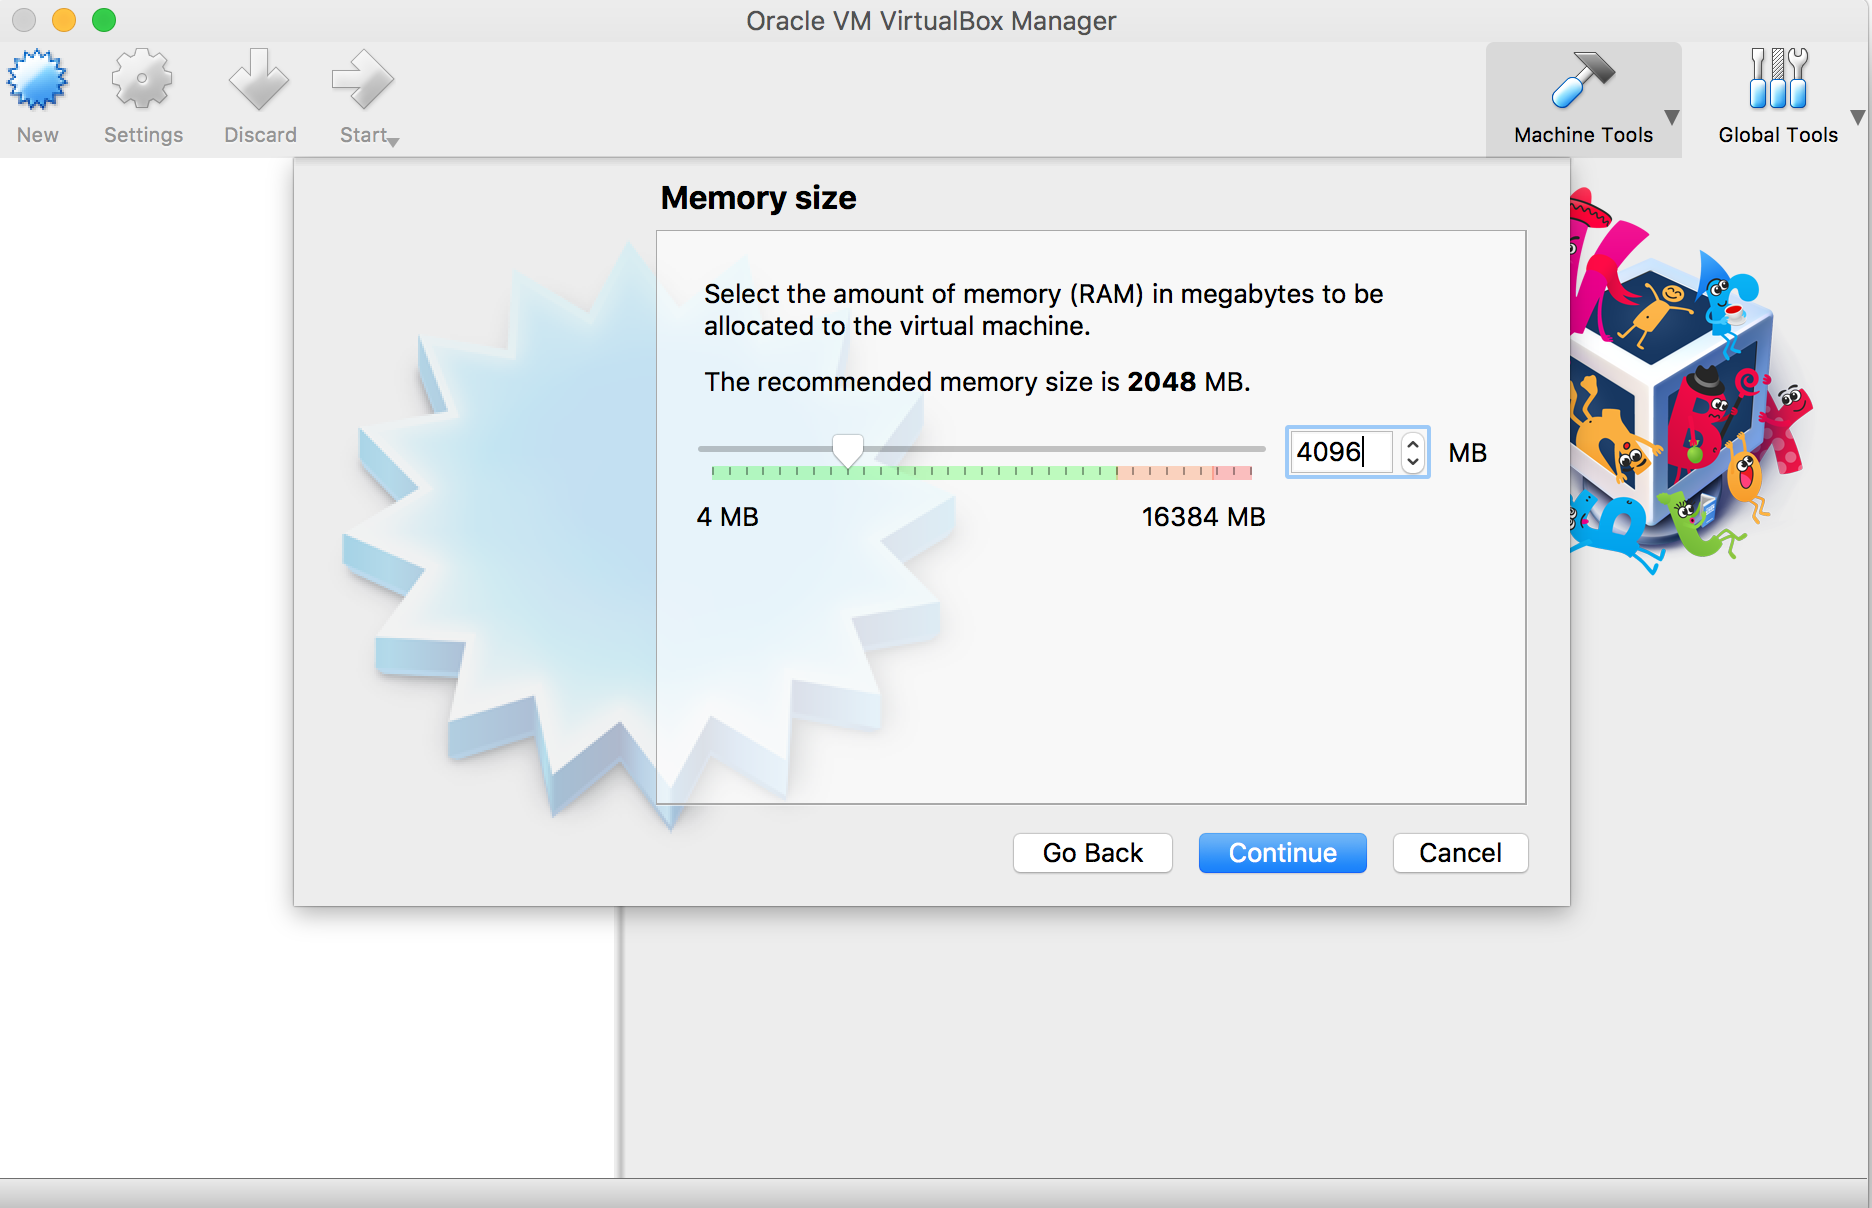
Choose a name, Type is «Mac OS X», and Version is «macOS 10.13 High Sierra (64-bit)». Then click «Continue»:
The default memory is 2 GB, I recommend upping it to 4 GB though if you can:
Choose «Create a Virtual Hard Disk File now» and «Create»:

For the curious
The image manipulations above, with arrow / blurring of text / etc., were done with the Skitch app. You only need an account to save in Evernote — account-less you can just locally save / export to whatever image file format you prefer.
Quickest Vagrant Tutoral Ever
Quintessence
Read more posts by this author.
Share this post
Defeating Invisicharacters with Pie
Happy Santa Lucia Day to those who celebrate! Source: Table wreath from an eBay blog post, here. Desserts Can…
Feeding the Line: Carriage Returns Matter
It all started as a request as easy as any other requests: please take this file and use it…
Источник
tbonesteaks / mac-vagrant-howto.rst
Vagrant on Mac w Virtualbox
NSoT engineers have built Vagrantfiles for you to deploy NSoT software in a multitude of linux environments. This tutorial will help you load a Macintonsh computer (OS X) with Vagrant, Virtual Box, and dependencies so that you can start virtual servers and test the software.
NSoT publishes complete installation instructions for linux distributions, branch versions, and Vagrantfiles in addition to, not an alternative for the pip install method:
Install Brew, VirtualBox, Vagrant and Vagrant-Manager, on a Macintosh 10.10.x system to deploy test versions of NSOT. When done we will be able to load a variety of linux distributions with NSOT pre-configured, as virtual servers inside a test environment.
We will use Vagrant and associated Virtual Server software to build NSoT on a variety of Linux distributions elsewhere in these documents. This guide is to help those unfamiliar with how to install and use Vagrant and Virtualbox, making the Vagrantfiles published more useful.
Vagrant allows us to provision complete virtual machines (Unix, Linux, Mac, or Windows) inside the Mac Operating system as virtual machines. The vagrant virtual servers are configured with a single file (called a “Vagrantfile.”) started with a single command (vagrant up), are contained within a single folder, and can be destroyed with a single command (vagrant destroy). This environment is nicely segregated from your day to day computing, and allows you to test our software in a variety of environments.
You are running a computer with Mac OS X 10.10.x installed.
1 Install Prerequisite Software (XCode)*. 2 Install Brew. 3 Brew Vagrant. 4 “Hello World” Vagrant.
1. Install Prerequisite Software — XCode & XCode Tools:
Click link to Get Xcode —>
Agree to EULA and Install.
Install Prerequisite Software (XCode Tools from Command Line): Open a Terminal (Launchpad —> Other —> Terminal). At the command prompt run the following command to install XCode Tools
- Accept the EULA.
- Agree to install at Prompt.
2. Install Prerequisite Software (Homebrew from Command Line):
Using the terminal, download and install Homebrew with this command:
Run this command from the terminal to update and confirm install of Homebrew:
From Command line run these commands to update Brew and view the version (licenses):
3. Install Vagrant and Virtualbox via Homebrew:
Download, verify, and install VirtualBox:
Download, verify, and install VirtualBox extension pack for your version of virtualbox:
Download, verify, and install Vagrant:
Download, verify, and install Vagrant-Manager:
4. Start a Virtual Ubuntu Server:
Now that we have it all installed, let’s spin up an Ubuntu server, log in to it, play, log out, and then destroy it.
From Command line enter the following to make a sandbox directory, cd into it, and then download the Ubuntu:
Initialize the installation inside the sandbox folder (aka make the Vagrantfile). (You can modify the Vagrantfile and look at it after this step.):
Start the Ubuntu server via Vagrant by typing this at command line:
To login to the new server via ssh, enter the following via command line:
Change what you like. Mess it up if you care to. Once done poking around logout:
To destroy the Ubuntu virtual server installation:
To rebuild from the OS again:
Conclusion: After the login regimen finishes, you should be inside the new server you just created, for the second time. You have built a new server, Destroyed it, and built another in less time than it takes to drink a cup of coffee.
Based on the Vagrant installation guide published here.
Источник
How to Install Vagrant in Mac OS X — Step by Step Procedure


Vagrant is basically a layer on top of your virtualization platform. Using vagrant, you can define all aspects of your development environment, which can then be used for creating virtual machines. Vagrant takes care of creating, managing, and destroying your development environment. The most popular virtualization platform of choice for vagrant is VirtualBox. In this article, we we will be walking throught the steps to install Vagrant on Mac OS X(Am using EI Captain 10.11.4 for this example).
If you are completely new to Vagrant then i recommend reading the below article to get some basics.
Installing Vagrant in MAC OS X is pretty simple. This is because, both the virtualization component and the vagrant itself can be installed by using standard installers officially provided. The virtualization platform best suited for vagrant is VirtualBox. Its freely available for mac operating system. Vagrant can work with any virtualization platform.
Prior to Vagrant 1.1, Vagrant was tightly integrated and was tied to VirtualBox. Today Vagrant can work with almost any type of virtualization layer. It can even work with the public cloud providers like Amazon’s AWS.
We will be using the virtualization layer provided by VirtualBox in this tutorial. This is because, VirtualBox is free, and is available for all operating system platforms(ie: Mac, Windows, Linux.). VirtualBox and Vagrant should be installed seperately. If you install Vagrant without having VirtualBox installed, Vagrant will show you an error and will demand to install VirtualBox. Other than VirtualBox, you do not need any other dependency to install Vagrant on Mac OS X.
The very first step is to install VirtualBox on Mac OS X. VirtualBox is a free Virtualization software offered by Oracle. You can download VirtualBox for Mac OS X from the below Link.
Vagrant is compatible with VirtualBox versions 4.0.x, 4.1.x, 4.2.x, 4.3.x, and 5.0.x.
For this article, I have downloaded VirtualBox-5.0.20-106931-OSX.dmg from the above link. Installing VirtualBox on mac is similar to how you install any other dmg file.
Click on the dmg file and it should walk you through the installation.
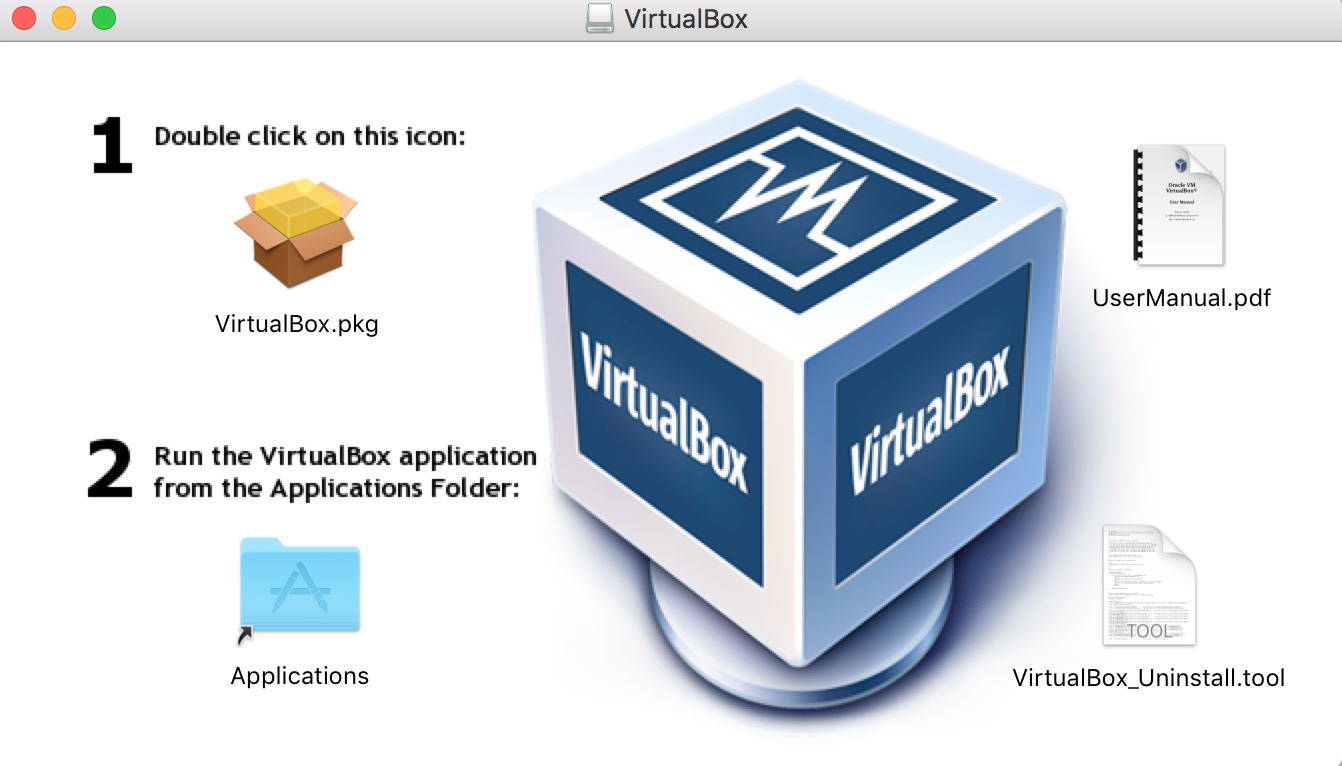
Step 1: The very first step is to simply double click on the VirtualBox dmg file, which will open the below window in mac.
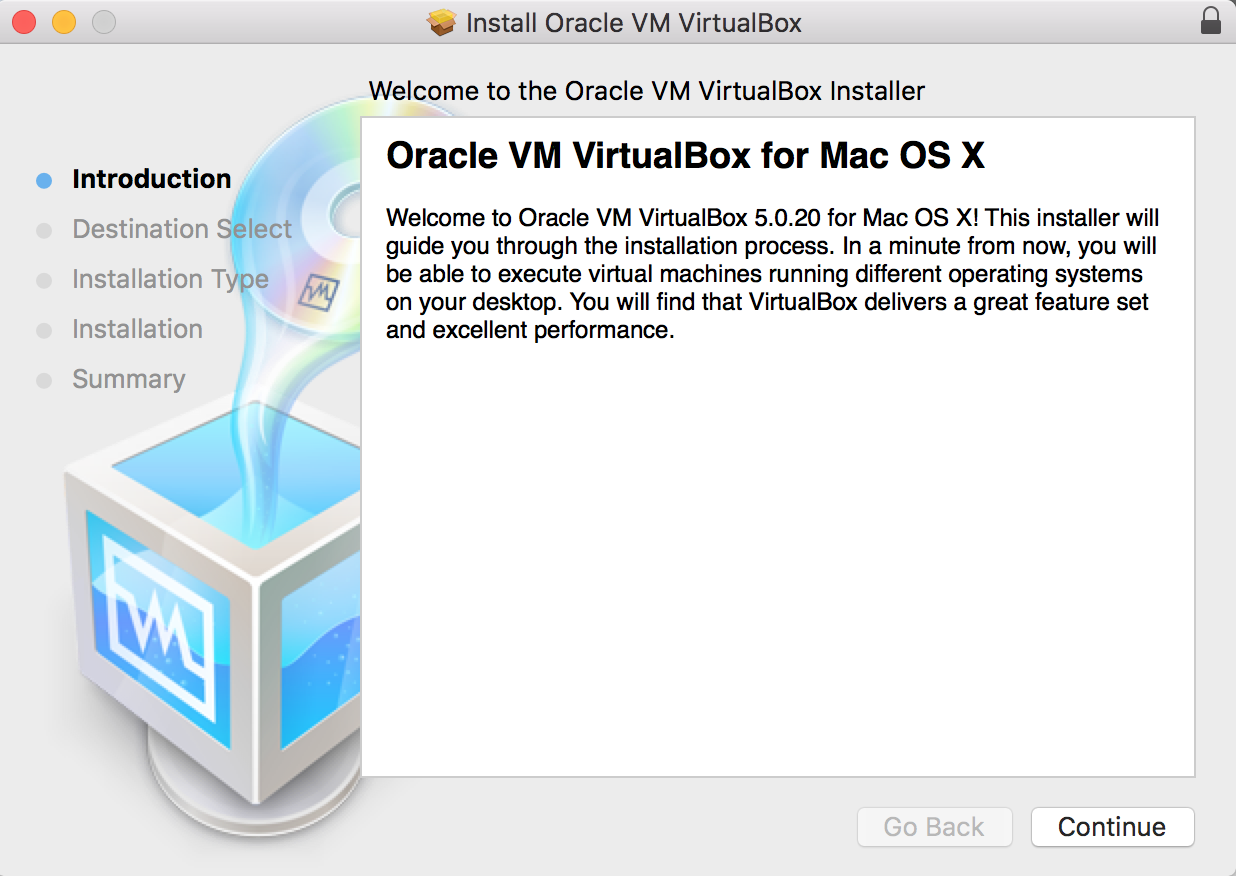
Step 2: Clicking on the above icon will kickstart the installation procedure, and will take you to the below window.
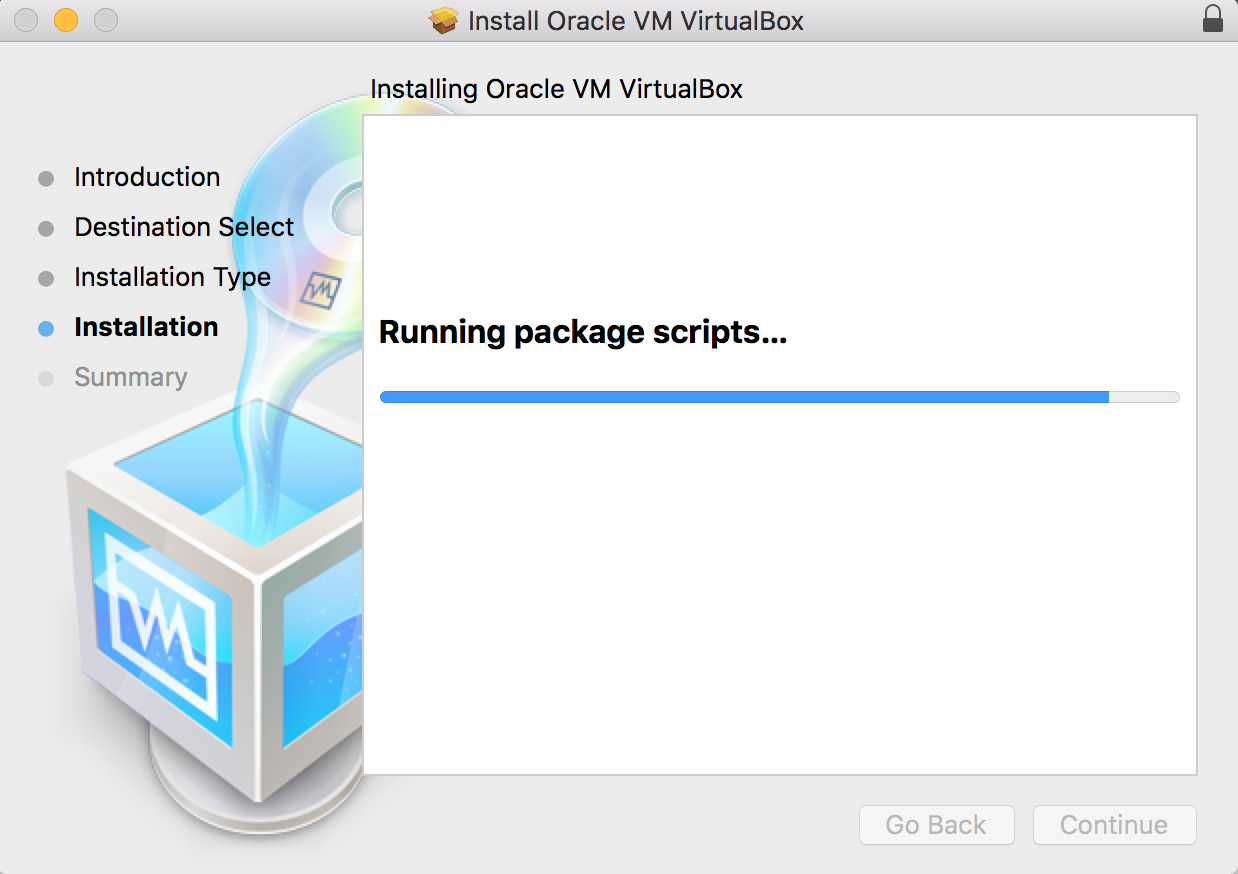
Step 3: Clicking on the continue button shown above will copy the required system files for VirtualBox, and finishes the installation. Shown below are the screen grabs.
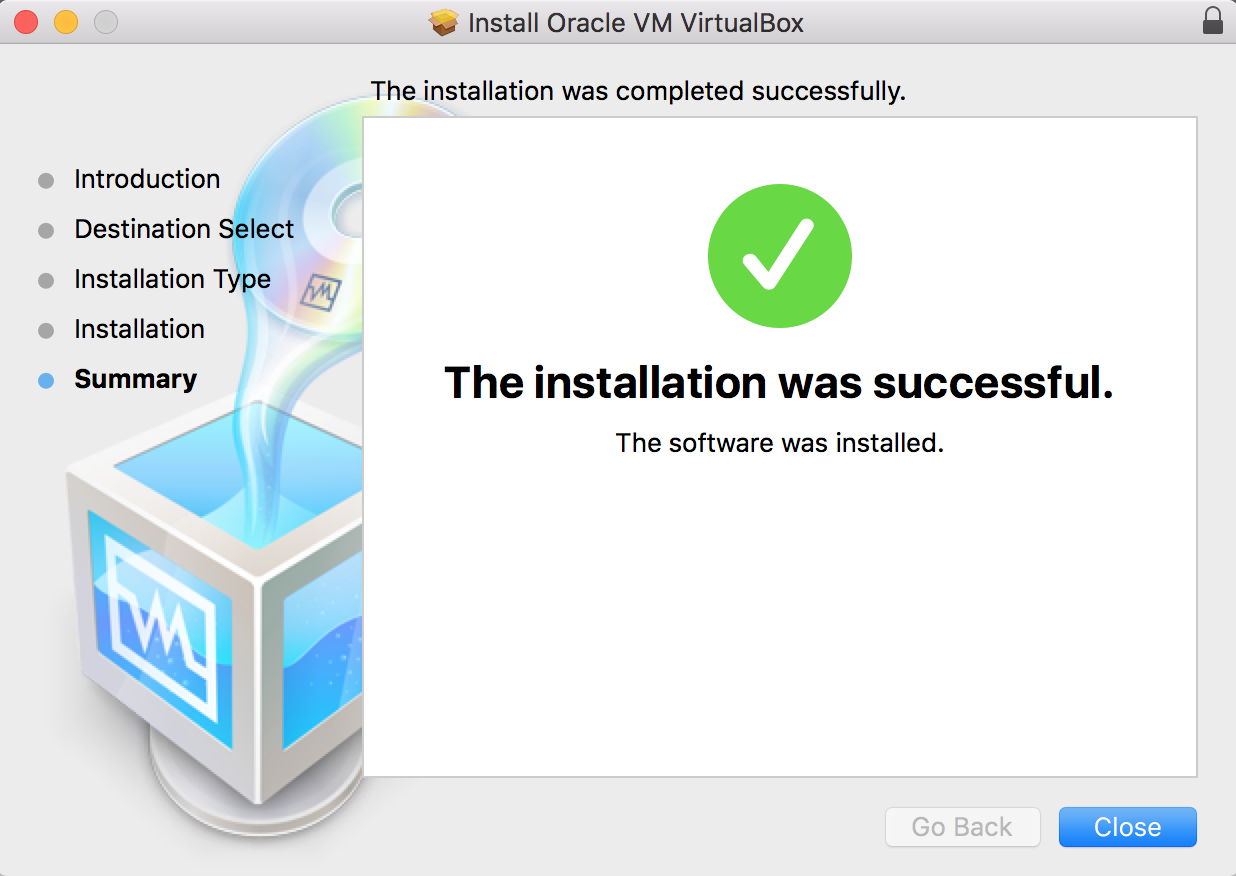
Once, the above step completes. If everything went well, It should show you the below final message.
As we have our basic primary dependancy for Vagrant fullfilled, let’s now download and install Vagrant. Similar to VirtualBox, Vagrant can be downloaded from the below official URL.
For this tutorial, I have downloaded the installation file named vagrant_1.8.1.dmg. Installation will be done, by simply clicking on the dmg file downloaded. As soon as you click on the vagrant dmg file, you will be taken to the below window.
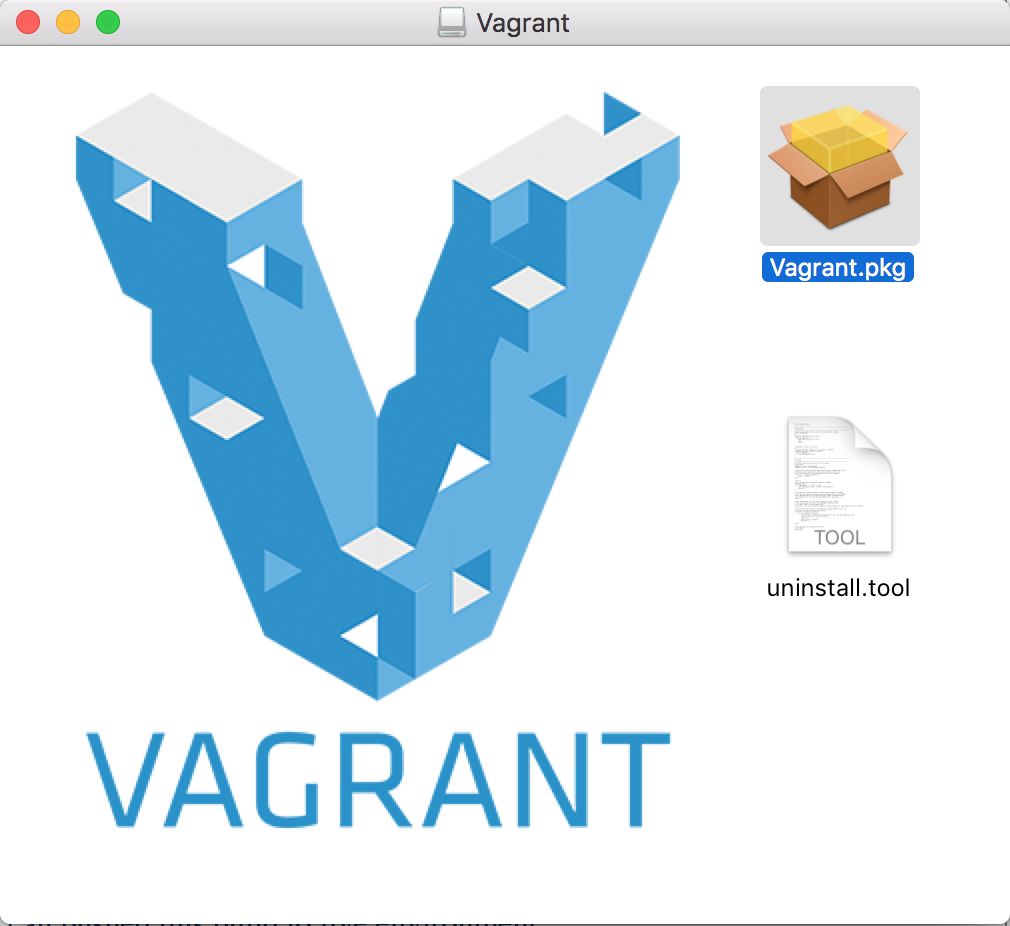
Click on the Vagrant.pkg file and you will taken to the below window.
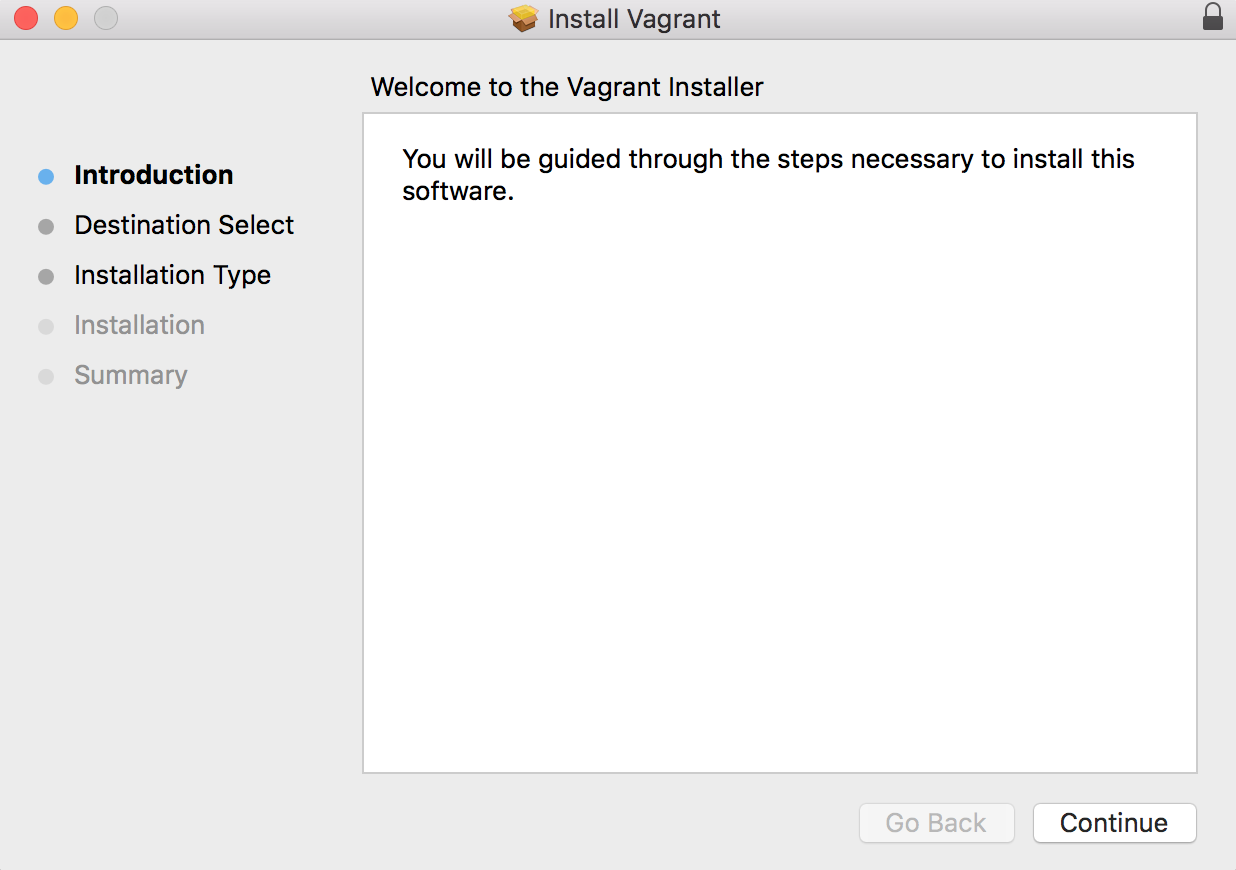
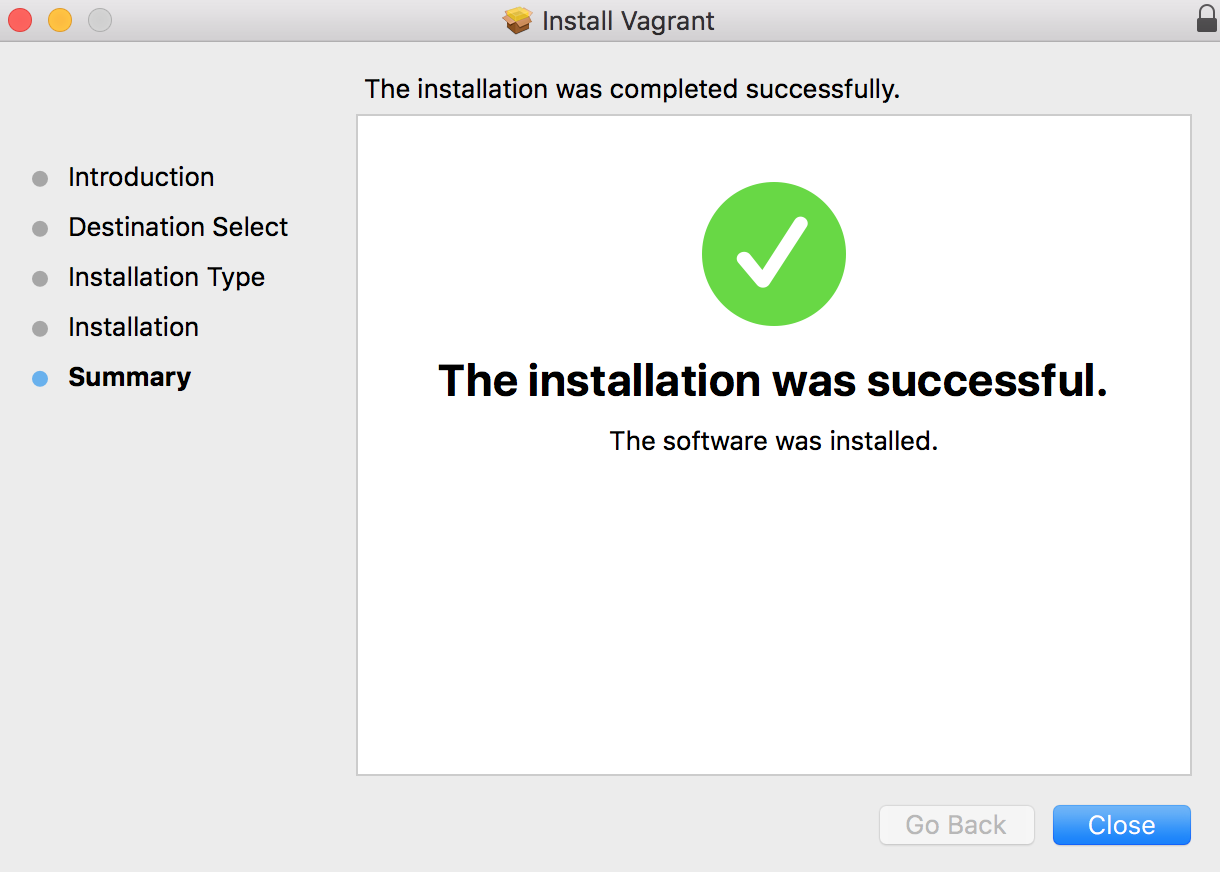
Now click on the continue button shown above, and it will kickstart the installation process. Once it completes, you will be shown the below message.
Now you have everything ready in your MAC for working with Vagrant. You can your Vagrant Installation by opening terminal in MAC, and running the below command.
Terminal can be opened by pressing COMMAND + T in Mac OS X.
You can further confirm the installation of Vagrant, by running the first virtual machine using Vagrant. The below shown simple command of Vagrant will download a Vagrantfile in the current directory.
The above command will download a configuration file, that will be used by vagrant to launch an Ubuntu 14.04 virtual machine. You can start your virtual machine, by using the command vagrant up(in the same directory, where you ran the above command)
You can now ssh to the newly launched virtual machine using the below vagrant command.
vagrant ssh command will take you the shell prompt of the newly launched machine. It’s now a cakewalk to launch new environment’s with Vagrant. In the next tutorial, we will be discussing Vagrantfile in detail.
Источник


