- Christian Engvall
- Installing Visual Studio Code and ASP.NET Core on Linux Mint
- 1. Installing .NET CORE
- 2. Install Visual Studio Code
- 3. Install the C# Extension
- 4. Creating an ASP.NET Core Project
- Using .NET Core in Visual Studio Code
- Prerequisites
- Create a C# «Hello World» app
- Create an F# «Hello World» app
- Visual Studio Code on Linux
- Installation
- Debian and Ubuntu based distributions
- RHEL, Fedora, and CentOS based distributions
- openSUSE and SLE-based distributions
- AUR package for Arch Linux
- Nix package for NixOS (or any Linux distribution using Nix package manager)
- Installing .rpm package manually
- Updates
- Node.js
- Setting VS Code as the default text editor
- xdg-open
- Debian alternatives system
- Windows as a Linux developer machine
- Windows Subsystem for Linux
- Next steps
- Common questions
- Azure VM Issues
- Debian and moving files to trash
- Conflicts with VS Code packages from other repositories
- «Visual Studio Code is unable to watch for file changes in this large workspace» (error ENOSPC)
- I can’t see Chinese characters in Ubuntu
- Package git is not installed
- The code bin command does not bring the window to the foreground on Ubuntu
- Cannot install .deb package due to «/etc/apt/sources.list.d/vscode.list: No such file or directory»
- Cannot move or resize the window while X forwarding a remote window
- Using the custom title bar
- Broken cursor in editor with display scaling enabled
- Repository changed its origin value
- ASP.NET Core: ваше первое приложение на Linux c использованием Visual Studio Code
- Установка .Net Core и Visual Studio Code
- Установка .Net Core:
- Установка Visual Studio Code
- Установка расширения C#
- Подготовка среды разработки и формирование шаблонов приложений
- Инициализация проекта
- Запуск генератора проекта
- Разработка приложений ASP.NET Core MVC на Linux с помощью Visual Studio Code
- Запуск приложения при помощи Kestrel
Christian Engvall
I write about software, app and web development.
Recent posts
Categories
Installing Visual Studio Code and ASP.NET Core on Linux Mint
In this post we’ll take a look at installing ASP.NET core and Visual Studio code on Linux Mint.
1. Installing .NET CORE
To install .NET Core I downloaded the X64 Binary and ran these commands in a console:
After that to verify the installation you can type dotnet :
2. Install Visual Studio Code
Go to https://code.visualstudio.com/ and select the .deb package for installation.
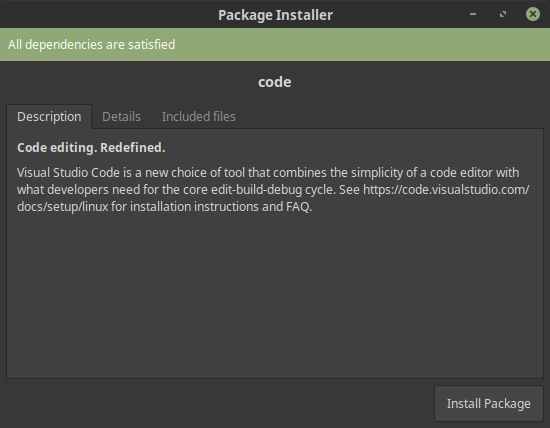
Click on Install Package — Visual studio Code debian package
After installing the package Visual Studio code will show up in the menu:
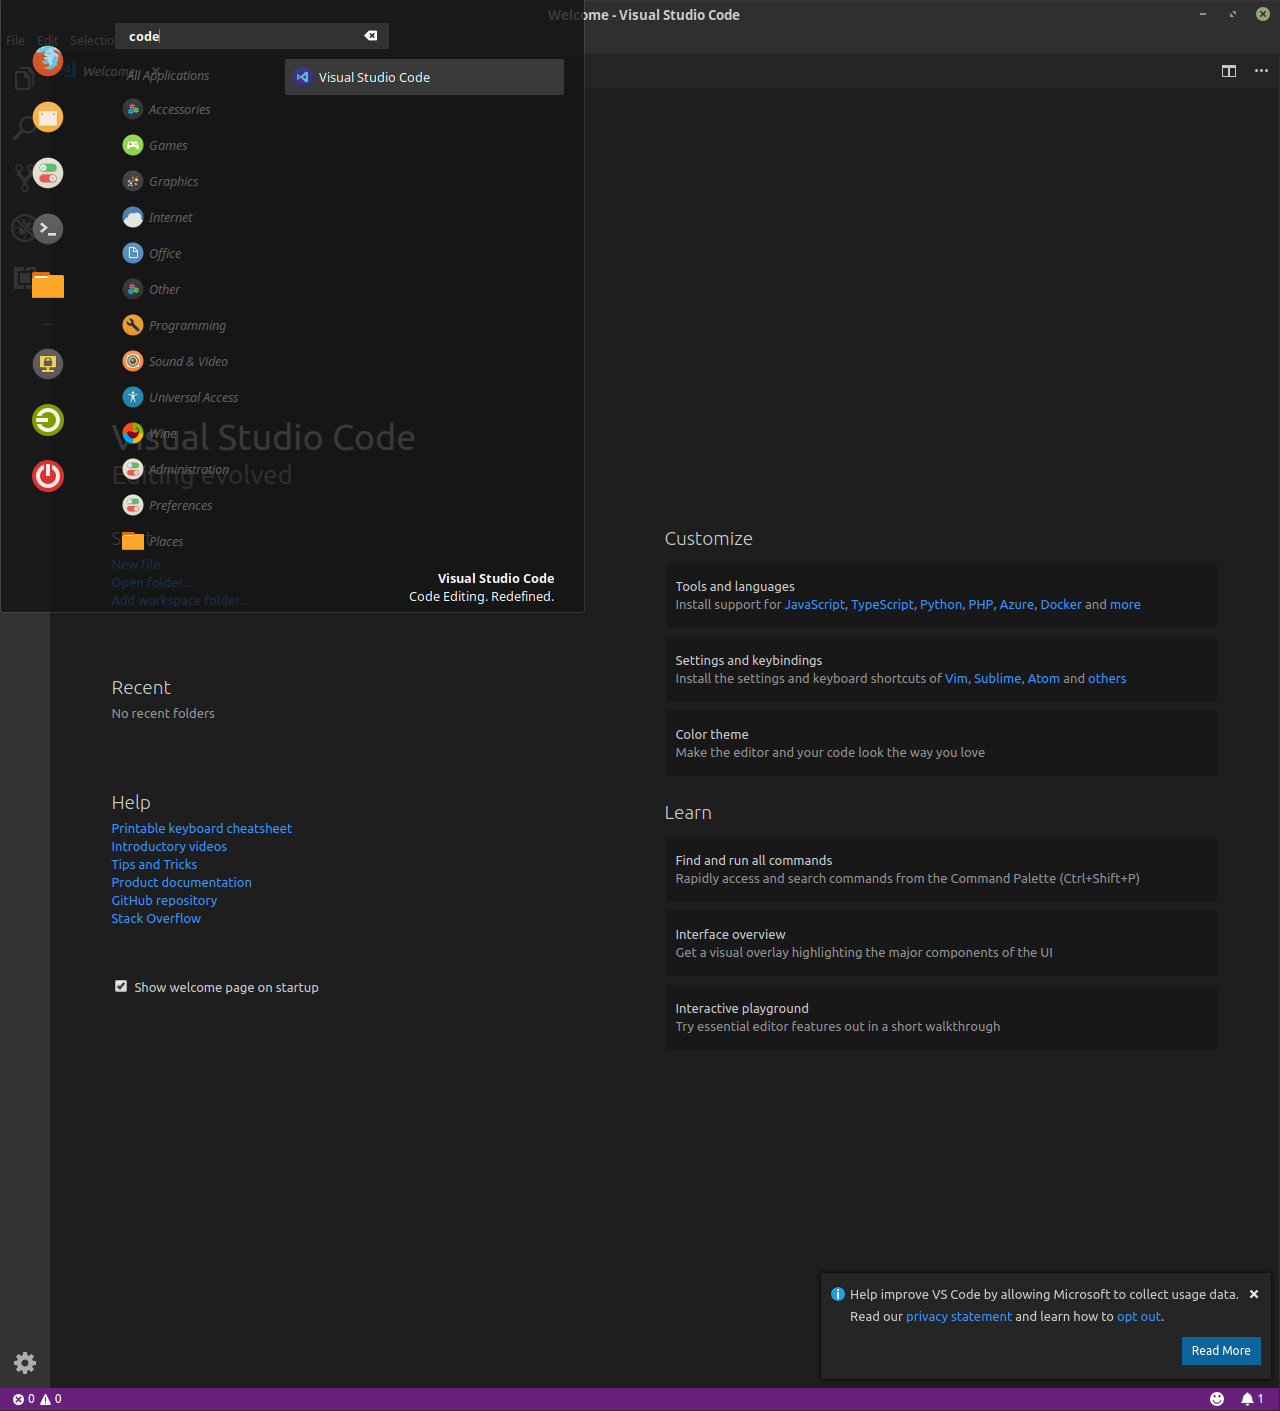
Visual studio code in the menu
3. Install the C# Extension
Click on the extensions icon to the left and search for C# . Then click install.
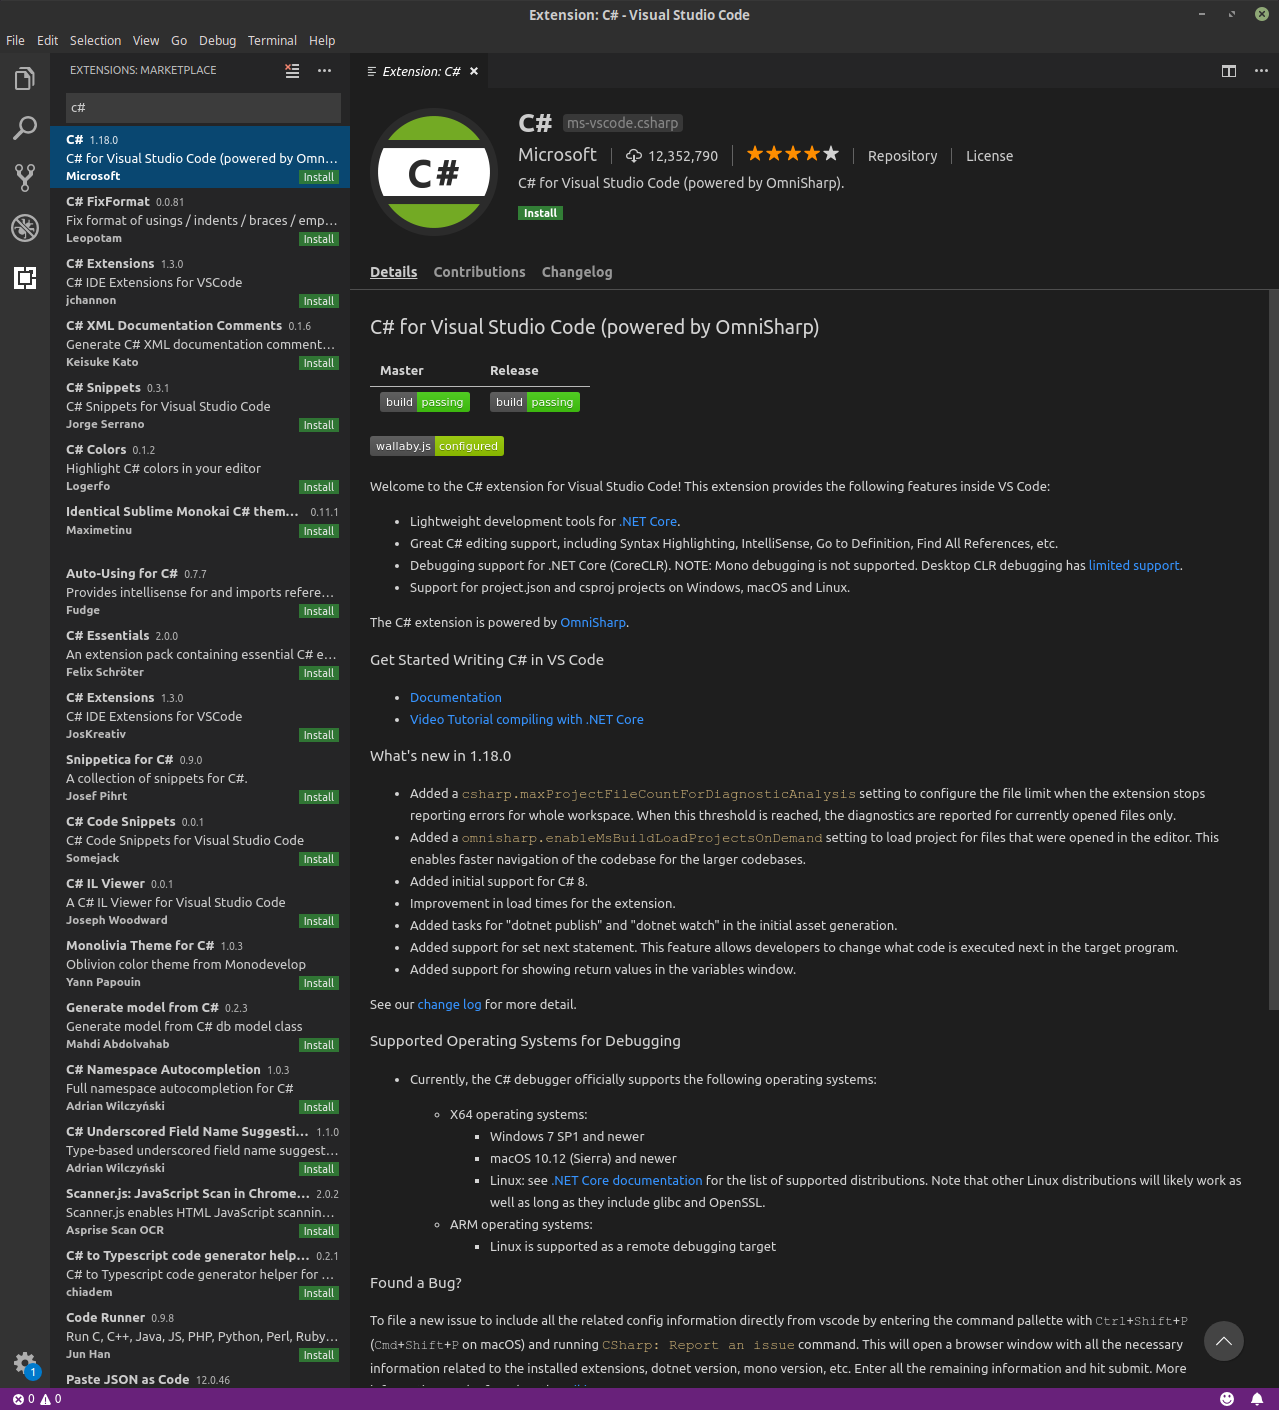
Visual studio csharp extension
4. Creating an ASP.NET Core Project
Now its time to create an ASP.NET MVC project from the terminal. These commands are copied from the Microsoft documentation
This creates a new mvc project in a folder called MvcMovie.
We can use the command line to open the newly created project in VS Code:
Источник
Using .NET Core in Visual Studio Code
.NET Core provides a fast and modular platform for creating server apps that run on Windows, Linux, and macOS. Use Visual Studio Code with the C# and F# extensions to get a powerful editing experience with C# IntelliSense, F# IntelliSense (smart code completion), and debugging.
Prerequisites
Install the following:
- .NET Core SDK. The SDK also includes the Runtime.
- The C# extension from the VS Code Marketplace.
- The F# extension (Ionide) from the VS Code Marketplace.
Create a C# «Hello World» app
Initialize a C# project:
- Open a terminal/command prompt and navigate to the folder in which you’d like to create the app.
- Enter the following command in the command shell:
When the project folder is first opened in VS Code:
- A «Required assets to build and debug are missing. Add them?» notification appears at the bottom right of the window.
- Select Yes.
Run the app by entering the following command in the command shell:
Watch a video tutorial for further C# setup help on Windows, macOS, or Linux.
Create an F# «Hello World» app
Initialize an F# project:
- Open a terminal/command prompt and navigate to the folder in which you’d like to create the app.
- Enter the following command in the command shell:
Once it completes, open the project in Visual Studio Code:
Run the app by entering the following command in the command shell:
Источник
Visual Studio Code on Linux
Installation
See the Download Visual Studio Code page for a complete list of available installation options.
By downloading and using Visual Studio Code, you agree to the license terms and privacy statement.
Debian and Ubuntu based distributions
The easiest way to install Visual Studio Code for Debian/Ubuntu based distributions is to download and install the .deb package (64-bit), either through the graphical software center if it’s available, or through the command line with:
Note that other binaries are also available on the VS Code download page.
Installing the .deb package will automatically install the apt repository and signing key to enable auto-updating using the system’s package manager. Alternatively, the repository and key can also be installed manually with the following script:
Then update the package cache and install the package using:
RHEL, Fedora, and CentOS based distributions
We currently ship the stable 64-bit VS Code in a yum repository, the following script will install the key and repository:
Then update the package cache and install the package using dnf (Fedora 22 and above):
Or on older versions using yum :
Due to the manual signing process and the system we use to publish, the yum repo may lag behind and not get the latest version of VS Code immediately.
Visual Studio Code is officially distributed as a Snap package in the Snap Store:

You can install it by running:
Once installed, the Snap daemon will take care of automatically updating VS Code in the background. You will get an in-product update notification whenever a new update is available.
Note: If snap isn’t available in your Linux distribution, please check the following Installing snapd guide, which can help you get that set up.
Learn more about snaps from the official Snap Documentation.
openSUSE and SLE-based distributions
The yum repository above also works for openSUSE and SLE-based systems, the following script will install the key and repository:
Then update the package cache and install the package using:
AUR package for Arch Linux
To get more information about the installation from the AUR, please consult the following wiki entry: Install AUR Packages.
Nix package for NixOS (or any Linux distribution using Nix package manager)
There is a community maintained VS Code Nix package in the nixpkgs repository. In order to install it using Nix, set allowUnfree option to true in your config.nix and execute:
Installing .rpm package manually
The VS Code .rpm package (64-bit) can also be manually downloaded and installed, however, auto-updating won’t work unless the repository above is installed. Once downloaded it can be installed using your package manager, for example with dnf :
Note that other binaries are also available on the VS Code download page.
Updates
VS Code ships monthly and you can see when a new release is available by checking the release notes. If the VS Code repository was installed correctly, then your system package manager should handle auto-updating in the same way as other packages on the system.
Note: Updates are automatic and run in the background for the Snap package.
Node.js
Node.js is a popular platform and runtime for easily building and running JavaScript applications. It also includes npm, a Package Manager for Node.js modules. You’ll see Node.js and npm mentioned frequently in our documentation and some optional VS Code tooling requires Node.js (for example, the VS Code extension generator).
If you’d like to install Node.js on Linux, see Installing Node.js via package manager to find the Node.js package and installation instructions tailored to your Linux distribution. You can also install and support multiple versions of Node.js by using the Node Version Manager.
To learn more about JavaScript and Node.js, see our Node.js tutorial, where you’ll learn about running and debugging Node.js applications with VS Code.
Setting VS Code as the default text editor
xdg-open
You can set the default text editor for text files ( text/plain ) that is used by xdg-open with the following command:
Debian alternatives system
Debian-based distributions allow setting a default editor using the Debian alternatives system, without concern for the MIME type. You can set this by running the following and selecting code:
If Visual Studio Code doesn’t show up as an alternative to editor , you need to register it:
Windows as a Linux developer machine
Another option for Linux development with VS Code is to use a Windows machine with the Windows Subsystem for Linux (WSL).
Windows Subsystem for Linux
With WSL, you can install and run Linux distributions on Windows. This enables you to develop and test your source code on Linux while still working locally on a Windows machine. WSL supports Linux distributions such as Ubuntu, Debian, SUSE, and Alpine available from the Microsoft Store.
When coupled with the Remote — WSL extension, you get full VS Code editing and debugging support while running in the context of a Linux distro on WSL.
See the Developing in WSL documentation to learn more or try the Working in WSL introductory tutorial.
Next steps
Once you have installed VS Code, these topics will help you learn more about it:
- Additional Components — Learn how to install Git, Node.js, TypeScript, and tools like Yeoman.
- User Interface — A quick orientation to VS Code.
- User/Workspace Settings — Learn how to configure VS Code to your preferences through settings.
Common questions
Azure VM Issues
I’m getting a «Running without the SUID sandbox» error?
You can safely ignore this error.
Debian and moving files to trash
If you see an error when deleting files from the VS Code Explorer on the Debian operating system, it might be because the trash implementation that VS Code is using is not there.
Run these commands to solve this issue:
Conflicts with VS Code packages from other repositories
Some distributions, for example Pop!_OS provide their own code package. To ensure the official VS Code repository is used, create a file named /etc/apt/preferences.d/code with the following content:
«Visual Studio Code is unable to watch for file changes in this large workspace» (error ENOSPC)
When you see this notification, it indicates that the VS Code file watcher is running out of handles because the workspace is large and contains many files. Before adjusting platform limits, make sure that potentially large folders, such as Python .venv , are added to the files.watcherExclude setting (more details below). The current limit can be viewed by running:
The limit can be increased to its maximum by editing /etc/sysctl.conf (except on Arch Linux, read below) and adding this line to the end of the file:
The new value can then be loaded in by running sudo sysctl -p .
While 524,288 is the maximum number of files that can be watched, if you’re in an environment that is particularly memory constrained, you may want to lower the number. Each file watch takes up 1080 bytes, so assuming that all 524,288 watches are consumed, that results in an upper bound of around 540 MiB.
Arch-based distros (including Manjaro) require you to change a different file; follow these steps instead.
Another option is to exclude specific workspace directories from the VS Code file watcher with the files.watcherExclude setting. The default for files.watcherExclude excludes node_modules and some folders under .git , but you can add other directories that you don’t want VS Code to track.
I can’t see Chinese characters in Ubuntu
We’re working on a fix. In the meantime, open the application menu, then choose File > Preferences > Settings. In the Text Editor > Font section, set «Font Family» to Droid Sans Mono, Droid Sans Fallback . If you’d rather edit the settings.json file directly, set editor.fontFamily as shown:
Package git is not installed
This error can appear during installation and is typically caused by the package manager’s lists being out of date. Try updating them and installing again:
The code bin command does not bring the window to the foreground on Ubuntu
Running code . on Ubuntu when VS Code is already open in the current directory will not bring VS Code into the foreground. This is a feature of the OS which can be disabled using ccsm .
Under General > General Options > Focus & Raise Behaviour, set «Focus Prevention Level» to «Off». Remember this is an OS-level setting that will apply to all applications, not just VS Code.
Cannot install .deb package due to «/etc/apt/sources.list.d/vscode.list: No such file or directory»
This can happen when sources.list.d doesn’t exist or you don’t have access to create the file. To fix this, try manually creating the folder and an empty vscode.list file:
Cannot move or resize the window while X forwarding a remote window
If you are using X forwarding to use VS Code remotely, you will need to use the native title bar to ensure you can properly manipulate the window. You can switch to using it by setting window.titleBarStyle to native .
Using the custom title bar
The custom title bar and menus were enabled by default on Linux for several months. The custom title bar has been a success on Windows, but the customer response on Linux suggests otherwise. Based on feedback, we have decided to make this setting opt-in on Linux and leave the native title bar as the default.
The custom title bar provides many benefits including great theming support and better accessibility through keyboard navigation and screen readers. Unfortunately, these benefits do not translate as well to the Linux platform. Linux has a variety of desktop environments and window managers that can make the VS Code theming look foreign to users. For users needing the accessibility improvements, we recommend enabling the custom title bar when running in accessibility mode using a screen reader. You can still manually set the title bar with the Window: Title Bar Style ( window.titleBarStyle ) setting.
Broken cursor in editor with display scaling enabled
Due to an upstream issue #14787 with Electron, the mouse cursor may render incorrectly with scaling enabled. If you notice that the usual text cursor is not being rendered inside the editor as you would expect, try falling back to the native menu bar by configuring the setting window.titleBarStyle to native .
Repository changed its origin value
If you receive an error similar to the following:
Use apt instead of apt-get and you will be prompted to accept the origin change:
Источник
ASP.NET Core: ваше первое приложение на Linux c использованием Visual Studio Code
Решил недавно написать небольшое ASP.Net MVC приложение после многолетнего перерыва и знающие люди на Хабре подсказали попробовать новый ASP.Net Core, тем более, что он работает в Линуксе из коробки без необходимости задействовать mono, и, судя по последним тестам, даже показывает неплохую производительность. За основу взял аналогичную статью для Mac, однако здесь в отличии от вдохновившей меня статьи хочу описать процесс пошагово в одном месте, для того, чтобы не пришлось лазить по перекрёстным ссылкам, пытаясь разобраться как установить непонятно для чего предназначенные приложения и пакеты. Такое подробное описание процесса возможно поможет многим избежать граблей, с которыми пришлось столкнуться мне. Несколько фраз и рисунков, в части одинаковой для любой платформы, с правками и корректировками взяты из статьи для Mac.
Установка .Net Core и Visual Studio Code
Приводимые здесь команды установки подходят для дистрибутивов Ubuntu 16.04/Mint 18.x, для остальных можно найти здесь.
Установка .Net Core:
Устанавливаем новейший на данный момент RC4 для совместимости с новейшим генератором проектов aspnet:
Установка Visual Studio Code
Устанавливается легко в пару кликов по этой ссылке.
Установка расширения C#
Запускаем Visual Studio Code, нажимаем Ctrl-P, вводим команду:
ext install csharp
В появившейся слева панели нажимаем «Установить» напротив соответствующего расширения, если это не произошло автоматически. Visual Studio Code можно пока закрыть.
Подготовка среды разработки и формирование шаблонов приложений
Устанавливаем новейший node.js с оригинального сайта (тот, что идёт с дистрибутивом не подходит), он нам нужен из-за менеджера пакетов npm, который идёт вместе с ним:
Для других дистрибутивов инструкция здесь.
Инициализация проекта
Для инициализации используется скаффолдер Yeoman — инициализатор проекта, включающий в себя развёртывание файловой структуры и генерацию шаблона проекта, т.е. исходного кода приложения. Включает в себя скаффолдер Yo, менеджер пакетов Bower и менеджер задач Grunt. При установке Yo вам будут установлены также Bower и Grunt. Здесь устанавливаем в любом терминале также новейший генератор aspnet, в котором возвращена система сборки msbuild вместо project.json:
Запуск генератора проекта
Примечание: При выборе пункта WebApplication будет создан шаблон приложения с авторизацией клиентов, где в качестве БД может использоваться SQLite (генератор выдаст соответствующие инструкции как это сделать). Если же вы захотите в качестве базы использовать что-нибудь покруче, то можно добавить поддержку PostgreSQL:
- Установка: npm install -g generator-aspnetpostgresql
- Генерация шаблона: yo aspnetpostgresql
Данный генератор основан на том же самом OmniSharp/generator-aspnet. Версия несколько устарела, поэтому для запуска нужно сначала выполнить dotnet migrate & dotnet restore — именно в таком порядке.
Your project is now created, you can use the following commands to get going
cd «WebApplicationBasic»
dotnet restore
dotnet build (optional, build will also happen with it’s run)
dotnet run
Восстановить и собрать можно, а вот запускать пока рано: нужно ещё кое что сделать.
Разработка приложений ASP.NET Core MVC на Linux с помощью Visual Studio Code
Теперь запустите Visual Studio Code. 
Выберите пункт Файл → Отрыть папку и выберите папку, в которой Вы создали шаблон приложения ASP.NET Core MVC с помощью yo.
При первом запуске Visual Studio Code выдаст предупреждение об отсутствии необходимых инструментов для сборки и отладки. Нажимаем Yes , чтобы добавить их. Без этого автоматическая отладка и сборка средствами Visual Studio Code будет недоступна, а только через терминал командами dotnet build и dotnet run .
В Терминале Visual Studio Code (Ctrl-`) выполните команду dotnet restore , чтобы восстановить зависимости проекта (если не сделали этого раньше). Другой способ — выполнить команду Ctrl-Shift-P в Visual Studio Code и затем ввести dot, как показано ниже (у меня почему-то не заработало):
Для тех, кто только приступает к использованию Visual Studio Code (или Code, для краткости), следует заметить, что данный продукт не только имеет удобный, простой и отзывчивый интерфейс, обеспечивающий быструю работу с файлами, но он также предоставляет инструменты для наиболее эффективного написания кода.
В левой панели навигации находятся пять значков, представляющие четыре viewlet:
- Explore
- Search
- Git
- Debug
- Extensions
Explore viewlet позволяет быстро перемещаться по системе каталогов, а также облегчает обзор файлов, с которыми вы работаете. При наличии несохраненных изменений в файлах специальный значок на экране будет уведомлять об этом; упрощается процесс создания новых файлов и папок (для этого не надо открывать новое окно). Также удобно пользоваться командой Save All (Сохранить все), доступной в меню, которое появляется при наведении курсора мыши.
Code интегрируется с Git, если он установлен на вашем компьютере. При помощи Git viewlet можно создавать новые репозитории, подтверждать изменение кода, отправлять изменения.
Debug viewlet поддерживает интерактивную отладку приложений.
Кроме того, в редакторе Code есть множество замечательных функций. Вы увидите, что неиспользованные операторы using будут подчеркнуты и могут быть удалены автоматически при помощи Сtrl-. , если значок лампочки отображается на экране. Также можно видеть, сколько ссылок на классы и методы есть в проекте. Если вы переходить с Visual Studio, то вы можете использовать многие знакомые сочетания клавиш, например, Сtrl-K+C , чтобы закомментировать блок кода или Ctrl-K-U , чтобы раскомментировать его.
Запуск приложения при помощи Kestrel
Kestrel — это кросс-платформенный HTTP сервер, основанный на libuv — библиотеке асинхронного ввода-вывода. Для его установки нужно установить соответствующий пакет NuGet: Microsoft.AspNetCore.Server.Kestrel. Сделать это можно двумя способами:
- Установив .Net Core Project Manager (Nuget) через viewlet Extensions (Расширения): Ctrl-Shift-P , набираем Nuget , ↵, затем Kestrel ↵ выбираем Microsoft.AspNetCore.Server.Kestrel
- Через командную строку в терминале редактора vs code editor:
Всё, теперь можно запускать: нажимаем F5 или в терминале dotnet run , при этом автоматически запускается браузер с приложением по адресу: localhost:5000 . Чтобы остановить веб-сервер, нажмите Ctrl+C. Вот и всё, можете наслаждаться вашим первым приложением ASP.Net Core:
Источник


