- Vmware workstation mac os big sur
- About
- How to Install VMware Tools on macOS Big Sur
- Steps to Install VMware Tools on macOS Big Sur
- Step 1: Attach VMware Tools ISO to macOS Big Sur
- Step 2: Install the VMware tools
- Step 3: Allow VMware Tools through macOS Big Sur Security Settings
- Step 4: Reinstall VMware Tool if required
- Summary
- 17 Comments
- Leave a Reply Cancel reply
Vmware workstation mac os big sur
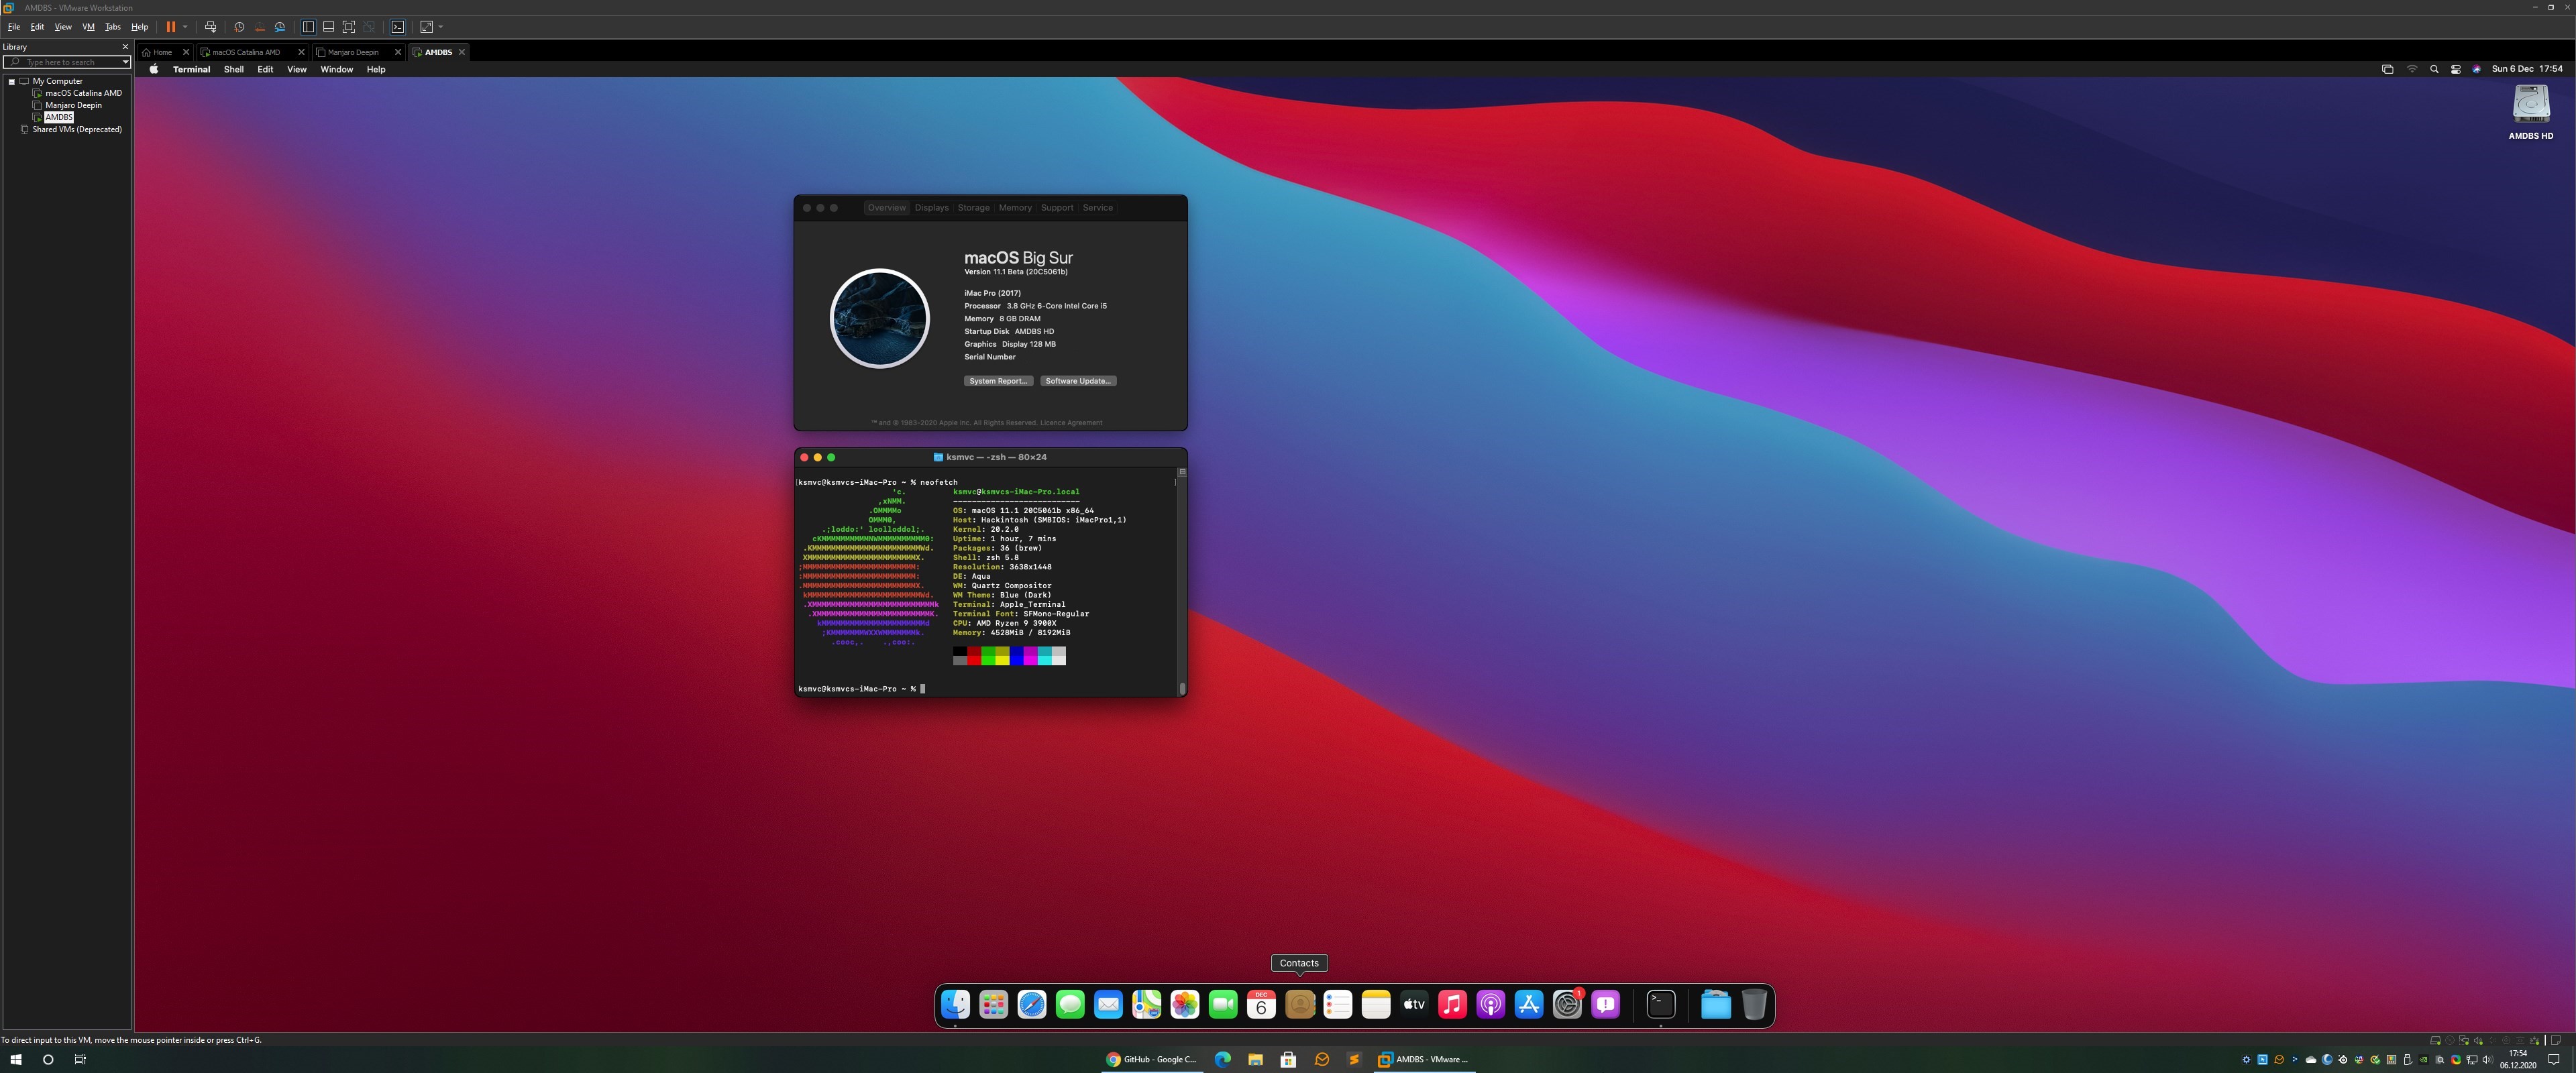
OpenCore 0.6.9 — VMware Workstation 16 — AMD Ryzen


Install macOS Big Sur on Ryzen with VMware Workstation and OpenCore
The VM is succesfully installed and tested on 2 different cpus/systems:
- Ryzen 9 3900X -> VM has 6 core CPU and 12GB RAM
- Ryzen 5 PRO 4650U -> 4 core CPU and 8GB RAM
- Real Mac or a VM with macOS
- Pre-build VMDK for the #Method 1
- USB 16GB for the #Method 2
- VMware Workstation 16 (Player and Workstation 15 should also work)
- Unlocker for VMware ->unlocker
Download the pre-build VMDK for the installer of macOS Big Sur from here:
- Big Sur 11.3.1 — OC 0.6.9
- Alternative link — 11.3.1
- OLD — Alternative link — 11.2.2
- OLD — Alternative link — 11.1
- Close VMware Workstation
- Download the Unlocker and run win-install.cmd as Admin
- Open VMware Workstation and create a new VM
- I will install the operating system later
- Select Apple Mac OS X -> macOS 11.1
- Choose a name for the Virtual Machine
- I created a disk size of 200GB (reccomended is 80GB)
- VM created
- After that modify the VM and attach the downloaded VMDK (macOS Installer)
- In the VM settings, select the Hard Disk (es. 200GB) -> Advanced -> Virtual Device Node and put it after the VMDK installer | ex. If the installer is SATA 0:2 put the Hard Disk as SATA 0:3)
- Now start the VM, install macOS and continue with the Post-installation 🙂
First of all you need to prepare the USB that we will use to install macOS on VMware
- Download macOS Big Sur from the App Store.
- Plug in an empty USB drive.
- Run one of the below commands in your Terminal to prepare the bootable macOS USB.
You can use this tool: MountEFI
- Just copy the EFI folder into the EFI partition that you have mounted
Close VMware Workstation
Download the Unlocker and run win-install.cmd as Admin
Open VMware Workstation and create a new VM
- I will install the operating system later
- Select Apple Mac OS X -> macOS 11.1
- Choose a name for the Virtual Machine
- I created a disk size of 200GB (reccomended is 80GB)
- Finish
- Start the VM and select No
- Insert the USB into the PC and connect it to the VM
- On the VM «bios» select Reset the system
- After the reboot you will see that the VM is booting into the OpenCore menu
- Select Install macOS Big Sur (external) | or Beta if you are installing macOS 11.1
After that is a «normal» installation of a macOS with OpenCore, you need to create a new partition and install macOS
NOTE: The installation require a lot of reboot so don’t panic 🙂
After the complete installation of macOS there are some changes to do:
EFI FOLDER
- Download the EFI folder from the releases page
- Copy the folder of the USB into the EFI partition of the VM
- Download the MountEFI software and mount the partition of the USB and the macOS Disk
- Replace the content of the macOS disk with the USB EFI content
After that eject the USB and shutdown the VM.
OpenCore entry into the VM BIOS
Select the VM and near the Power button select Power On to Firmware from the dropdown list
- Select Enter setup
- Configure boot options
- Delete boot option -> remove OpenCore (this is the OpenCore from the USB or VMDK installer)
- Add boot option -> search for EFI, [PciRoot. and select it
- Select -> ->BOOTx64.efi
- Input the description -> insert something like OpenCore AMD or just Opencore
- Commit changes and exit
- Select Configure boot options
- Change boot order -> set the OpenCore entry at first position, then Commit changes and exit
- Exit the Boot Maintenance Manager
- Select OpenCore and boot to macOS
VMware Tools
Now if you want you can install the VMware Tools to resize correctly the VM and to enable the drag&drop from the VM to the host and viceversa
- The VMware tools are inside the Unlocker folder under tools -> darwin.iso
Generate new SMBIOS info with OpenCore Configurator or something else 🙂
AUDIO
- If exists AppleALC.kext in your EFI folder delete it.
- Download and install VoodooHDA OC from: VoodooHDA OC
- Reboot the system
- Select SPDIF-out from the audio outputs
- AlGrey for creating the patches.
- XLNC for maintaining patches to various macOS versions.
- Sinetek, Andy Vandijck, spakk, Bronya, Tora Chi Yo, Shaneee and many others for sharing their AMD/XNU kernel knowledge
About
Install macOS Big Sur on Ryzen with VMware Workstation and OpenCore
Источник
How to Install VMware Tools on macOS Big Sur
How to Install VMware Tools on macOS Big Sur
In this article, I will show you how to install VMware Tools on macOS Big Sur. If you want to make macOS Big Sur responsive, work fast and enable the drag and drop feature then you need to install VMware tools. It’s the tool created by VMware to make Virtual Machines work smoothly and have all the benefits of macOS as a VM. Sometimes the VMware tools don’t work when you install, so If the VMware tools didn’t work, then you need to reinstall it, to make it work. So follow the steps below.
You should have macOS big Sur installed on VMware if not then follow this guide to install macOS Big Sur on VMware on Windows.
Steps to Install VMware Tools on macOS Big Sur
- Attach VMware Tools ISO to macOS Big Sur
- Install the VMware tools
- Allow VMware tools from macOS Security Settings
- Reinstall the VMware tools if required
Step 1: Attach VMware Tools ISO to macOS Big Sur
In this guide, I will use the default VMware tools provided by VMware. Right-click on macOS Big Sur Tab/Window then click Install VMware Tools.
Attach VMware tools to macOS
Attach VMware tools to macOS
Alternatively, if that didn’t work for you then download the VMware tools for macOS Big Sur from the link below then follow these steps:
- Download VMware Tools for macOS Big Sur (Direct Link)
- Go to your macOS Big Sur Virtual Machine Settings >CD/DVD (SATA) > Use ISO image file > Browse > locate & select the VMware Tools you downloaded from the link above and click Open.
- Once you have selected the VMware tools.iso, then make sure the device status is Connected and Connectat Power On and click OK.
Use VMware tools ISO Image
» data-medium-file=»https://www.wikigain.com/wp-content/uploads/2020/06/Use-VMware-tools-ISO-Image-300×293.png» data-large-file=»https://www.wikigain.com/wp-content/uploads/2020/06/Use-VMware-tools-ISO-Image.png»/> Use VMware tools ISO Image  Connect the VMware tools ISO to macOS
Connect the VMware tools ISO to macOS
Step 2: Install the VMware tools
#1. The VMware tools will automatically appear on your desktop. Double-click on Install VMware tools.
Install VMware Tools on macOS Big Sur
Install VMware Tools on macOS Big Sur
#3. On the Welcome to VMware tools Installer page, click Continue.
#4. Click on the Install button.
#5. Type your username and password then click Install Software.
Click Install Software
Click Install Software
Step 3: Allow VMware Tools through macOS Big Sur Security Settings
#1. When System Extension Blocked appears, click Open Security Preferences.
Open Security Preferences
Open Security Preferences
#2. Click on the Padlock icon. Type your password then click Unlock. It allows you to make changes.
Unlock Security and Privact Preferences
Unlock Security and Privacy Preferences
#3. Click Allow next to some system software was blocked from loading.
#4. Then select VMware, Inc and click OK to enable the VMware tools extension to be installed from the security & privacy window.
Select VMware Inc and click OK
Select VMware Inc and click OK
#5. On this Pop-up window click Not Now then close Security & Privacy window.
Close Security & Privacy window
Close Security & Privacy window
#6. Click the Restart button on The installation was successful window.
#7. macOS Big Sur VM will restart and after the restart login with your Username and Password. Test the enhanced features should be working.
VMware Tools installed on macOS Big Sur
VMware Tools installed on macOS Big Sur
Step 4: Reinstall VMware Tool if required
Sometimes the VMware tools don’t work when you install it the first time, so If the VMware tools didn’t work, then you need to reinstall it, to make it work. So follow the steps below.
- Attach VMware tools.
- Click on Install VMware Tools.
- Click on Continue.
- Click on Continue Installation.
- Type your Username and Password and Click Install Software.
- Click Restart.
- Login to macOS Big Sur.
- Full screen your macOS Big Sur to make sure it’s work properly.
Summary
That’s all about how to install VMware Tools on macOS Big Sur. We covered the following:
- Attach VMware Tools ISO to macOS Big Sur
- Install the VMware tools
- Allow VMware tools from macOS Security Settings
- Reinstall the VMware tools if required
If I left out something and didn’t mention please let me know by commenting down below this post. We have lots of new posts related to macOS Big Sur so stay up to date with us.
![]()
I am the CEO of wikigain.com and a network instructor. Here is my online pictorial notebook. I would like to write and share my experience through this website for computer enthusiasts, how to guides and technology geeks.
17 Comments
The host system (windows 10) freezes after installing the tools on guest.
Without the tools installed on guest, it works well, but the guest resolution is too small.
Anyone experienced this problem and has a solution for it?
Hello Mukhtar, I’d like to thank you for your help it made the macOS Big Sur installation so easy.
I’m facing an issue in installing VMware tools when I click install VMware tools this error message appears :
This operation cannot proceed because your Mac OS guest is using the CD/DVD.
Dismiss this message, eject the disc from inside the guest, and retry this operation.
Can you please help with this?
hi
thanks
It worked perfectly fine, but there is a problem!
it will not recognize wifi, so there is no internet connection
however, I used the same method for El Capitan and it could pick up a wifi signal
any solution for the issue?
Many thanks. It didn’t work for me. Resolution is still 1024×768. But I used the zip/iso of “VMware Tools packages for OS X” at https://my.vmware.com/group/vmware/downloads/details?downloadGroup=VMTOOLS1125&productId=1073&rPId=58582
Wondering why it is not for OS XI or Big Sur
Worked great! Thank so much for the great instructions.
How can I increase display memory from 128MB? I have installed vmware tools.
It worked for me but with 4k resolution and despite good hardware you can’t control anything properly
I can not install it because it keeps logout and returns back to login screen
Do you use the default VMware tools?
I’ve got the same issue. I tried like 20 times and each time the os said the install was successful. The performance is way better with VM Tools uninstalled. Maybe VMware needs to update?
If the direct VMware tools that we linked doesn’t work properly, use the default one.
I keep installing VMware Tools again and again but it didnt work. Screen resolution still same graphics display 3 MB
Did you Allow VMware Tools through macOS Big Sur Security Settings(Step 3)?
Also, make sure your VMware is upgraded to the latest version.
How would i do this on VirtualBox?
It’s different on VirtualBox. VirtualBox Extension doesn’t come for macOS. However, you can fix macOS Big Sur screen resolution on VirtualBox.
You can also choose to use VMSVGA graphics under display in VirtualBox, which is compatible with the VMWare Tools graphics driver. Works a treat.
Hi Mukhtar,
Thank you for giving us these tutorials. With the newest Vbox 6.1.16 it does have the vboxdarwinadditions for mac guests. But there is an issue when it comes time to install them, I think only on Big Sur because of new root directory and kernel restrictions. Are you planning on looking at a work around so we can install the guest additions on a big sur guest?
Thanks again
Leave a Reply Cancel reply
This site uses Akismet to reduce spam. Learn how your comment data is processed.
Источник


