- Installation
- Base system requirements
- Downloading installation media
- Verifying images
- Verifying image integrity
- Verifying digital signature
- Установка Google Chrome в Linux
- Устанавливаем Google Chrome в Linux
- Способ 1: Установка пакета с официального сайта
- Способ 2: Терминал
- Void linux install chrome
- The Void (Linux) distribution
- Not a fork!
- Stable rolling release
- runit
- C library diversity
- xbps-src
- void-packages changes
- xbps changes
- Recent news
- October 03, 2021
- US Mirror Retirement
- September 23, 2021
- Hacktoberfest 2021
Installation
This section includes general information about the process of installing Void. For specific guides, see the «Advanced Installation» section.
Base system requirements
Void can be installed on very minimalist hardware, though we recommend the following minimums for most installations:
| Architecture | CPU | RAM | Storage |
|---|---|---|---|
| x86_64-glibc | x86_64 | 96MB | 700MB |
| x86_64-musl | x86_64 | 96MB | 600MB |
| i686-glibc | Pentium 4 (SSE2) | 96MB | 700MB |
Note that flavor installations require more resources; how much more depends on the flavor.
Void is not available for the i386, i486, or i586 architectures.
Before installing musl Void, please read the «musl» section of this Handbook, so that you are aware of software incompatibilities.
It is highly recommended to have a network connection available during install to download updates, but this is not required. ISO images contain installation data on-disk and can be installed without network connectivity.
Downloading installation media
The most recent live images and rootfs tarballs can be downloaded from https://alpha.de.repo.voidlinux.org/live/current/. They can also be downloaded from other mirrors. Previous releases can be found under https://alpha.de.repo.voidlinux.org/live/, organized by date.
Verifying images
Each image release’s directory contains two files used to verify the image(s) you download. First, there is a sha256sum.txt file containing image checksums to verify the integrity of the downloaded images. Second is the sha256sum.sig file, used to verify the authenticity of the checksums.
It is necessary to verify both the image’s integrity and authenticity. It is, therefore, recommended that you download both files.
Verifying image integrity
You can verify the integrity of a downloaded file using sha256sum(1) with the sha256sum.txt file downloaded above. The following command will check the integrity of only the image(s) you have downloaded:
This verifies that the image is not corrupt.
Verifying digital signature
Prior to using any image you’re strongly encouraged to validate the signatures on the image to ensure they haven’t been tampered with.
Current images are signed using a signify key that is specific to the release. If you’re on Void already, you can obtain the keys from the void-release-keys package, which will be downloaded using your existing XBPS trust relationship with your mirror. You will also need a copy of signify(1); on Void this is provided by the outils package.
To obtain signify when using a Linux distribution or operating system other than Void Linux:
- Install the signify package in Arch Linux and Arch-based distros.
- Install the signify-openbsd package in Debian and Debian-based distros.
- Install the package listed here for your distribution.
- Install signify-osx with homebrew in macOS.
If you can’t obtain signify for some reason (e.g. you are on Windows and can’t use WSL or MinGW), you can use minisign(1) to verify the file.
If you are not currently using Void Linux, it will also be necessary to obtain the appropriate signing key from our Git repository here.
Once you’ve obtained the key, you can verify your image with the sha256sum.sig file. The following example demonstrates the verification of the GCP musl filesystem from the 20191109 release:
If the verification process does not produce the expected «OK» status, do not use it! Please alert the Void Linux team of where you got the image and how you verified it, and we will follow up on it.
For verification with minisign , it is necessary to rename the sha256sum.sig file to sha256sum.txt.minisig and remove the first line from the .pub release key. The following example demonstrates the verification of the sha256sum.txt file from the 20191109 release:
The same warning as above applies. If the verification process isn’t successful, do not use the file — warn the Void Linux team about it.
Источник
Установка Google Chrome в Linux

Одним из самых популярных браузеров в мире считается Google Chrome. Далеко не все пользователи довольны его работой из-за большого потребления системных ресурсов и не для всех удобной системой управления вкладками. Однако сегодня мы бы не хотели обсуждать достоинства и недостатки этого веб-обозревателя, а поговорим о процедуре его инсталляции в операционные системы на базе ядра Linux. Как известно, выполнение этой задачи значительно отличается от той же платформы Windows, поэтому и требует детального рассмотрения.
Устанавливаем Google Chrome в Linux
Далее мы предлагаем ознакомиться с двумя различными методами установки рассматриваемого браузера. Каждый будет наиболее подходящим в определенной ситуации, поскольку у вас имеется возможность выбрать сборку и версию самостоятельно, а потом уже добавлять все компоненты в саму ОС. Практически на всех дистрибутивах Линукс этот процесс осуществляется одинаково, разве что в одном из способов придется выбрать совместимый формат пакета, из-за чего мы предлагаем вам руководство, основанное на последней версии Ubuntu.
Способ 1: Установка пакета с официального сайта
На официальном сайте Google для скачивания доступны специальные версии браузера, написанные под дистрибутивы Linux. Вам нужно только загрузить пакет на компьютер и провести дальнейшую инсталляцию. Пошагово эта задача выглядит так:
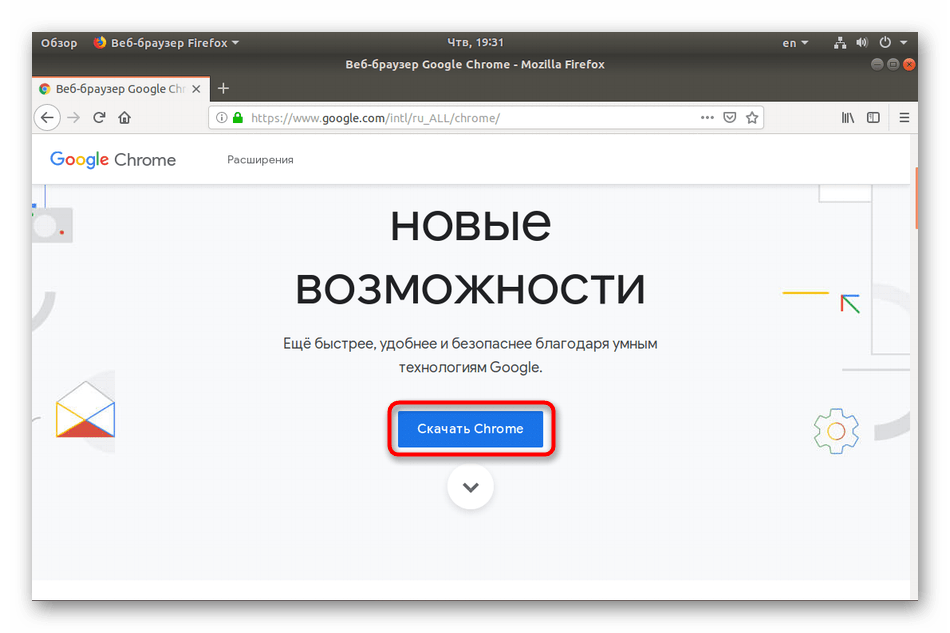
- Перейдите по указанной выше ссылке на страницу загрузки Google Chrome и нажмите на кнопку «Скачать Chrome».
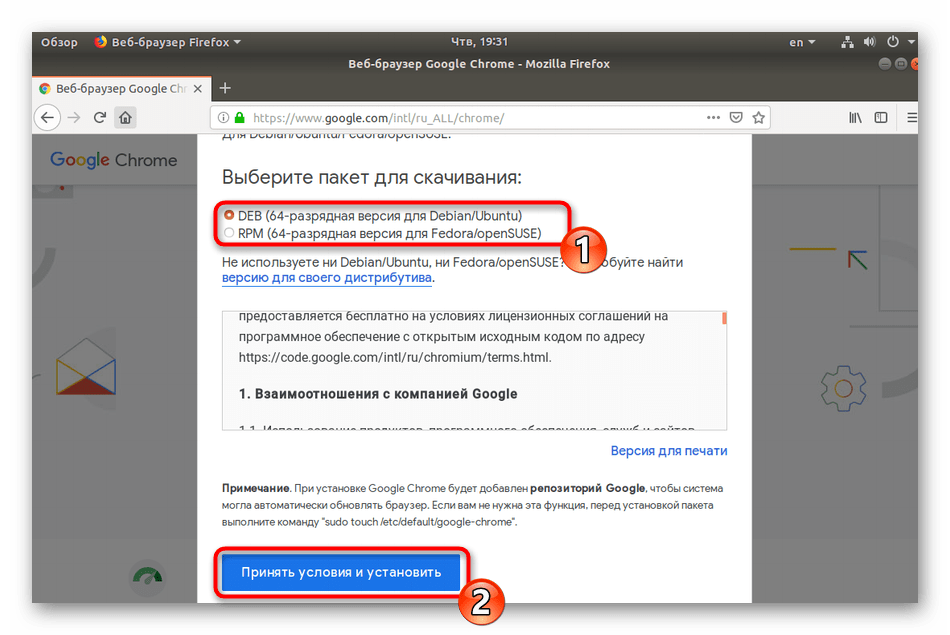
Выберите формат пакета для загрузки. В скобках указаны подходящие версии операционных систем, поэтому с этим сложностей возникнуть не должно. После этого щелкните на «Принять условия и установить».
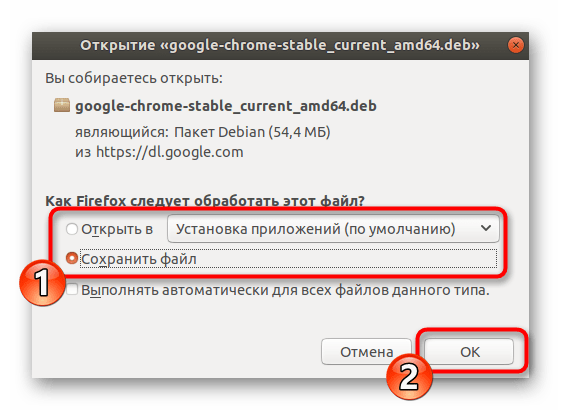
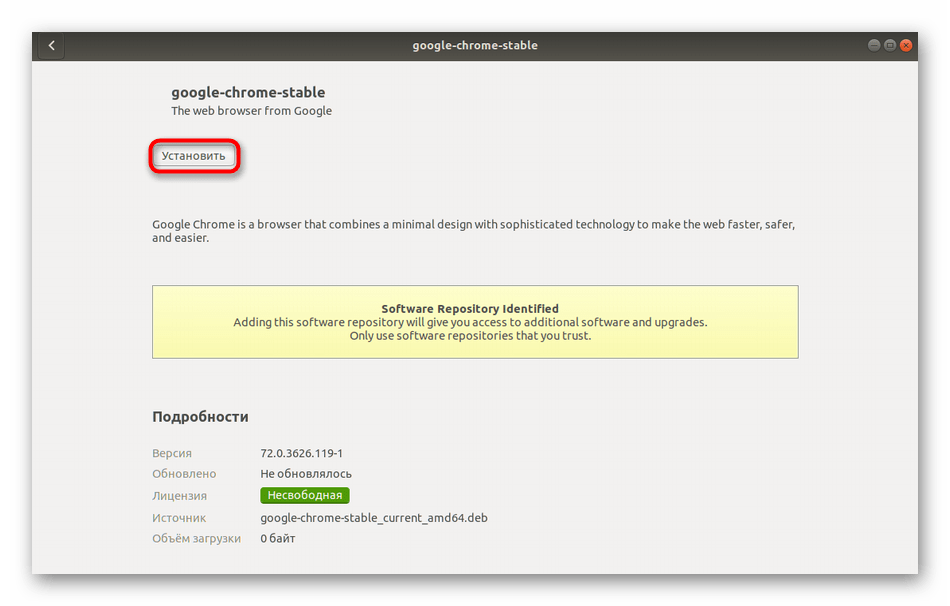
Теперь вы можете запустить скачанный DEB или RPM-пакет через стандартное средство ОС и кликнуть на кнопку «Установить». По завершении инсталляции запускайте браузер и приступайте к работе с ним.
Детально ознакомиться с методами установки DEB или RPM-пакетов вы можете в других наших статьях, перейдя по указанным ниже ссылкам.
Подробнее: Установка RPM-пакетов / DEB-пакетов в Ubuntu
Способ 2: Терминал
Не всегда у пользователя имеется доступ к браузеру или получается найти подходящий пакет. В таком случае на помощь приходит стандартная консоль, через которую можно загрузить и установить любое приложение на свой дистрибутив, включая рассматриваемый веб-обозреватель.
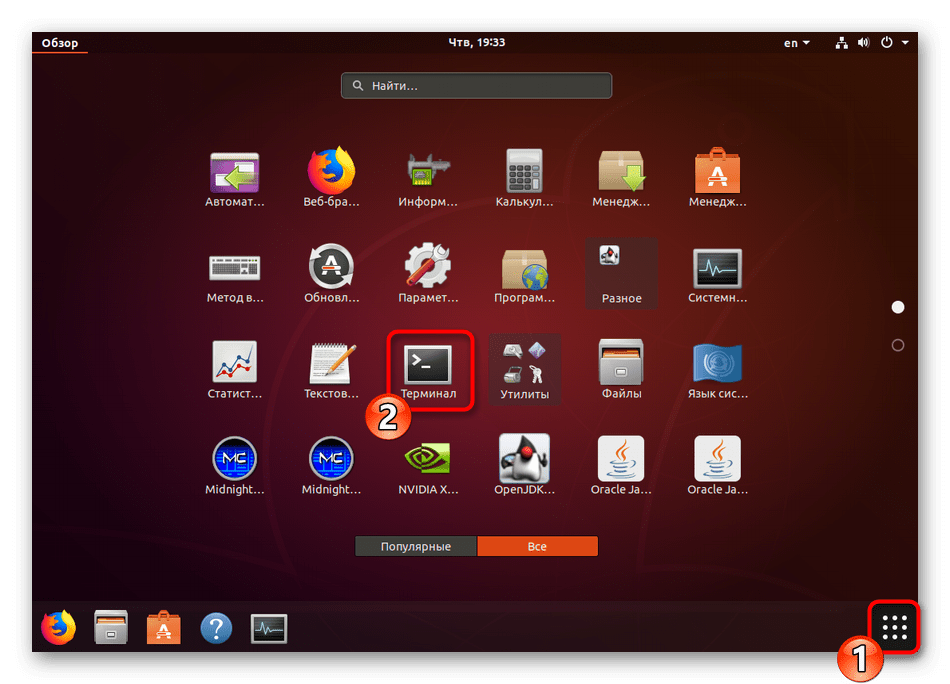
- Для начала запустите «Терминал» любым удобным образом.
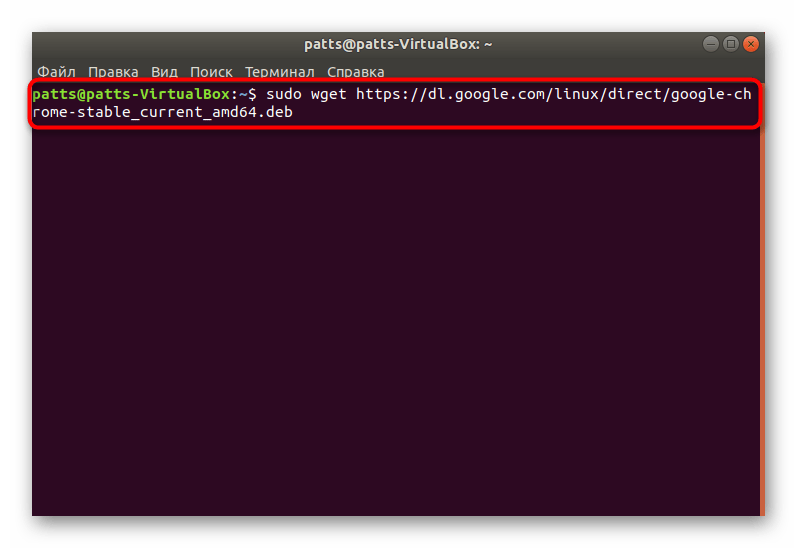
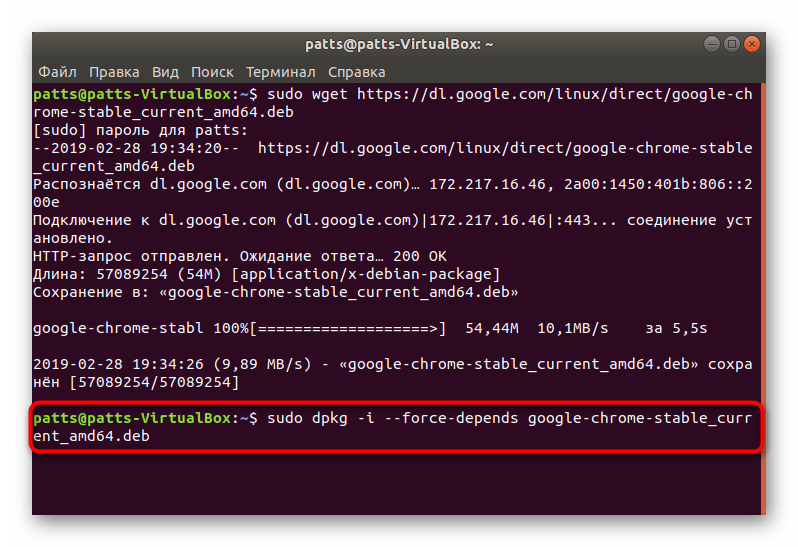
Загрузите пакет нужного формата из официального сайта, задействовав команду sudo wget https://dl.google.com/linux/direct/google-chrome-stable_current_amd64.deb , где .deb, может меняться на .rpm , соответственно.
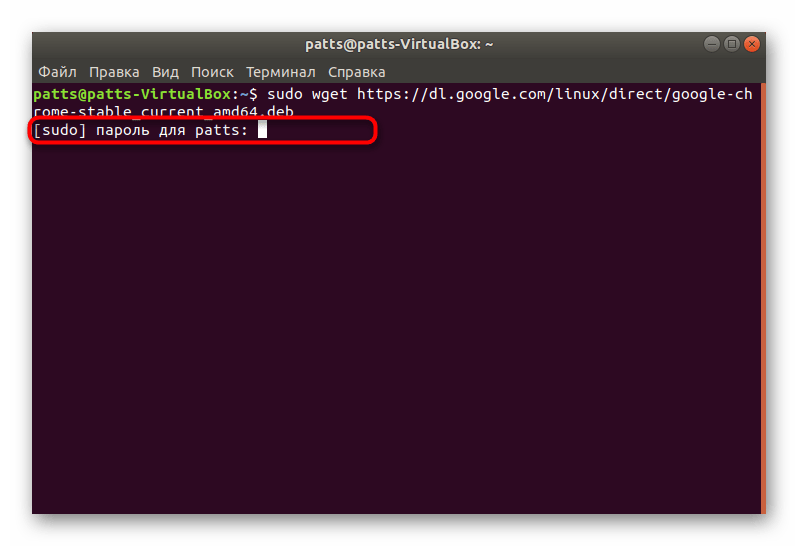
Введите пароль от своей учетной записи для активации прав суперпользователя. Символы при наборе никогда не отображаются, обязательно учитывайте это.
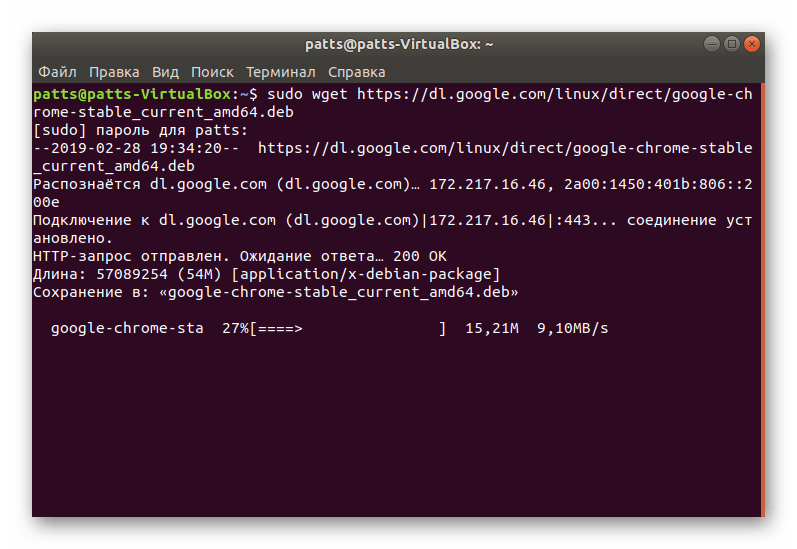
Ожидайте завершения загрузки всех необходимых файлов.
Установите пакет в систему с помощью команды sudo dpkg -i —force-depends google-chrome-stable_current_amd64.deb .
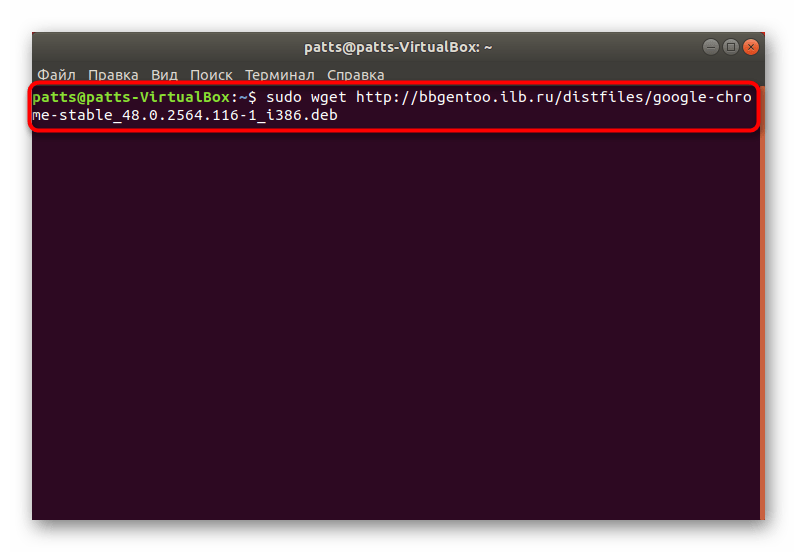
Вы могли заметить, что в ссылке содержится только приставка amd64, а это значит, что скачиваемые версии совместимы только с 64-разрядными операционными системами. Такая ситуация сложилась из-за того, что Google перестали выпускать 32-битные версии после сборки 48.0.2564. Если вы хотите получить именно ее, нужно будет проводить немного другие действия:
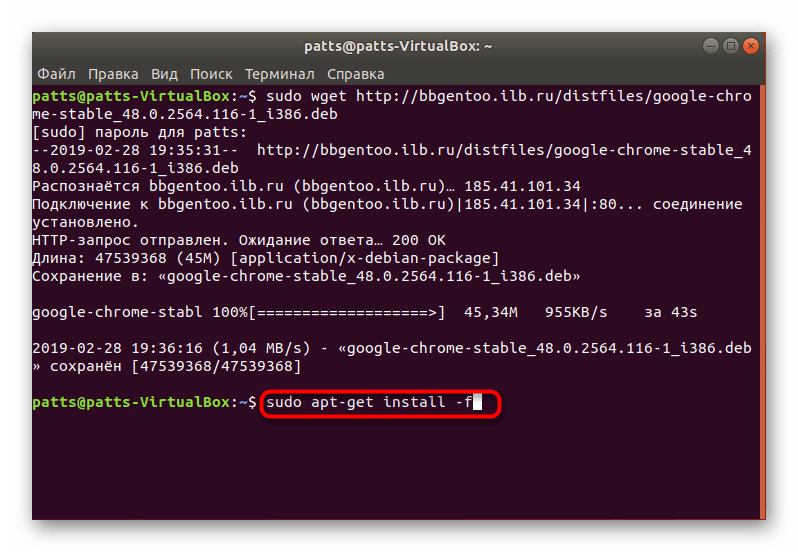
- Потребуется загрузить все файлы из пользовательского репозитория, а делается это через команду wget http://bbgentoo.ilb.ru/distfiles/google-chrome-stable_48.0.2564.116-1_i386.deb .
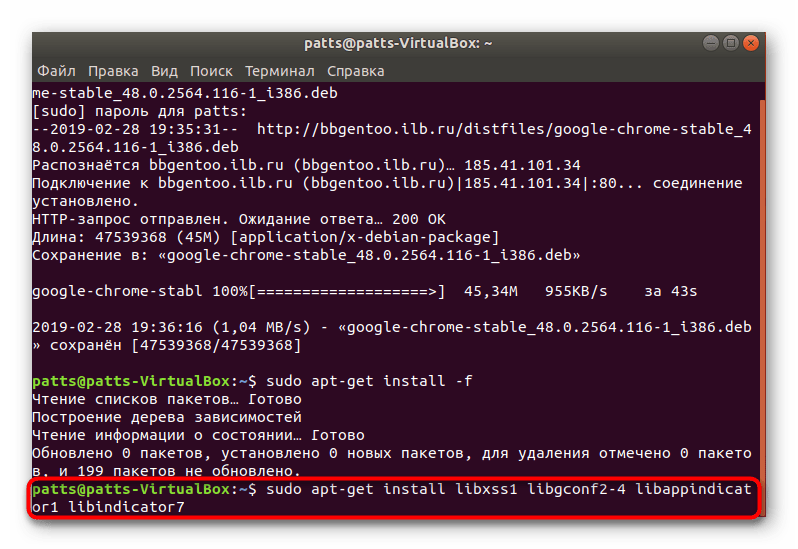
При получении ошибки о неудовлетворении зависимостей пропишите команду sudo apt-get install -f и все будет работать нормально.
Альтернативный вариант — вручную проставьте зависимости через sudo apt-get install libxss1 libgconf2-4 libappindicator1 libindicator7 .
После этого подтвердите добавление новых файлов, выбрав соответствующий вариант ответа.

Запускается браузер с помощью команды google-chrome .

Откроется стартовая страница, с которой начинается взаимодействие с веб-обозревателем.

Инсталляция разных версий Chrome
Отдельно бы хотелось выделить возможность установки разных версий Google Chrome рядом или выбора стабильной, бета или сборки для разработчика. Все действия все так же выполняются через «Терминал».
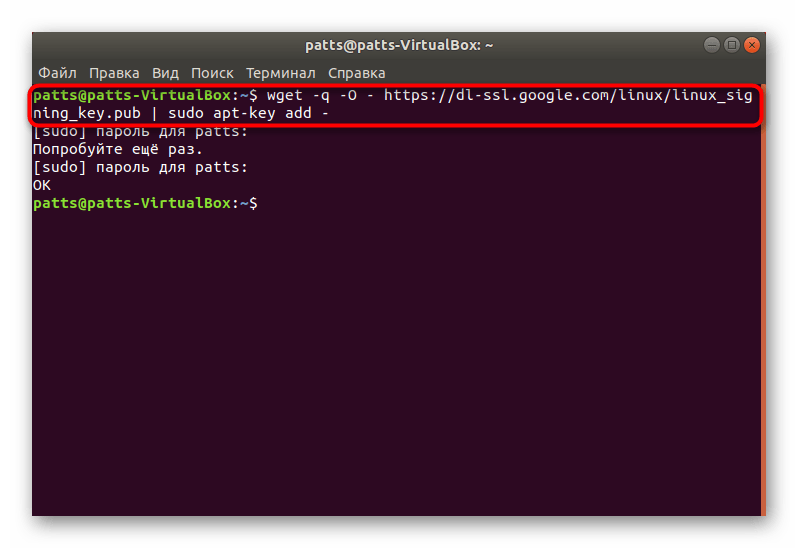
- Загрузите специальные ключи для библиотек, введя wget -q -O — https://dl-ssl.google.com/linux/linux_signing_key.pub | sudo apt-key add — .
Далее скачайте необходимые файлы с официального сайта — sudo sh -c ‘echo «deb [arch=amd64] http://dl.google.com/linux/chrome/deb/ stable main» >> /etc/apt/sources.list.d/google-chrome.list’ .

Обновите системные библиотеки — sudo apt-get update .

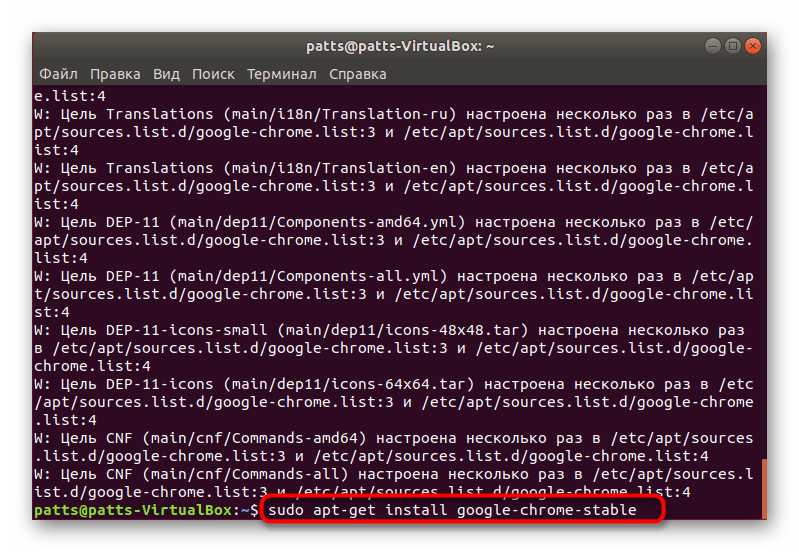
Запустите процесс установки необходимой версии — sudo apt-get install google-chrome-stable , где google-chrome-stable может быть заменено на google-chrome-beta или google-chrome-unstable .
В Гугл Хром уже встроена свежая версия Adobe Flash Player, но не у всех пользователей Linux она работает корректно. Мы предлагаем вам ознакомиться с другой статьей на нашем сайте, где вы найдете детальное руководство по добавлению плагина в саму систему и браузер.
Как видите, приведенные выше способы разные и позволяют выполнить установку Google Chrome в Linux, основываясь на своих предпочтениях и возможностях дистрибутива. Мы настоятельно советуем ознакомиться с каждым вариантом, а потом уже выбрать наиболее подходящий для себя и следовать инструкциям.
Помимо этой статьи, на сайте еще 12315 инструкций.
Добавьте сайт Lumpics.ru в закладки (CTRL+D) и мы точно еще пригодимся вам.
Отблагодарите автора, поделитесь статьей в социальных сетях.
Источник
Void linux install chrome

The Void (Linux) distribution
Void is a general purpose operating system, based on the monolithic Linux kernel. Its package system allows you to quickly install, update and remove software; software is provided in binary packages or can be built directly from sources with the help of the XBPS source packages collection.
It is available for a variety of platforms. Software packages can be built natively or cross compiled through the XBPS source packages collection.
Follow us on Twitter, visit the #voidlinux IRC channel on libera.chat, and join the Void Linux subreddit.
Visit the Void build server console for package build status updates.
Contribute to the Void Linux project by adding and updating packages and extending the documentation. More information can be found in the Handbook.
Not a fork!
Void Linux is an independent distribution, developed entirely by volunteers.
Unlike trillions of other existing distros, Void is not a modification of an existing distribution. Void’s package manager and build system have been written from scratch.
Stable rolling release
Void focuses on stability, rather than on being bleeding-edge. Install once, update routinely and safely.
Thanks to our continuous build system, new software is built into binary packages as soon as the changes are pushed to the void-packages repository.
runit
We use runit as the init system and service supervisor.
runit is a simple and effective approach to initialize the system with reliable service supervision. Refer to the Void Handbook for an introduction.
C library diversity
Void Linux supports both the musl and GNU libc implementations, patching incompatible software when necessary and working with upstream developers to improve the correctness and portability of their projects.
xbps is the native system package manager, written from scratch with a 2-clause BSD license.
XBPS allows you to quickly install/update/remove software in your system and features detection of incompatible shared libraries and dependencies while updating or removing packages (among others). Refer to the Handbook for an overview.
xbps-src
xbps-src is the xbps package builder, written from scratch with a 2-clause BSD license.
This builds the software in containers through the use of Linux namespaces, providing isolation of processes and bind mounts (among others). No root required!
Additionally, xbps-src can build natively or cross compile for the target machine, and supports multiple C libraries (glibc and musl currently).
void-packages changes
xbps changes
Recent news
October 03, 2021
US Mirror Retirement
The alpha.us.repo.voidlinux.org mirror has been retired. Users should switch to https://repo-us.voidlinux.org for continued service out of the central US. As part of the switch the US tier one mirror has gained TLS, and is running on a more reliable host.
All contributors with in-flight PRs should rebase to ensure that the latest URL is reflected in your branch’s CI configuration.
September 23, 2021
Hacktoberfest 2021
Are you ready for Hacktoberfest 2021? Void Linux is! We’re excited to be participating for our 5th year. Contributions that help to address our out-of-date packages queue are especially welcome. This is a great way to dip your feet into the world of Linux distro package management and what happens behind the scenes to provide a wide selection of packages and make sure your system remains up to date.
Updating packages is very easy. You can select a package from the list of out of date packages and update it using the tools in the void-packages repo. The manual might be of assistance when you are updating packages.
As a general rule, we recommend that newcommers to the Void Linux project steer clear of “structural” packages unless you have specific domain knowledge that qualifies you to work on high-risk packages. When selecting a package to update, prefer packages registered to orphan@voidlinux.org . These packages are otherwise unmaintained, and your contribution will have a bigger impact. You can update packages that have a maintainer assigned, but understand that conflicting changes between a maintainer and contributor will be resolved at the discretion of Void staff.
Here are some useful tips when updating packages:
- While we’re not completely opposed to PRs that add new packages, you’re much more likely to get your PR approved and merged if it’s a well written update.
- Don’t PR broken code. Our maintainers are much less likely to give a second look to a PR that didn’t build when it was submitted.
- While it’s possible to run xbps-src from an alien distro, this isn’t really supported. If you’re a seasoned Linux user and want to try Void, now is the time!
- The update list is sometimes wrong. We’d love to get patches that improve its reliability by ignoring beta versions or adding checks to packages that are not correctly detected as out of date.
- If you have expertise in C, GNU Autotools, or other build systems, taking a look at projects that we’ve marked as incompatible with cross compilation and fixing the upstream issue can be an amazing contribution that impacts more than just Void.
We look forward to working with the amazing world of open source developers this month to improve Void and continue our high standards for quality and reliability. To ensure your PR has the best chance at being accepted, feel free to reach out for help as explained in the manual. Together, we can make this a high-impact Hacktoberfest.
Copyright 2008-2018 Juan RP and contributors
Linux® is a registered trademark of Linus Torvalds (info)
Источник


