- Websphere as windows service
- Software Prerequisites
- Installing the WebSphere Application Server Community Edition service
- Running a default WebSphere Application Server Community Edition instance as a Windows service
- Configuring the service using Windows’ Services tool
- Configuring the service by using the geronimosrvw command
- Running a non-default WebSphere Application Server Community Edition instance as a Windows service
- Removing the WebSphere Application Server Community Edition service
- WebSphere MQ для начинающих
- Введение
- Установка и настройка WebSphere и WebSphere MQ
- Создание простого приложения для отправки и приема сообщений из очереди
- Установка и настройка HermesJMS
Websphere as windows service
WebSphere Application Server Community Edition 2.1.1.2 is integrated with the Apache Commons Daemon so that you can configure the server to run as a Microsoft Windows service in a much easier way.
The Apache Commons Daemon is a set of libraries and applications. WebSphere Application Server Community Edition uses the Win32 part, procrun , to configure the server instance as a Windows service.
Software Prerequisites
You have to install Microsoft .NET Framework Version 2.0 or higher before you run WebSphere Application Server Community Edition as a Windows service.
Installing the WebSphere Application Server Community Edition service
You can install the default server as a Windows service by running the service_pr.bat command :
\bin\service_pr.bat install —user name —password word —port port [—secure]
- name is replaced with a user name that is authorized to start the service. The default user name is system .
- word is replaced with the password that is used to authenticate the user. The default password is manager .
- port is replaced with the RMI naming port. The default port is 1099 .
- —secure is optionally specified to enable secure connection to JMX.
- To install the service, you have to be a member of the Administrators group. On Windows 2008 platform, you must be the Administrator. If you are another user in the Administrators group, you have to run this command as an administrator.
- The —user, —password, and —port options must be specified or omitted simultaneously.
The command line above will create a Windows service named as geronimosrv for the WASCE server instance with default server configurations. You are provided with the following three options to start or stop the service geronimosrv .
- You can use the Windows’ Services tool from the Control Panel.
- You can use the net start or net stop command from the Windows command line tool. For example, use this command to start the service:
Running a default WebSphere Application Server Community Edition instance as a Windows service
The WebSphere Application Server Community Edition Windows service is running on the default server instance unless you run a non-default server instance as a Windows service.
Configuring the service using Windows’ Services tool
By default the Geronimo service is configured to startup manually. To start the service automatically, you can select automatic from the Startup type dropdown list from the General tab.
Configuring the service by using the geronimosrvw command
The geronimosrvw command provides you with a //MS// option so that you can put the service icon in the system tray:
The resulting panel of the command geronimosrvw provides you with the following options:
- You can change the startup type to automatic in the Startup type field from the General tab.
- The default administrator account system with password manager , and the default port naming 1099 are used to shut down the service. You can change this setting if the default account or port is changed. These options are specified at the bottom of the Arguments field in the Shutdown tab. Note that there must be breaks between lines:
-jar
\bin\shutdown.jar
—user
system
—password
manager
—port
1099
Running a non-default WebSphere Application Server Community Edition instance as a Windows service
WebSphere Application Server Community Edition provides the capability for configuring multiple server instances on a single physical server. See Configuring multiple server instances for information about how to configure more than one instances. Note that you must change the value of PortOffset in the file /var/config/config-substitutions.properties to avoid port conflict.
To run a non-default WebSphere Application Server Community Edition instance as a Windows service, follow these steps:
- In the Startup and Shutdown tab, change the directory of the instance in the Working Path field.
- In the Logging tab, change the Log path , Redirect Stdout , Redirect Stderror directories for the non-default server instance.
- In the Startup and Shutdown tab, specify the option -Dorg.apache.geronimo.server.name= instanceName in the Arguments field, where instanceName is the relative path of the instance from the server installation directory.
- In the Shutdown tab, specify the RMI naming port at the bottom of the Arguments field.
For example, to run a server instance named instance2 on the port 1109, the syntax in Arguments field from the Startup tab should be like the following. Note that there must be breaks between lines.
-javaagent: \bin\jpa.jar
-Djava.endorsed.dirs= \lib\endorsed; \lib\endorsed
-Dorg.apache.geronimo.server.name= instance2
-Djava.ext.dirs= \lib\ext; \lib\ext
-Dorg.apache.geronimo.home.dir=
-Djava.io.tmpdir=var\temp
-jar
\bin\server.jar
—long
The syntax in Arguments field from the Shutdown tab should be similar to the following. Note that there must be breaks between lines.
-javaagent: \bin\jpa.jar
-Djava.endorsed.dirs= \lib\endorsed; \lib\endorsed
-Dorg.apache.geronimo.server.name= instance2
-Djava.ext.dirs= \lib\ext; \lib\ext
-Dorg.apache.geronimo.home.dir=
-Djava.io.tmpdir=var\temp
-jar
\bin\shutdown.jar
—user
system
—password
manager
—port
1109
Where is the installation directory of the server, and is the path of the Java runtime environment.
Removing the WebSphere Application Server Community Edition service
To remove the service geronimosrv , run the following command:
\bin\service_pr.bat remove —user name —password word —port port [—secure]
- name is replaced with a user name that is authorized to start the service. The default user name is system .
- word is replaced with the password that is used to authenticate the user. The default password is manager .
- port is replaced with the RMI naming port. The default port is 1099 .
- —secure is optionally specified to enable secure connection to JMX.
Note : The —user, —password, and —port options must be specified or omitted simultaneously.
WebSphere MQ для начинающих
Введение
В рамках одной из задач было необходимо интегрироваться с внешней системой. В проме и у всех разработчиков стоит IBM WebSphere поэтому WebSphere MQ отлично вписывался, учитывая также то, что с IBM WebSphere у них отличная интеграция «из коробки». Для начала установим и настроим WebSphere и WebSphere MQ, после напишем простое приложение для отправки и приема данных из очереди и завершим все установкой и настройкой HermesJMS и посмотрим как отправлять и просматривать сообщения из нее. Все будет производится в Windows 7. Перед тем как продолжать скачайте выше перечисленные программы.
Установка и настройка WebSphere и WebSphere MQ
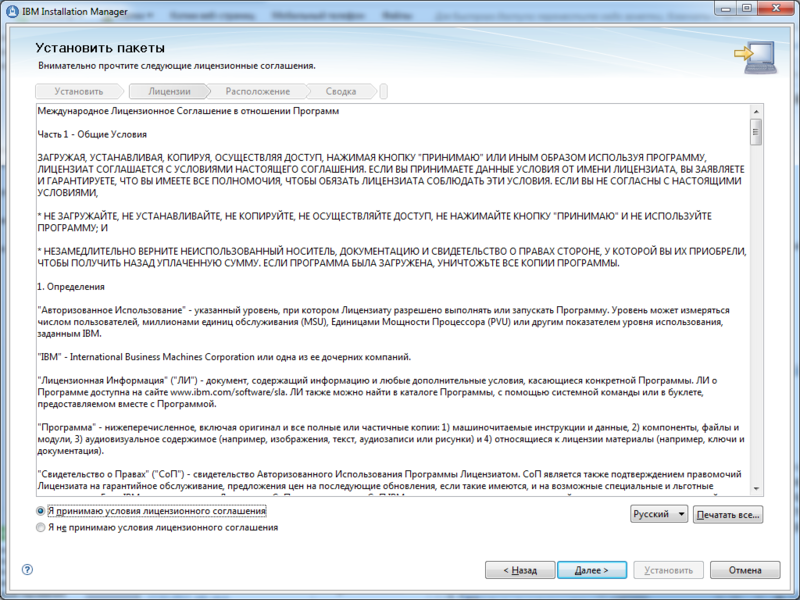
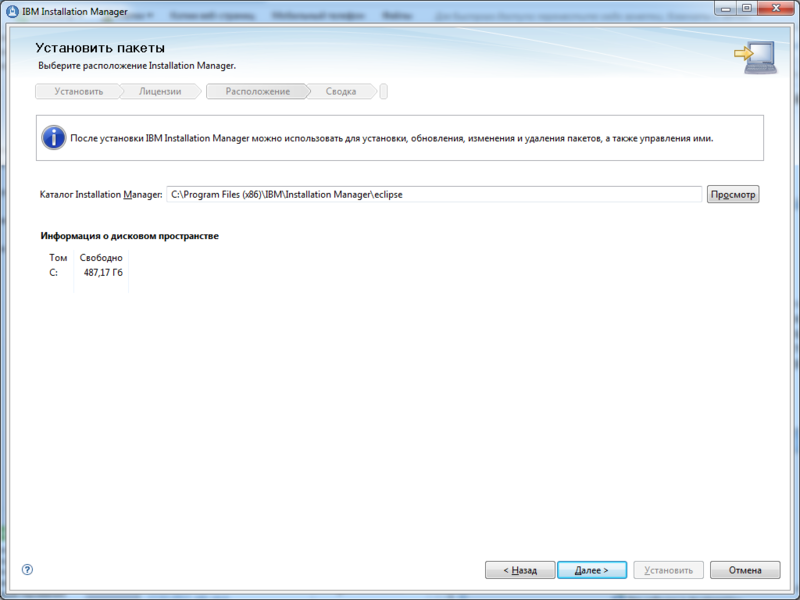
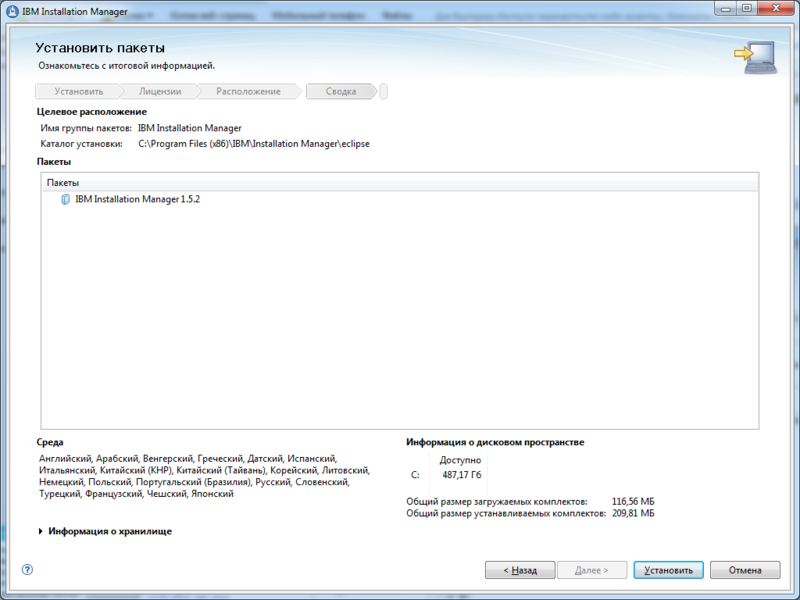
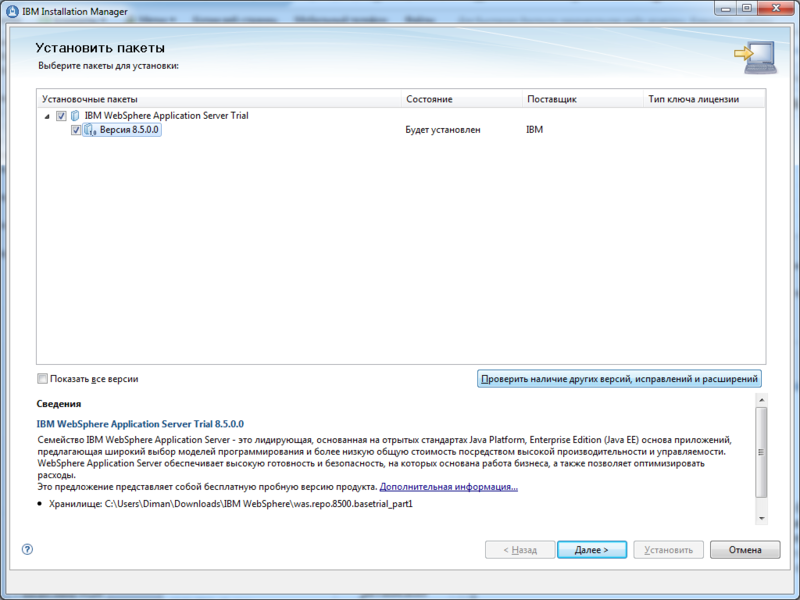
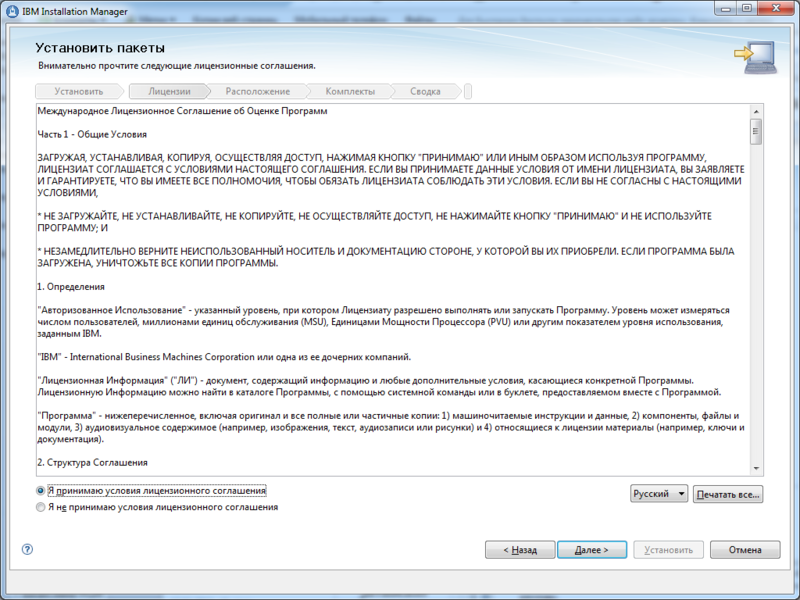
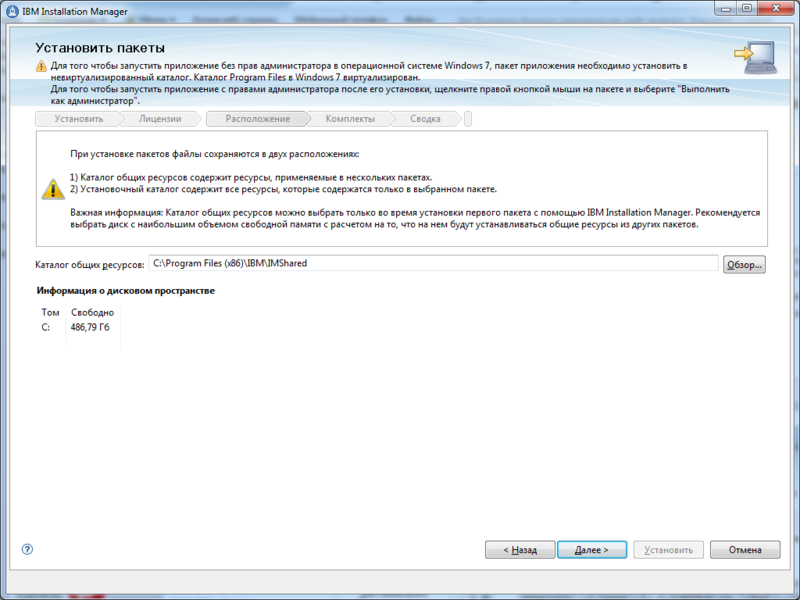
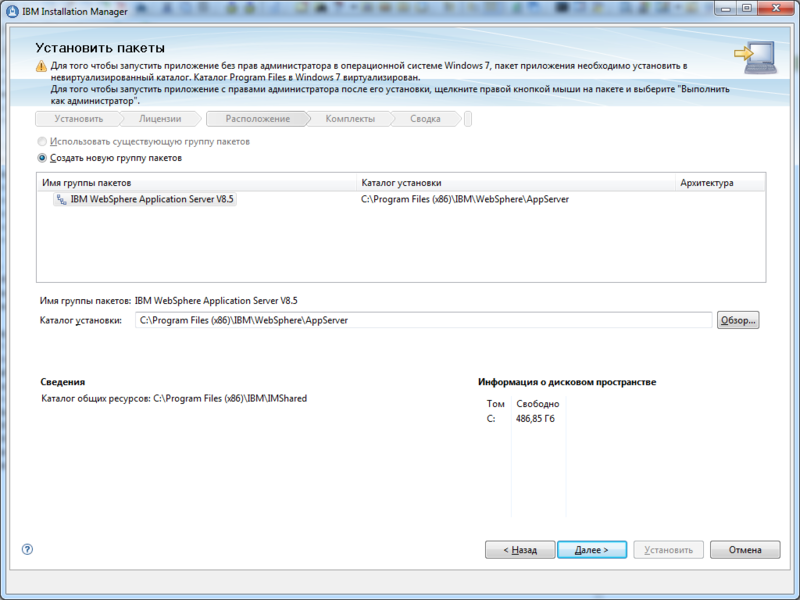
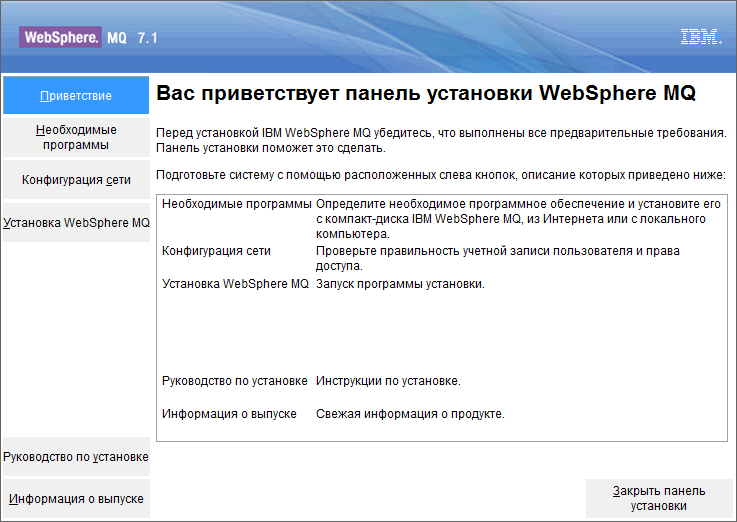
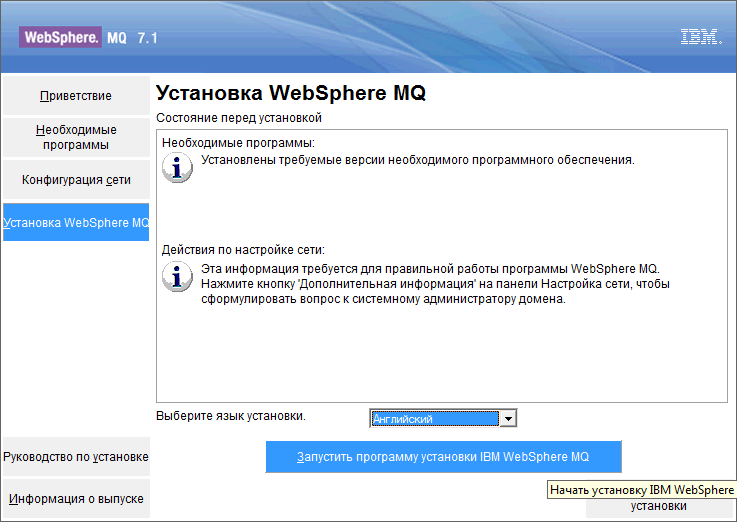
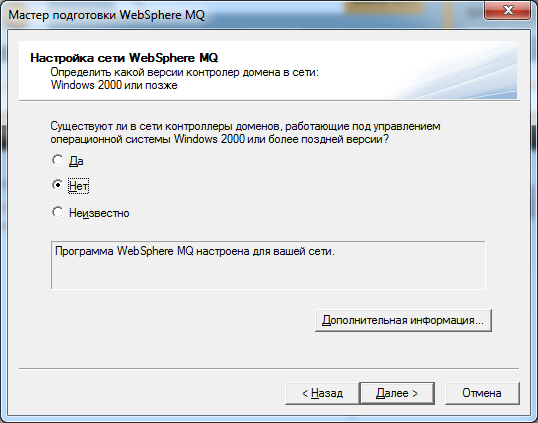
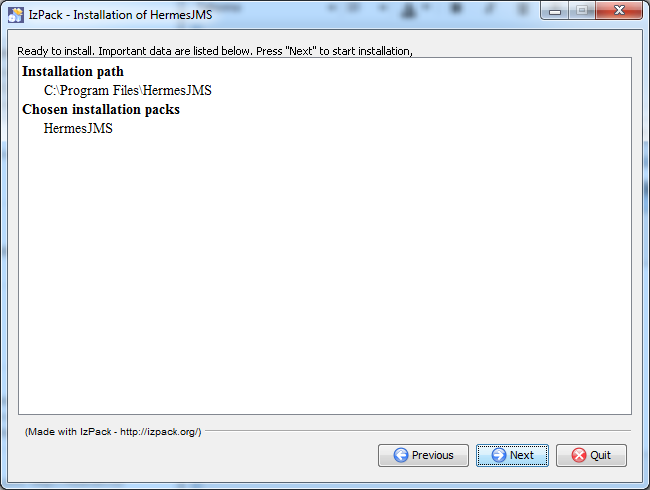
Надеюсь Вы уже скачали все необходимые программы и готовы приступить к установке. Первым делом запустите установщик IBM Installation Manager. Дабы не увеличивать размер статьи скриншоты, которые не имеют особой смысловой нагрузки, буду убирать в спойлеры, т.к. полностью удалить из статьи считаю неправильно т.к. они дают понимание что Вы делаете все правильно.


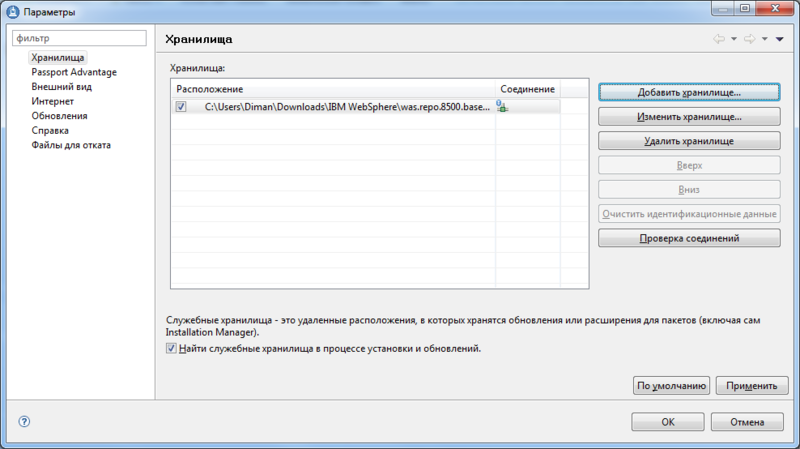
Перезапускаем Instalation Manager и идем в пункт Файл -> Параметры. Добавляем хранилище из первого диска.
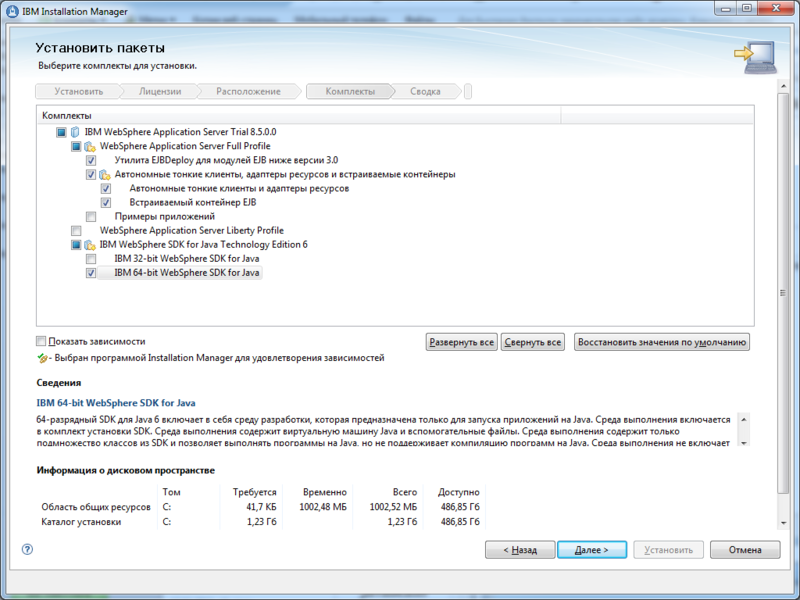
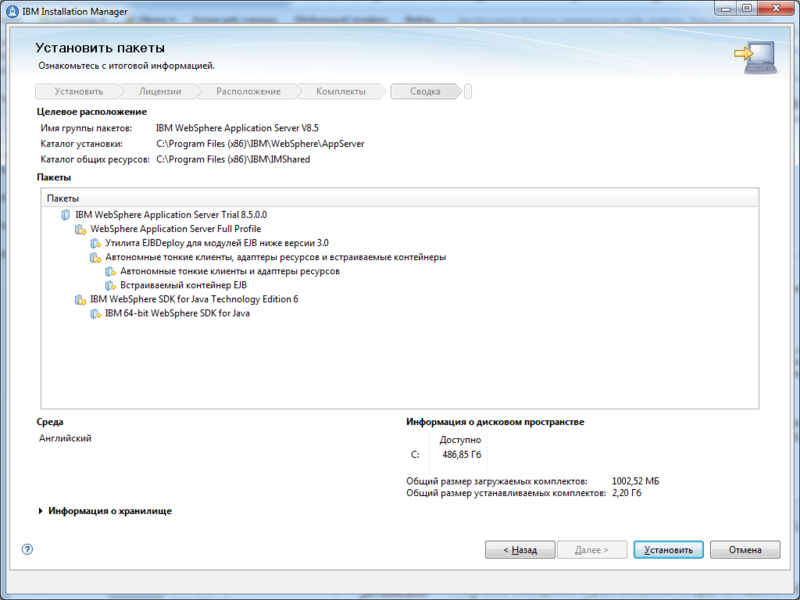
Нажимаем ОК и начинаем установку.
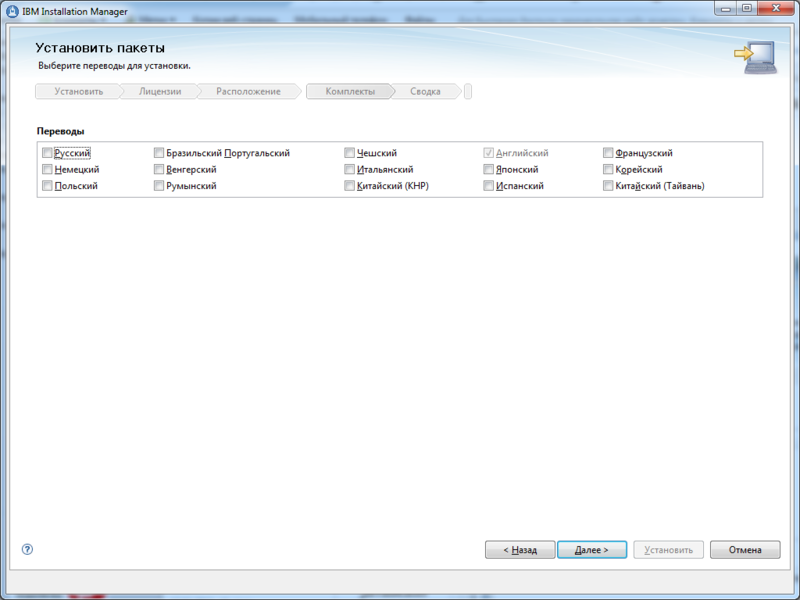
Убираем флажок с русского перевода.
Далее установщик попросит вставить диски 2 и 3. Вставляем их.
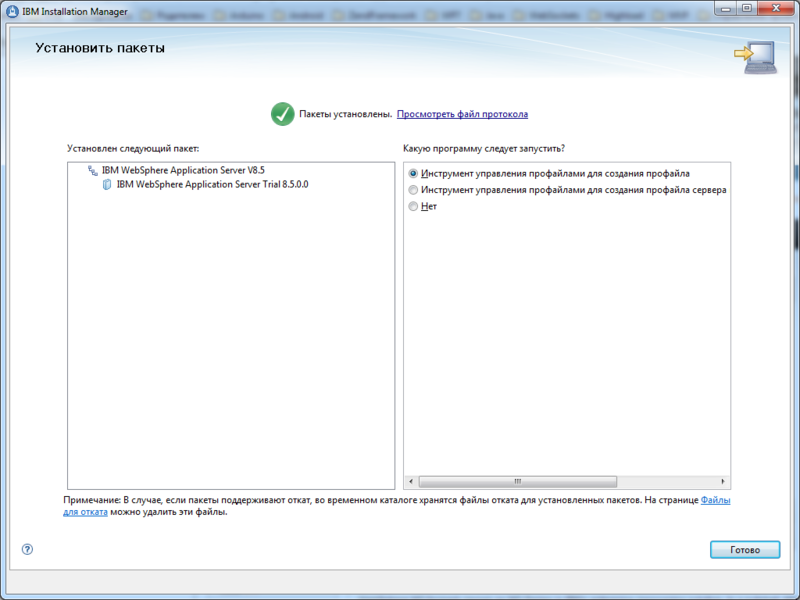
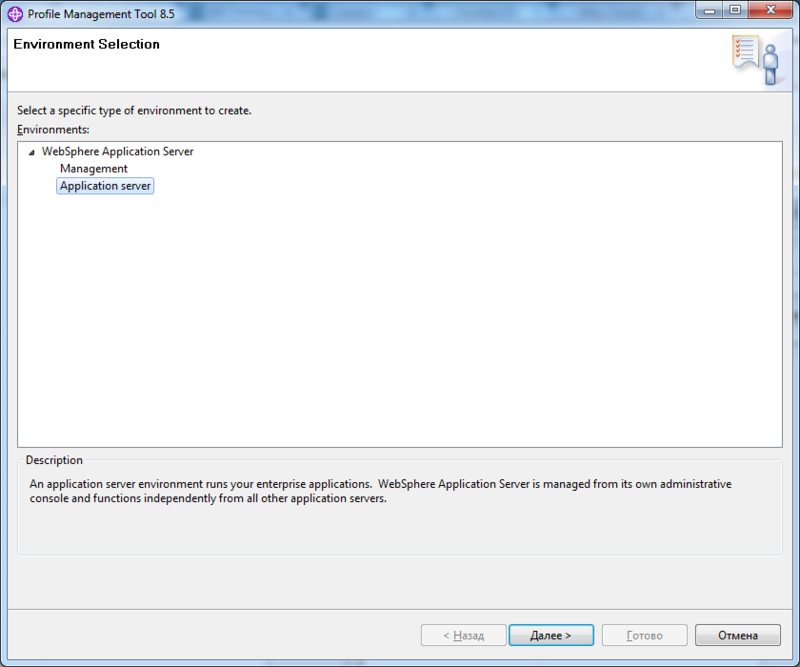
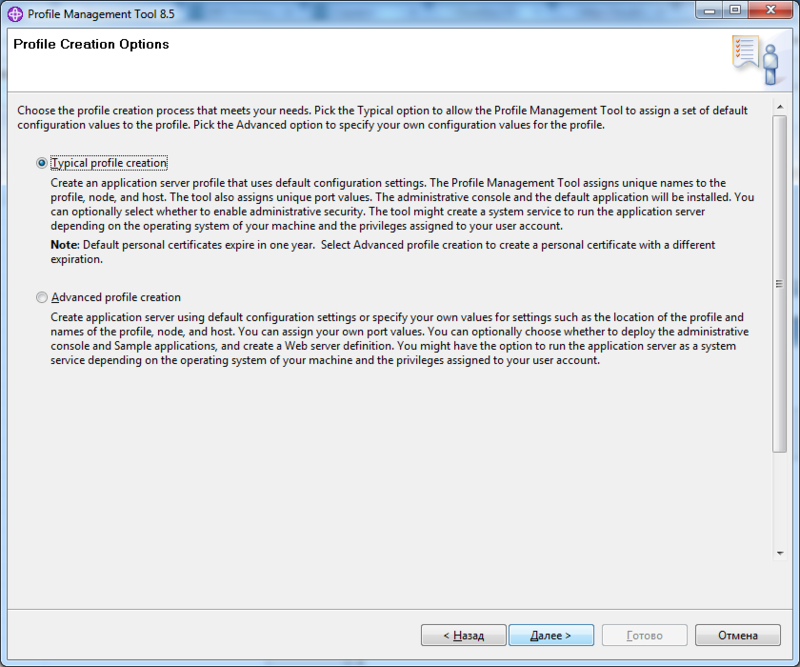
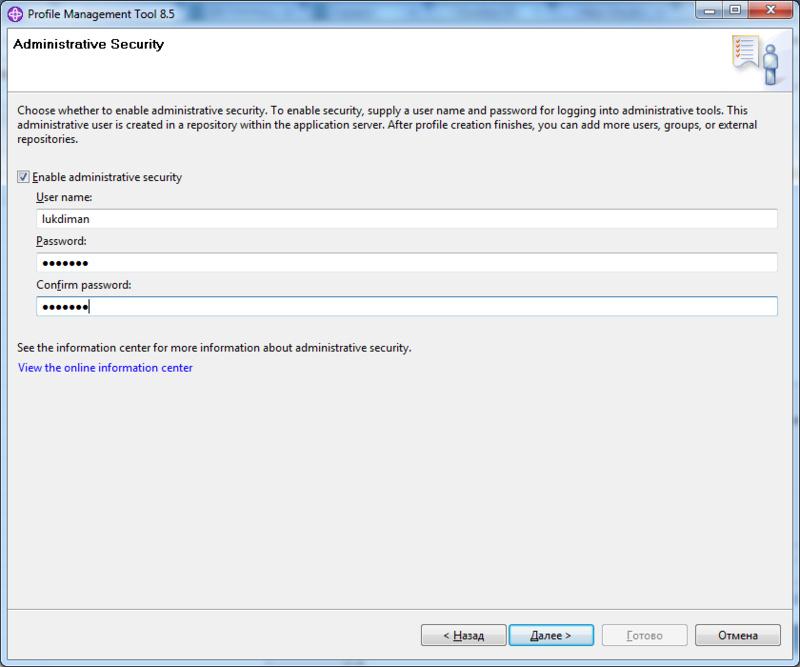
После установки автоматически запустится менеджер профилей.
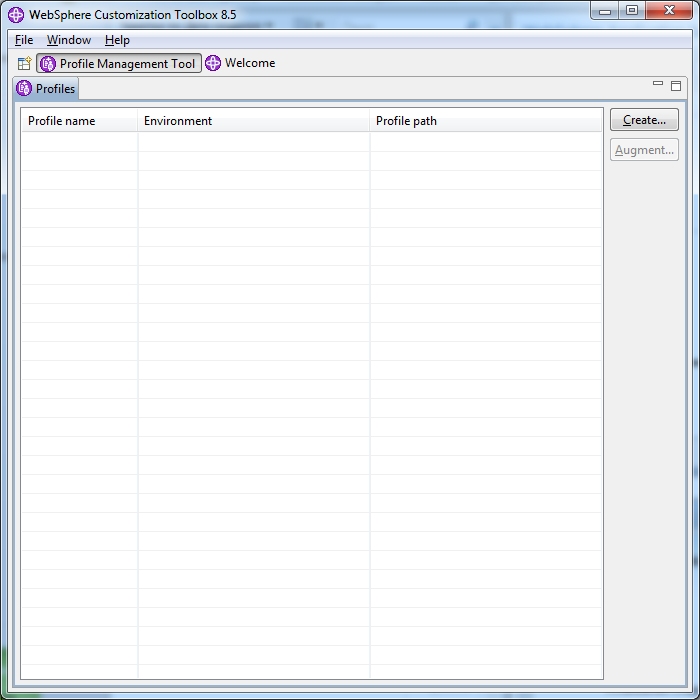
Нажимаем кнопку «Create. » и далее делаем как на скриншотах ниже.


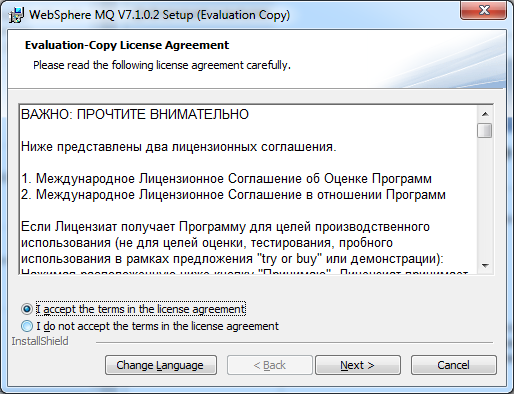
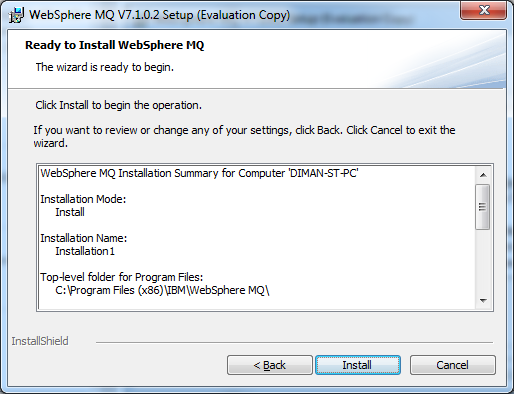
Теперь установим WebSphere MQ.


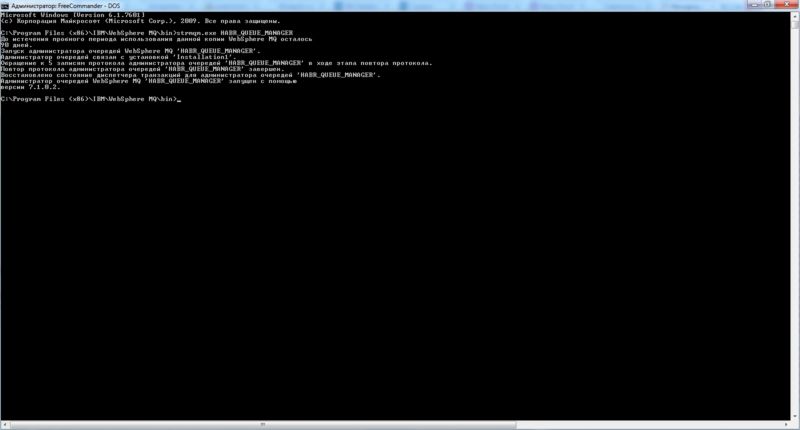
После того как установка завершена давайте настроим WebSphere MQ и WebSphere. Начнем с WebSphere MQ так как нам понадобятся имена очередей и менеджер очередей при настройке WebSphere. Все команды исполняются из директории bin каталога WebSphere MQ. Первым делом создадим менеджер очередей и назовем его HABR_QUEUE_MANAGER, используя команду crtmqm.exe HABR_QUEUE_MANAGER.

Запустим наш только что созданный менеджер очередей с помощью команды strmqm.exe HABR_QUEUE_MANAGER.
Для того чтобы создать наши входящую и исходящую очереди запустим MQ-шную командную строку вызовом runmqsc.exe HABR_QUEUE_MANAGER и выполним подряд 2 команды:
- DEFINE QLOCAL(HOME.TO.ES) — очередь для отправки сообщений из нашего приложения во внешнюю систему
- DEFINE QLOCAL(ES.TO.HOME) — очередь для приема сообщений из внешней системы
Осталось создать слушатель и канал и запустить его и WebSphere MQ можно считать настроеной. Для этого выполните следующие команды:
- DEFINE LISTENER(HABR_QUEUE_MANAGER.LISTENER) TRPTYPE (TCP) PORT(1414)
- START LISTENER(HABR_QUEUE_MANAGER.LISTENER)
- DEFINE CHANNEL(SYSTEM.ADMIN.SVRCONN) CHLTYPE(SVRCONN)
Запомните порт 1414. Пригодится в настройке WebSphere Application Server.
Приступим к настройке WebSphere Application Server.
Создадим Connection factory. Для этого запустим консоль администратора и выберем пункт Resources->JMS providers->WebSphere MQ messaging provider->Queue connection factories->New (Как показано на скриншоте ниже). 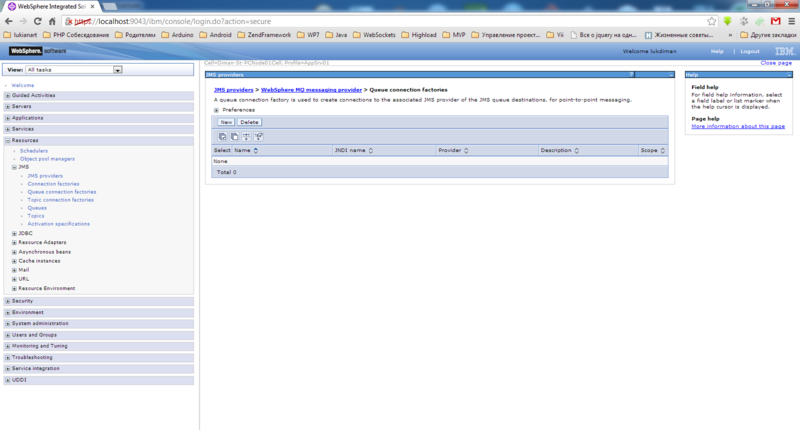
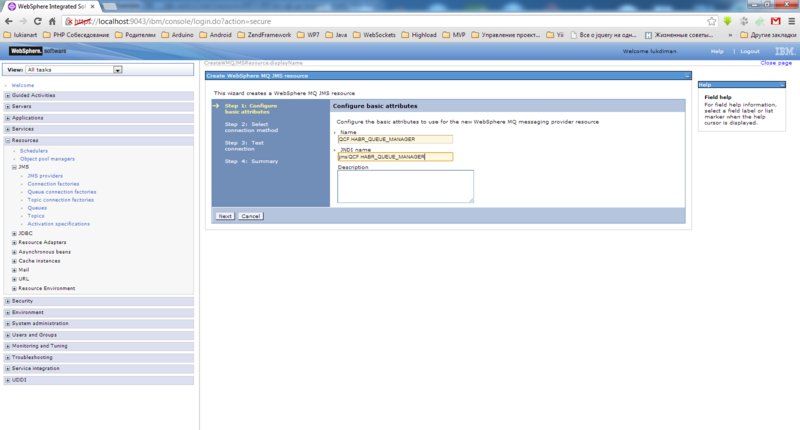
Далее вводим имя и jndi имя.
Вписываем имя queue manager-а.


Если при проверке соединения возникает сообщение(которое показано на скриншоте ниже), то произведите следующие действия.
- Снова запустите командную строку MQ и выполните runmqsc.exe HABR_QUEUE_MANAGER
- Наберите ALTER QMGR CHLAUTH(DISABLED)
- Перейдите в раздел службы в Windows и у службы IBM MQSeries в разделе «Вход в систему» замените на свою учетную запись. Тоже самое проделайте для службы WebSphere Application Server 8.5
- Перезагрузите систему и запустите HABR_QUEUE_MANAGER и стартаните LISTENER(HABR_QUEUE_MANAGER.LISTENER)
- Теперь все должно заработать

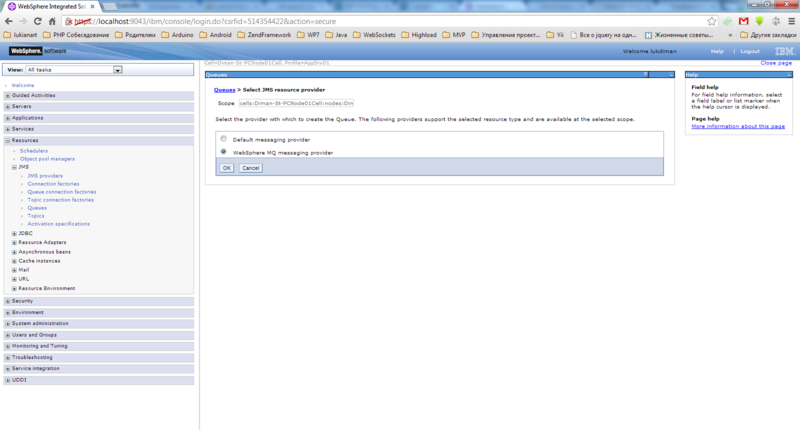
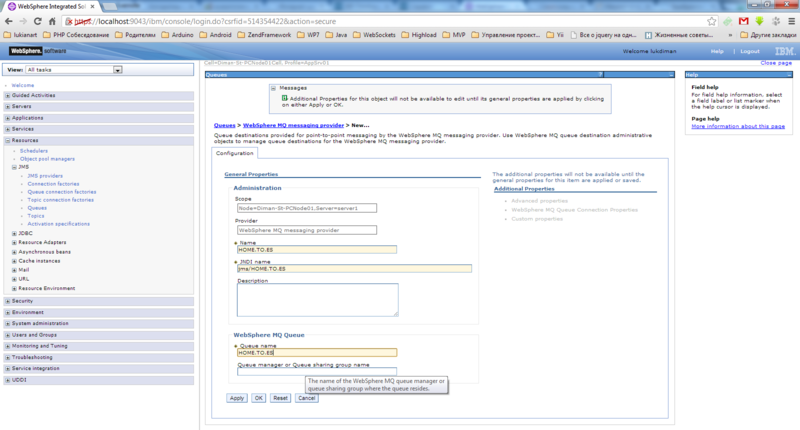
Теперь создаем очереди. Нам нужно создать 2 очереди. Названия у них будут как и у очередей, созданных в WebSphere MQ. Если кто забыл то они называются ES.TO.HOME и HOME.TO.ES. Идем в пункт Resources->JMS->Queues->New
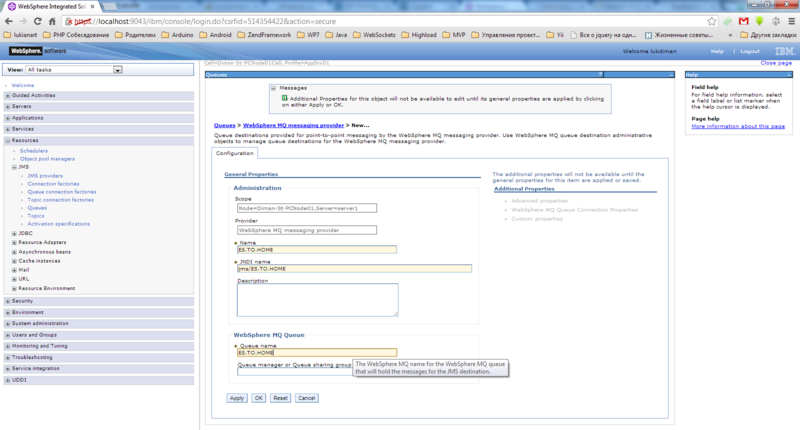
Вторую создаем по аналогии.
Осталось настроить Listener port. Заходим в Application servers -> server1 -> Message listener service -> Listener ports и добавляем новый.
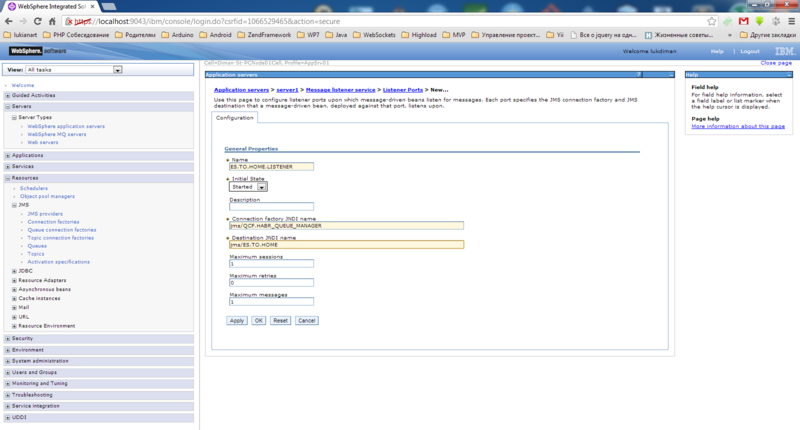
Сохраняем конфигурацию. Мы указали jndi имя queue connection manager-а и jndi имя очереди, в которую будут приходить сообщения из внешней системы. Запустите порт.
Теперь у нас есть настроенные WebSphere Application Server и WebSphere MQ. Можно приступать к созданию простого тестового приложения.
Создание простого приложения для отправки и приема сообщений из очереди
Я умышленно при разработке приложения не буду использовать различные средства для сборки проектов таких как Maven, Gradle или ant, чтобы вы могли понять что вообще происходит за кулисами. Но все же для удобства напишу пару скриптов, с помощью которых будет производится сборка проекта в ear. Весь проект я выложил на github. Ниже я опишу только основные моменты.
Отправка сообщения в очередь
Чтобы отправить сообщение создадим сервлет, бин и форму для ввода сообщения.
Начнем с класса JMSMessageBean из модуля ejb-core. В методе ejbCreate мы получаем ссылки на Connection factory и очередь, в которую будем отправлять сообщения. Метод processMessage предназначен для создания текстового сообщения и отправки его в очередь.
Ниже показан наш сервлет SendJMSMessageServlet. В методе init получаем ссылку на бин, который описан выше. Далее в методе doPost он принимает сообщение от формы и направляет методу processMessage бина. Всю остальную работу выполняет бин.
Html форма отправки самая элементарная. Это не самая важная часть. Сообщение можно было захардкодить или получать из properties файла. Но код все равно приведу.
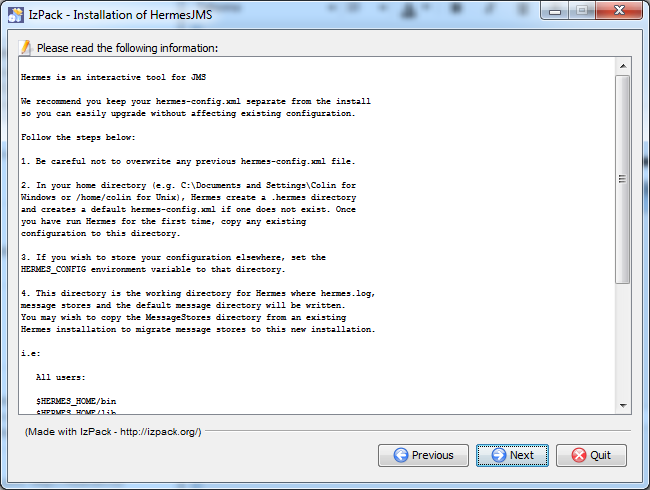
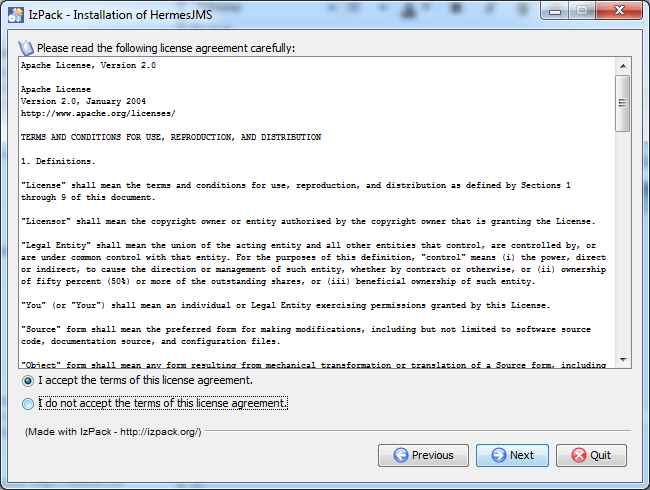
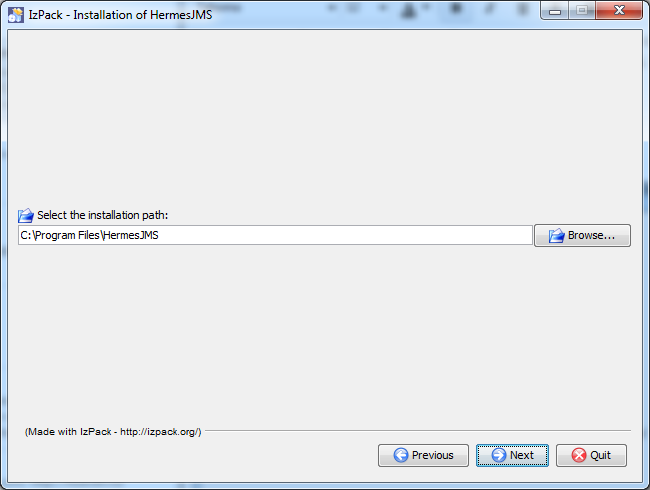
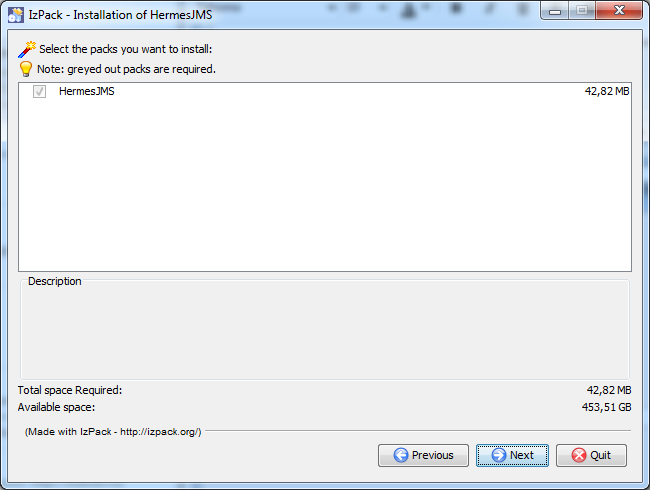
Установка и настройка HermesJMS
Если WebSphere MQ установлена на другой машине и Вам надоело бегать проверять сообщения в очереди или просто хотите иметь удобное средство для отправки тестовых сообщений в очередь, то можно использовать HermesJMS. Возможно есть аналоги, но те, которые я находил, были платные. Посоветуйте в комментариях хорошие бесплатные аналоги если знаете. С удовольствием рассмотрю другие подобные системы. Конкретно в HermesJMS не совсем устраивают некоторые UI баги и не освобождаются ресурсы если отправлять сообщение из файла (лочит намертво), но жить с ними можно.
И так, приступим к установке и настройке.
Запустите HermesJMS и добавьте новую сессию. Для начала перейдите во вкладку Providers и добавьте новую группу. Назовите ее как на скриншоте(хотя это не важно) и добавьте все jar файлы, перечисленные ниже.

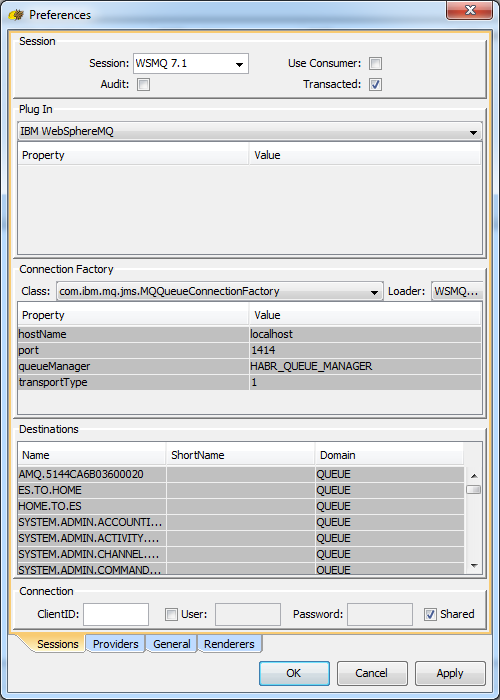
После добавления провайдера в пункте Session выберите его из выпадающего списка. Пример настройки других полей показан на скриншоте ниже.
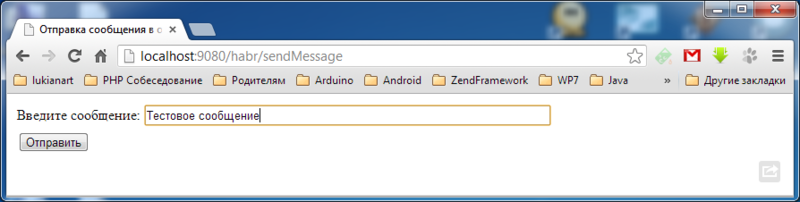
Теперь попробуем отправить сообщение в нашу очередь. Для это заходим по адресу http://localhost:9080/habr/sendMessage и вводим любое сообщение в поле ввода и нажимаем кнопку «Отправить».
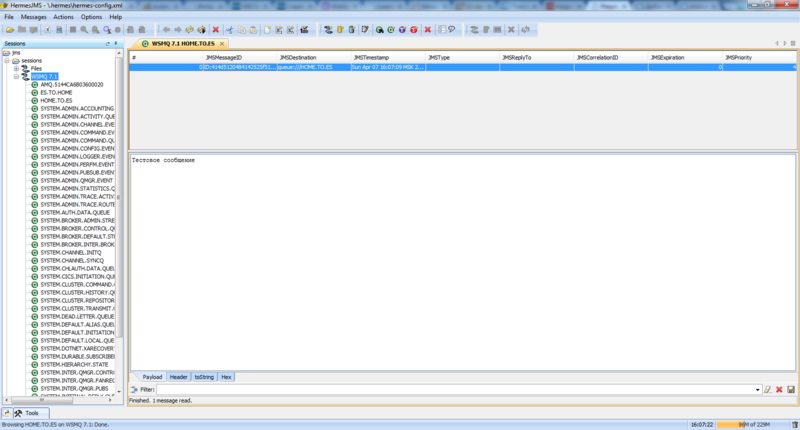
Теперь откройте HermesJMS и откройте очередь HOME.TO.ES на просмотр. Если Вы увидели сообщение как показано ниже на скриншоте, то все произведенные выше действия Вы выполнили верно.
На этом я статью завершаю. Всем спасибо за внимание! Надеюсь она будет кому-то полезна.


