- How to setup firewall in Linux?
- Chains :-
- Different Policies :-
- Basic iptables commands :
- 1. List the current rules of iptable :
- 2. Clear the rules :
- 3. Changing the default policy of chains :
- Making your First Rule :
- 1. Implementing a DROP rule :
- 2. Implementing a ACCEPT rule :
- 3. Deleting a rule from the iptable :
- 4. Saving your configuration :
- Summary :
- 1. List the current rules of iptables:
- 2. To change the default policy:
- 3. To clear/flush all the rules
- 4. To append a rule at the end of the chain:
- 5. To append a rule at the start of the chain:
- 6. To implement a ACCEPT rule:-
- 7. To implement a DROP rule:-
- 8. Implementing rules on specific ports/protocols:-
- 9. To delete a rule:-
- 10. To save the configuration:-
- Do I need a Firewall in Linux?
- What is a firewall in Linux?
- Do you need a firewall in Linux?
- How to set up a firewall in Linux?
- UFW — the uncomplicated firewall
How to setup firewall in Linux?
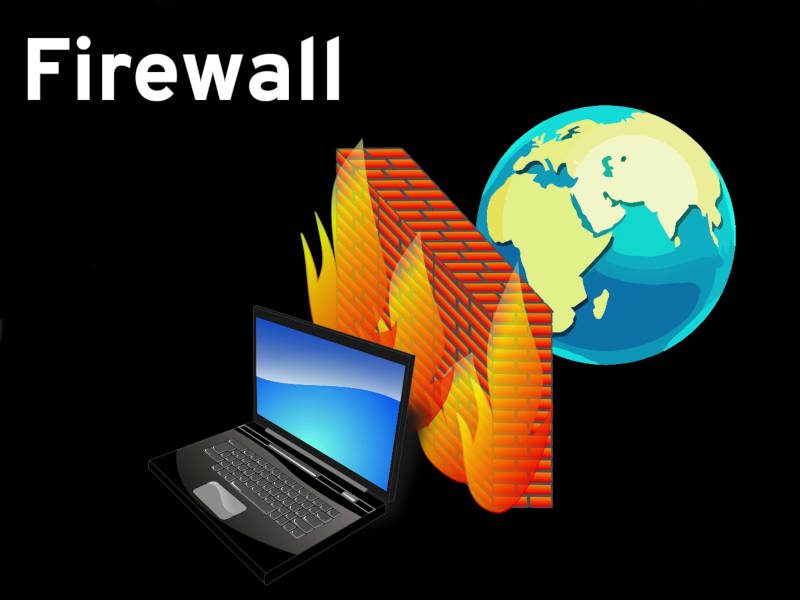
What is a Firewall?
Firewall is a network security system that filters and controls the traffic on a predetermined set of rules. This is an intermediary system between the device and the internet.
NOTE:- If you already know about the working of Firewall in Linux and just want to know the Commands, then please go the end of the tutorial.
How the Firewall of Linux works :
Most of the Linux distro’s ship with default firewall tools that can be used to configure them. We will be using “IPTables” the default tool provided in Linux to establish a firewall. Iptables is used to set up, maintain and inspect the tables of the IPv4 and IPv6 packet filter rules in the Linux Kernel.
Note:- All the command below need sudo privileges.
Chains :-
Chains are a set of rules defined for a particular task.
We have three chains(set of rules) which are used to process the traffic:-
- INPUT Chains
- OUTPUT Chains
- FORWARD Chains
1. INPUT Chains
Any traffic coming from the internet(network) towards your local machine has to go through the input chains. That means they have to go through all the rules that have been set up in the Input chain.
2. OUTPUT Chains
Any traffic going from your local machine to the internet needs to go through the output chains.
3. FORWARD Chain
Any traffic which is coming from the external network and going to another network needs to go through the forward chain. It is used when two or more computers are connected and we want to send data between them.
Different Policies :-
There are three actions which the iptables can perform on the traffic
- ACCEPT
- DROP
- REJECT
1. ACCEPT
When traffic passes the rules in its specified chain, then the iptable accepts the traffic.
That means it opens up the gate and allows the person to go inside the kingdom of Thanos.
2. DROP
When the traffic is unable to pass the rules in its specified chain, the iptable blocks that traffic.
That means the firewall is closed.
3. REJECT
This type of action is similar to the drop action but it sends a message to the sender of the traffic stating that the data transfer has failed.
As a general rule, use REJECT when you want the other end to know the port is unreachable’ use DROP for connections to hosts you don’t want people to see.
NOTE:-
You need to keep in mind a simple rule here:-
The Rules you set in the iptables are checked from the topmost rules to the bottom. Whenever a packet passes any of the top rules, it is allowed to pass the firewall. The lower rules are not checked. So be careful while setting up rules.
Basic iptables commands :
1. List the current rules of iptable :
To list the rules of the current iptables:-
The Output would be:-
As you can see, we have three chains (INPUT, FORWARD, OUTPUT). We can also see column headers, but they are no actual rules. This is because most of the Linux come with no predefined rules.
Let see what each column mean.
Target:-
This defines what action needs to be done on the packet (ACCEPT,DROP,etc..)
prot:-
This defines the protocol (TCP,IP) of the packet.
source:-
This tells the source address of the packet.
destination:-
This defines the destination address of the packet
2. Clear the rules :
If you ever want to clear/flush out all the existing rules. Run the following command:-
This will reset the iptables.
3. Changing the default policy of chains :
As you can see in the above picture, the default policy of each of the chain is ACCEPT.
For eg:–
If you see the forward chain, you will see “Chain FORWARD (policy ACCEPT)”.This means your computer allows any traffic to be forwarded to another computer.
In order to change the policy of forwarding to drop:-
The above command will stop any traffic to be forwarded through your system. That means no other system can your system as an intermediary to pass the data.
Making your First Rule :
1. Implementing a DROP rule :
We’ll now start building our firewall policies.We’ll first work on the input chain since that is where the incoming traffic will be sent through.
Syntax:-
We’ll take an example to understand the topic.
Let’s assume we want to block the traffic coming from an IP address 192.168.1.3. The following command can be used:-
This may look complicated, but most of it will make sense when we go over the components:-
-A INPUT :-
The flag -A is used to append a rule to the end of a chain. This part of the command tells the iptable that we want to add a rule to the end of the INPUT chain.
-I INPUT:-
In this flag the rules are added to the top of the chain.
-s 192.168.1.3:-
The flag -s is used to specify the source of the packet. This tells the iptable to look for the packets coming from the source 192.168.1.3
-j DROP
This specifies what the iptable should do with the packet.
In short, the above command adds a rule to the INPUT chain which says, if any packet arrives whose source address is 192.168.1.3 then drop that packet, that means do not allow the packet reach the computer.
Once you execute the above command you can see the changes by using the command:-
The Output would be:-

2. Implementing a ACCEPT rule :
If you want to add rules to specific ports of your network,then the following commands can be used.
Syntax:-
-p protocol_name:-
This option is used to match the packets that follow the protocol protocol_name.
-dport port_number:
This is option is available only if you give the -p protocol_name option. It specifies to look for the packets that are going to the port “port_number”.
Example:-
Let’s say we want to keep our SSH port open (we will assume in this guide that the default SSH port is 22) from the 192.168.1.3 network we blocked in the above case. That is we only want to allow those packets coming from 192.168.1.3 and which wants to go to the port 22.
What do we do:-
Let’s try the below command:-
The above command says looks for the packets originating from the IP address 192.168.1.3, having a TCP protocol and who wants to deliver something at the port 22 of my computer. If you find those packets then Accept them.
The Output for the command is:-
But, There is a problem with the above command. It actually does not allow the packets. Can You Guess What it is?
HINT:- It is related to the way the rules are accessed.
Remember as we discussed earlier, The Rules you set in the iptables are checked from the top to the bottom. Whenever a packet is processed to one of the top rules, it is not checked with the lower rules.
Okay! Here’s The Answer:-
In our case, The packet was checked with the topmost rule, which says that the iptable must drop any packet coming from 192.168.1.3. Hence once the packet got accessed through this rule, it did not go to the next rule which allowed packets to the port 22. Therefore it failed.
What could be done?
The easiest answer is, Add the rule to the top of the chain. All you need to do is change the -A option to -I option. ( In our scenario we first delete the rule [refer the next section] added in the above section and then add the below rule again )
The command to do that is:-
Now check the iptable configuration using -L command. The output would be:-
Therefore, any packet coming from 192.168.1.3 is first checked if it is going to the port 22 if it isn’t then it
is run through the next rule in the chain. Else it is allowed to pass the firewall.
Now that you have understood how to block and accept the incoming traffic let’s see how to delete rules:-
3. Deleting a rule from the iptable :
Syntax:-
Example:-
If we want to delete the rule which accepts the traffic to port 22 and which we have added in the previous section, then:-
Remember the rule number starts from 1
The Output :-
4. Saving your configuration :
This part is unnecessary if you are implementing it on a personal computer which is not a server, but if
you are implementing a firewall on a server, then there are high chances that your server might get corrupted and
you might lose all your data. So, it’s always better to save your configurations.
There are a lot of ways to do this, but the easiest way I find is with iptables-persistent package. You can download the package from Ubuntu’s default repositories:
Once the installation is complete, you can save your configuration using the command:-
Well, this is the end of the tutorial.
Let’s just brief up all the commands we have learned so far:-
Summary :
1. List the current rules of iptables:
2. To change the default policy:
Example:-
3. To clear/flush all the rules
4. To append a rule at the end of the chain:
5. To append a rule at the start of the chain:
6. To implement a ACCEPT rule:-
Example:-
7. To implement a DROP rule:-
Example:-
8. Implementing rules on specific ports/protocols:-
Example:-
9. To delete a rule:-
Example:-
10. To save the configuration:-
And that’s the end of the tutorial. We have seen all the necessary commands that you need to implement a firewall on your local machine. There are various other actions we can make our firewall do, but it is impossible to cover all of those in a single article. So, I will be writing a few more articles explaining all the commands. Until then, Keep experimenting!!
Источник
Do I need a Firewall in Linux?
What is a firewall? Do I need a firewall in Linux? How to set up and configure a firewall in Linux. All these questions are answered in this post.
What is a firewall in Linux?
Firewall is a set of software filters that controls incoming and outgoings traffic in your computer. In simple words, it is a sort of wall between your computer and the outside world.
Do you need a firewall in Linux?
Many new users ask me this question almost every day. A short answer, you do not need it but it is better to have. Let me explain why.
Almost all Linux distributions come without a firewall by default. To be more correct, they have an inactive firewall. Because the Linux kernel has a built-in firewall and technically all Linux distros have a firewall but it is not configured and activated. I believe it is because using a firewall require some expertise.
But don’t worry, your Linux is still secure even without an active firewall. By default, most of the distributions such as Ubuntu and Linux Mint have no open ports so your computer cannot be accessed by intruders.
Nevertheless, I recommend to activate a firewall. It is better to be safe than sorry. A firewall does not use many resources, but it adds an extra layer of security. An inexperienced user can accidentally open some ports without knowing it, for example, by installing samba, ssh, apache. In this case, the firewall will still protect the system from outside access.
How to set up a firewall in Linux?
There are several programs you can use to configure and run a firewall in Linux. But I will show you only two programs which I believe are the most worthy.
- UFW – it is probably the most user-friendly firewall available in Linux. If you are a complete newbie or you just want to use your Linux without going to deep into its settings, use UFW.
- iptables — which is a more advanced but probably a proper way to configure the Linux Firewall. If you really want to learn Linux and you aim to become a Linux expert, you need to learn iptables.
UFW — the uncomplicated firewall
As I said above, UFW is the most simple and the most user-friendly way to get firewall running in Linux. It can be used with a graphical front end as well as from the command line only. In the first case, you need to install the program GUFW from your software manager. In the latter case, install only UFW, that is without G and thus without GUI.
So, let’s start with the graphical interface. Simply install GUFW, open it, and enable.
That’s it. Your firewall is active and the default settings to deny incoming and allow outgoing connections is fine for most of the users. No one will be able to connect to your computer, while any application in your computer would be able to reach the outside world.
If you need to open some ports to be able to connect to your computer from the outside, you go to the rules tab and open ports for a specific application.
For example, if you need to access your computer remotely through ssh, you select ssh in the Application option. You can also define the firewall rules for an application in this window. If you are unsure, keep the default settings. Just make sure you ssh is secured with at least with a password.
GUFW is a very simple and effective firewall application. However, it may not always work well in some distros. For example, I encountered problems in GUFW in Manjaro. So, if you are not afraid of the command line, I recommend the command line UFW. It is as simple and it never failed in any Linux distro I tried.
Install UFW from the terminal or the software manager. In Debian or Debian-based distros such as Ubuntu, Linux Mint, elementary etc, you would run this command to install it:
Источник


