- How to Clean Your Computer Properly, Inside and Out
- Cleaning the Physical Parts of Your Computer
- Draining Residual and Static Electricity from a Desktop PC
- Draining Residual and Static Electricity from a Laptop
- Liquids and Computers
- Using Canned or Compressed Air Safely with Computers
- What You’ll Need for Cleaning
- How to Clean a Computer Screen or Monitor
- Steps to Clean Your Screen
- How to Clean a Keyboard and Mouse
- Steps to Clean Your Keyboard
- Steps to Clean Your Mouse or Touchpad
- Steps to Clean Your Computer or Laptop in General
- All Clean
- How to clean windows
- Choose your time
- Tackle mildew on frames
- Give glass a going over
- Show sills some love
- Don’t neglect window screens
How to Clean Your Computer Properly, Inside and Out
Reduce clutter, get rid of dust bunnies
Everything works better when it’s clean. Not to mention that clutter kills. That is why it’s important to clean your computer regularly and this spring is as good a time as any.
Just as a computer with an uncluttered hard drive runs better and faster, a computer with no dust build-up in it runs cooler, and thus better and faster. Add a clean monitor, keyboard, and mouse and the computer is just more pleasurable to use.

There’s a lot to doing a good cleaning, but it can go very quickly. Due to the number of steps and details, this article will be broken into 2 parts; physically cleaning your computer and cleaning out the ‘insides’ of the computer meaning Windows and your hard drive.
Let’s look at the best ways to physically clean your Windows computer.
Cleaning the Physical Parts of Your Computer
Do NOT do any of the physical cleaning of a computer that is turned on or has power still attached or in it. Unplug your computer or its components before cleaning them.
You’ll also want to drain any residual or static electricity from the computer or laptop. Following are the steps to take for a desktop PC and a laptop. Static electricity is a real threat to you and your computer. It can give you nasty shock or permanently damage your computer.
Draining Residual and Static Electricity from a Desktop PC
- Turn off the computer through your operating system, like you normally would.
- Unplug the computer from the wall.
- Drain off any static electricity by touching a metal part of the case, not any of the components inside.
- Drain residual electricity by pressing and holding in the power button for about 20 seconds.
Draining Residual and Static Electricity from a Laptop
- Turn off your laptop through your operating system, like you normally would.
- Unplug the power cable from the wall and unplug the power block or converter from your laptop.
- Remove the laptop battery if possible. For some new laptops this is not possible unless you open the case of your laptop. We do not advise doing that.
- Drain off any static electricity by touching a metal part of the case, not any of the components inside.
- Drain residual electricity by pressing and holding in the power button for about 20 seconds.
Liquids and Computers
Never apply liquid cleaners or water directly to any part of the computer. Always dampen the cloth, cotton swab, or magic eraser and use that to clean. It should only be damp enough to just know that it is not dry.
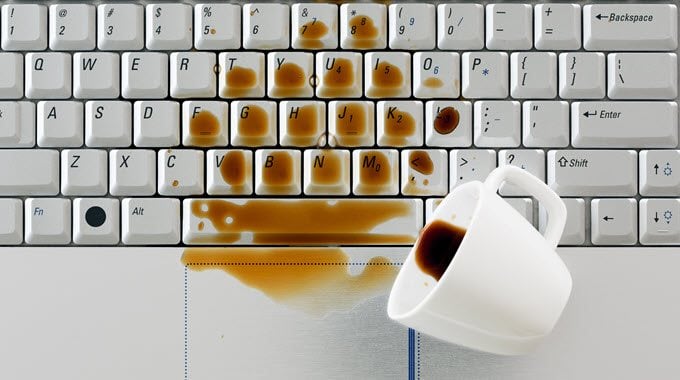
Water, or liquids, and electricity do NOT mix. Water and most liquids are excellent conductors of electricity, so even the smallest amount of it will conduct electricity.
That can cause a short circuit in your computer or make an electrical connection between you and the computer causing you pain and possibly severe injury. In the extreme case, it can even result in death.
Also allow your computer enough time to completely air dry before reconnecting power and turning it on. It shouldn’t take long if your cloth was only slightly damp, maybe 5 minutes or so. If you can wait longer, do so.
Using Canned or Compressed Air Safely with Computers
To remove loose dust and dirt, nothing beats canned or compressed air. But there are some safety concerns when using air under pressure, for you and your computer.
- Do NOT use an air compressor that is not specifically designed for use with computers. Ordinary air compressors can use too much pressure and dislodge small computer components. They also can have moisture and grease in the air stream which can cause a short circuit in your computer.
- Wear safety glasses and a dust mask. The glasses will help protect your eyes from any debris that may get blown into them. The dust mask is to prevent you from inhaling the dust. It’s just nasty. Plus, the dust can contain traces of heavy metals like mercury or lead. If you’re cleaning computers every day, these metals can build up in your system and damage your health.
- When using canned air, follow all the instructions on the can. Never spray it on yourself, and always keep the can upright when using it. The propellant can cause frostbite-like burns to your skin. Keeping the can upright also prevents the propellant from coming out as a burst of liquid, which could cause damage to your computer.

Now that you’re sufficiently prepared for safety, let’s get on to cleaning the physical parts of the computer.
What You’ll Need for Cleaning
- Two clean, dry microfiber clothes or soft lint-free cloth. One to dampen and one to keep clean and dry.
- Cotton swabs, like Q-tips. There is a kind that has very pointed ends which are great at getting into the bezel edge and other hard to reach places.
- Screen cleaning liquid. Do NOT use anything with ammonia or alcohol in it. You can buy screen cleaning fluid, or you can make a mix of about a half-cup of water and a half teaspoon of white vinegar or two drops of a gentle dish soap like original Dawn.
- For the rest of the computer, any cleaning solution meant for hard surfaces will work. Your screen cleaning solution will work too.
- Canned air.
- 97% rubbing alcohol. (Optional for deep cleaning around electronic parts. If you’re not comfortable with cleaning electrical contacts, skip this. Better safe than sorry.)
- Magic eraser if the keyboard or computer case is especially dirty.
How to Clean a Computer Screen or Monitor
The computer screen, or monitor, is your view into your computer’s world. What shows up there is ultimately why we use the computer in the first place. So why not keep it clean and clear? Easy to read and easy to see means easier to use.
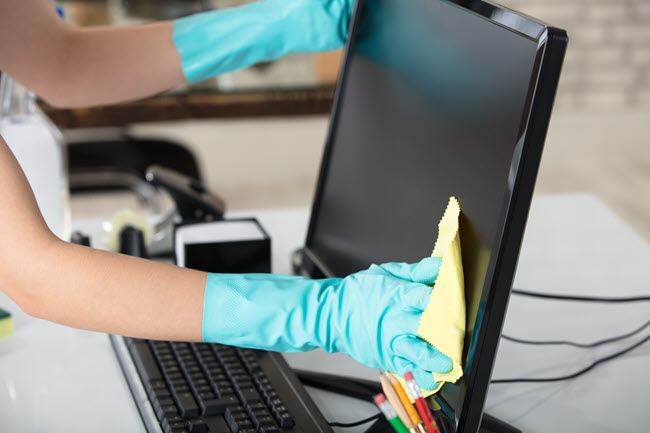
Steps to Clean Your Screen
- Turn off your monitor and unplug it from the power if possible. If it’s a laptop, power off the laptop. This is to prevent damage or injury to you or the screen if some liquid should somehow make it to the electronics.
- Use the dry microfiber cloth to wipe down the entire screen, the bezel or outside edge, and the back of the screen. This will remove the loose dust and dirt.
- With the canned air, spray it into any tight spots that look like they have dust in them.
- Use the Q-tip to get into the tight corners where the bezel meets the screen to get any wedged in dust or dirt.
- Spray or wet the microfiber cloth with your screen cleaning solution. The cloth should be just slightly damp to the touch. You don’t want it wet enough that it might drip. Do NOT spray it on the screen or computer. Liquids and electronics do not mix. Wipe down the screen to remove any remaining dust, dirt, or fingerprints.
- Using the second dry microfiber cloth, dry off and polish your screen. Going in circles helps avoid leaving streaks.
- Leave the screen to completely air dry before turning it on again.
- Turn on the screen again and check for any missed spots. If you missed a spot or two, you can probably clean them up with the dry cloth. If it needs the wet cloth, unplug the monitor and try cleaning it again.
How to Clean a Keyboard and Mouse

Steps to Clean Your Keyboard
- Unplug your keyboard from the computer. If you have a laptop, ensure it is turned off, unplugged, battery removed, and follow the Draining Residual and Static Electricity steps above.
- Turn your keyboard upside-down and shake it out. If it’s not a laptop keyboard, you can try gently tapping it on a hard surface while it’s upside-down. Be prepared to be a little grossed out. Even if you never eat around your computer, stuff will fall out that just looks a bit nasty. Clean that off with your cloth before proceeding.
- Use the canned air to blow off any remaining dust or debris.
- Gently wipe your soft, dry, lint-free cloth across the keys to get the very last bits.
- If possible, use a damp cotton swab to clean just under the keys and the crevices of the keyboard.
- Dampen your cloth with your cleaning solution and wipe down the keyboard, then clean each key individually. If there’s a build-up of dirt on some keys, you may need to scrub a little bit harder or use a slightly damp magic eraser.
- Use the dampened cloth to clean the entire length of the keyboard cable. Pay attention to whether it snags or not. If it snags, there is likely damage to the cable which can cause problems. It is safest to replace the keyboard.
Steps to Clean Your Mouse or Touchpad
- Unplug your mouse from the computer. If you have a laptop, ensure it is turned off, unplugged, battery removed, and the power drained.
- Use the canned air to blow off any loose dust or debris.
- Gently wipe your soft, dry, lint-free cloth across the entire mouse or touchpad surface.
- If needed, use a damp cotton swab to clean in the crevices of the mouse or touchpad.
- Dampen your cloth with your cleaning solution and wipe down the mouse or touchpad. If there’s a buildup of dirt, you may need to scrub a little bit harder or use a slightly damp magic eraser.
- Use the dampened cloth to clean the entire length of the mouse cable. Pay attention to whether it snags or not. If it snags, there is likely damage to the cable which can cause problems. Again, your safest option is to replace the mouse.

Steps to Clean Your Computer or Laptop in General
Turn off your computer or laptop and follow the Draining Residual and Static Electricity steps above.
Remove all cables from the computer.
Use the canned air to blow out any vents or ports on the computer. Be prepared for large puffs of dust. Do this until no more visible dust comes out.

If you’re working on a PC that you can take the cover off, do that and blow out all dust inside. This is a good change to visually inspect your computer components for any damage or degradation. Then go back to cleaning the outside of the computer.
If you’re working on a laptop, there may be panels that can be removed for access to your hard drive or RAM. If you’re comfortable with doing this, remove the panels and use the canned air to blow out any dust.
- Use a cotton swab dampened with cleaning fluid to work dirt out of any crevices or vents.
- Use a cotton swab dampened with rubbing alcohol to work dirt out of any ports.
- Use your dry cloth to wipe off any loose dust or debris.
- Dampen your cloth with your cleaner and wipe down the exterior of the PC or laptop.
- If necessary, use the magic eraser to get any tough marks off it.
- With your damp cloth, clean the entire length of any cables connected to the computer; power, monitor, USB, whatever. Check the cables and ends for any sort of damage and repair or replace them. This also gives you an opportunity to organize your cables so there’s less clutter around you.
- A cotton swab dampened with rubbing alcohol can be used to clean the contacts in the ends of the cables, if you feel it’s necessary. Once you have, let the cables sit and air dry for at least 5 minutes before reconnecting them. Inspect them to make sure they are completely dry.
- Replace the cables making sure they are fully seated and secured and go back to enjoy using your computer.
All Clean
Your computer is now almost as clean as when it came out of the box. And I bet you feel better about it too. I guarantee your computer feels better too. Now air can properly flow through the computer keeping it cool and running fast.
The contacts on your cables are now clean and well-seated allowing the components of your computer to talk to each other better. If you’ve tidied up the cables, you probably have more room on your desktop and less tripping hazards around you.
If you found damaged cables and repaired or replaced them, your computer will run better AND safer. This whole process took you about a half an hour.
Was that 30 minutes’ worth it to you? Stay tuned for part 2 of this article on how to clean out the ‘insides’ of your computer by tuning up Windows and your hard drive.
Guy has been published online and in print newspapers, nominated for writing awards, and cited in scholarly papers due to his ability to speak tech to anyone, but still prefers analog watches. Read Guy’s Full Bio
How to clean windows
This is how to get your windows gleaming
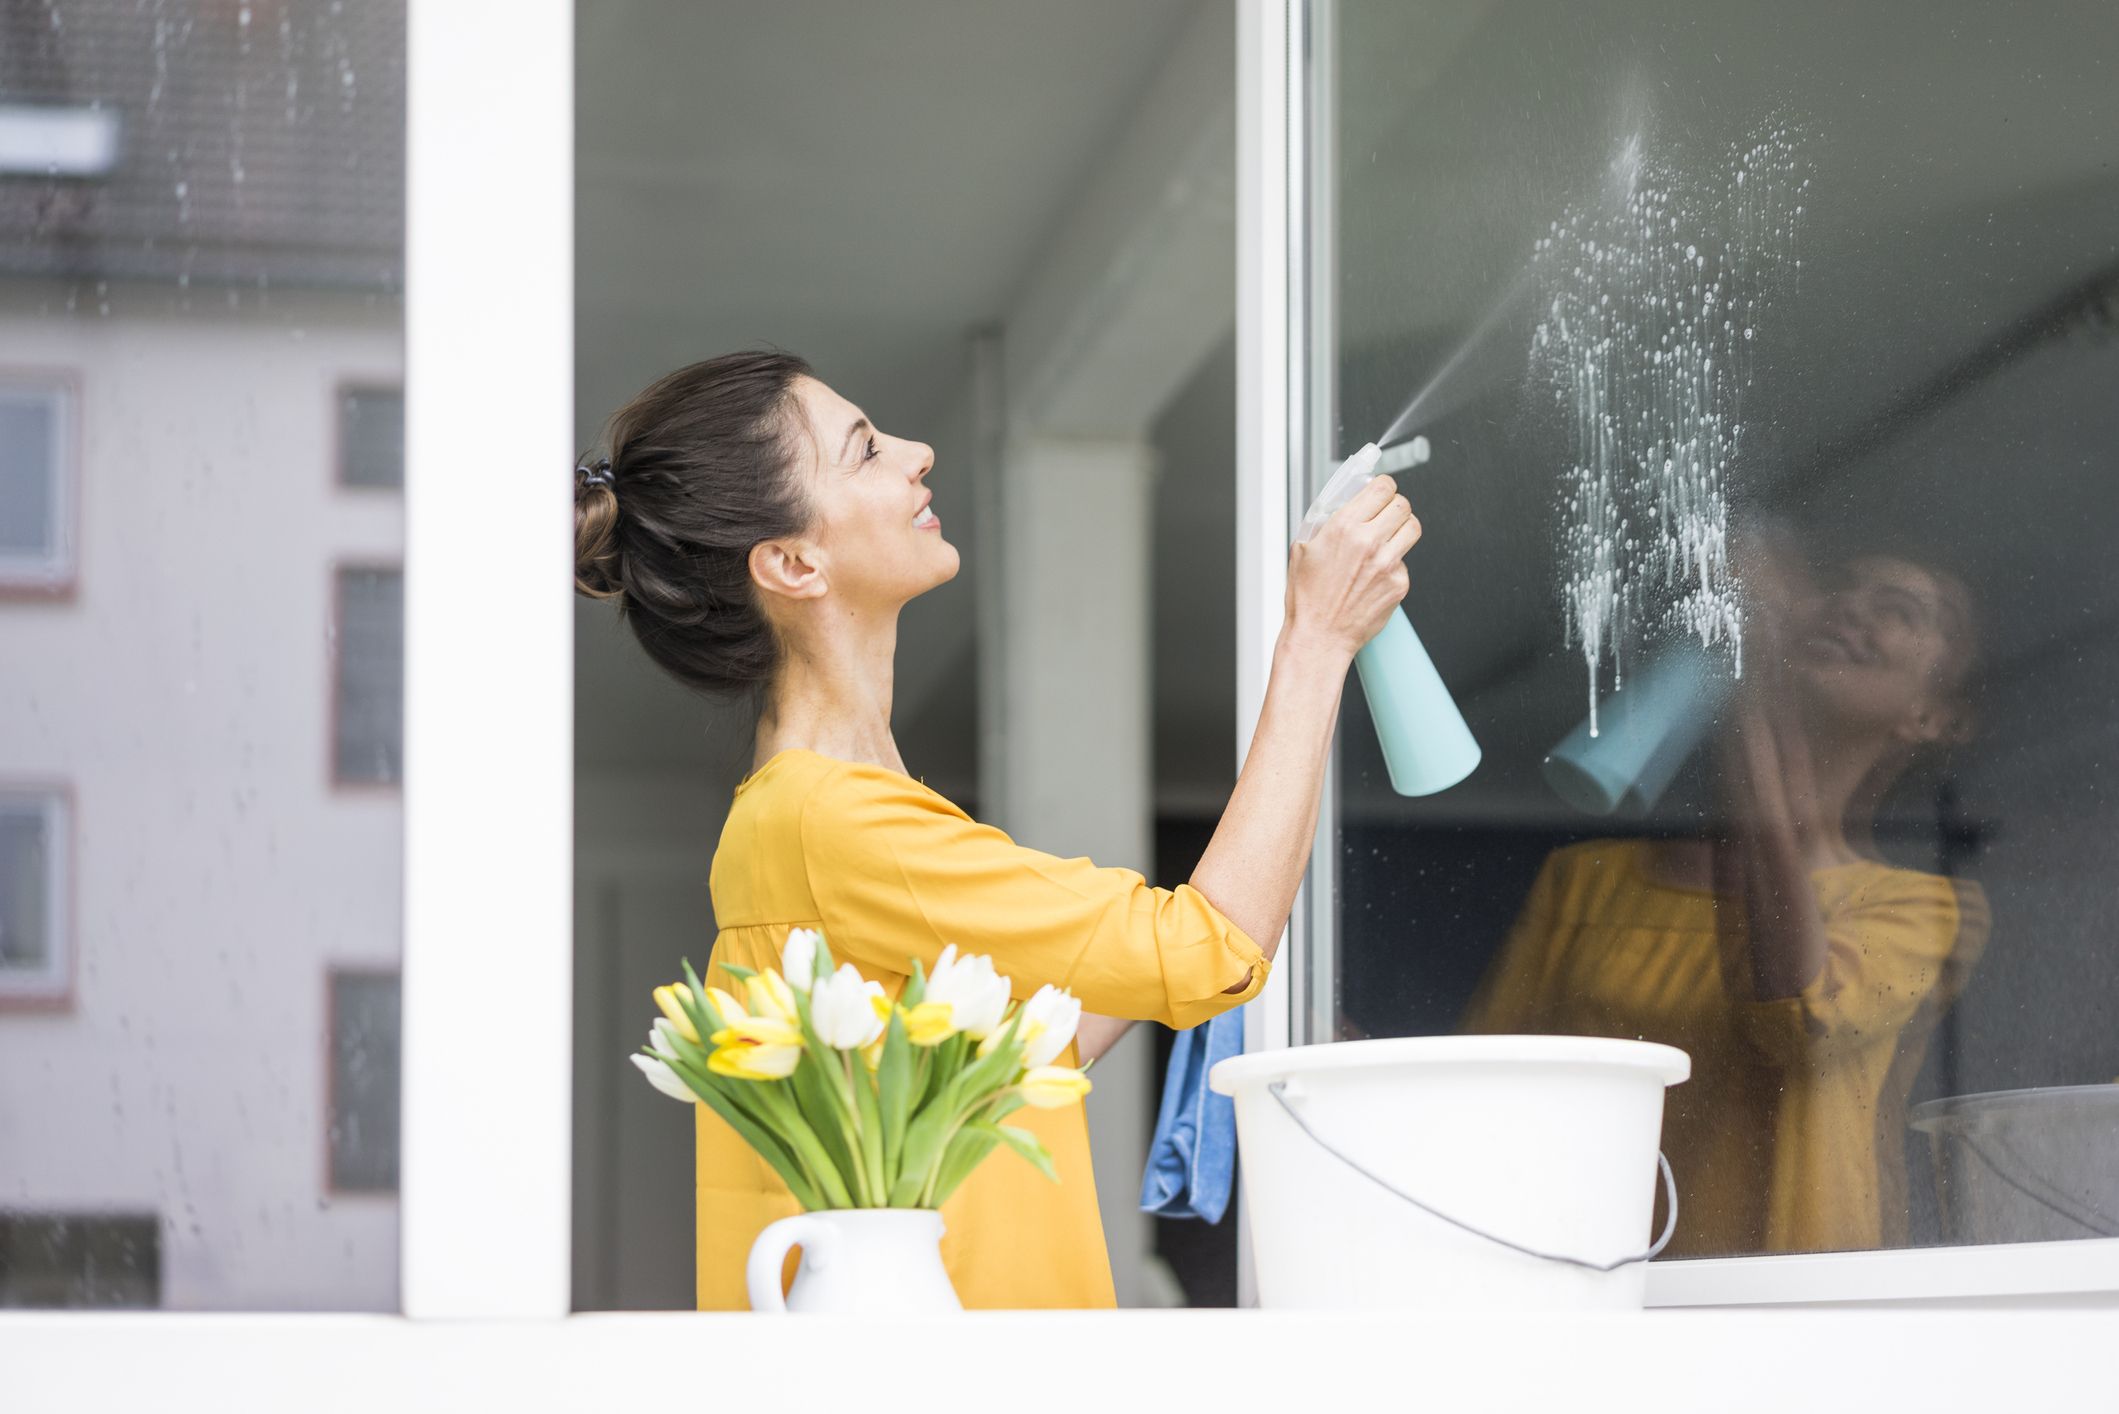
Cleaning the windows can be a task people easily miss off their to-do list, as it is a somewhat arduous chore. But, if you aim to clean them a couple of times a year, you’ll be rewarded by more light being allowed into your home.
Forget the old advice about scrunched-up newspaper. In the past, papers were printed with petroleum-based oil ink, which is what gave windows their shine. Then, in the 1980s, this was switched to soy ink for environmental and cost reasons — and it doesn’t have the same effect on glass.
Whilst it may be a hated household chore, it doesn’t have to take up hours of your time. Here’s how to get your windows looking shiny and clean again in no time.
Choose your time
Like with a car, avoid cleaning your windows on very sunny days — the heat will make the glass dry too quickly and cause smears undoing all your hard work.
To do a proper job, take down curtains and blinds and clear windows and sills of any bits and bobs. Use a dustpan and brush or your vacuum’s upholstery tool to remove any loose debris before washing to avoid a muddy mess.
Tackle mildew on frames
You’ll want to put on an old pair of washing-up gloves before you tackle any window frames. Then, clean off mildew with an old lint-free cloth.
Dip the cloth in a branded mould remover to give your window frames a thorough clean or a weak solution of household bleach. The GHI recommends the HG Mould Spray.

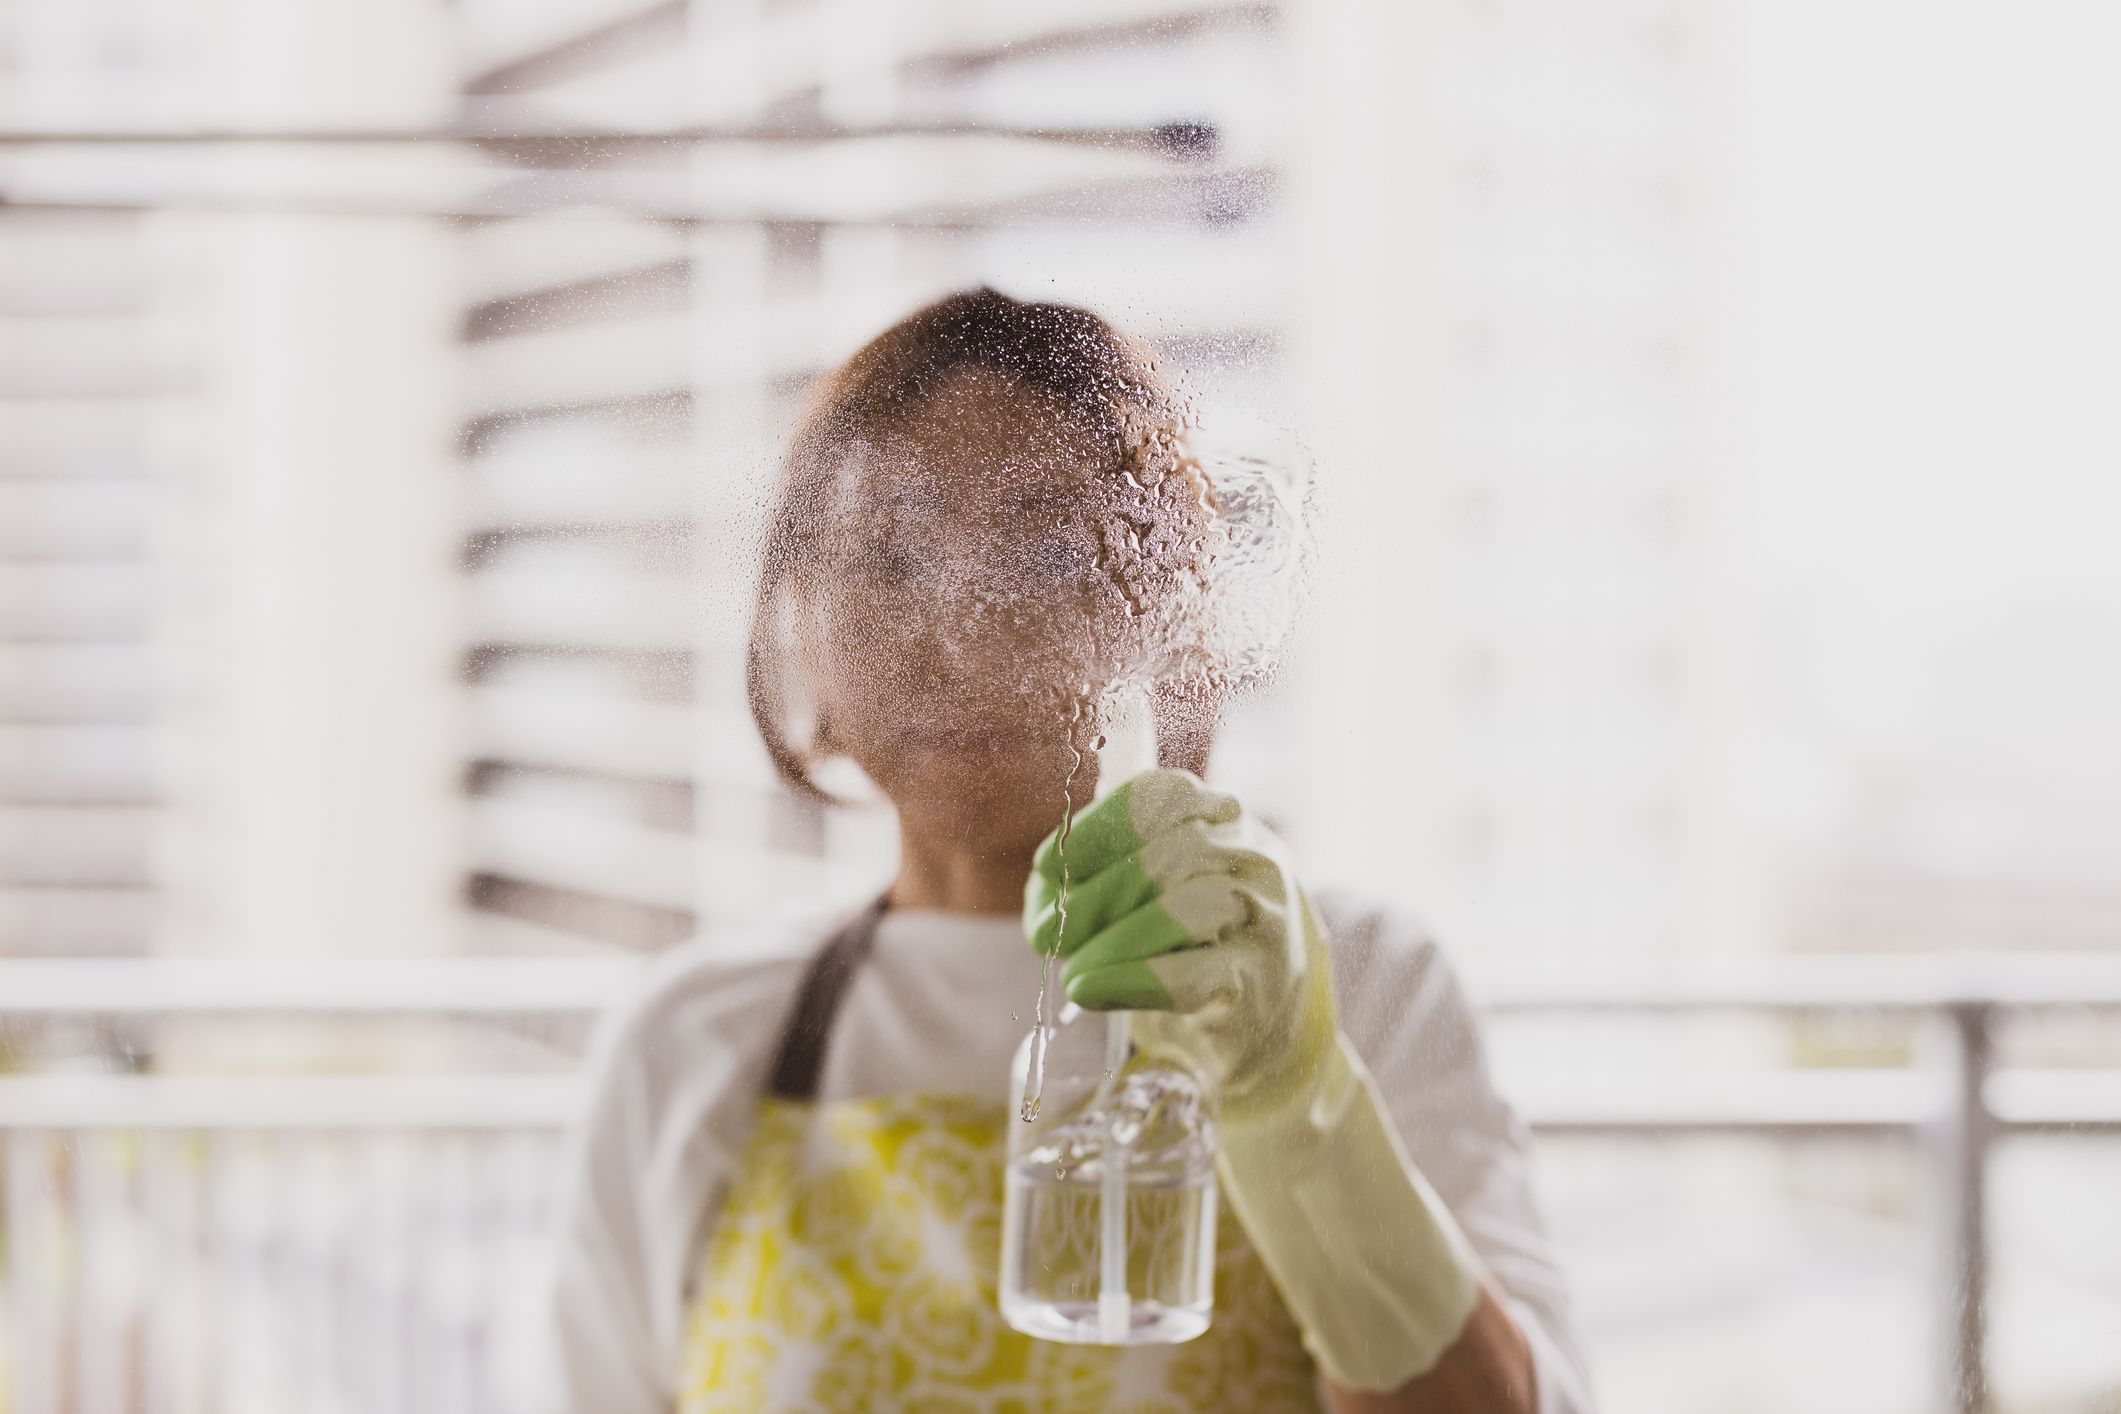
Give glass a going over
Use a branded window cleaner or create your own with a solution of one part distilled white vinegar to nine parts water into an old spray bottle. Use a lint-free cloth to wipe them down and then a chamois leather to buff them to a brilliant shine.
Vinegar is an age-old wonder and has the added benefit of being non-toxic and antibacterial, so a very handy product to have in your cupboard — and not just for your chips! You could also try adding dishwasher rinse aid to water when you wash your windows, for ensuring a streak-free finish.

Alternatively, the GHI also highly rates the e-cloth Window Pack, which is a microfibre cloth. Simply add water, no chemicals required.
If you have large areas of glass to clean, such as a conservatory or patio doors, it’s worth considering a window vacuum, to save you the energy. Once you’ve cleaned your windows, they vacuum up the remaining water in one sweep, making them far less messy than a squeegee which will result in water dripping onto your floors!

Show sills some love
Dust the internal sills regularly, taking time to get into any nooks or crannies that may need extra attention.
Check external sills regularly for rot, and replace any crumbling putty with the correct type for either timber or metal. Repaint as necessary.

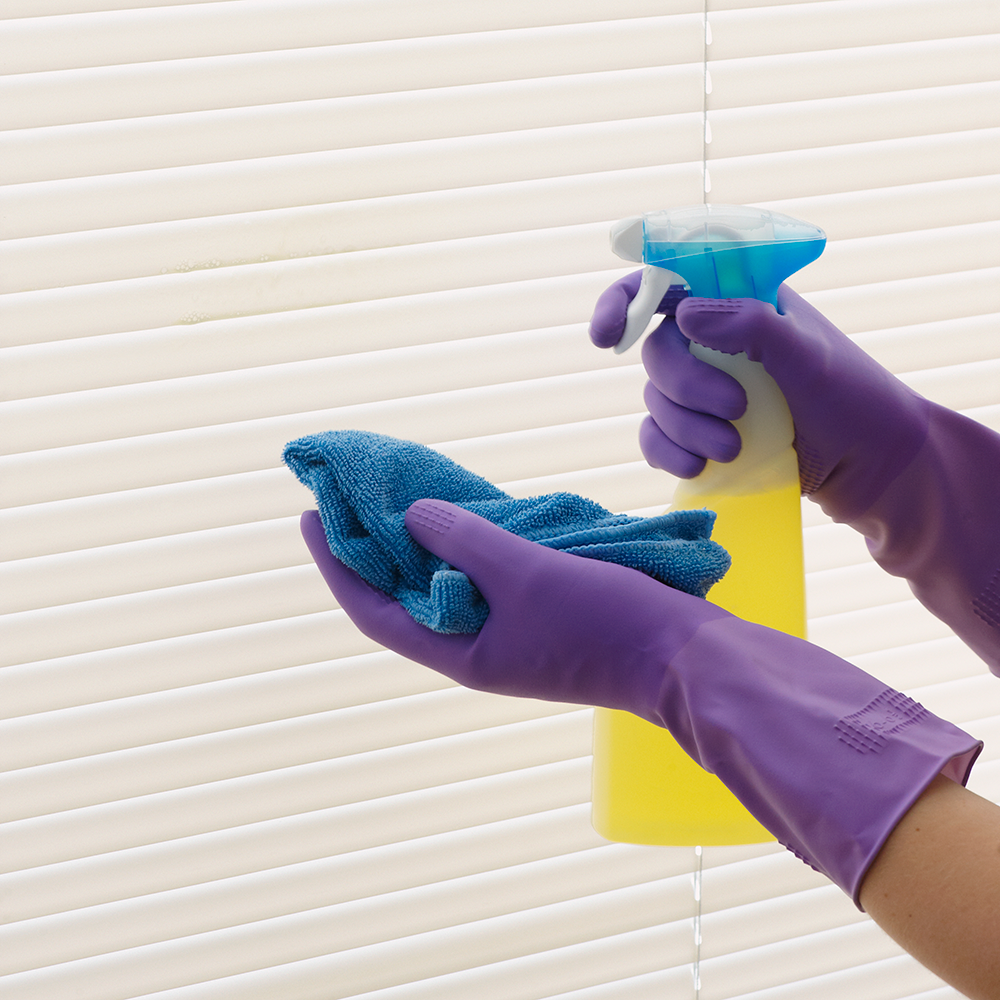
Don’t neglect window screens
If you have metal window screens, write a number on each window in erasable pencil. Write a corresponding number on the screen before removing it from the window so you know which screen goes back where.
Remove the screens and dust the mesh and frame with the soft brush attachment of a vacuum cleaner. Scrub both sides of the screen with a stiff brush dipped in detergent solution (if you are doing this in the bath, line it with towels to prevent scratching the finish). Rinse using a shower attachment or the fine spray nozzle of a hosepipe. Leave to dry thoroughly in a sunny spot before refitting to the window.


