- See all your apps in Windows 10
- 4 Ways To Find Large Files In Windows 10
- Find Large Files In Windows 10 Using File Explorer
- Search For Large Files In Windows 10 With Command Prompt
- Use Largest Files Finder To Find Large Files On Windows 10
- Find Largest Files On Windows 10 With TreeSize Free
- How To Merge Videos In Windows 10 Using the Built-In Photos App
- Merging Videos With Windows 10 Built-in Photos App
- Instructions for Windows 10 2004
- Customizations
- Output file size
- Another project: 720p (input) to 720p (output)
- Using Avidemux
- Instructions for older versions of Windows 10
See all your apps in Windows 10
You can customize your Start menu and taskbar. You can also make sure that installation errors, antivirus software, or pending Windows updates aren’t getting in the way.
Here’s how to customize what you see on the Start menu and taskbar:
To see a list of your apps, select Start and scroll through the alphabetical list. Some apps are in folders within the app list—like Notepad, which is in the Windows Accessories folder.
To choose whether your Start menu settings show all your apps or only the most used ones, select Start > Settings > Personalization > Start and adjust each setting you want to change.
To adjust which folders you see on your Start menu, select Choose which folders appear on Start and follow the instructions.
You can pin your favorite apps to the Startmenu or to the taskbar. Select and hold (or right-click) the app you want to pin. Then select Pin to Start or More > Pin to taskbar .
To quickly find a specific app, type the name of the app in the search box on the task bar. If an app you downloaded didn’t install correctly, it won’t show up in the Start menu or when you search for it. You can try to repair the app.
If you still don’t see the app you searched for, it’s possible the app’s installation is blocked by a pending Windows Update or your antivirus software. You can temporarily disable your antivirus software while you try to install the app again. If you do disable your antivirus software, make sure you turn Real-time protection back on after you’ve finished installing.
4 Ways To Find Large Files In Windows 10
Free up space quickly by deleting them
If you quickly want to free-up memory space on your Windows machine, the best way to do that is to find large files on your Windows 10 PC and get rid of them if they’re no longer useful. The question though is how do you go about searching for large files on your computer?
Windows provides you with multiple ways to find all the large files that are stored in your drives. Either you can use the built-in tools on your machine to look for these files or you can grab a third-party app that will do the task for you. Either way, you’ll find the files that occupy a significant portion of your memory space.

Once such files are found, it’s then up to you what you want to do with them. If deleting them permanently isn’t something you’d like to do straightaway, you can move them over to a cloud storage or to an external hard drive.
Also, be sure to check out our YouTube video from our sister site Online Tech Tips where we go through some of the options mentioned below in this article.
Find Large Files In Windows 10 Using File Explorer
File Explorer comes with a lot of hidden features to let you organize, sort, and find files on your computer. One of its abilities is to help you find files that are of specific size on your computer. Using this feature, you can locate those memory-hogging files and get them removed from your PC.
Before you do that, though, you’ll need to first enable the hidden files option. This is to ensure that Explorer looks for large hidden files as well in addition to searching for the normal files.
However, be cautious while dealing with the hidden files. Most of the time, these are system and app related files which, if you delete, will cause your apps to malfunction and even lead your entire system to crash. Before you delete anything, just make sure you know what it is and you’ll be fine.
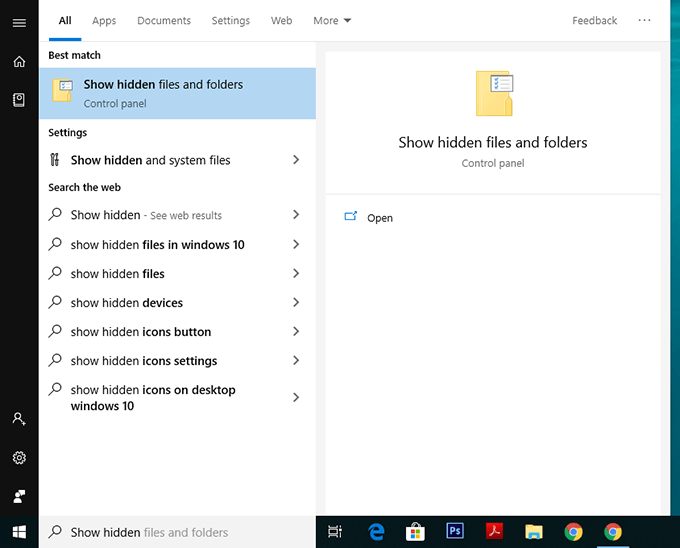
Open the Start Menu and search for Show hidden and click on Show hidden files and folders.
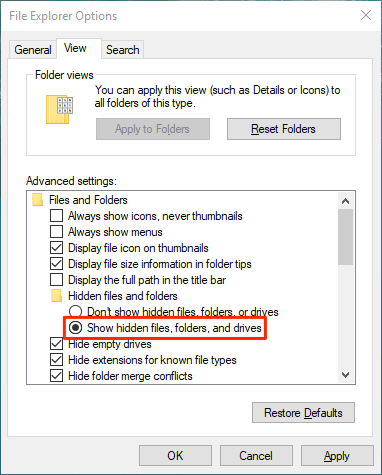
When the dialog box opens, click on the View tab at the top. You’ll see various File Explorer options that you can modify.
Find the option that says Show hidden files, folders, and drives and put a checkmark in it. Then click on the OK button to save your changes.
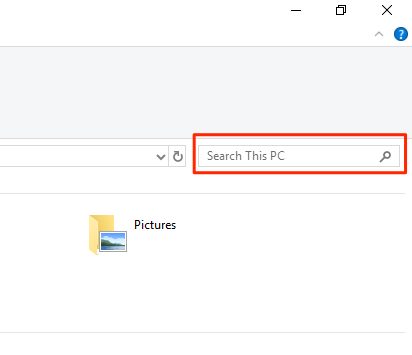
Double-click on This PC on your desktop to launch File Explorer. When the utility launches, click on the search box given at the top-right corner.
A new menu item will be added to the top of your screen. Click on the newly added item that says Search to view further options.
Select the Size option and then select an appropriate option from the list. It’ll let you find large files available on your PC.
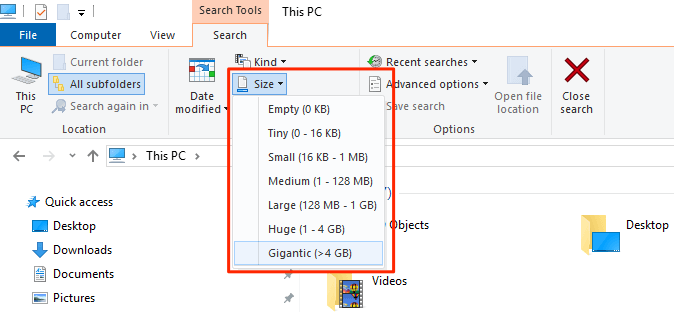
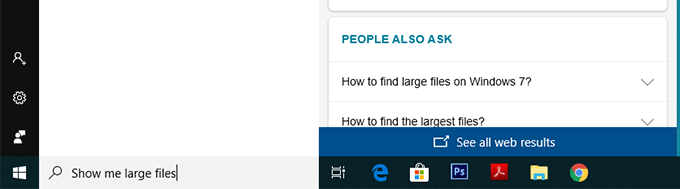
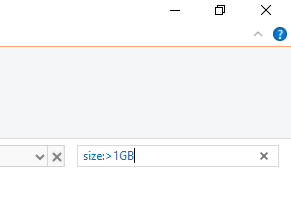
If what you consider as a large file isn’t available in the default menu, type in size:>1GB (replace 1GB with your size) in the search box and hit Enter. It’ll only look for the files that are larger than your specified size.
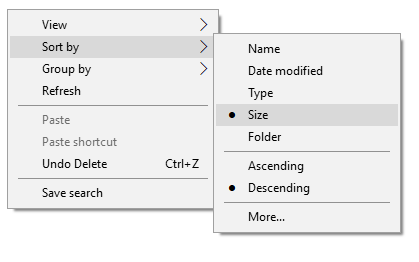
When the search results appear, right-click anywhere blank and select Sort by followed by Size and Descending. This’ll ensure the largest file is shown at the top of the results.
Search For Large Files In Windows 10 With Command Prompt
If you’re more of a geeky person, you can use the Command Prompt utility to retrieve a list of all the files larger than a specified size value. The files list can be exported to a text file for you to then actually find those files on your machine.
Press Windows + R, type in cmd, and hit Enter to launch the utility.
When it launches, type in the following command and hit Enter. It’ll find all the files that are larger than 1GB in size. You can modify the value in the command so it finds files that you think are large.
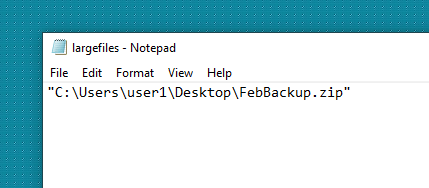
forfiles /S /M * /C “cmd /c if @fsize GEQ 1073741824 echo @path > largefiles.txt

Open the newly created largefiles.txt file and it’ll have a list of all the large files sitting on your computer.
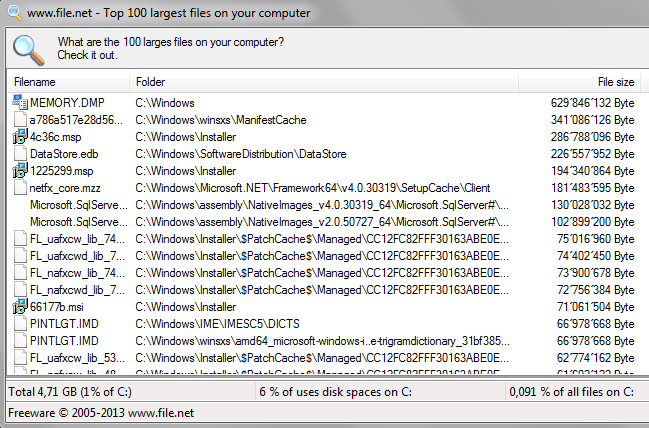
Use Largest Files Finder To Find Large Files On Windows 10
File Explorer and Command Prompt aren’t the only tools to find large files on your Windows 10 computer. There are a few third-party apps as well that can help you find such files.
Largest Files Finder is one of those apps that helps you find the top 100 largest files on your computer. It claims to be only taking a minute to scan drives sized upto 200GB. Also, it doesn’t require any installation and works straight out of the box.
- Download and launch the app on your computer.
- Soon as it launches, it automatically starts searching for large files on your computer. When it’s done, you can review the results for yourself.
If you want to delete any files from the search results, you can do so with ease from within the app. Simply right-click on any of the files and select Delete.
Find Largest Files On Windows 10 With TreeSize Free
TreeSize Free has been around for quite a long time and it helps you find space hogging files on your Windows computers. It requires a small installation but then it works like a charm.
- Download, install, and launch the app on your computer. Make sure to run it with admin rights so it can search the folders that it can’t otherwise.
- You’ll see a tree of your folders along with the space they occupy on your screen. You can double-click on any folder to view its subfolders and their sizes.
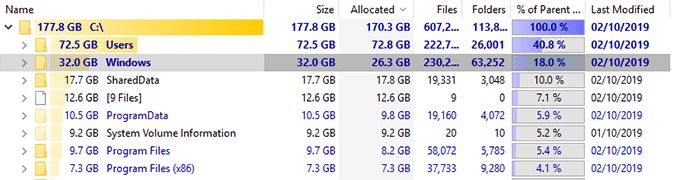
You can then sort the directories by the Size column so that the largest files are always shown at the top.
It has a few customizable options as well should you want to use them. Feel free to play around with any options you think will make it easier to find large files on your computer.
Mahesh has been obsessed with technology since he got his first gadget a decade or so ago. Over the last few years, he’s written a number of tech articles on various online publications including but not limited to MakeTechEasier and Android AppStorm. Read Mahesh’s Full Bio
How To Merge Videos In Windows 10 Using the Built-In Photos App
Want to merge videos in windows 10 but don’t have any idea how to proceed? Here we will explain to you how to merge videos with Windows 10’s built-in Photos app in a step by step manner.
You must be knowing that Windows Movie Maker (Windows Essentials 2012) has been retired by Microsoft and the download links have been taken offline officially though you can download Windows Essentials 2012 from some independent or third-party sites like ours.
Leaving Windows Movie Maker aside, still, you have something best in-built with Windows 10 that helps you merge your videos. That’s Windows 10 built-in Photos app. With its simple and user-friendly interface, the Photos app allows a user to merge videos effortlessly.
Merging Videos With Windows 10 Built-in Photos App
Follow the steps below and you will be able to merge all your videos within no time.
Note that to merge videos using the Photos app, you require Windows 10 v1709 (Fall Creators Update) or higher. See the article How to Find Your Windows 10 Build Number, Version, Edition and Bitness for more information.
Instructions for Windows 10 2004
- Launch the Photos app.
- From the Collections tab, click New video → New video project. This starts a blank project.
- Assign a name for your video and click OK.
- In the Project library, click on the Add button to add the videos you want to merge.
- Once added the videos, select all the videos, and click Place in storyboard.
The storyboard is a section at the bottom of the screen where you can manipulate your videos by adding special effects, trim, or split the videos before combining them into a single file.
If you want no changes made to the clips and want to merge them as they are, click on the Finish video button on the top right corner of the window, and complete the process.
Customizations
Optionally, from the Storyboard section, you can trim or cut unnecessary portions in a clip using the Trim, or Split button. For instance, I’ve split the 1st video into two parts using the Split feature. The first part is 5.97 seconds which I wanted to remove from the video before merging them.
Note that your original videos won’t be modified.
Now, I’m deleting the intro clip which I have split earlier, by right-clicking on it and clicking on the Remove this video clip.
Now, you have done all the modifications (trim, split, add a caption, applied 3D effects, or filters), click on the Finish video button.
That’s it. The videos are merged now.
Output file size
Let’s check the output file sizes. As you can see, the output file size is way bigger than it should be. The individual 360p video clips amount to less than 22 MB, whereas the combined one (540P output option) is almost 92 MB even with 6 seconds of video trimmed at the beginning.
You’d think that the output file size would be lower if the Photos app had the 360p output option. Unfortunately, that’s not the case.
Another project: 720p (input) to 720p (output)
See the results from another project I created. The input video clips are 720p and I chose the 720p option in the Photos app output options.
RESULT: The output video file size is 3.6x bigger which is unacceptable by any standard!
So, in either case, the videos outputted from the Photos app have a poor compression format. This means we need to use a third-party tool to compress the video using a good codec.
Using Avidemux
Alternatively, you can use the freeware Avidemux to split or merge videos for your personal video projects. For more information, check out the article How to Merge/Combine/Join Multiple Video Clips using Avidemux
Here’s the output file size comparison — Photos apps Vs Avidemux.
The Photos app re-encodes the file regardless of whether the source files are similar not. In Avidemux or other third-party tools, you have the choice to do a simple merge (Copy) of identical video clips without having to re-encode or change the resolution.
Instructions for older versions of Windows 10
- Click Start, type Photos and click on it to launch the app.
- Click on the “Create” button available there right beside the search box.
- Once you click on it, you will get three options, namely “Automatic video with music,” ” Custom Video with music” and “Album.” You need to click on “Custom Video with music.”
Note: You can proceed with “Automatic video with music” as well to merge Videos With Windows 10 Built-in Photos App. Things will remain the same.
That’s it. You’ve successfully merged all your videos with Windows 10 Photos app. Your merged video file will now get saved automatically in the following folder path:
Hope this post has delivered some valuable information to you. Also, keep following us to get more techy updates. Have questions? Let us know in the comment section.
(This article was last updated in Sep 2020 for Windows 10 v2004.)


