- Windows 10 desktop take long time to load
- Replies (2)
- FIX: Windows 10 desktop is slow to load
- How can I fix the Windows 10 desktop slow to load issue?
- 1. Update the Display driver
- Update drivers automatically
- DriverFix
- 2. Boot in Safe Mode
- 3. Temporarily turn off firewalls
- Run a System Scan to discover potential errors
- 4. Perform a Clean Boot
- 5. Run Windows Update troubleshooter
- 6. Run DISM tool
- 7. Run a System File Checker scan
- 8. Run disk clean up
- 9. Run System Maintenance Troubleshooter
- 10. Run Microsoft Safety Scanner
- 11. Perform a System Reset
- 12. Enable Fast Startup
Windows 10 desktop take long time to load
windows desktop load too much time
i have open program with command line.
i have also restart explorer with task manager but it did not work
also not working following function.
I have to use hard switch to turn off my computer
Replies (2)
![]()
Thank you for posting the query on Microsoft Community.
I do appreciate your efforts and time.
Restart the computer a few times and check for Windows Updates.
In the Search box on the taskbar, enter Windows Update, select Windows Update. On the Windows Update page, select Check for updates.
Also, place the system in Safe Mode and check if it works fine.
1. Restart your PC. When you reach the sign-in screen, hold the Shift key and select the Power button, and then select Restart.
2. After your PC restarts, select Troubleshoot > Advanced options >Startup settings > Restart. After your PC restarts, you should see a number of options. Press 5 or F5 for Safe Mode with networking.
Also, try to run the Power Troubleshooter.
Power troubleshooter will automatically fix some common issues with Power Plans. Run the Power troubleshooter to adjust your computer’s power settings. The Power troubleshooter checks things like your computer’s timeout settings, which determine how long the computer waits before turning off the monitor display or entering sleep mode. Adjusting these settings can help you conserve power and extend your computer’s battery life.
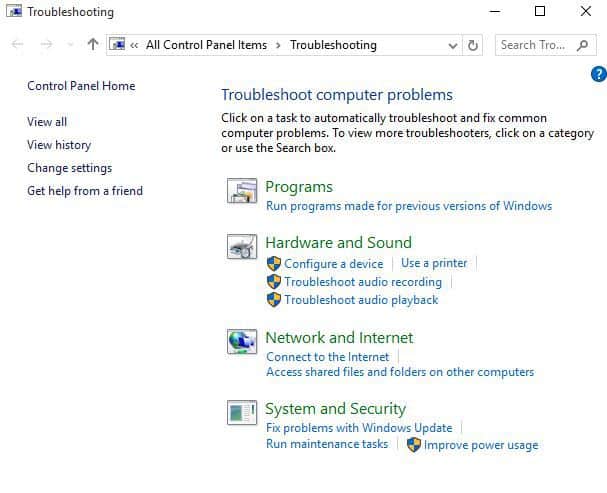
1. Press Windows key + W and type Troubleshooting.
2. Select Troubleshooting and click on System and Security.
3. Click on Power and follow the onscreen steps.
Hope this helps in resolving the issue. If the issue persists, do get back to us. We will be happy to assist you.
FIX: Windows 10 desktop is slow to load

- Several users reported that their Windows 10 desktop is slow to load.
- In this article we will explore what you can do to fix this issue, so keep reading.
- For everything you’d like to know about your device, go to our Windows 10 Hub.
- If you are interested to learn more make sure to check out our Troubleshooting section.

- Download Restoro PC Repair Tool that comes with Patented Technologies (patent available here).
- Click Start Scan to find Windows issues that could be causing PC problems.
- Click Repair All to fix issues affecting your computer’s security and performance
- Restoro has been downloaded by 0 readers this month.
Many users are reporting that their Windows 10 desktop is slow to load which is creating a lot of frustration and time wasted.
If you encounter the same issue, know that it may be as a result of viruses, damaged system files, full-disk with no space, or even conflicts between third party applications.
This article offers some quick solutions to fix the problem, as and when it arises.
How can I fix the Windows 10 desktop slow to load issue?
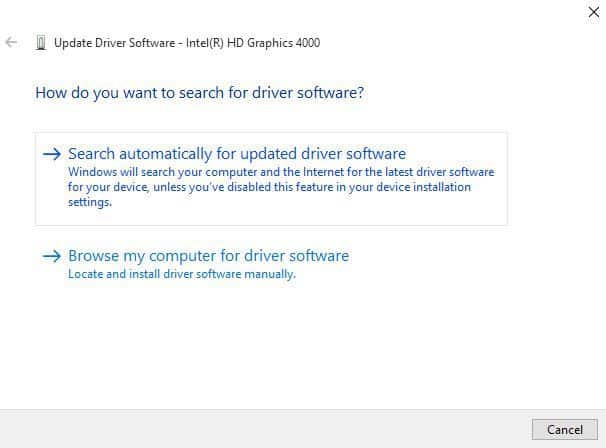
1. Update the Display driver
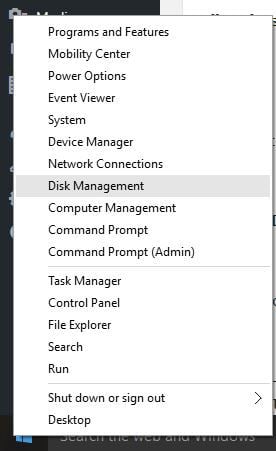
- Right-click Start.

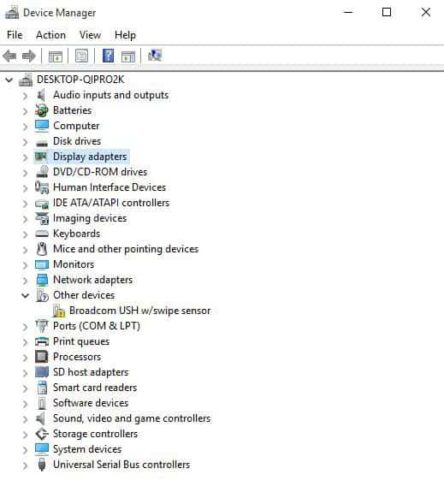
- Select Device Manager and find Display Adapters.
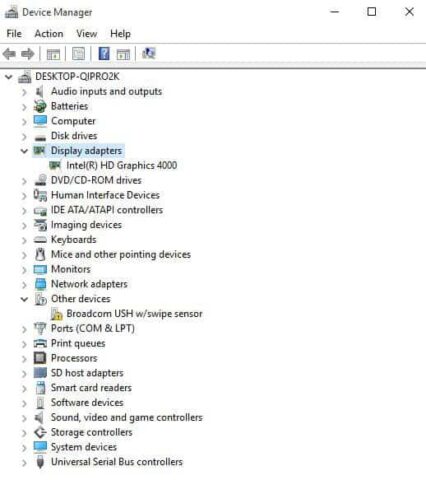
- Click on Display Adapters to expand the list of adapters.
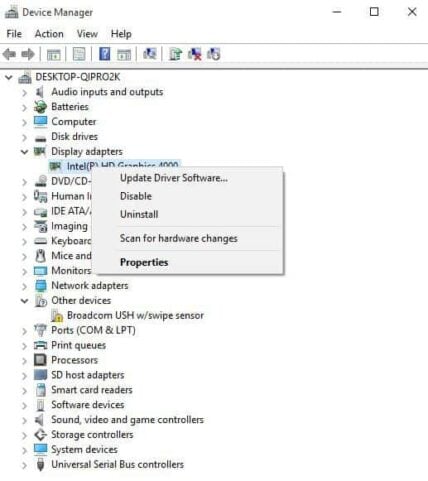
- Right-click on the Display Adapter listed.
- Click Update Driver Software.
- Select Searchautomatically for the updated driver software.
- Restart the computer
You can also check your computer manufacturer’s website and download the latest display drivers for your computer, and install the same.
Update drivers automatically
After you have uninstalled your drivers, we recommend to reinstall/update them automatically.
Downloading and installing drivers manually is a process that carries the risk of getting the wrong driver installed, which may lead to serious malfunctions of your system.
The safer and easier way to update drivers on a Windows computer is by using an automatic tool. We strongly recommend you use a dedicated tool, such as DriverFix.
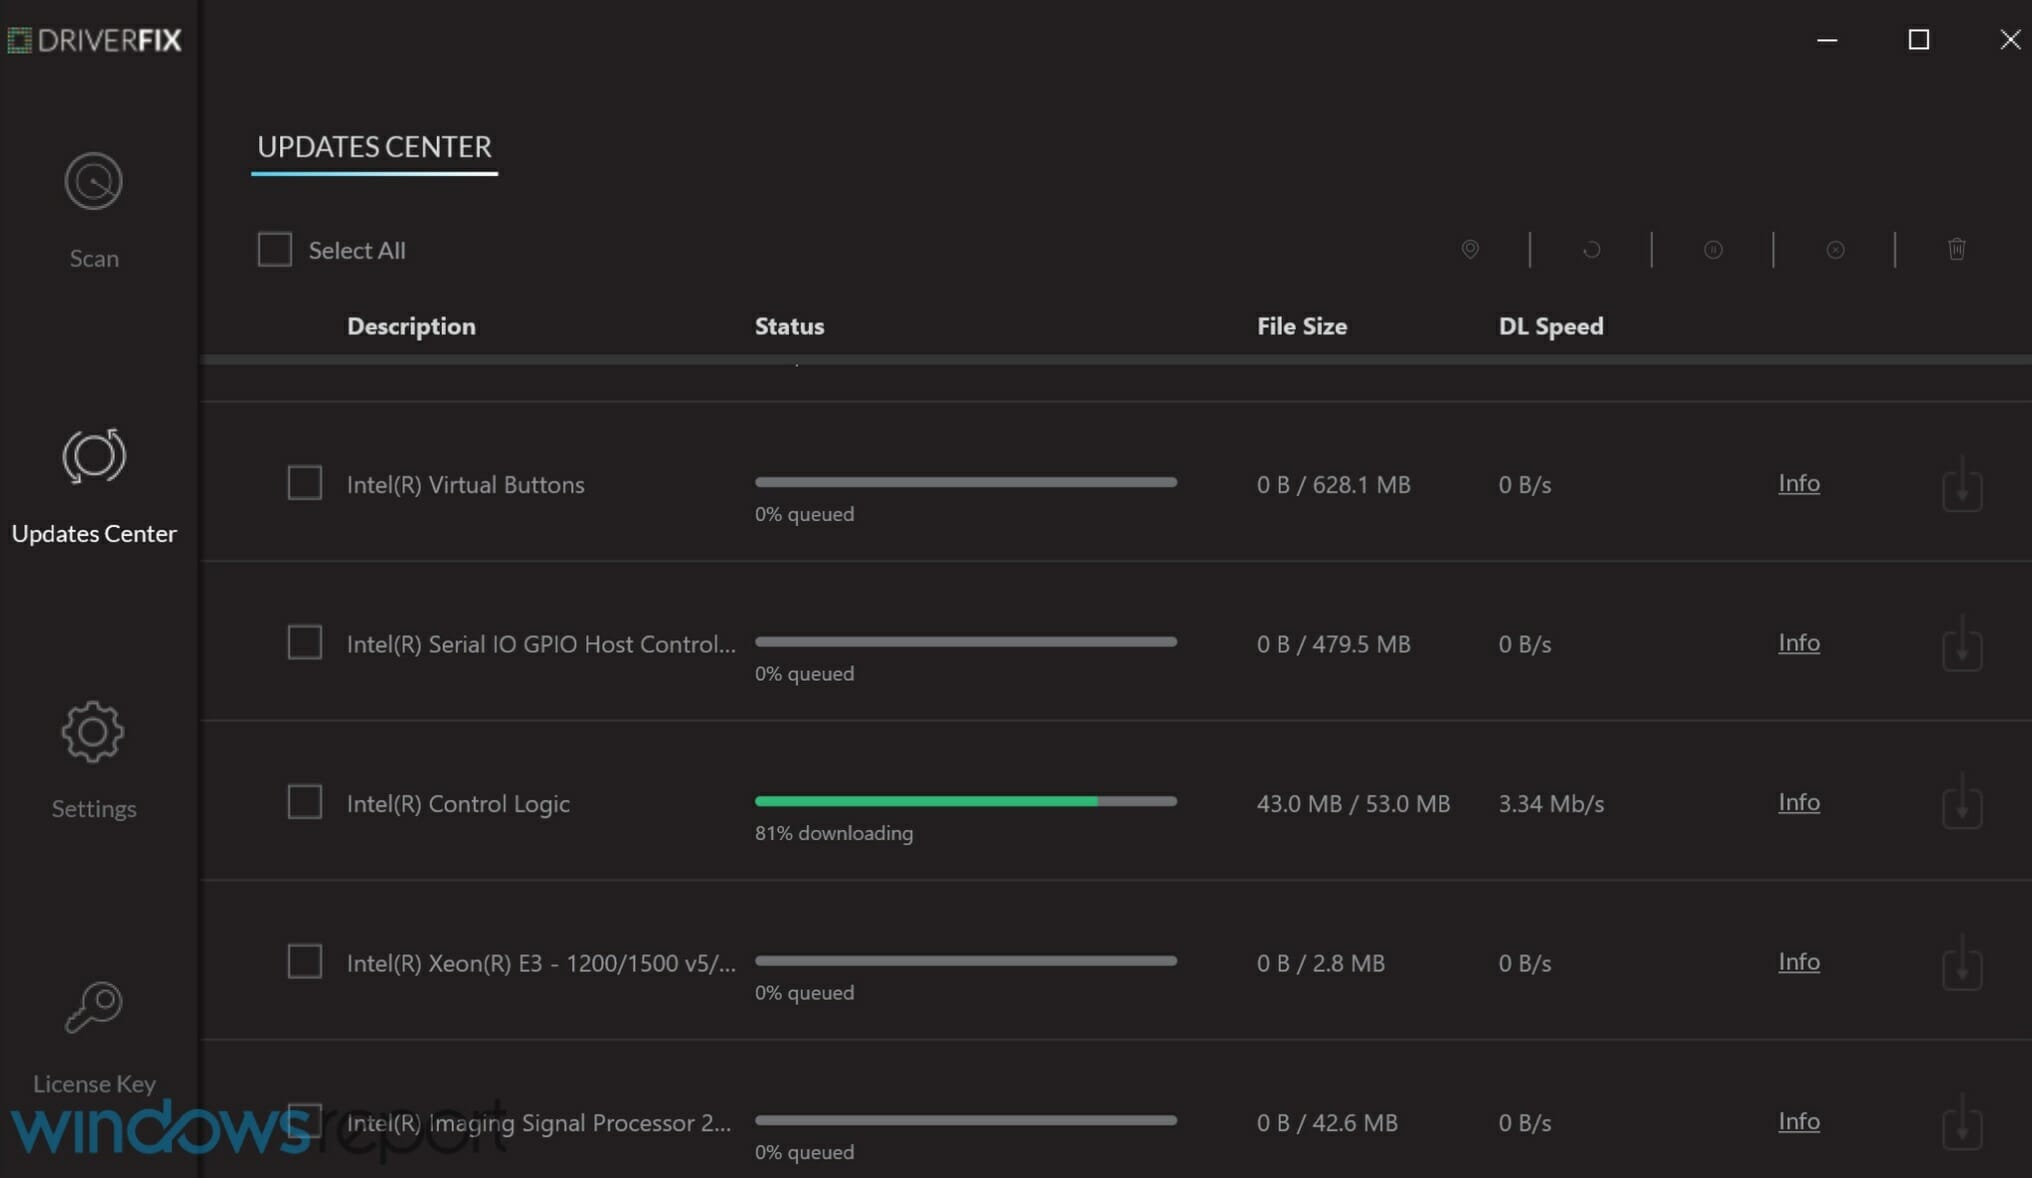
DriverFix will automatically identify each device on your computer and matches it with the latest driver versions from an extensive online database.
Once installed, the program will start scanning your PC for outdated drivers automatically. It will check your installed driver versions against its cloud database of the latest versions and recommend proper updates.
All you need to do is wait for the scan to complete. Upon scan completion, you get a report on all problem drivers found on your PC.
Review the list and see if you want to update each driver individually or all at once.

DriverFix
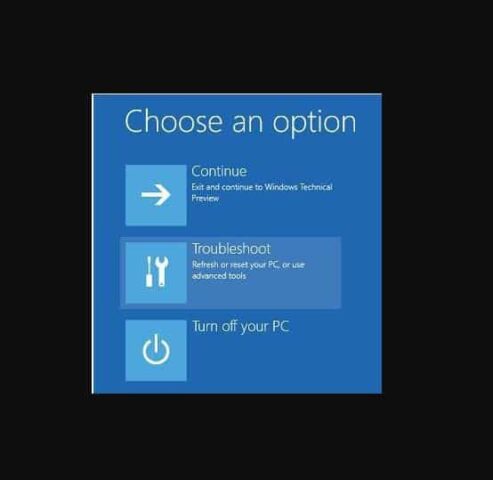
2. Boot in Safe Mode
- Restart your computer.
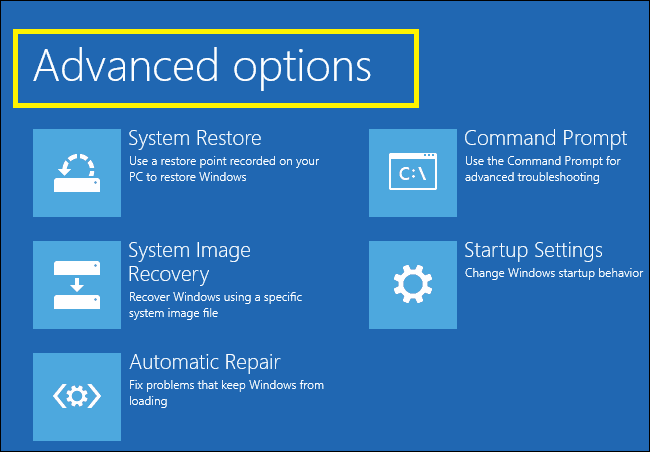
- From the Choose an option screen.
- Select Troubleshoot and click on Advanced options.
- Select Startup Settings.
- Click Restart.
- Once your computer restarts, a list of options will come up.
- Choose 4 or F4 to start your computer in Safe Mode.
3. Temporarily turn off firewalls

Sometimes having multiple firewalls, antivirus, or malware programs, may at times prevent you from performing certain tasks or run processes on your computer.
Run a System Scan to discover potential errors


If this is the cause of the issue, while still in Safe Mode turn either of the three off temporarily then try to log in again.
Ensure you turn these programs back on immediately after you’re done to prevent hackers, viruses, and worms from damaging your system.
4. Perform a Clean Boot
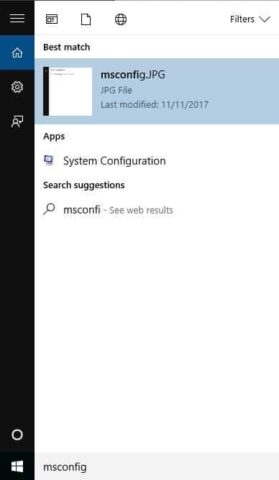
- Go to the search box and type msconfig.
- Select System Configuration.
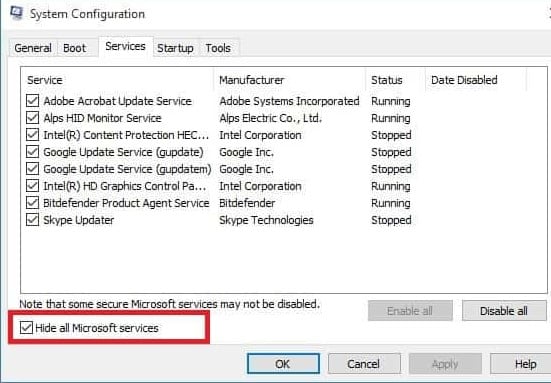
- Find Services tab and select Hide all Microsoft services box.
- Click Disable all.
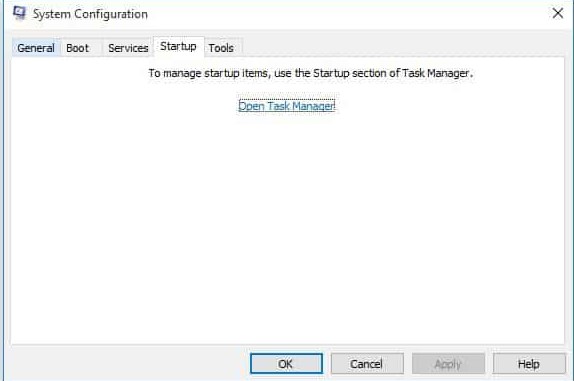
- Go to Startup tab and click Open Task Manager.
- Close Task manager then click Ok
- Reboot your computer.
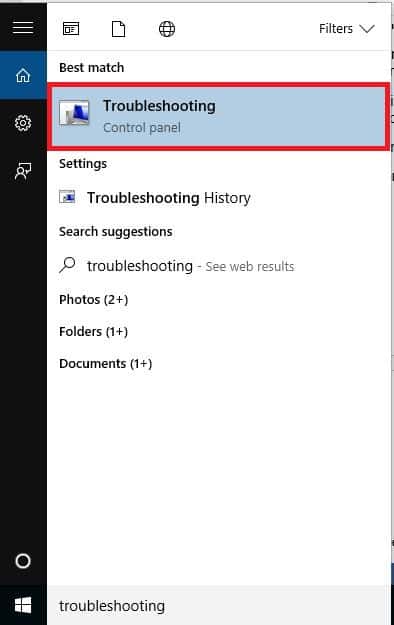
5. Run Windows Update troubleshooter
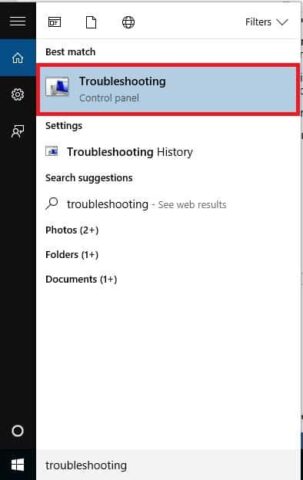
- Click Start and in the search field box, type Troubleshooting.
- Click Troubleshooting.
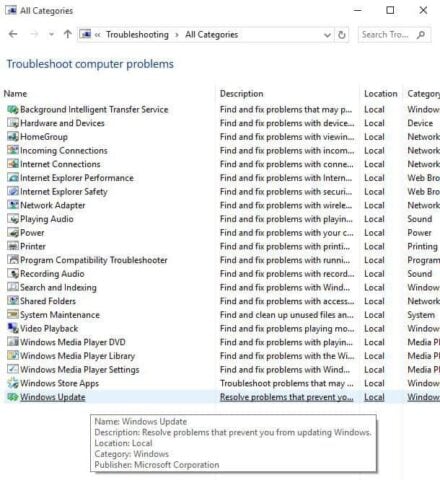
- Click View all in the left pane.
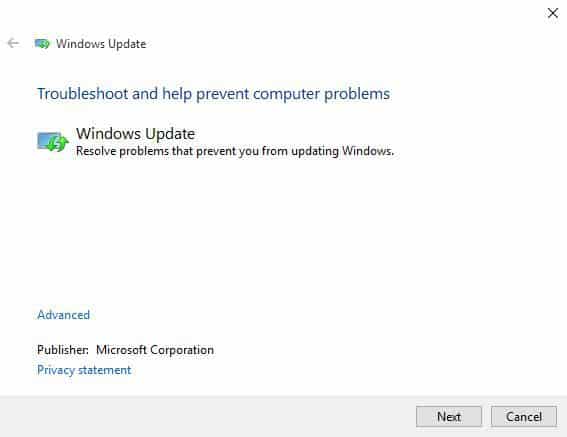
- Select Windows Update.
- Click Next to run Windows Update Troubleshooter, then follow the instructions on the screen
6. Run DISM tool
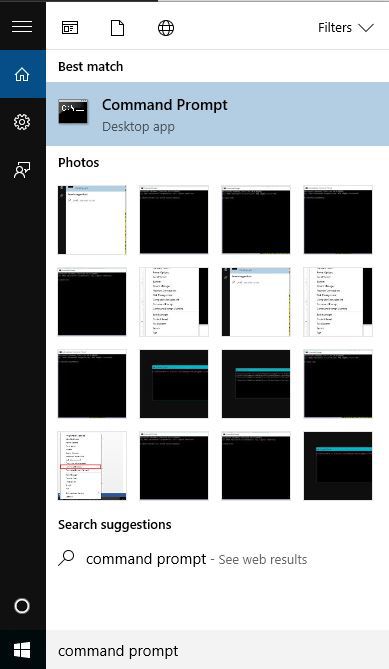
- Click Start
- In the search field box, type CMD
- Click Command Prompt in the search results list.
- Type the following commands and press enter:
- Dism /Online /Cleanup-Image /ScanHealth
- Dism /Online /Cleanup-Image /CheckHealth
- Dism /Online /Cleanup-Image /RestoreHealth
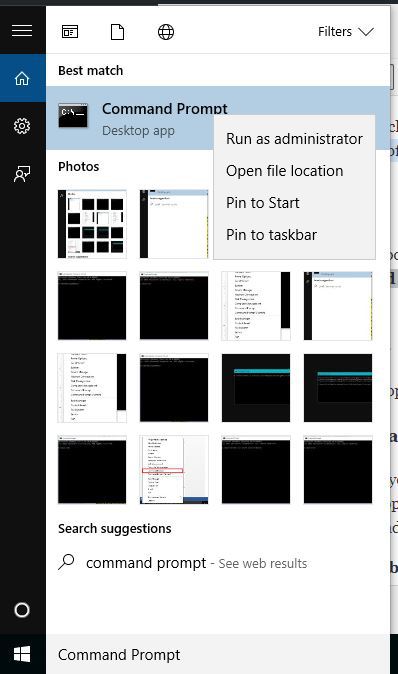
7. Run a System File Checker scan
- Go to the search field box and type CMD.
- Select Command Prompt.
- Right click and select Run as Administrator.
- Type sfc/scannow and press Enter.
- Restart your computer

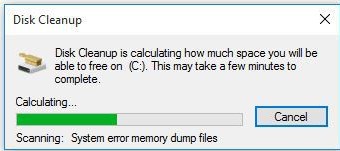
8. Run disk clean up
- Click Start and in the search field box, type disk cleanup.
- The disk cleanup drive selection box will appear.
- Click Ok to set off the disk space calculation process

Note: this process cleans up files associated with your user profile. You can also use it to clean up files on your computer. Any infected data files may only be cleaned by completely deleting the file, meaning there’s a chance you may lose data.
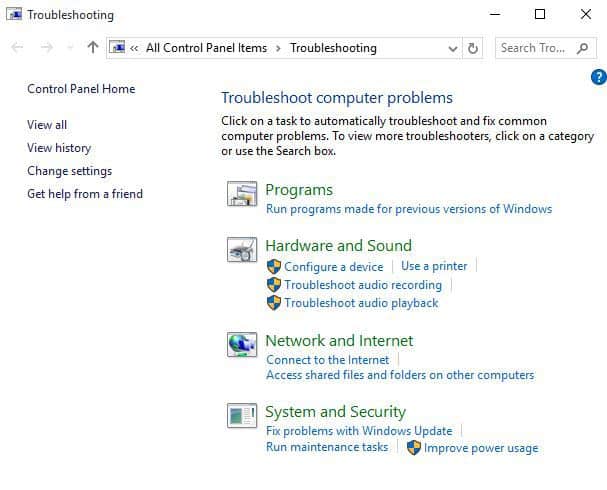
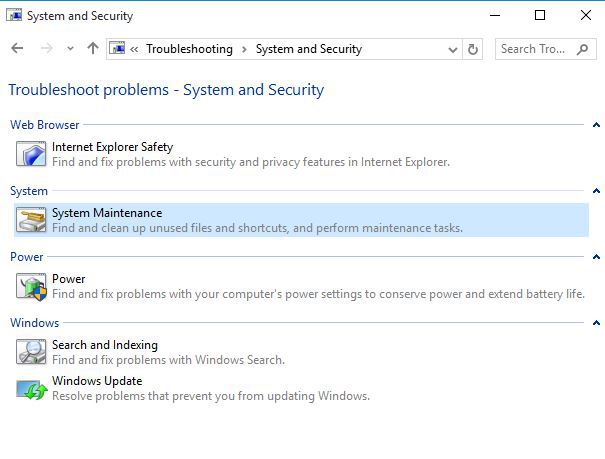
9. Run System Maintenance Troubleshooter
- Click Start and go to the search field box and type Troubleshooting.
- Click on Troubleshooting and select System and Security.
- Select System Maintenance and press Next.
10. Run Microsoft Safety Scanner

Microsoft Safety Scanner is a tool designed to locate and remove malware from Windows PCs. It only scans when manually triggered, then you get to use it 10 days after you download it.
However, it doesn’t replace your antimalware program. It helps remove malicious software from your Windows 10 computer that causes the problem.
Download the tool and open it and simply select the type of scan you want to run. Once the scan process is completed you can review the scan results on the screen, where you will see all malware identified on your computer.
To remove the Microsoft Safety Scanner tool, delete the msert.exe file by default.
11. Perform a System Reset
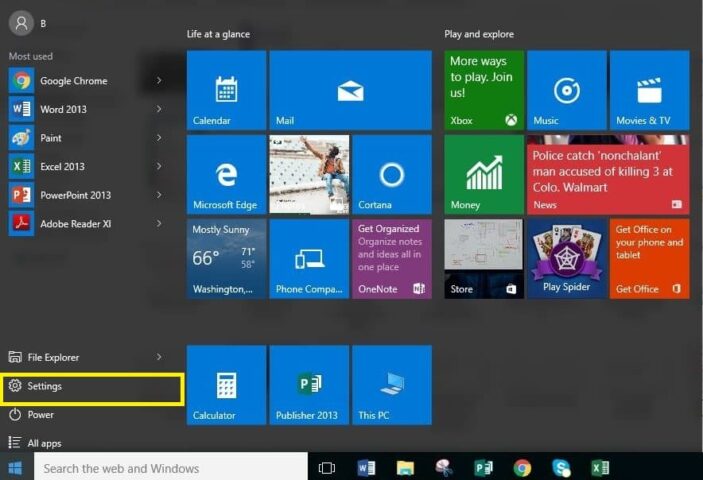
- Click Start and go to Settings.
- Click Update & Security.
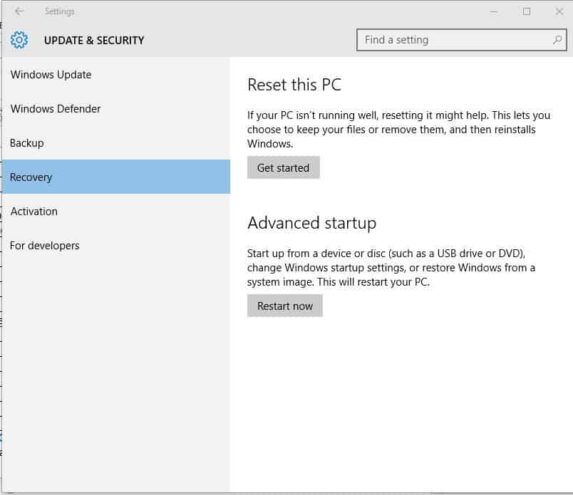
- Click Recovery on the left pane.
- Click Reset this PC.
- Click Get started and choose an option either Keep my files, Remove everything, or Restore factory settings

Note: All your personal files will be deleted and settings reset. Any apps you installed will be removed, and only pre-installed apps that came with your PC will be reinstalled.
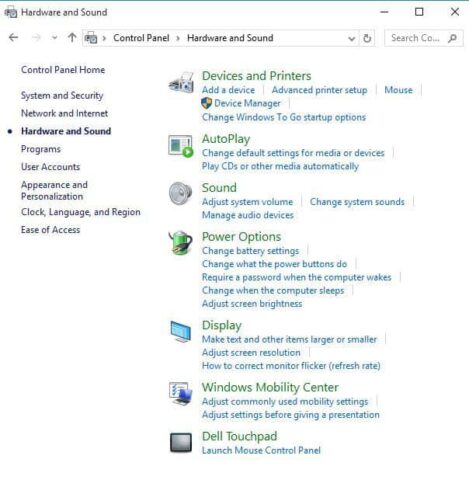
12. Enable Fast Startup
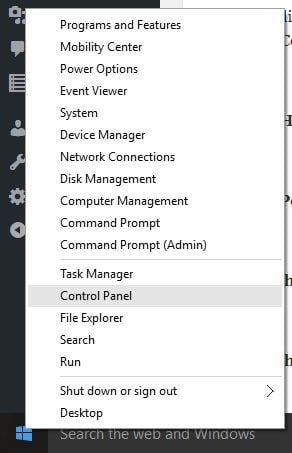
- Right-click Start and select Control Panel.
- Select Hardware and Sound and click on Power Options.
- Click Choose what the power buttons do link on the left side.
- Click Change settings that are currently unavailable link at the top.
- If prompted by UAC, then click Yes
- Ensure that Turn OnFast Start up is checked
- Restart the computer

Did any of these solutions work for you? Let us know by leaving a comment in the section below.


