- Создаем кнопку выключения для Windows 10
- Кнопка отключения ПК
- How to disable the Windows Key in Windows 10 [FULL GUIDE]
- How can I disable the Windows Key while gaming?
- 1. Modify your registry
- 2. Use Disable Windows key reg
- 3. Use AutoHotkey
- 4. Use SharpKeys
- 5. Use Gaming mode on your keyboard
- 6. Use your keyboard software
- Windows 10 Tech Preview Power Off Button.
- Replies (7)
Создаем кнопку выключения для Windows 10
Кнопка отключения ПК
В Виндовс имеется системная утилита, отвечающая за функции выключения и перезагрузки компьютера. Называется она Shutdown.exe. С ее помощью мы и создадим нужную кнопку, но для начала разберемся в особенностях работы.
Данную утилиту можно заставить выполнять свои обязанности разными способами с помощью аргументов – специальных ключей, которые определяют поведение Shutdown.exe. Мы будем использовать такие:
- «-s» — обязательный аргумент, обозначающий непосредственно отключение ПК.
- «-f» — игнорирует запросы приложений о сохранении документов.
- «-t» — таймаут, определяющий время, через которое начнется процедура завершения сеанса.
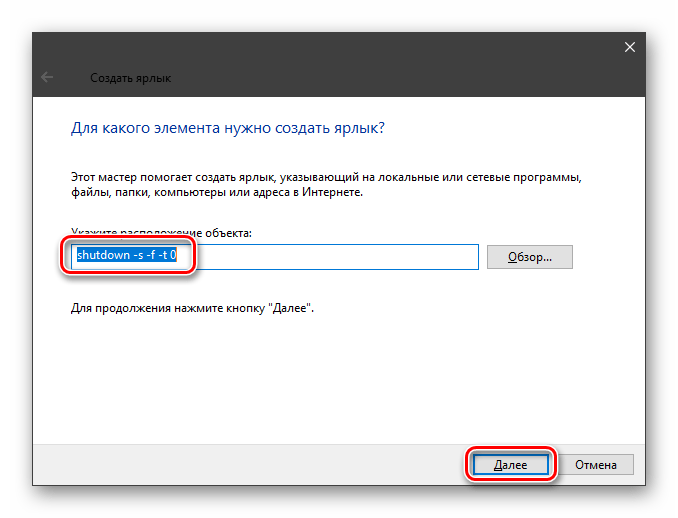
Команда, которая сразу выключит ПК, выглядит следующим образом:
shutdown -s -f -t 0
Здесь «0» — время задержки выполнения (таймаут).
Существует еще один ключ «-p». Он также останавливает машину без дополнительных вопросов и предупреждений. Используется только в «одиночестве»:
Теперь данный код нужно где-то выполнить. Сделать это можно и в «Командной строке», но нам нужна кнопка.
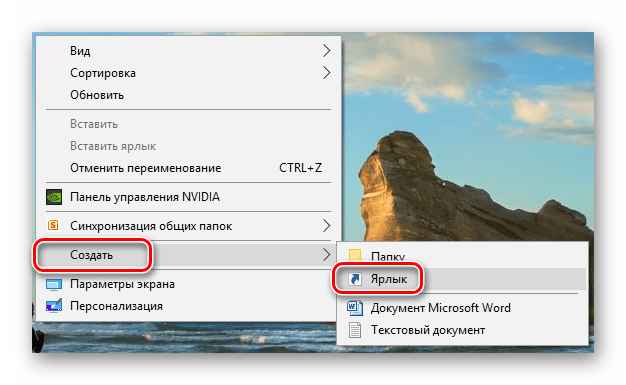
- Жмем правой кнопкой мыши по рабочему столу, наводим курсор на пункт «Создать» и выбираем «Ярлык».
В поле расположения объекта вводим команду, указанную выше, и жмем «Далее».
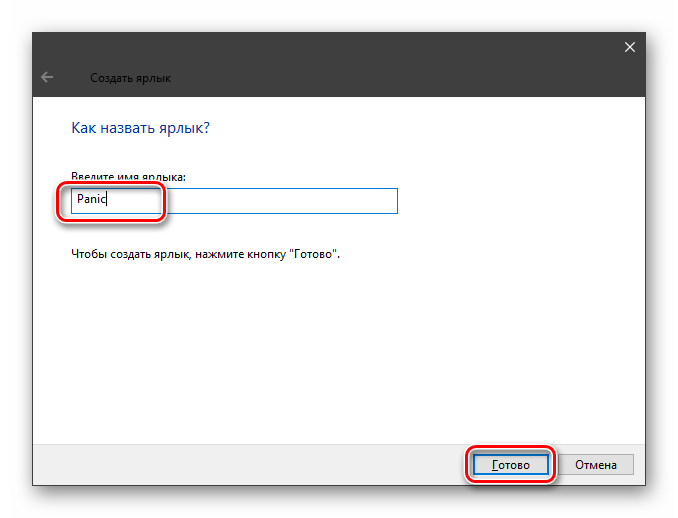
Даем имя ярлыку. Выбрать можно любое, на ваше усмотрение. Нажимаем «Готово».
Созданный ярлык выглядит вот так:

Для того чтобы он стал похож на кнопку, поменяем иконку. Кликаем по нему ПКМ и идем в «Свойства».
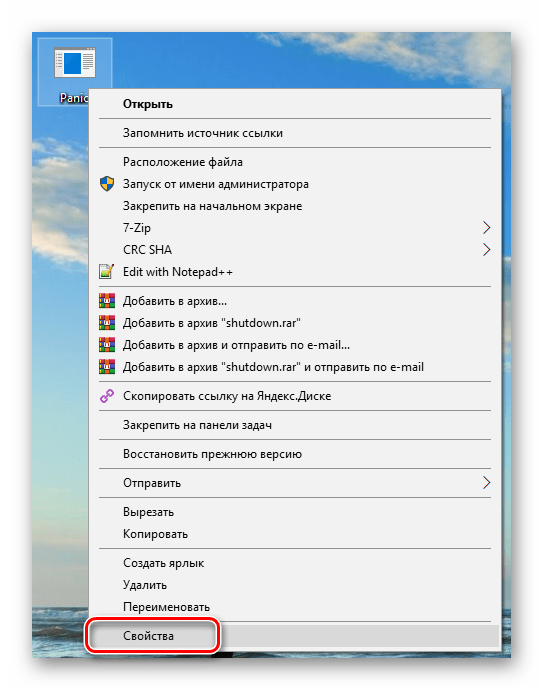
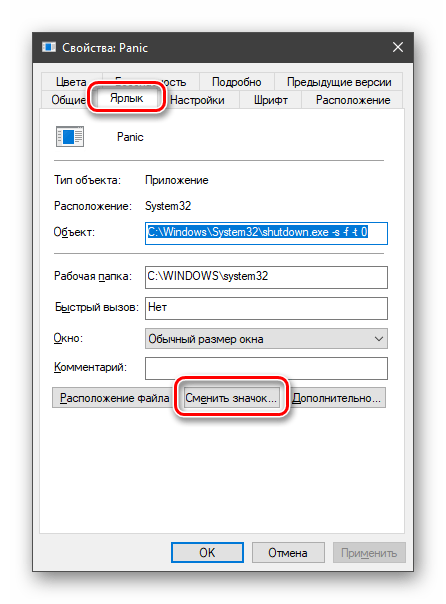
На вкладке «Ярлык» жмем кнопку смены значка.
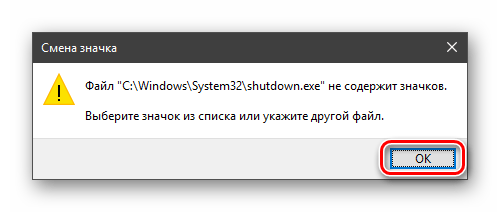
«Проводник» может «ругнуться» на наши действия. Не обращая внимания, нажимаем ОК.
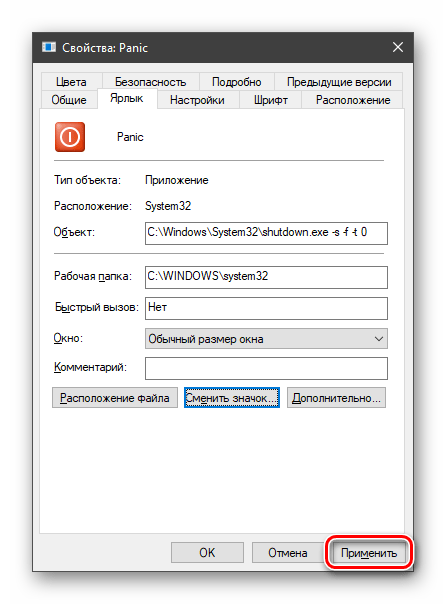
В следующем окне выбираем соответствующую иконку и ОК.

Выбор значка не важен, на работу утилиты это никак не повлияет. Кроме того, можно использовать любую картинку в формате .ico, скачанную из интернета или созданную самостоятельно.
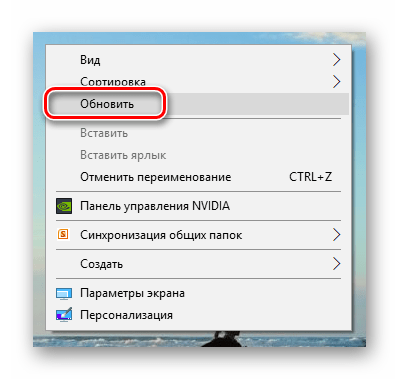
Если значок на рабочем столе не поменялся, можно нажать ПКМ на свободном месте и обновить данные.
Средство экстренного отключения готово, но кнопкой его назвать нельзя, так как для запуска ярлыка требуется двойной клик. Исправим этот недочет, перетянув значок на «Панель задач». Теперь для выключения ПК понадобится только одно нажатие.
How to disable the Windows Key in Windows 10 [FULL GUIDE]

- Have you wondered how to disable the Windows key? Modifying the registry is one solution.
- Instead of modifying the registry, you can download a .reg file and use it to disable the Windows key.
- Usually, gaming keyboards have dedicated software so you can check the key settings there.
- Using a dedicated third-party tool is another solution of how to disable the Windows key button.
- Download Restoro PC Repair Tool that comes with Patented Technologies (patent available here).
- Click Start Scan to find Windows issues that could be causing PC problems.
- Click Repair All to fix issues affecting your computer’s security and performance
- Restoro has been downloaded by 0 readers this month.
The Windows Key is rather useful and it’s a part of many shortcuts on Windows 10. Even though many users use it frequently, some users want to disable it.
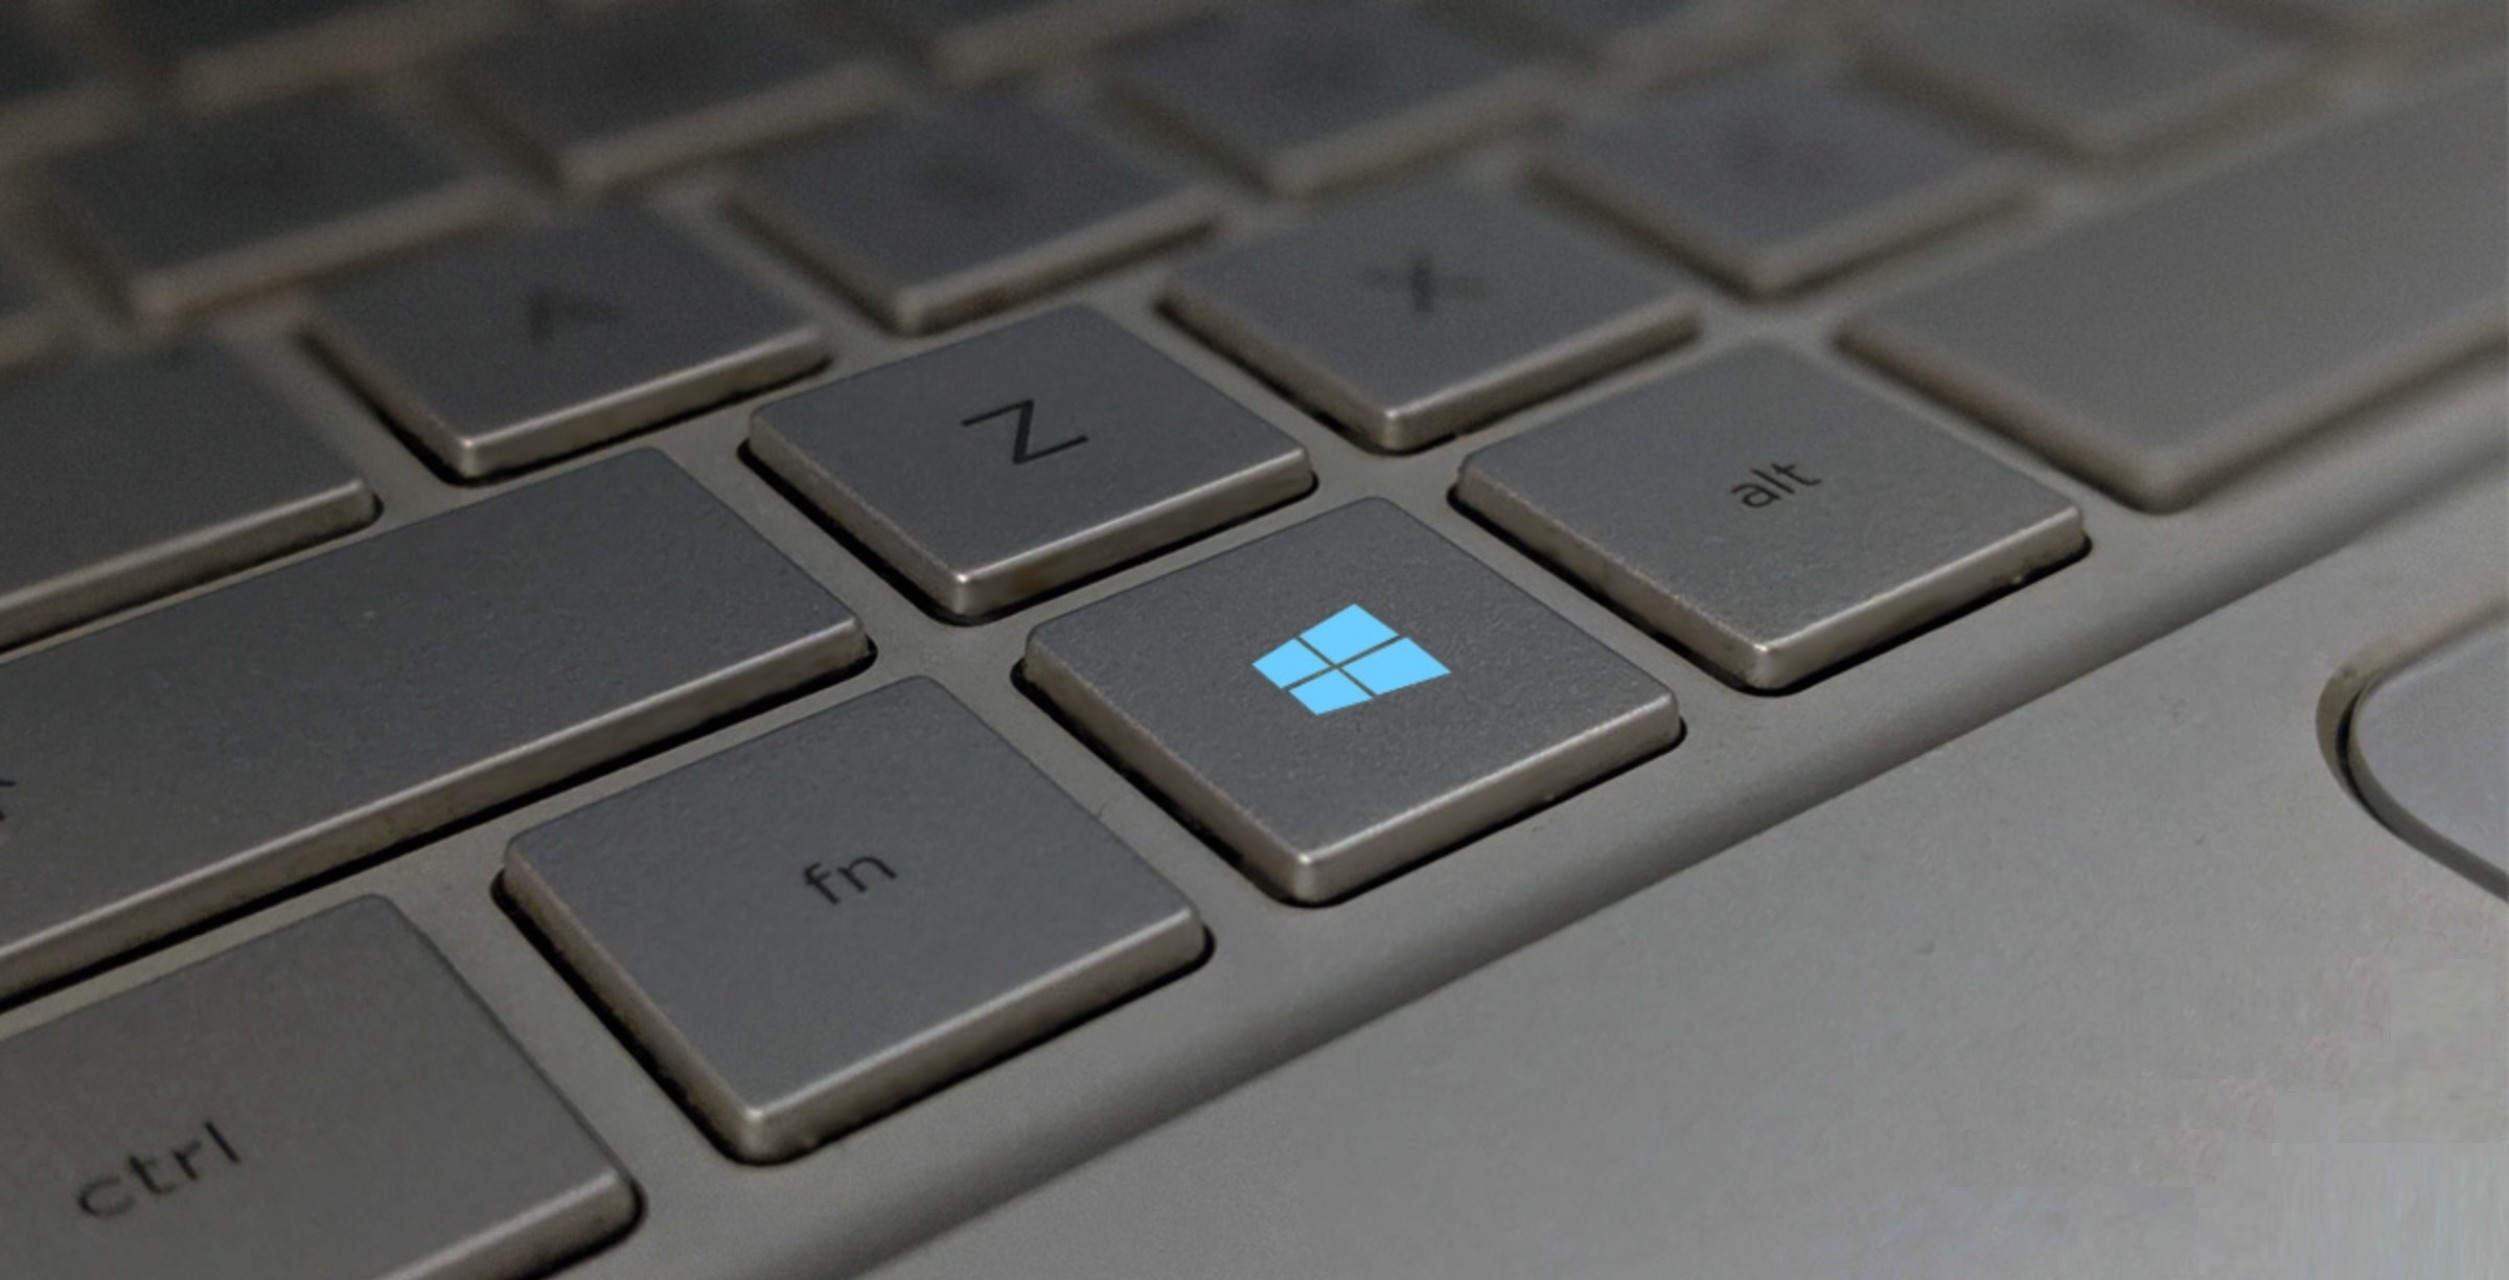
Every advanced Windows user knows how useful Windows Key button is. Despite its usefulness, the key can sometimes be a problem, especially during intense gaming sessions.
By default, pressing the Windows Key will open the Start Menu and that can be a problem during gaming. By accidentally pressing the Windows button you’ll lose focus on your game and that can be a big problem.
In order to avoid these kinds of problems, many gamers disable their Windows Key during the gaming sessions.
In this guide, we’re going to show how to disable the Windows button. There are a couple of methods you can use from where you can choose the best for you.
How can I disable the Windows Key while gaming?
1. Modify your registry
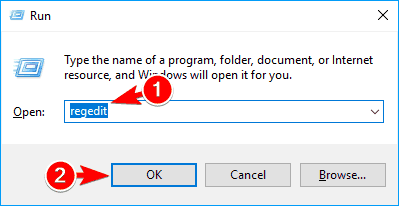
- Press Windows Key + R and enter regedit.
- Click on OK or press Enter.

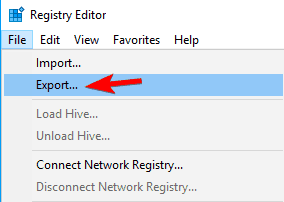
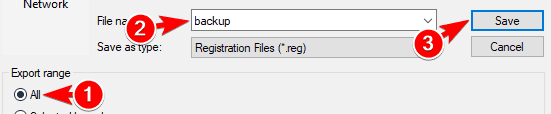
- Optional: Before you make any changes to your registry it’s always a good idea to create a backup. To do that, just click on File > Export.
- Select All as Export range, choose a safe location, enter the desired file name and click on Save.
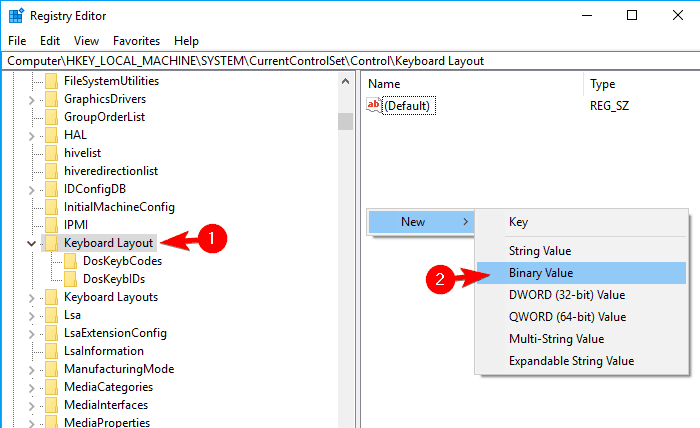
- In the left panel, navigate to: Computer\HKEY_LOCAL_MACHINE\SYSTEM\CurrentControlSet\Control\Keyboard Layout
- In the right pane, right-click the empty space and choose New >Binary Value from the menu.
- Enter Scancode Map as the name of the new value.
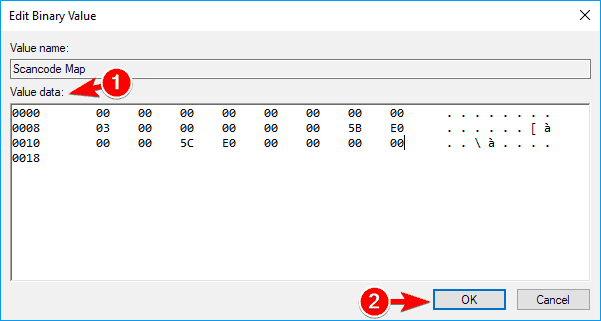
- Double click Scancode Map value and enter 00000000000000000300000000005BE000005CE000000000 in the Data field.
- Be extra cautious and double-check if the entered value is correct. Now click OK.
- After doing that, close Registry Editor and restart your PC.
Note: Keep in mind that your registry has sensitive information in it, so if you want to edit it, use extra caution. If you encounter any problems with your PC after modifying the registry, restore the backup created at steps 3-4.
After your PC restarts, the Windows Key should be completely disabled. To enable the Windows Key, you need to go back to Registry Editor and delete the Scancode Map that you created.
2. Use Disable Windows key reg

If you don’t want to modify your registry manually, there’s a .reg file available that you can use to modify it. Simply download Disable Windows key.reg and run it.
When the warning message appears, click on Yes. If you want to enable Windows Key again, download and run Enable Caps Lock and Windows keys.reg.
This method is a lot faster and simpler, so if you’re not comfortable with modifying the registry manually, be sure to try using the .reg file.
This method is great if you want to disable Windows Key and prevent other users from enabling it. Modifying the registry manually might not be the simplest method, but you can always use the .reg file to modify it automatically.
3. Use AutoHotkey

If you want to disable your Windows Key, you might want to try using AutoHotkey. This is an open-source and powerful automation scripting language.
The application allows you to assign certain commands to your keys, but it also allows you to disable keys. AutoHotkey isn’t the simplest application , so you might want to learn how it works before you can use it correctly.
Basically, you need to create a script that will block Windows Keys and add that script to AutoHotkey. Simply click AutoHotkey icon in your Taskbar and choose Edit this Script. Now you need to paste the following script at the bottom:
Save your script, right-click AutoHotkey and choose to Reload This Script from the menu. After doing that, both Windows Keys will be disabled.
Keep in mind that this solution won’t disable shortcuts that involve Windows Key, instead, it will just disable the keys themselves.
It’s worth mentioning that some online games might recognize AutoHotkey as a cheating application, so keep that in mind.
Before you use this solution it’s always a good idea to do some research and check if the game developers allow you to use AutoHotkey with their game.
⇒ Download Autohotkey
4. Use SharpKeys
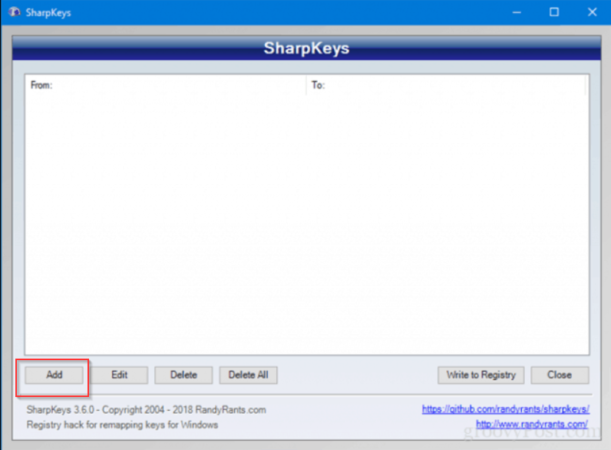
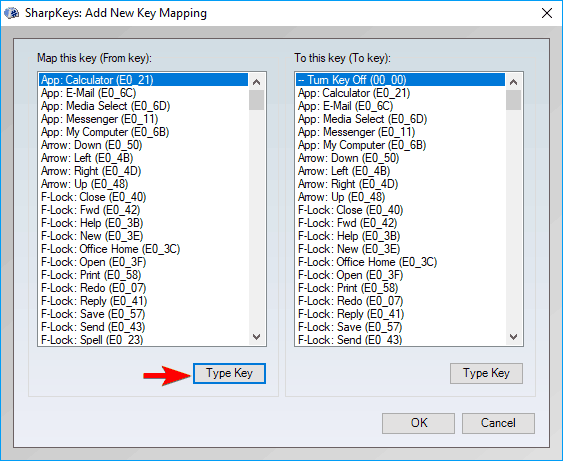
- Download and start SharpKeys.
- Once the application starts, click on Add.
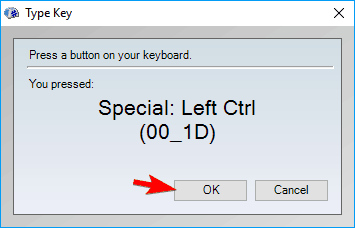
- Now you’ll see two columns. Click on Type Key in the left pane and press the Windows Key.
- Now click on OK to select the pressed key.
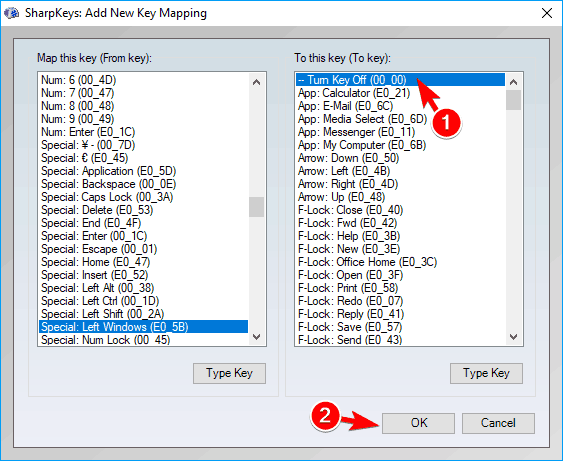
- Select Turn Key Off in the right pane and click on OK to save changes.
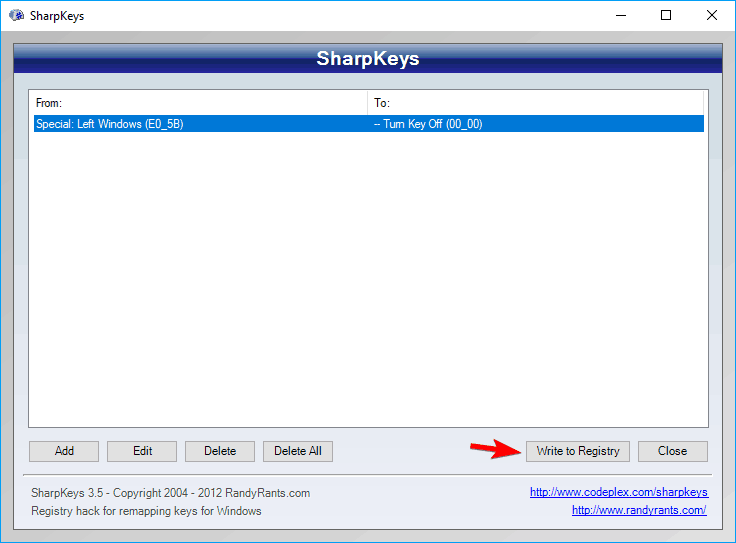
- Now click on Write to Registry button.
- Now you just have to restart your PC or log out and log back in to apply the changes.
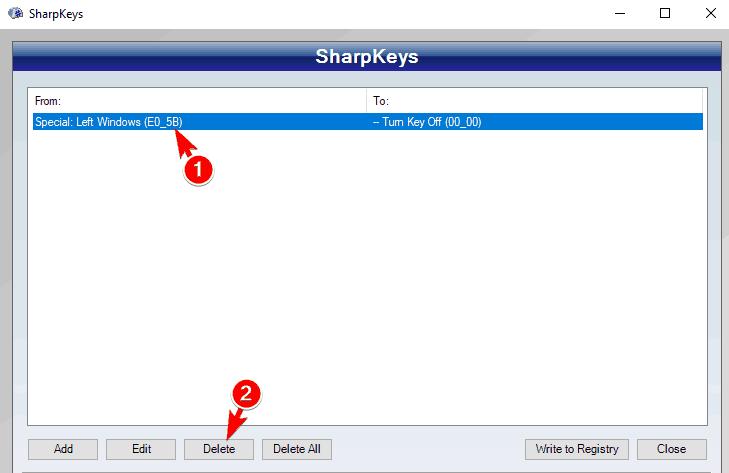
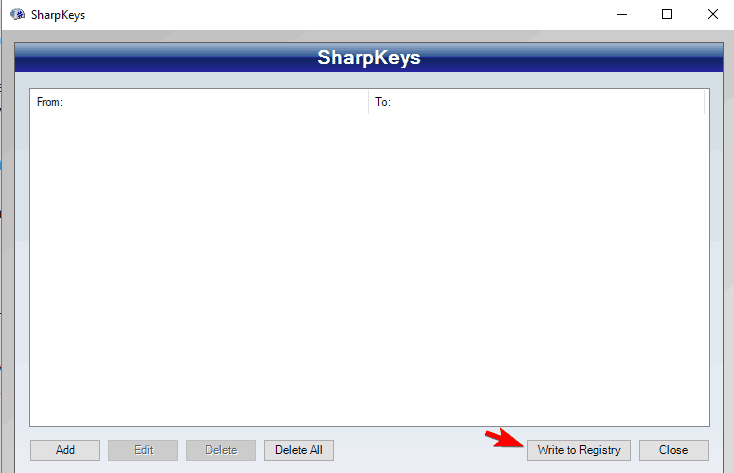
- To enable Windows Key again, start Sharpkeys, s elect the desired key from the menu, and click on Delete.
- After deleting the key, click on Write to Registry button.
- Now restart your PC or log off and back on to apply the changes.
Note: This is a free and portable tool that allows you to remap your keys, but it also has the ability to disable keys or to assign them to certain functions. Keep in mind that this is a powerful application, so you’re using it at your own risk.
5. Use Gaming mode on your keyboard
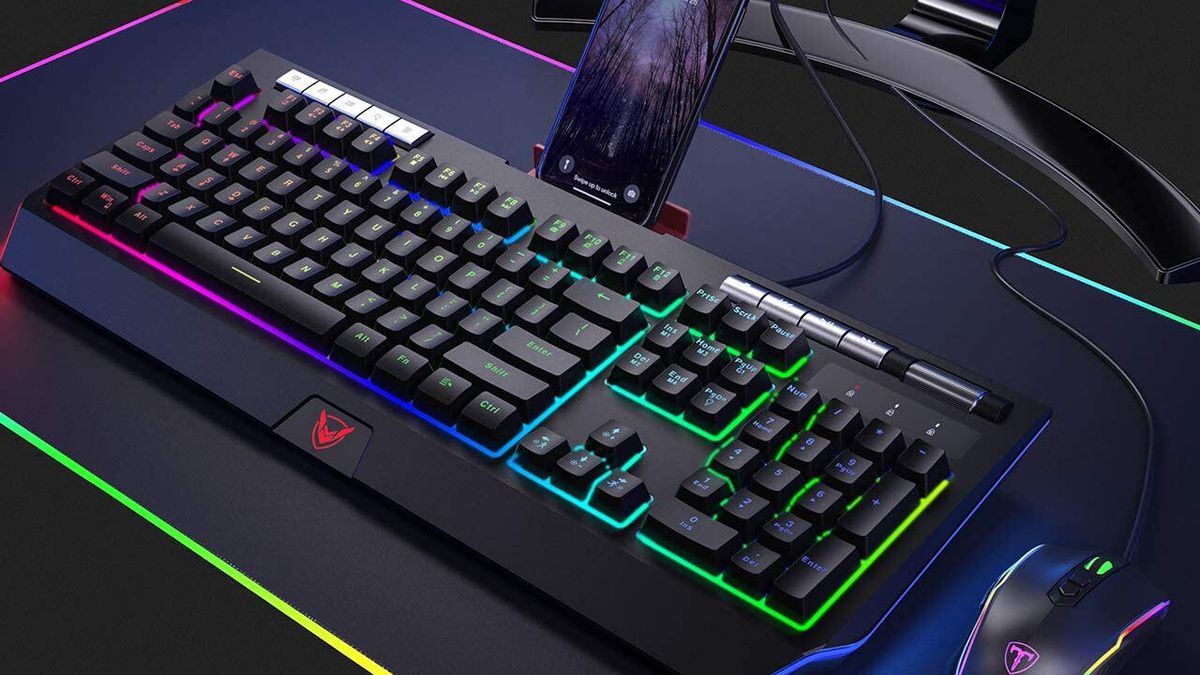
Many gaming keyboards have a Gaming mode feature that allows you to block Windows Key with ease. To activate Gaming mode you usually have to press a certain keyboard shortcut.
Some keyboards even have a controller icon on one of its keys so you can easily find the shortcut key for Gaming mode. If you can’t find the shortcut on your own, we advise you to check your keyboard manual for detailed instructions on how to activate Gaming mode.
Keep in mind that not all keyboards support this feature, so before you can use it you need to check if your keyboard supports it. Activating the Gaming mode is the simplest and fastest way to disable Windows Key, but unfortunately, not all keyboards support this feature.
6. Use your keyboard software
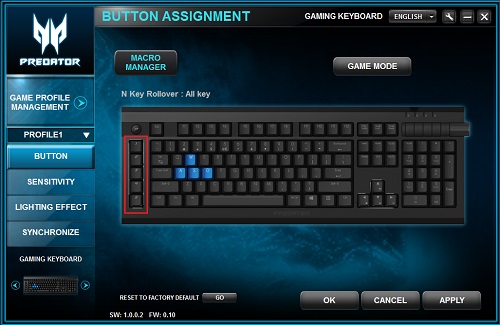
As we previously mentioned, many gaming keyboards support Gaming mode. These keyboards usually have dedicated software that you can use to configure various settings such as macros and lighting.
Windows 10 Tech Preview Power Off Button.
Was this discussion helpful?
Sorry this didn’t help.
Great! Thanks for your feedback.
How satisfied are you with this discussion?
Thanks for your feedback, it helps us improve the site.
How satisfied are you with this discussion?
Thanks for your feedback.
Replies (7)
Was this reply helpful?
Sorry this didn’t help.
Great! Thanks for your feedback.
How satisfied are you with this reply?
Thanks for your feedback, it helps us improve the site.
How satisfied are you with this reply?
Thanks for your feedback.
There’s another fool-proof option that has been around for a while: you can simply press the physical power button on your computer to initialize the shutdown process.
Microsoft has reorganized the power menu options based on their usage. They would not have moved things around had many people been needing them.
2 people found this reply helpful
Was this reply helpful?
Sorry this didn’t help.
Great! Thanks for your feedback.
How satisfied are you with this reply?
Thanks for your feedback, it helps us improve the site.
How satisfied are you with this reply?
Thanks for your feedback.
I agree, I think the new position is very good and where it should be. You’ll use the button maximum one time per computer start, so a position in the upper area of the start menu is good.
2 people found this reply helpful
Was this reply helpful?
Sorry this didn’t help.
Great! Thanks for your feedback.
How satisfied are you with this reply?
Thanks for your feedback, it helps us improve the site.
How satisfied are you with this reply?
Thanks for your feedback.
![]()
Was this reply helpful?
Sorry this didn’t help.
Great! Thanks for your feedback.
How satisfied are you with this reply?
Thanks for your feedback, it helps us improve the site.
How satisfied are you with this reply?
Thanks for your feedback.
There’s another fool-proof option that has been around for a while: you can simply press the physical power button on your computer to initialize the shutdown process.
Microsoft has reorganized the power menu options based on their usage. They would not have moved things around had many people been needing them.
Was this reply helpful?
Sorry this didn’t help.
Great! Thanks for your feedback.
How satisfied are you with this reply?
Thanks for your feedback, it helps us improve the site.


