- Решение проблем с открытием Мастера добавления принтеров
- Решаем проблемы с открытием Мастера добавления принтеров
- Способ 1: Сканирование ПК антивирусной программой
- Способ 2: Очистка реестра
- Способ 3: Восстановление системы
- Способ 4: Сканирование системы на ошибки
- Способ 5: Активация компонентов службы печати
- Способ 6: Проверка службы «Диспетчер печати»
- Fix: “Windows Can’t Open Add Printer” Error In Windows 10
- Solution 1 – Restart the Printer Spooler service
- Solution – 2 Delete the printer queue
- Solution – 3 Adjust the dependencies
- Fix 4 – Modify the Registry
- Fix 5 – Modify the Spooler key
- Fix 6 – Uninstall your printer device and then re-install it-
- Related Posts:
- Reader Interactions
- Comments
Решение проблем с открытием Мастера добавления принтеров

Мастер добавления принтеров позволяет вручную с помощью встроенных возможностей Windows установить новый принтер на компьютер. Однако иногда при его запуске возникают определенные ошибки, свидетельствующие о неработоспособности инструмента. Причин такой неполадки может быть несколько, каждая из которых имеет собственное решение. Сегодня мы рассмотрим самые популярные проблемы и разберем способы их устранения.
Решаем проблемы с открытием Мастера добавления принтеров
Самой распространенной считается неисправность системной службы, которая как раз и отвечает за «Диспетчер печати». Вызывают ее определенные изменения в операционной системе, заражение вредоносными файлами или случайно сбросившиеся настройки. Давайте рассмотрим все популярные методы исправления такой ошибки.
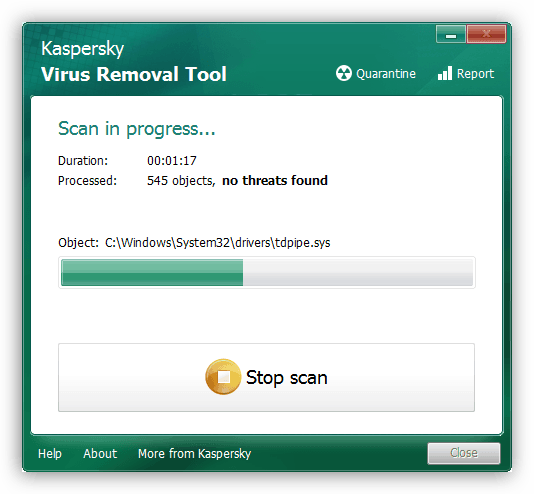
Способ 1: Сканирование ПК антивирусной программой
Как известно, вредоносное ПО может приносить различный ущерб ОС, в том числе оно удаляет системные файлы и мешает компонентам корректно взаимодействовать. Сканирование ПК антивирусной программой – несложная процедура, требующая от пользователя минимального количества действий, поэтому мы и поставили этот вариант на первое место. Развернуто о борьбе с вирусами читайте в другой нашей статье по ссылке ниже.
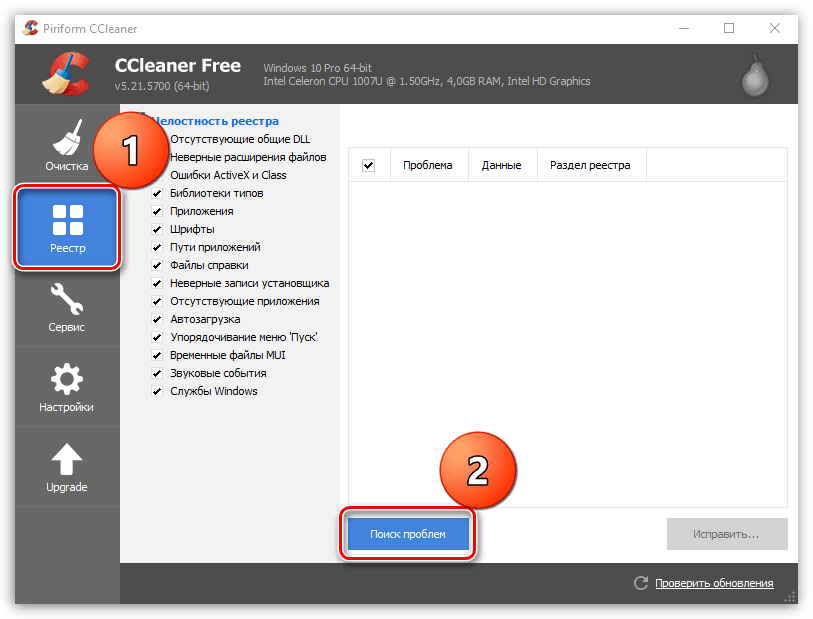
Способ 2: Очистка реестра
Периодически реестр переполняется временными файлами, иногда случайному изменению подлежат системные данные. Поэтому мы настоятельно рекомендуем очистить реестр и восстановить его с помощью специальных средств. Руководства по этой теме вы найдете в следующих материалах:
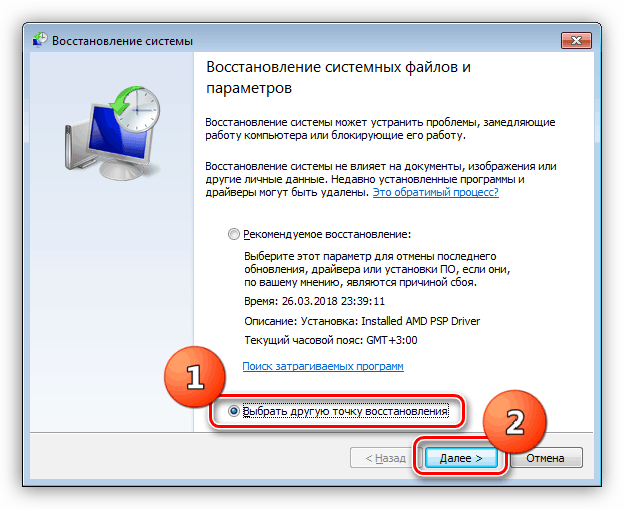
Способ 3: Восстановление системы
Если вы столкнулись с тем, что Мастер добавления принтеров перестал отвечать только в определенный момент, а до этого функционировал нормально, скорее всего, проблема заключается в каких-то изменениях системы. Откатить их можно буквально за несколько действий. Однако вместе с этим с компьютера может быть удалена ваша информация, поэтому советуем заранее ее скопировать на съемный носитель или другой логический раздел жесткого диска.
Способ 4: Сканирование системы на ошибки
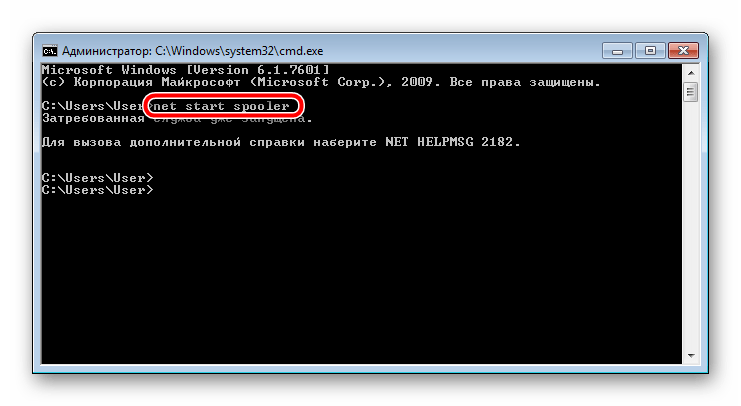
Появление различных сбоев в операционной системе провоцирует нарушение роботы встроенных и установленных компонентов, в том числе относится это и к Мастеру добавления принтеров. Мы советуем обратиться за помощью к стандартной утилите Виндовс, которая запускается через «Командную строку». Она предназначена для того, чтобы сканировать данные и исправлять найденные ошибки. Вам достаточно запустить «Выполнить» комбинацией клавиш Win + R, ввести там cmd и нажать на «ОК». В «Командной строке» напечатайте следующую строку и активируйте ее:
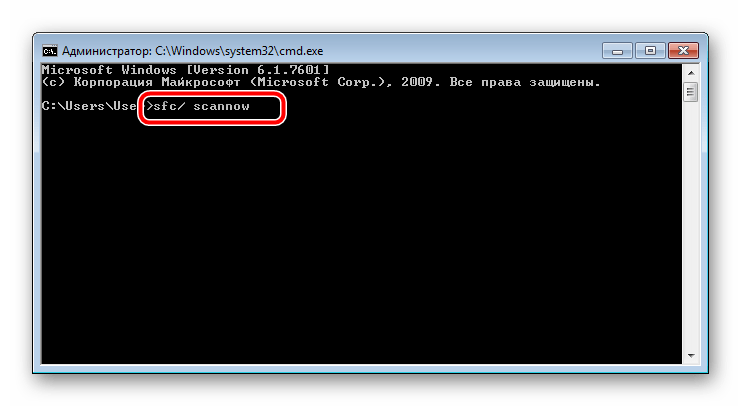
Дождитесь завершения сканирования, перезапустите компьютер и проверьте работоспособность службы печати в «Командной строке», введя net start spooler и нажав Enter.
Способ 5: Активация компонентов службы печати
Службы документов и печати состоят из нескольких компонентов, каждый из которых работает по отдельности. Если один из них находится в отключенном состоянии, это может провоцировать сбои в функционировании рассматриваемого Мастера. Поэтому в первую очередь мы рекомендуем проверить эти компоненты и при надобности запустить их. Вся процедура выглядит следующим образом:
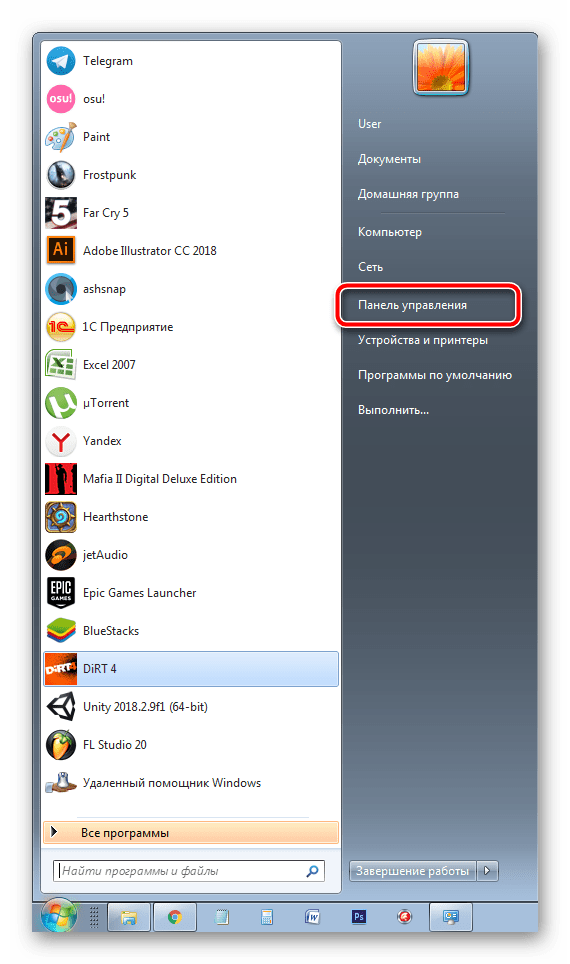
- Через меню «Пуск» перейдите в «Панель управления».
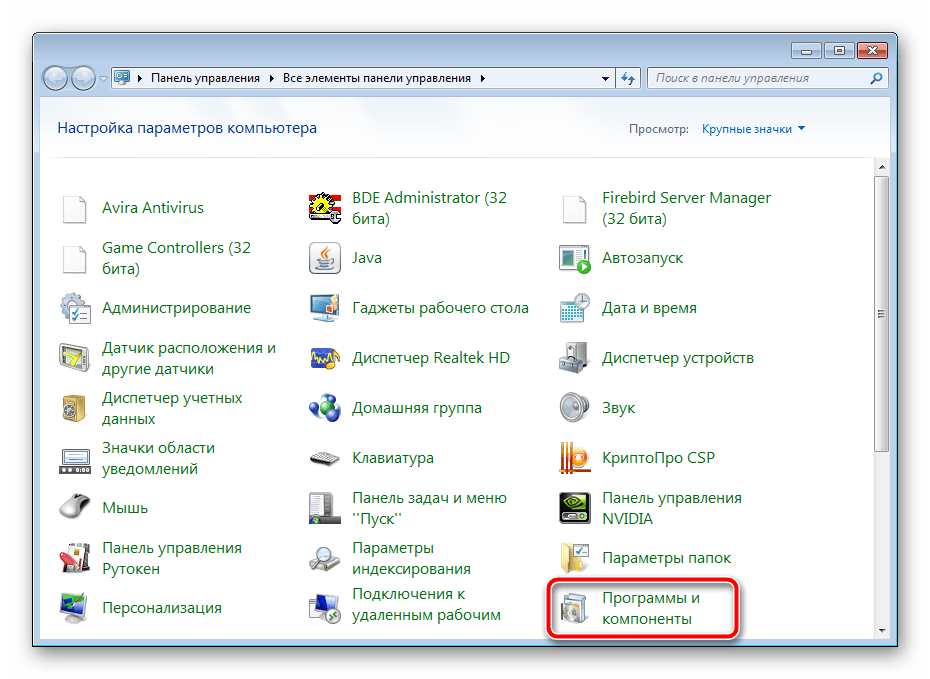
Выберите категорию «Программы и компоненты».
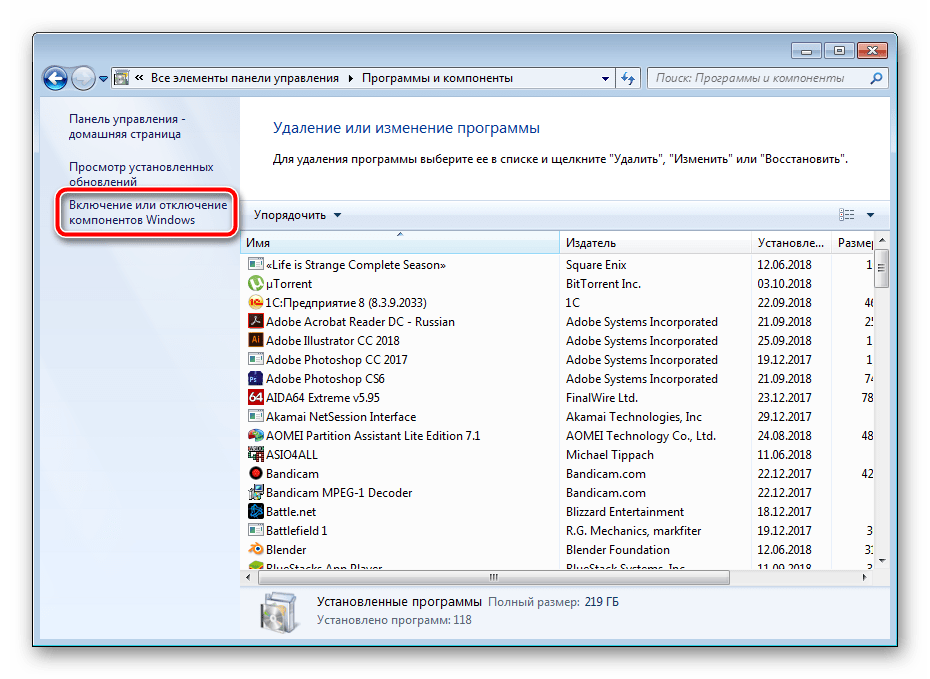
В меню слева переместитесь в раздел «Включение или отключение компонентов Windows».
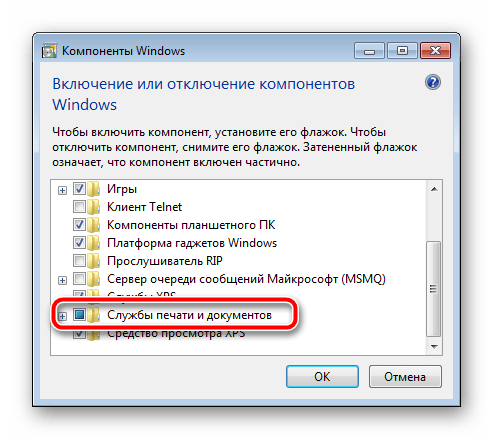
Дождитесь, пока все инструменты будут загружены. В списке отыщите директорию «Службы печати и документов», после чего разверните ее.
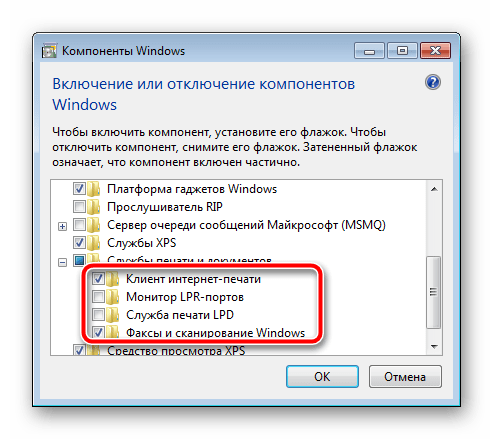
Отметьте галочками каждую открывшуюся директорию.
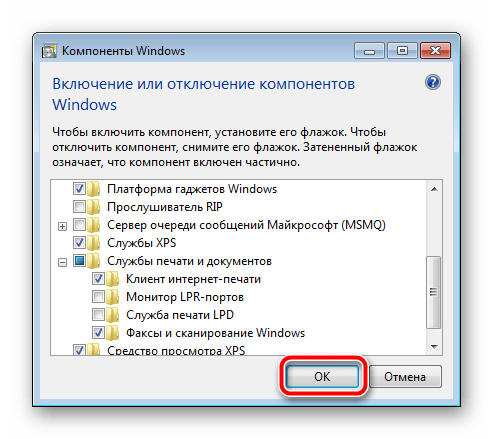
Кликните на «ОК», чтобы применить настройки.
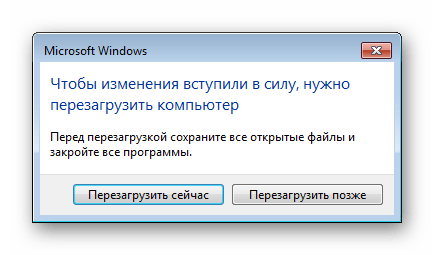
Дождитесь, пока параметры вступят в силу, после чего следует перезагрузить компьютер. Перед вами отобразится соответствующее уведомление.
После перезапуска снова проверьте работоспособность Мастера добавления принтеров. Если этот метод не принес никаких результатов, переходите к следующему.
Способ 6: Проверка службы «Диспетчер печати»
Встроенная в ОС Виндовс служба «Диспетчер печати» отвечает за все действия с принтерами и вспомогательными утилитами. Она должна быть запущена, чтобы корректно справляться со своей задачей. Мы рекомендуем проверить и настроить ее, если это будет необходимо. Вам нужно выполнить следующее:
- Откройте меню «Пуск» и перейдите в «Панель управления».
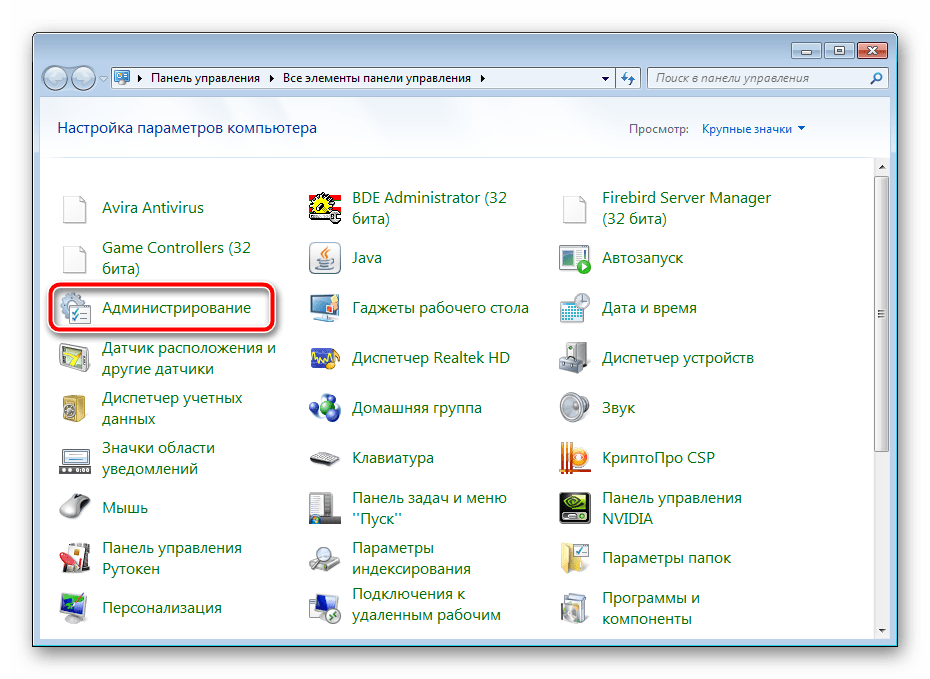
Выберите категорию «Администрирование».
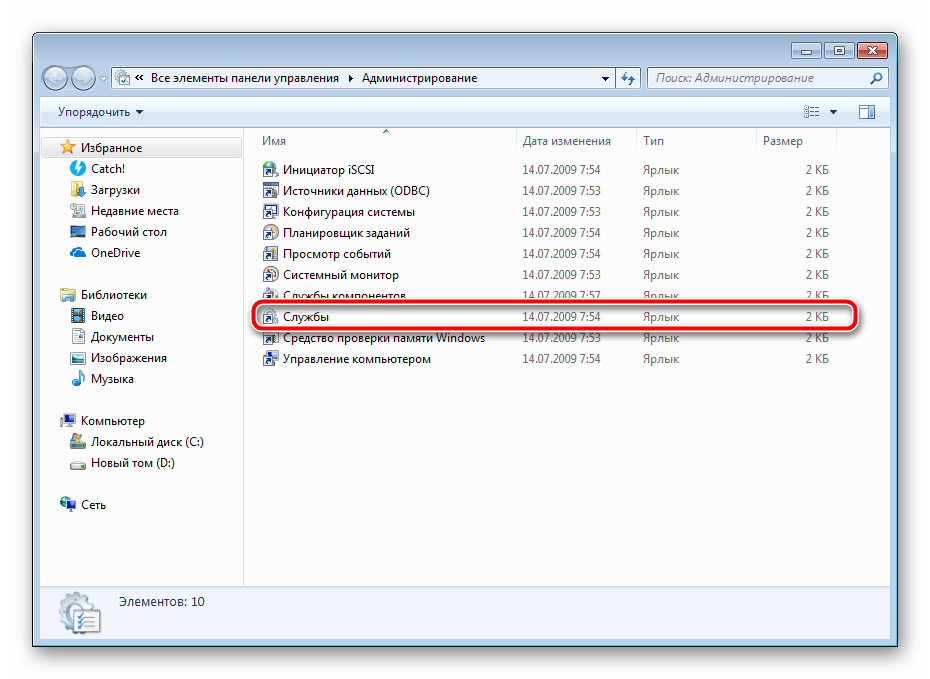
В ней откройте «Службы».
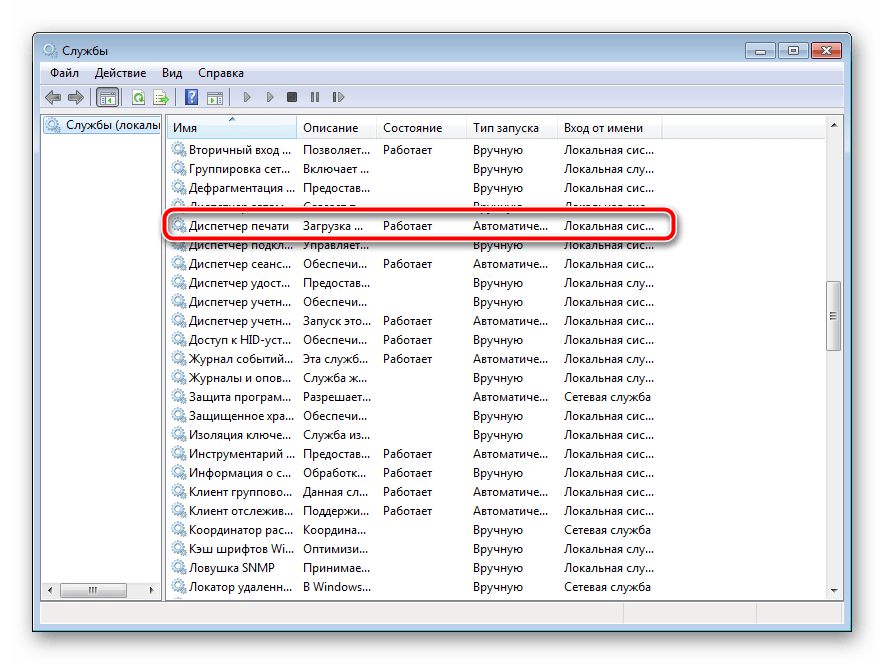
Опуститесь немного вниз по списку, чтобы отыскать «Диспетчер печати». Кликните дважды левой кнопкой мыши по этой строке.
Во вкладке «Общие» проверьте, чтобы служба запускалась автоматически, на данный момент была включена. Если параметры не соответствуют, измените их и примените настройки.
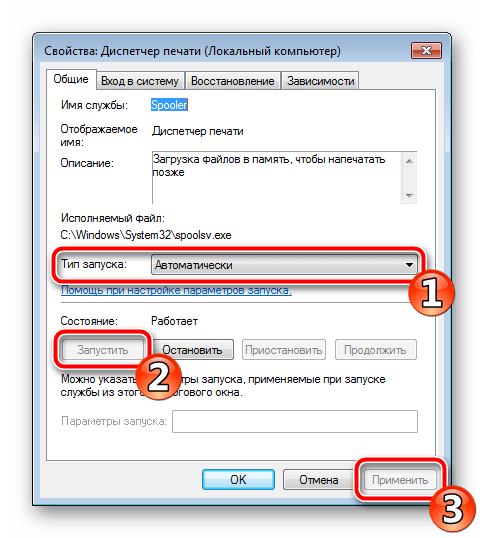
Кроме этого советуем перейти «Восстановление» и выставить «Перезапуск службы» для случая первого и второго сбоя в работе службы.
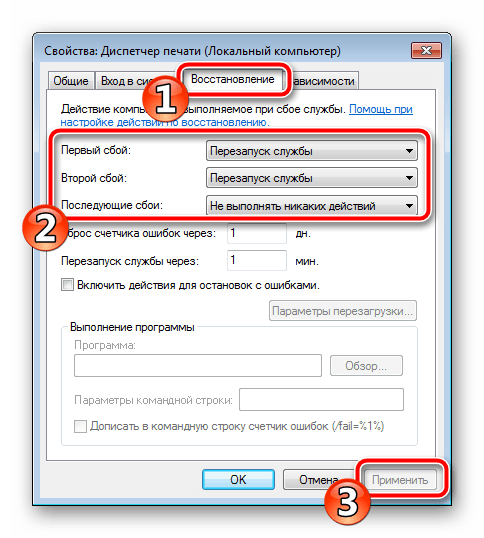
Перед выходом не забудьте применить все изменения, а также рекомендуется перезагрузить ПК.
Как видите, есть шесть различных методов, как можно решить проблему с запуском Мастера добавления принтера. Все они отличаются и требуют от пользователя осуществления определенных манипуляций. По очереди выполняйте каждый метод, пока не подберется тот, который поможет решить поставленную задачу.
Fix: “Windows Can’t Open Add Printer” Error In Windows 10
January 31, 2021 By Madhuparna
Some users are saying they are facing Windows Can’t Open Add Printer error while adding printer. Frustrating isn’t it? Something called the Print Spooler could well be the reason behind it. This is a Windows Service that orders your printer to print and controls all the print queues. But, it may show a printing error when it gets stuck midway.
While there can be many printing errors associated with the Spooler service, one such pesky error is, “Windows Can’t Open Add Printer“. But, the good thing is, it can be fixed. Let’s see how.
Solution 1 – Restart the Printer Spooler service
Restarting the Printer spooler service should fix the issue on your computer.
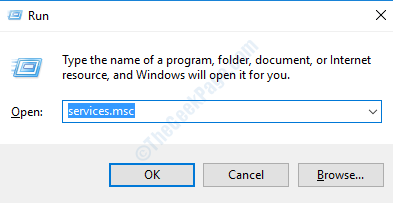
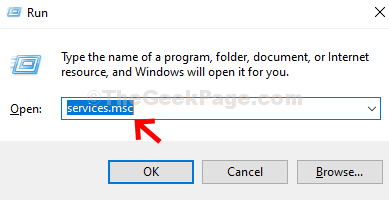
1. Press the Windows key+R.
2. Then type “services.msc” and then hit Enter.
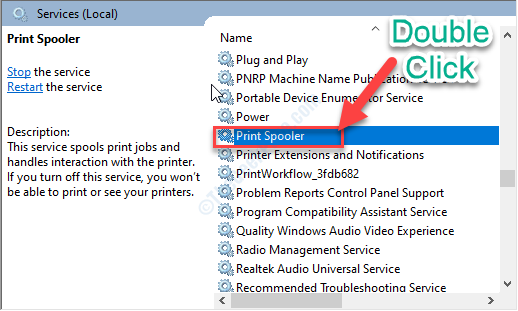
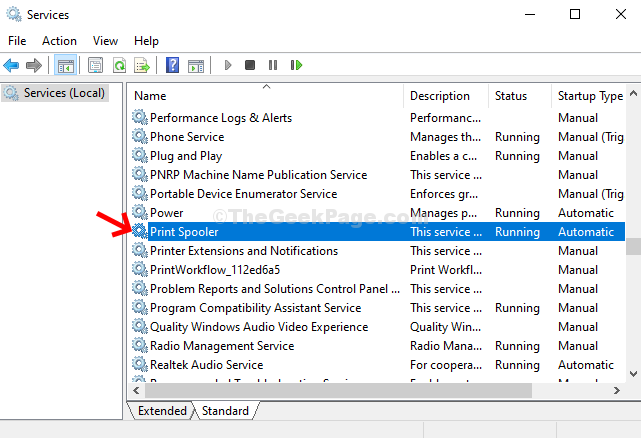
3. As the Services opens up, check the status of the “Print Spooler” service.
4. Double click on the “Print Spooler“.
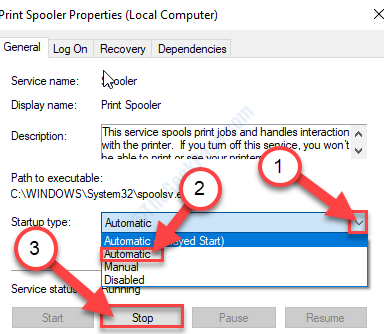
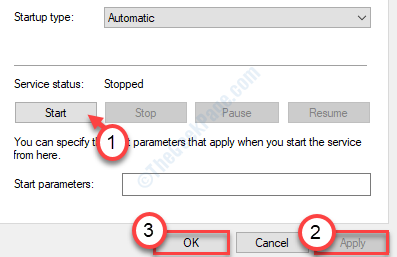
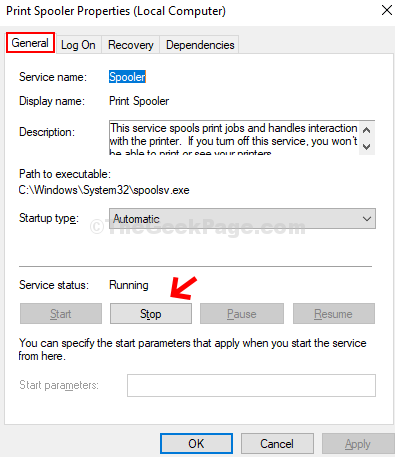
4. After that, click on the drop-down beside the Startup type and choose “Automatic“.
5. To stop the service, you need to click on “Stop“.
(If the service isn’t running, click on “Start“. )
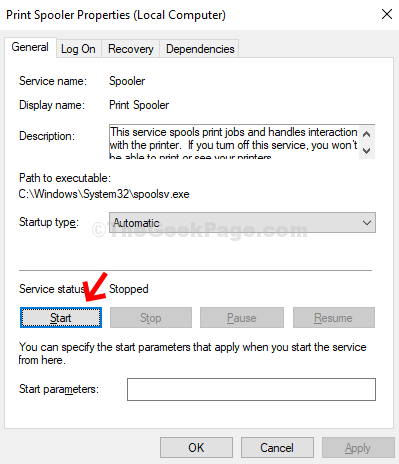
6. After that, click on “Start” to start the service again.
Once you are done, close the Services screen and check if the problem is solved or not.
Solution – 2 Delete the printer queue
The corrupted spooled files may cause this problem on your computer.
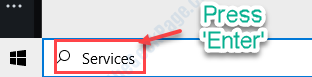
1. Search “Services” from the search box.
2. Just press Enter to access the Services utility.
3. When the Services opens up, scroll down through the list of services and double click on the “Print Spooler” service.
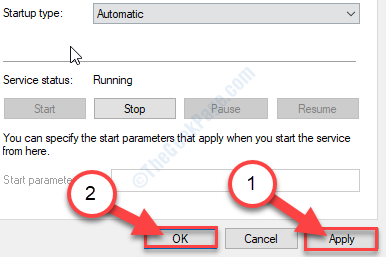
4. You need to set up the startup type of Printer Spooler to “Automatic“.
5. To stop the service, you need to click on “Stop“.
6. Then, click on “Apply” and “OK” to save the settings.
Now, minimize the Services utility.
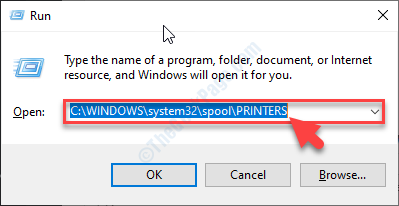
7. Pressing the Windows key+R will open up the Run window.
8. In the Run window, copy-paste this location and then hit Enter.
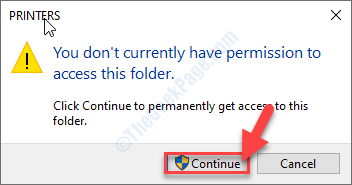
9. If you see a prompt has appeared, click on “Continue“.
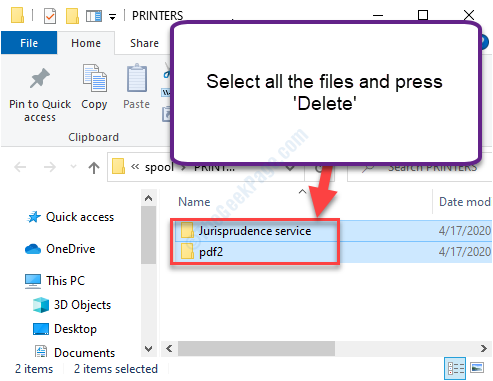
10. Once the PRINTERS folder opens, select all the files and folders.
11. To empty the folder, press the ‘Delete‘ key.
Close the File Explorer window.
Then, maximize the Services window.
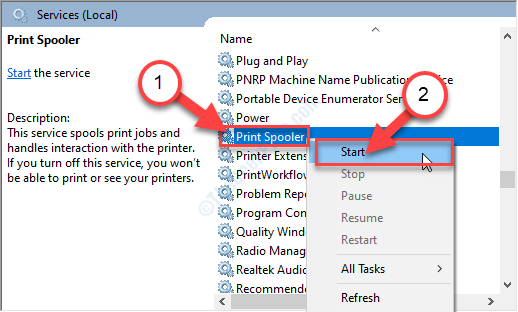
12. Then, right-click on the “Print Spooler” service and then click on “Start” to resume the stalled service.
Close the Services window.
Solution – 3 Adjust the dependencies
Step 1: Press the Windows key + R together on your keyboard to open the Run box. Type services.msc in the search box. Hit Enter.
Step 2: In the Services window, scroll down > find and select Print Spooler > double-click on it.
Step 3: It opens the Print Spooler Properties window > under Service Status > click on Stop.
Step 4: Now, click on the Start button to start the service. Press OK.
Step 5 – Now, click on dependencies tab.
Step 6 – Now, click on the plus sign to expand each service dependent of this service.
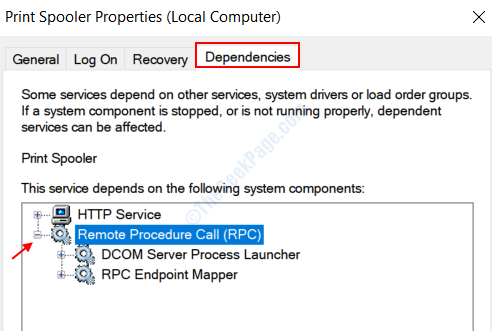
Step 7 – Once you have expanded all the service, note down each service and go to the service manager window again and click on start if they are not running, and set the startup type to automatic.
For example, we can clearly see in the screenshot above, the dependent services are Remote Procedure Call (RPC), DCOM Server Process Launcher, and RPC Endpoint Mapper.
Just Open the service manager window again and make sure they are running. If they are not running, click on start to start the services.
And, you are done. This should resolve your Printer issue and your printing process should continue.
Fix 4 – Modify the Registry
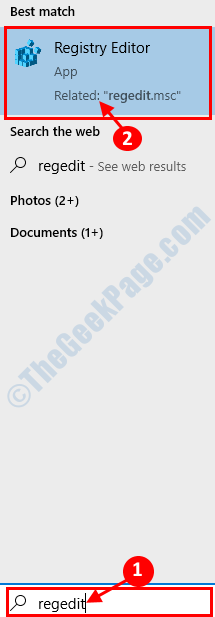
1. Write “regedit” in the search box.
2. After that, click on the “Registry Editor” to access it.
NOTE– Once the registry editor opens up. Take a backup of the registry if you haven’t already.
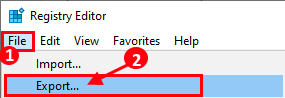
To take a backup, click on “File“. Then click on “Export” to make a new backup on your computer.
3. On the left-hand side, go to this location-
For 32 Bit PC Users, go to
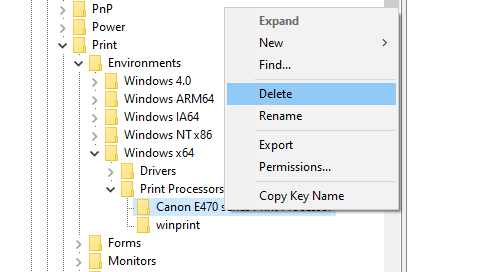
HKEY_LOCAL_MACHINE\SYSTEM\CurrentControlSet\Control\Print\Environments\Windows NT x86\Print Processors
4. Except winkey delete all the keys under Print Processors
Fix 5 – Modify the Spooler key
You can modify the spooler key on your computer to fix the issue on your system.
1. Write “regedit” in the search box.
2. After that, click on the “Registry Editor” to access it.
NOTE– Once the registry editor opens up. Take a backup of the registry if you haven’t already.
To take a backup, click on “File“. Then click on “Export” to make a new backup on your computer.
3. On the left-hand side, go to this location-
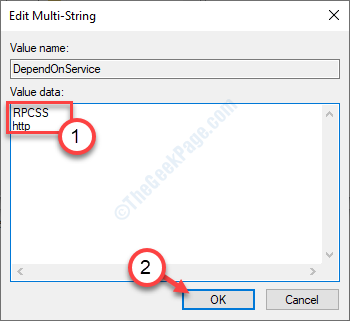
4. Now, on the right-hand side, double click on the “DependOnService” DWORD value to modify it.
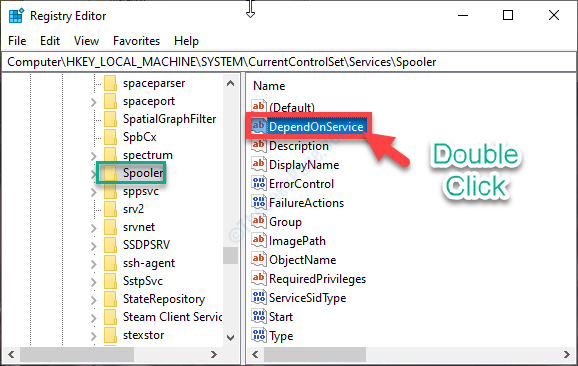
5. Next, set the ‘Value data:‘ to “RPCSS” and “http“.
6. Click on “OK” to save the change on your computer.
Close the Registry Editor window.
Restart your computer and check if this solves the problem on your computer.
Fix 6 – Uninstall your printer device and then re-install it-
Almost all the printer issues can be solved simply by uninstalling and re-installing the printer.
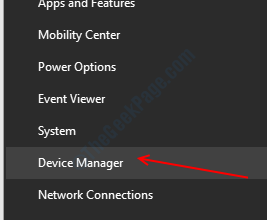
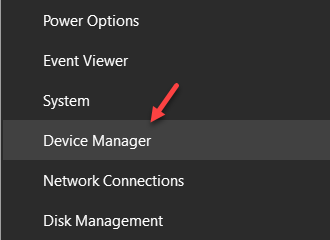
1. You have to press the Windows key+X keys together.
2. After that, click on the “Device Manager” to access it.
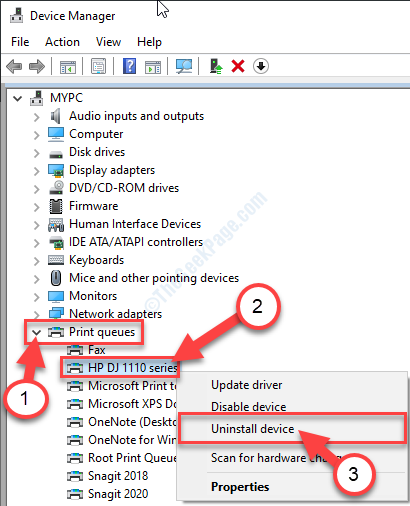
3. When the Device Manager window appears on the screen, expand the “Print queues” simply with a click.
3. After that, right-click on your printer, followed by a click on “Uninstall device“.
(As you can notice, the printer device in the screenshot, is the “HP DJ 1110 series“)
4. Simply click on “Uninstall” to confirm the uninstallation process.
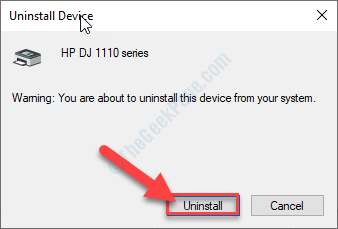
Once the printer driver is uninstalled from your computer, close the Device Manager window.
Now, follow these methods-
Method-1 Restart your system-
A simple restart should reinstall the driver on your computer.
Method-2 Manually reinstall the driver-
If rebooting your device didn’t work out, scanning the system for hardware change may solve the issue-
1. You can access the Device Manager by pressing the Windows key+X together and followed by a click on the “Device Manager“.
2. When you see that the Device Manager window has opened, just click on the “Action” from the menu bar.
3. After that, click on the “Scan for hardware changes“.
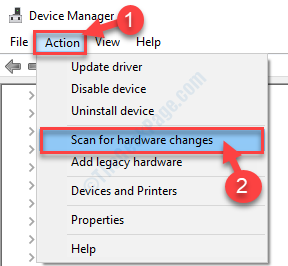
You will see the printer driver has appeared on the Device Manager again.
Method-3 Use ‘Add a printer‘ option-
If the printer still not appearing on your computer, follow these steps to add it manually.
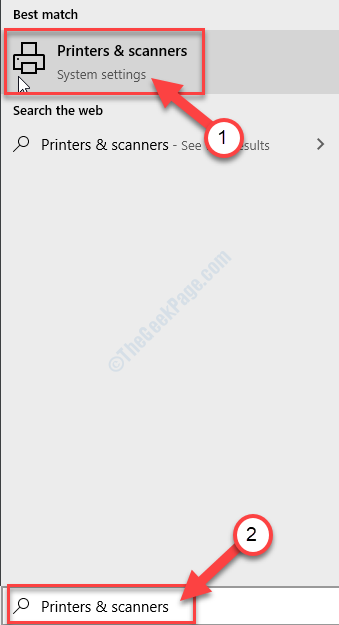
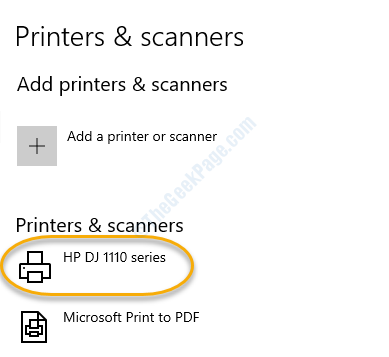
1. Press the Windows key and begin to write “Printers & Scanners“.
2. Just click on the “Printers & Scanners“.
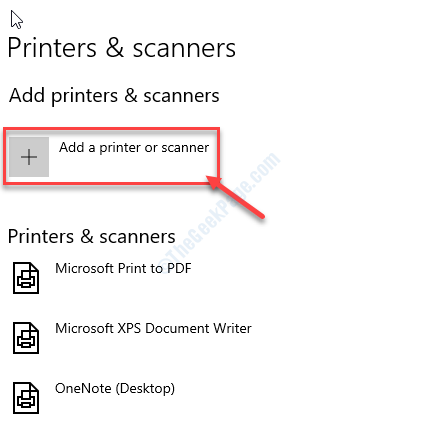
3. In the Settings window, on the left-hand side, check if you can detect your printer in the list of installed devices.
4. Check the list of ‘Printers & scanners‘ installed on your computer.
5. If the printer isn’t included in the list, click on the “Add a printer or scanner” option to add it.
Windows will now scan for possible printer devices.
Just wait for a moment.
Soon, you will see the printer device has appeared in the Settings window.
This should have fixed your issue.

I find passion in writing Tech articles around Windows PC and softwares
Related Posts:
Reader Interactions
Comments
This solution is not helpful to the problem in my case.
I came here because when I try to add my printer by clicking ‘Add a printer’ in ‘Devices and Printers’ window it just won’t open. I can see the new window for half a second and it dissapears without notification.
Furthermore if I go to ‘Printers & Scanners’ and then then click ‘Add a printer or scanner’ the whole window just closes.
I must say that the title “Windows Can’t Open Add Printer” confused me and though I tried all of the fixes above regardless, none of them solved my problem.
I hope that you will adress this issue in the future.


