- Скачать mfc110u.dll и исправить ошибку в Windows 10
- 1. Восстановить Visual C ++ 2012
- 2. Скачать Visual C ++ 2012
- Исправить ошибку сбоя ntdll.dll в Windows 10
- Как исправить ошибку ntdll.dll в Windows 10
- 1. Перерегистрируйте файл DLL
- 2. Отключить проблемные надстройки Internet Explorer
- 3. Запуск инструментов DISM и SFC
- 4. Используйте программу устранения проблем совместимости программ
- 5. Сканирование файла на наличие вирусов
- 6. Заменить файл из надежного источника
- How to fix DLL files missing from your Windows 10 PC
- What can I do if a DLL file is missing from my Windows 10?
- 1. Run a third-party DLL fixer
- 2. Run SFC Scanner
- 3. Run DISM
- 4. Download a DLL file manually
- 5. Install DirectX
- 6. Reinstall Visual C++ Redistributables
- 7. Disable or remove your antivirus
- 8. Perform in-place upgrade
Скачать mfc110u.dll и исправить ошибку в Windows 10
При запуске программ AutoCad, AVG, Corel Draw или игр Age of Empires, пользователь может столкнуться с ошибкой «Запуск программы невозможен, так как на компьютере отсутствует mfc110u.dll«. Также, предустановленные приложения на ноутбуках Sony Vaio и HP могут не запускаться и за-за поврежденного файла mfc110u.dll, и выдавать все время ошибку при включении ноутбука.
Сам файл является библиотекой относящийся к Visual C ++ 2012 Redistributable Update 4, и чтобы исправить ошибку отсутствующего файла mfc110u.dll, нужно установить этот компонент. Давайте разберем, как скачать оригинальный файл mfc110u.dll, чтобы исправить ошибку, когда он не найден или отсутствует в Windows 10.

1. Восстановить Visual C ++ 2012
Если у вас до ошибки система работала стабильно, то скорее всего компоненты Visual C ++ 2012 повреждены. Чтобы попытаться исправить, следуйте ниже пунктам:
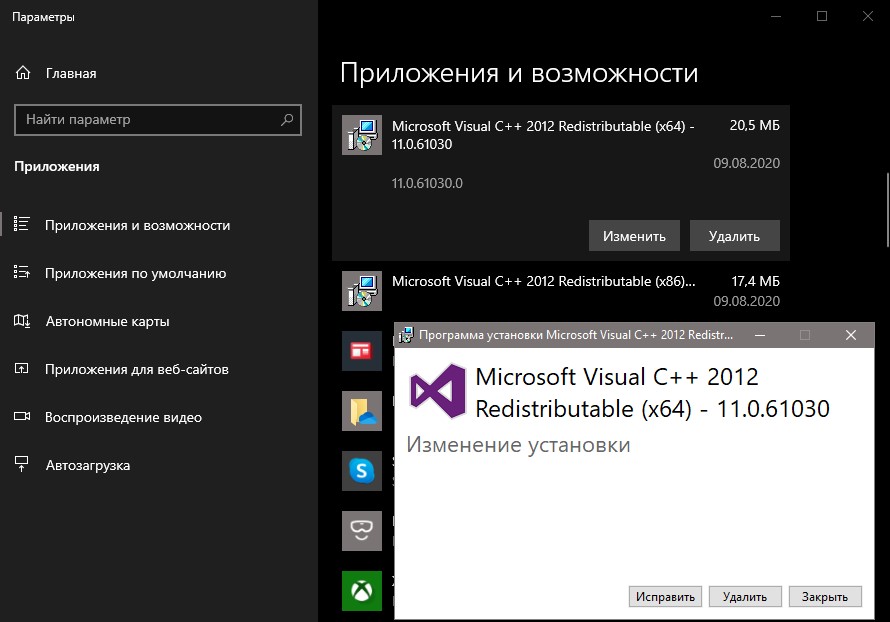
- Откройте «Параметры» > «Приложения» > «Приложения и возможности«.
- Справа в списке найдите Microsoft Visual C ++ 2012 Redistributable и щелкните по нему, далее нажмите «Изменить«.
- В новом окне нажмите на кнопку «Исправить» и программа сбросится по умолчанию с рабочими файлами.
- У вас могут быть две версии (x86) и (x64). Восстановить нужно обе.
2. Скачать Visual C ++ 2012
Если выше способ не помог, то нужно скачать с официального сайта Microsoft компонент Visual C ++ 2012. Перед тем как устанавливать, рекомендую удалить Microsoft Visual C ++ 2012 Redistributable, если установлен, и желательно две версии разрядности (x86) и (x64). Удалить можно способом выше, нажав вместо изменить, «Удалить».
- Перейдите на официальный сайт и скачайте две версии Microsoft Visual C ++ 2012 Redistributable.
- Далее установите Visual C ++ 2012 (x86) и Visual C ++ 2012 (x64) на компьютер.
Исправить ошибку сбоя ntdll.dll в Windows 10
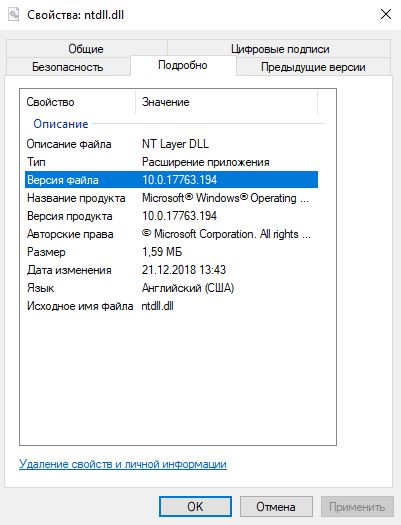
Файл DLL или Dynamic Link Library, который мы собираемся обсудить сегодня, называется ntdll.dll. Он создается системой Windows в папке System32 при установке ОС. Описание файла гласит «NT Layer DLL», что означает, что он содержит некоторые функции ядра, которые помогают в нормальном функционировании операционной системы Windows. Этот файл может одновременно обслуживать разные программы, предоставляя им разные функции ядра, которые поддерживают производительность программы. Если вы получаете сообщение об ошибке ntdll.dll в Windows 10/8/7, то есть несколько простых решений.
Как исправить ошибку ntdll.dll в Windows 10
Прежде чем начать, перезагрузите компьютер и посмотрите, устранит ли это ошибку. Иногда это помогает.
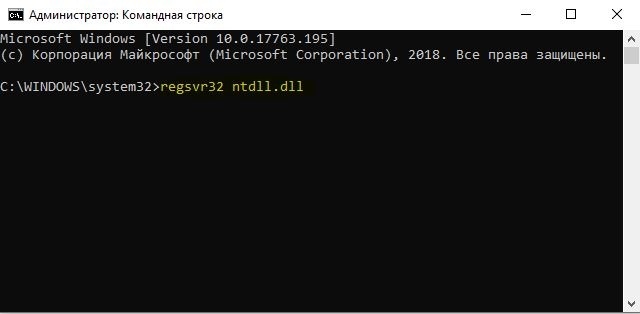
1. Перерегистрируйте файл DLL
Вам необходимо заново зарегистрировать файл DLL и посмотреть, поможет ли это. Для этого откройте CMD от имени администратора и выполните следующие команды, если будут ошибки, что он уже имеется, то ничего страшного:
- regsvr32.exe /u ntdll.dll
- regsvr32.exe ntdll.dll
2. Отключить проблемные надстройки Internet Explorer
Некоторые надстройки Internet Explorer могут быть причиной этой проблемы. Таким образом, вы можете попробовать отключить некоторые параметры Internet Explorer и проверить, устранит ли это ошибку.
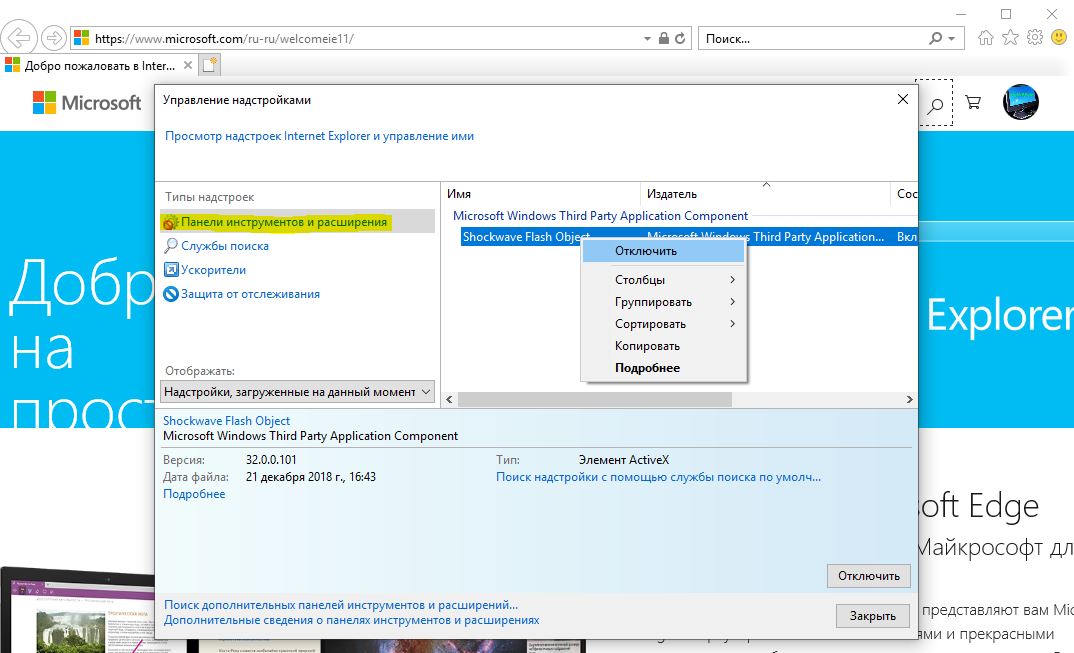
- Для этого запустите браузер Internet Explorer, можно набрать в поиске пуска Windows 10.
- Когда браузер откроется, нажмите сочетание кнопок Alt + X и выберите из всплывающего меню «Настроить надстройки«.
- Выделите слева пункт «Панели инструментов и расширения«, а справа отключите одну за другой надстроек, нажав правой кнопкой мышки и выбрав «Отключить«.
3. Запуск инструментов DISM и SFC
Эти инструменты проверят системные файлы на ошибки и попытаются исправить их, если таковы имеются. Открывает командную строку от имени администратора и копируем все команды сразу:
Dism /Online /Cleanup-Image /CheckHealth
Dism /Online /Cleanup-Image /ScanHealth
Dism /Online /Cleanup-Image /RestoreHealth
Ждем окончание процесса, который может занять длительное время. После завершение выше заданной команды, задаем следующую команду и ждем, после окончания процесса перезагружаем ПК и проверяем устранена ли ошибка..
sfc /scannow
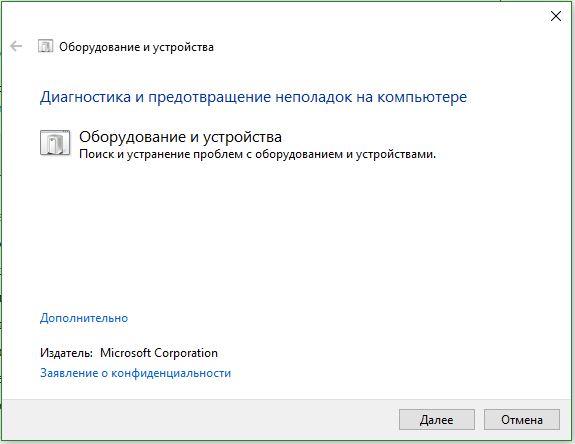
4. Используйте программу устранения проблем совместимости программ
Могут быть случаи, когда программа, которую вы пытаетесь запустить, не может быть запущена в вашей новой операционной системе. Таким образом, теперь вы можете использовать средство устранения неполадок совместимости программ, чтобы запустить его с настройками совместимости для более старой версии Windows.
Откройте «Панель управления» (можно открыть через поиск, набрав слово). Далее нажмите на пункт «Программы» и выберите «Выполнение программ, созданных для предыдущих версий Windows«.

Далее следуйте инструкциям мастера на экране. Средство устранения неполадок проанализирует и представит список проблем.
5. Сканирование файла на наличие вирусов
Вы также можете попробовать запустить сканирование на наличие вредоносных программ с помощью бесплатного антивирусного сканера , такого как Zemana или Dr.Web Cureit.
6. Заменить файл из надежного источника
Файлы расположены по этому пути:
Для x86 «Этот ПК» > C:\Windows\System32
Для x64 «Этот ПК» > C:\Windows\SysWOW64
Желательно получить новый файл с другого компьютера с тем же номером версии файла. Затем вам нужно загрузиться в безопасном режиме . После этого перейдите по указанному выше пути и замените файл с помощью USB-накопителя или других устройств.
Далее нужно зарегистрировать этот замененный файл. Для этого откройте командную строку от имени администратора и введите следующую команду:
regsvr32 ntdll.dll
Перезагрузите компьютер, чтобы изменения вступили в силу. Если ничего не помогает, возможно, вы можете переустановить приложение, которое вылетает, и посмотреть, работает ли это.
How to fix DLL files missing from your Windows 10 PC

- Missing DLL files in Windows 10 are among the most common DLL-related issues out there.
- The article below will teach you what to do when a DLL goes missing and how to replace DLL files in Windows 10.
- It’s easy to replace missing DLL files in Windows 10, especially when you use DLL fixer software.
- However, the problem can also be solved by manually downloading the DLL as well.

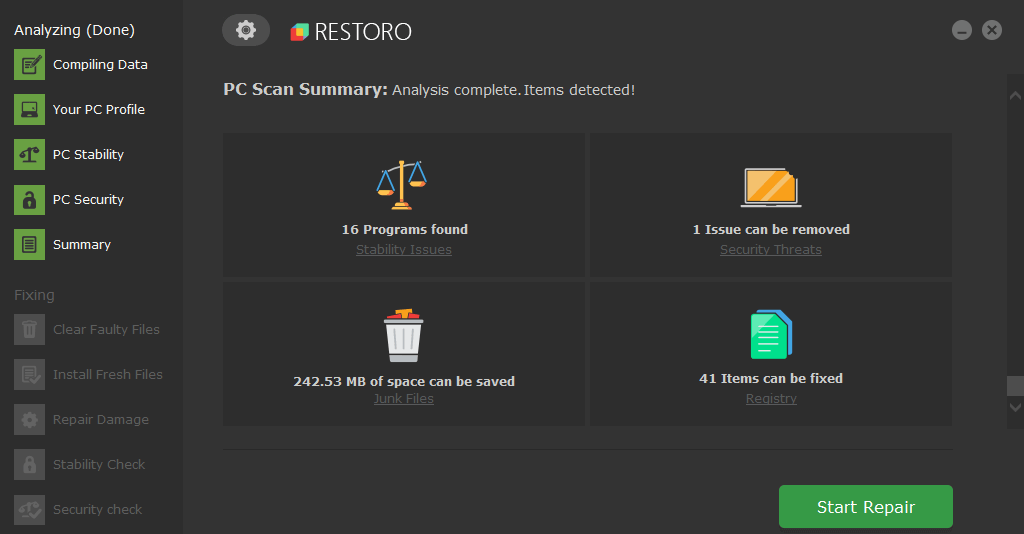
- Download Restoro PC Repair Tool that comes with Patented Technologies (patent available here).
- Click Start Scan to find Windows issues (including broken or missing DLL files)
- Click Repair All to fix issues affecting your computer’s performance and security
- Restoro has been downloaded by 0 readers this month.
Although an average user isn’t so familiar with the work of DLL files, these files are essential for running almost every program in Windows 10, and all other versions of the operating system.
And if a certain, important DLL file is missing from your computer, you probably won’t be able to run a desired program or app.
So, in this article, we’re going to show you what to do if a certain DLL file is missing from your computer.
To better understand the problem, let’s first say what is a DLL file. DLL is short for Dynamic Link Library, and it is a type of file that contains a set of instructions used by other programs to perform certain operations.
For example, programs use a DLL file to find the free space on a hard drive, locate a file in a particular directory, etc.
If a DLL file which is needed by a certain program is missing from your computer, you won’t be able to run that program, and you’ll receive an error message.
Let’s now see what to do if a DLL file is missing from your computer.
What can I do if a DLL file is missing from my Windows 10?
1. Run a third-party DLL fixer
There are plenty of third-party programs out there that promise to fix or replace missing or broken DLLs, and most of them stay true to their word.
2. Run SFC Scanner
- Right-click on the Start Menu button, and choose Command Prompt (Admin).

- Enter the following command and press Enter:

- sfc/scannow
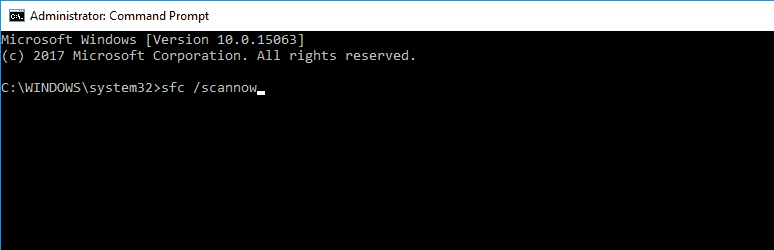
- Wait for the process to finish (it may take a while because it will scan your whole system for errors).
- Restart your computer.
- Check if your DLL is still missing.
SFC Scanner is Windows’ own tool for solving various system-related problems.
This tool can also be used to detect crucial missing DLL files on your computer, so that’s what we’re going to try first, in order to solve the missing DLL problem.
If SFC Scanner found the missing DLL file, you’re good to go, but in case this tool wasn’t helpful, try some of the solutions listed below.
If you’re having trouble accessing Command Prompt as an admin, then you better take a closer look at this guide.
3. Run DISM
- Run Administrative Command Prompt (as shown above).
- Enter the following command into the Command Prompt, and press Enter: DISM /Online /Cleanup-Image /RestoreHealth
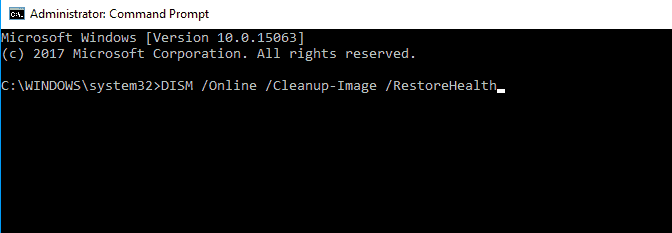
- Wait for the process to finish.
- Restart your computer.
This solution is similar to the first one, because DISM (Deployment Image & Servicing Management) tool is used when SFC Scanner fails to repair system files, in our case find the necessary DLL file.
If SFC Scanner didn’t solve the problem, DISM should. But even if this tool proves to be useless for your DLL problem, you’ll have to fix it manually.
4. Download a DLL file manually

So, if there’s no other way to solve the problem with a missing DLL, you can download it manually from the internet. But be aware that there are a lot of sites online offering free DLL files, but just a few of them are trustworthy.
I also have to mention that if you can run a third-party program or a game due to a missing DLL file, try to reinstall that program, and you’ll maybe reinstall the DLL file, as well.
If you don’t feel comfortable downloading missing dll files online, you can try to copy them from another working PC.
5. Install DirectX

If DLL files are missing from your PC, you might be able to fix the problem simply by installing DirectX. According to users, they are usually getting the error message about missing files when trying to start a certain video game.
To fix the problem, you just need to install the required version of DirectX and the issue should be resolved. You can download the necessary files from Microsoft’s website, but sometimes there’s a DirectX setup file on your game’s disc so you can install it from there.
If you’re getting error messages while trying to run certain games, you should be able to fix the problem by installing the necessary DirectX. If you want to find out more about the latest release of DirectX, check out this updated article.
6. Reinstall Visual C++ Redistributables
According to users, If DLL files are missing from your PC, you might be able to fix the problem simply by reinstalling Visual C++ Redistributables.
Many applications require these files in order to work, therefore you need to download them from Microsoft’s website. After installing the necessary Redistributables the issue should be resolved.
Keep in mind that certain applications require an older version of Redistributables in order to work, so you’ll might have to download and install the later versions as well.
Few users reported that they fixed this problem simply by reinstalling the previously installed version of Redistributables. After doing that, the issue was resolved completely.
7. Disable or remove your antivirus
According to users, sometimes your antivirus software can interfere with Visual C++ Redistributables and prevent you from installing the necessary DLL files.
To fix the issue, you need to disable your antivirus and check if that solves the problem. If disabling the antivirus doesn’t help, you might have to uninstall it.
The best way to do that is to download a dedicated removal tool and use it to remove all files associated with your antivirus.
If you’re a Norton user, we’ve got a dedicated guide for you to completely uninstall the antivirus. Also, there’s a similar one for McAfee users.
After removing the antivirus, try to install Visual C++ Redistributables. Many users reported problems with AVG, but this issue can also appear with other antivirus tools, so be sure to remove or disable it.
You don’t have to worry about malware after removing your antivirus. Windows Defender is as capable, and in some cases better, at protecting your PC against threats. Read this article to find out more.
8. Perform in-place upgrade
- Download Windows 10 ISO from Microsoft’s website.
- Be sure to download the latest version that matches your system architecture.
- Double click the ISO file to mount it.
- The new drive will now appear in This PC, open it and run setup.exe.
- Windows will now prepare the necessary files.
- You’ll be asked to download important updates before proceeding with the upgrade.
- Downloading updates isn’t mandatory, but it might make the upgrade process easier.
- Select the desired option and click Next.
- Windows will now download the necessary updates. This can take a while, so be patient.
- You should now see the Terms of Service screen.
- Click on Accept.
- Windows will now install the downloaded updates.
- Once you see Ready to install screen, click on Change what to keep.
- Select Keep personal files and apps and click on Next.
- Upgrade process will now start.
- This process can take a while, so don’t interrupt it.
Missing DLL files can cause many problems on your PC, and users reported the following issues:
- Sysmenu dll file missing
- Many users reported that Sysmenu dll file was missing on their PC.
- This can be a big problem, but you should be able to fix the issue using SFC or DISM scan.
- Msvcr100.dll file missing error
- This file is usually associated with Visual C++ Redistributables, and after installing the necessary components, the issue should be resolved.
- T8extpex.dll file is missing
- T8extpex.dll is another file that can become missing, however you should be able to recover it using one of our solutions.
- Hal.dll files missing
- Another problematic file is Hal.dll. If this file is missing, you won’t be able to run your favorite applications.
- DLL file missing for iTunes, SQL Developer
- Many users reported that DLL files for their favorite applications are missing.
- This is a relatively common problem and you can fix it by reinstalling the problematic application.
- Kernel32.dll files missing
- Several users reported that Kernel32.dll is missing on their PC.
- This is a system file but you should be able to restore it by repairing your Windows installation.
If DLL files are missing from your PC, you might be able to fix the problem by performing an in-place upgrade. By doing so, you’ll reinstall Windows 10, but you will keep all your files and applications.
Once your PC is upgraded, you’ll have a new installation of Windows 10, but all your files and applications will remain intact. If an in-place upgrade can’t fix the problem, you might have to perform a Windows 10 reset.
We already covered how to perform Windows 10 factory reset in one of our previous articles, so be sure to check it for detailed information.
That’s it for missing DLL files in Windows 10, I hope this article helped you to solve the problem. If you have any questions or suggestions, just write them down in the comments section below.


