- Control. Enabled Property
- Definition
- Property Value
- Examples
- Remarks
- Enable or Disable User Account Control (UAC) in Windows 10, 8, or 7
- Windows 10 & 8
- Option 1 – From Control Panel
- Option 2 – From MSCONFIG
- Windows 7
- You Might Also Like
- Reader Interactions
- Comments
- Did this help? Let us know! Cancel reply
- Enable and Disable Windows Features
- Windows Vista, 7/8/10
- Windows XP
Control. Enabled Property
Definition
Gets or sets a value indicating whether the control can respond to user interaction.
Property Value
true if the control can respond to user interaction; otherwise, false . The default is true .
Examples
The following code example creates a GroupBox and sets some of its common properties. The example creates a TextBox and sets its Location within the group box. Next, it sets the Text property of the group box, and docks the group box to the top of the form. Lastly, it disables the group box by setting the Enabled property to false , which causes all controls contained within the group box to be disabled.
Remarks
With the Enabled property, you can enable or disable controls at run time. For example, you can disable controls that do not apply to the current state of the application. You can also disable a control to restrict its use. For example, a button can be disabled to prevent the user from clicking it. If a control is disabled, it cannot be selected.
Setting the Enabled property to false does not disable the application’s control box or prevent the application window from receiving the focus.
When a container control has its enabled property set to false , all its contained controls are disabled, as well. For example, if the user clicks on any of the controls contained in a disabled GroupBox control, no events are raised.
When a scrollable control is disabled, the scroll bars are also disabled. For example, a disabled multiline textbox is unable to scroll to display all the lines of text.
Enable or Disable User Account Control (UAC) in Windows 10, 8, or 7
By Mitch Bartlett 15 Comments
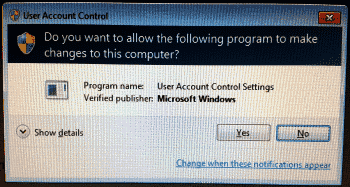
User Account Control is a feature in Microsoft Windows 10, 8, and 7 that warns users with a dialog whenever a program tries to make changes to the system. The dialog will ask “Do you want to allow the following program to make changes to this computer?“, then provide details about the program name and publisher along with a selection to choose Yes or No.
For many users, this feature is just an annoyance. You can enable or disable UAC using these steps.
Windows 10 & 8
Option 1 – From Control Panel
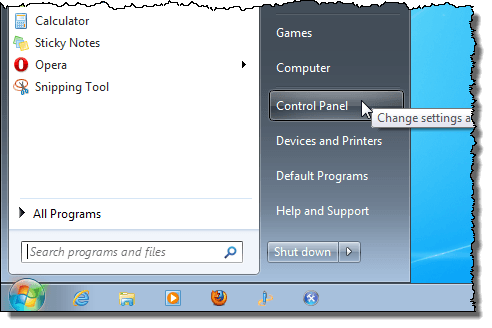
- Select the “Start” button, then type “User Control“. An option should appear that says “Change User Account Control settings“. Select that option.
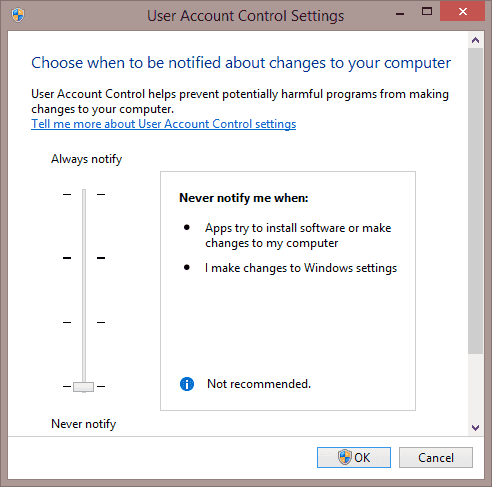
- A screen will appear, where you can choose any of the following selections using the vertical slider:
- Always notify me when – Programs try to install software or make changes to my computer and when I make changes to Windows settings.
- Notify me only when programs try to make changes to my computer – Don’t notify me when I make changes to Windows settings.
- Notify me only when programs try to make changes to my computer (do not dim my desktop) – Don’t notify me when I make changes to Windows settings.
- Never notify me when – Programs try to install software or make changes to my computer and when I make changes to Windows settings.

Option 2 – From MSCONFIG
- Hold the Windows Key down and press “R” to bring up the “Run” dialog.
- Type “msconfig“. An option for “System Configuration” should appear. Select it.
- Select the “Tools” tab.
- Select “Change UAC Settings“, then select the “Launch” button.
- You can choose one of four levels. The bottom option completely disables UAC.
Windows 7
- Click the “Start” orb, then type “UAC” in the Start Search box.
- The result of “Change User Account Control settings” should appear at the top of the area. Select it.
- Click “Yes” if a dialog appears.
- You can choose 1 of 4 settings. From top to bottom they are:
- Always notify me when – Programs try to install software or make changes to my computer and when I make changes to Windows settings.
- Notify me only when programs try to make changes to my computer – Don’t notify me when I make changes to Windows settings.
- Notify me only when programs try to make changes to my computer (do not dim my desktop) – Don’t notify me when I make changes to Windows settings.
- Never notify me when – Programs try to install software or make changes to my computer and when I make changes to Windows settings.

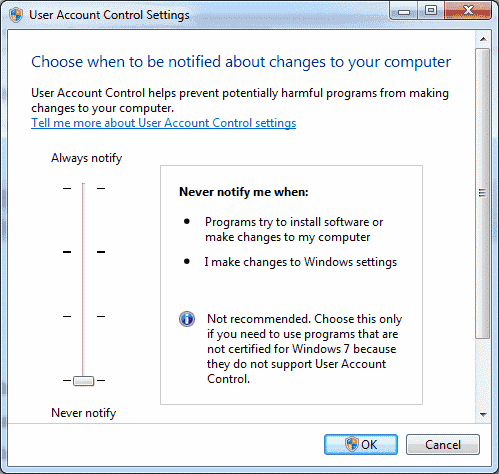
Choose a selection, then select “OK“, and your UAC setting is set.
You Might Also Like
Reader Interactions
Comments
Cynthia Pacheco says
I do not get a screen for ‘yes’ or ‘no’ answers, just a blank screen. I am going to have to uninstall a game because I can’t update the game and I can’t play the game until I do update it. It keeps telling me I don’t have enough space and when I look there, I have plenty of space! I always have trouble with updates on this game (Seeker Notes) anyway. I just wish I don’t get any more updates from Mytona.
True North says
I think people are forgetting that this may have to be done as administrator
they can log in and change their user to admin account for a short while and then change back to normal
for best safety against virus/trojan attacks you should always use normal login in every day use and not be logged in as administrator or have your normal every day user set to admin priviliges
When I try to do this it doesn’t allow me to press yes please I need help very fast
When I try to do this it doesn’t allow me to press yes
jenny johnson says
When I try to go to user control I get the same windows error saying I may not have permission to do this.
jerome johnson says
I do not understand this
Robert Ferguson says
Posts identified my problem – unable to Type YES in greyed box when asked if I want to make changes …”.
Unfortunately no answers given as how to resolve this problem.
when i tried try to open user contril setting it ask password but i can’t put passwrod
Dany Metta says
I am having a serious issue with the UAC on windows 7. I am having the message “do you want to let the following program…” but my yes button is greyed. I tried the “user account control settings” and change “your account type” but it didn’t work. I also typed the following command prompt on cmd “net user administrator / active:yes” and I still get nothing. The problem all started when I went on computer management/Users/check boxed account is disabled for administrator and another account.an someone get me a hand here? Thank you
Louise Waldrop says
I am having the same problem with “do you want to allow………”. This has just recently started showing up on my PC. Mine asks “do you want to allow Google app to make changes…….” I do not have a Google app, I only use Google search and Gmail. I have Windows 10 Creators Update. Could this be another problem caused by the Creators Update?
Thanks for the reply. I have tried your instructions but still the same results. ” Do you want to allow this app ………….etc ” with only the no button option. It is happening with all I try to launch.
Tried all the tips I can find with zero results. Try to run apps/mscconfig/command prompt admin etc.
I always get the message ” Do you want to allow this app to make changes to your device ” In the pane the is only one choice ” NO ” A window will flash up and disappear.
Help please
There are not wholesale MLS Jerseys Tim Duncan Retire for sale,
but wholesale NBA equipment Tim Duncan Retire 2016 for cheap free
shipping.
I have changed the UAC, NEVER NOTIFY to ON (other than NEVER NOTIFY) and the computer has been requested to RESTART. After RESTART, UAC setting has been changed back to the NEVER NOTIFY. Why?
What parameter to set in my Windows group policy, to make every computer to be set default as othet then NEVER NOTIFY
Did this help? Let us know! Cancel reply
This site uses Akismet to reduce spam. Learn how your comment data is processed.
Enable and Disable Windows Features
Never use IE? You can uninstall it here!
No matter which version of Windows you use, there is a lot of features that are installed with the system by default, many of which you probably will never use. Disabling Windows features you don’t use can optimize your system, making it faster and saving precious hard disk space.
This article shows you how to enable and disable features in Windows 7/8/10, Vista, and XP.
Windows Vista, 7/8/10
To turn Windows features in Windows Vista to Windows 10 on or off, click Control Panel on the Start menu. You can also click on Start and then type in control panel.
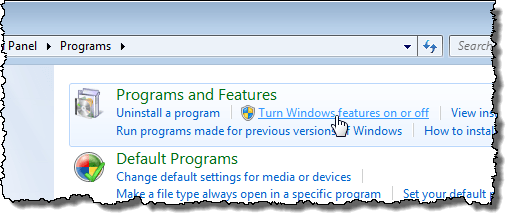
Click the Programs link.
NOTE: If you are in Classic View, the link reads Programs and Features.
Under the Programs and Features heading, click the Turn Windows features on or off link.
NOTE: If you are in the Classic View, the Turn Windows features on or off link is on the left panel.
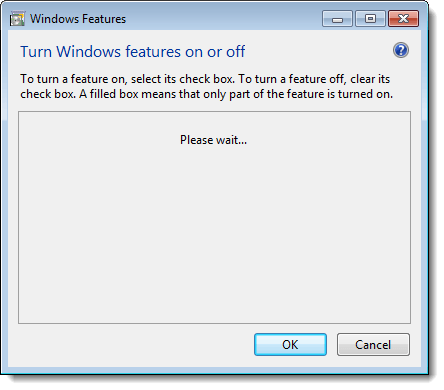
The Windows Features dialog box displays with a “Please wait…” message, while the features list is loaded.
When the list of features displays, you can move your mouse over one of the features and view a description of that feature.
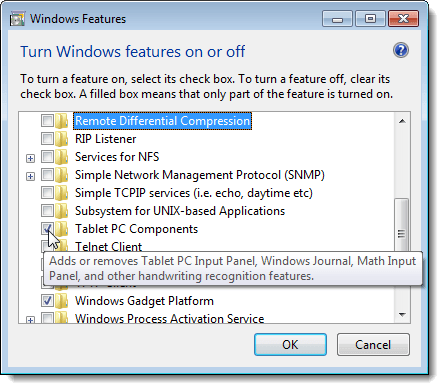
For each feature you want to turn off, select the check box to the left of the feature so there is NO check mark in the box. For example, since we are not using a Tablet PC, we decided to turn off the Tablet PC Components feature, along with some other features we don’t use. Once you have made your changes, click OK to close the Windows Features dialog box.

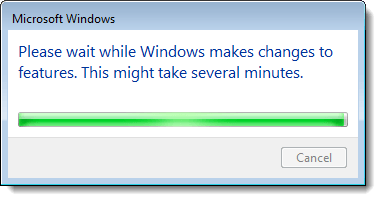
A dialog box displays showing the progress of the changes being made to your Windows system.
You must restart your computer for the changes to be completed. Click Restart Now if you are ready to restart the computer now. If you want to wait to restart the computer, click Restart Later.
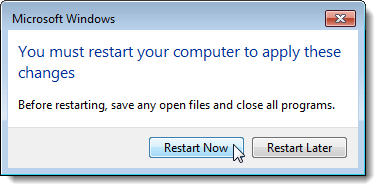
While the computer is shutting down and again while it is starting up, the following message displays. Be sure you don’t shut off the computer while the features are being configured.

Windows XP
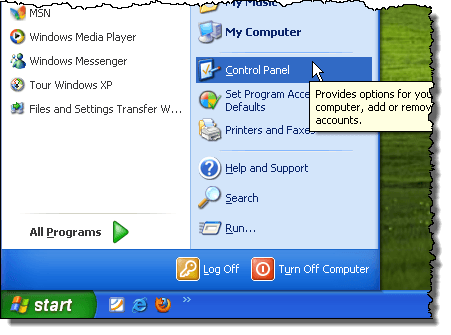
To turn Windows features in Windows XP, click Control Panel on the Start menu.
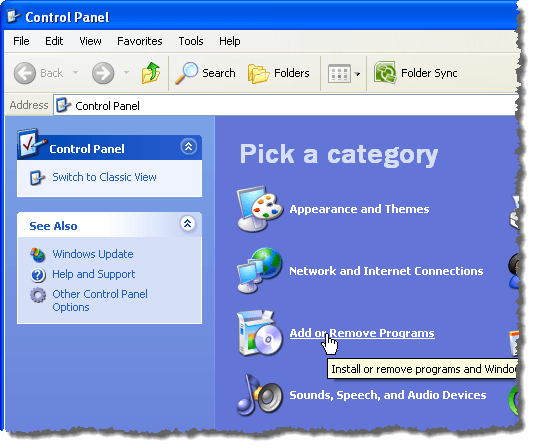
Click the Add or Remove Programs link (or the icon in Classic View) on the Control Panel window.
On the Add or Remove Programs dialog box, click Add/Remove Windows Components in the left panel.

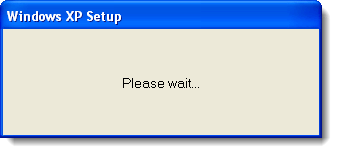
A dialog box displays asking you to wait while the list of Windows features is generated.
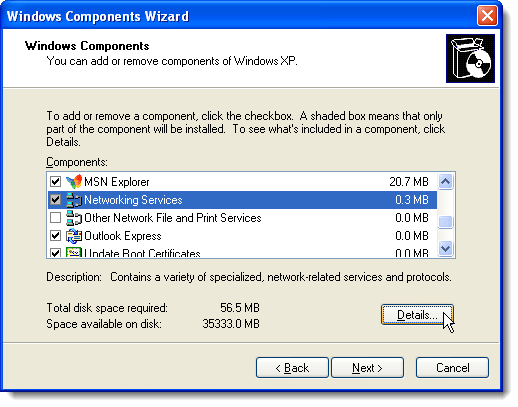
The Windows Components Wizard displays with a list of Components. If the check box to the left of a component has a gray background, there are sub-components within that component. Click Details to view the components under that main component.
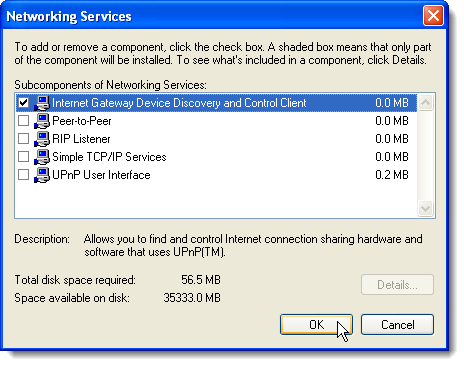
For example, the following dialog box shows the components available under the Network Services main component. You can turn on or off any of these components and click OK to accept your changes and return to the Windows Components Wizard.
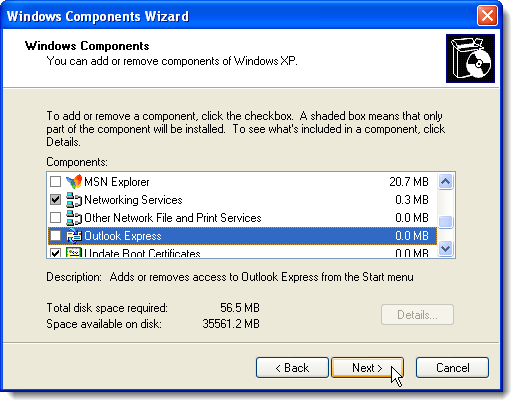
For each feature you want to turn off, select the check box to the left of the feature so there is NO check mark in the box. For example, we are not using MSN Explorer or Outlook Express, in addition to some other features. Once you have made your changes, click Next.
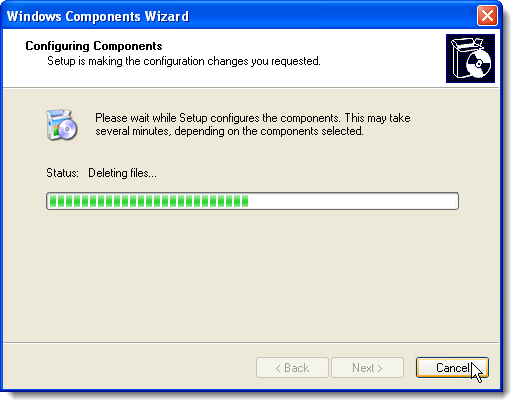
The Configuring Components screen displays the progress of the changes being made to your system.
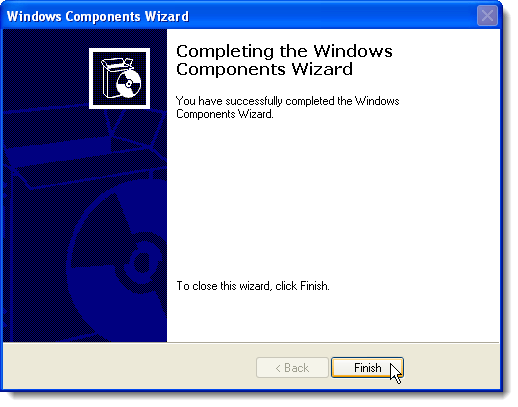
When the changes have been made, the Completing the Windows Components Wizard dialog box displays. Click Finish.
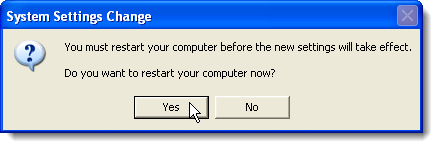
You must restart your computer for the changes to be completed. Click Yes if you are ready to restart the computer now. If you want to wait to restart the computer, click No.
You can turn on any of the Windows features again, if desired, simply by following these procedures and selecting the check boxes for features you want so there is a check mark in each check box. Enjoy!
Founder of Help Desk Geek and managing editor. He began blogging in 2007 and quit his job in 2010 to blog full-time. He has over 15 years of industry experience in IT and holds several technical certifications. Read Aseem’s Full Bio


