- Где в Windows 10 находятся шрифты: в какой папке они хранятся?
- Как найти папку со шрифтами
- Окно «Выполнить»
- Панель управления
- Системный каталог
- Как открыть настройки
- Заключение
- How to Install the Fonts You Want in Windows 10
- How to Install Fonts in Windows 10
- How to install and manage fonts in Windows 10 [Quick Guide]
- How can I install and manage new fonts in Windows 10?
- 1. Use the Fonts folder in Control Panel
- 2. Download fonts from the Microsoft Store
- 3. Use Adobe Fonts
- Adobe Fonts
- 4. Manage your fonts
- 5. Manage possible font issues
- Fix Installed fonts not showing up in font folder on Windows 10
- Fix 1 – Install Font from Control Panel
- Fix 2 – Using Command Prompt
- Fix 3 – Install font for all users
- Fix-4 Run Word in Safe Mode-
- Fix-5 Remove corrupted Fonts-
- Fix-6 Copy the fonts to the default application directory-
- Related Posts:
- Reader Interactions
- Comments
Где в Windows 10 находятся шрифты: в какой папке они хранятся?
При работе в некоторых программах, таких как Adobe Photoshop, у пользователя может возникнуть проблема с отображением текста. Чаще всего сложности связаны с перенесением на свой компьютер проекта, созданного на другой машине.
Причина — отсутствие в системе или неактивность нужного варианта написания текста или символов, используемых при оформлении проекта. Чтобы исправить ситуацию, необходимо знать, где находятся шрифты в Windows 10. Данная информация позволит просмотреть их полный список, проверить наличие в нём нужного варианта, активировать его отображение в программах или установить из интернета.
Как найти папку со шрифтами
Перейти в нужную директорию можно несколькими способами. Все они легко осуществимы буквально в несколько кликов мышью.
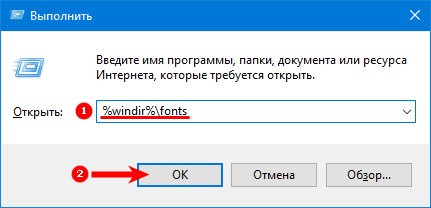
Окно «Выполнить»
Один из них — использовать системную утилиту «Выполнить», придуманную разработчиками Windows для облегчения работы пользователям. Запускается окно «Выполнить» по-разному:
1. Проще и быстрее всего нажать единовременно две клавиши — Win (расположена в нижнем ряду кнопок и похожа на плывущее окно) и R (верхний ряд буквенной клавиатуры, переходить на английский язык не требуется).
2. Можно нажать на лупу, расположенную внизу экрана на панели задач, вписать в поисковую строку «Выполнить» и из результатов поиска двумя левыми щелчками мыши активировать соответствующее приложение.

3. Запустить нужное окно из списка команд «Пуска», расположенных в левой функциональной части его окна.

После появления нужного окошка для перехода к шрифтам требуется вписать в его строке значение %windir%\fonts и подтвердить выполнение нажатием OK или Enter.
Панель управления
Следующий способ — это обратиться к «Панели управления», через контекстное меню «Пуска». Проще и быстрее:
- Кликаем по меню «Пуск», правой кнопкой мыши;
- В открывшемся контекстном меню наводим на «Панель управления» для отображения списка всех её элементов;
- В самом списке перемещаемся вниз с помощью прокрутки до нужной папки «Шрифты» и заходим в неё одним левым щелчком мыши.
Если по какой-то причине в контекстном меню «Пуска» отсутствует нужный элемент, то:
1. Вписать в поисковую строку «Пуска» значение «Панель управления».
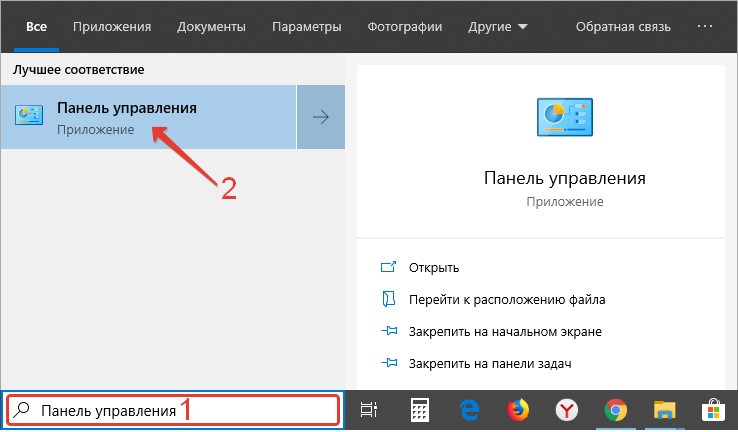
2. Запустить из результатов поиска соответствующее приложение (один быстрый левый щелчок мыши).
3. В верхней части открывшегося мастера, где расположен инструмент настройки «Просмотра», раскрыть перечень возможных вариантов (по умолчанию там выставлено «Категория», на неё и нужно нажать).
4. Выбрать значение «Мелкие значки» для отображения всех элементов «Панели управления».

5. Среди появившихся значков найти «Шрифты» и перейти в них одним левым щелчком мыши.

Системный каталог
Сам каталог, как и всё содержимое системы, расположен на локальном диске C (или диск c другой буквой, но всегда там, где установлена Windows). Его просто отыскать:

2. Двумя быстрыми левыми щелчками мыши перейти на системный диск (по умолчанию C).
3. Зайти в директорию Windows.
4. Найти и раскрыть каталог Fonts.

Как открыть настройки
Чтобы попасть в настройки шрифта, существует простой способ.
1. В поисковую строку на панели задач скопировать или ввести вручную значение Fonts.
2. В списке результатов поиска выбрать «Параметры шрифта».

Заключение
Что даёт пользователю знание, в какой папке хранятся файлы шрифтов на компьютере? Конечно, возможность ими управлять:
- Просматривать список уже имеющихся и устанавливать недостающие из интернета;
- Активировать отображение в программах скрытых системой или самим пользователем отдельных вариантов написания текста или символики;
- Удалять неиспользуемые варианты написания текста для ускорения запуска программ или скрывать их для облегчения поиска нужных в перечне допустимых.
Все обозначенные действия можно совершать прямо из каталога «Шрифты» (или Fonts, то же самое, только название на английском языке) с помощью соответствующих команд, меню с которыми расположено непосредственно над элементами. При поиске конкретного варианта следует руководствоваться как его названием, так и графическим отображением, присутствующем на иконке.
How to Install the Fonts You Want in Windows 10


Windows comes preloaded with a lot of stylish fonts, but they might not be what you are looking for. Thankfully Windows 10 makes it easy to install any font you desire. Here’s a look at how to install them.
How to Install Fonts in Windows 10
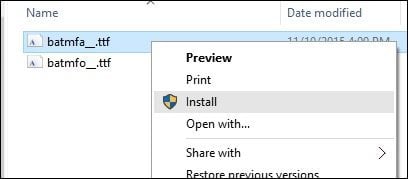
Once you have your font downloaded (these are often .ttf files) and available, just right-click it and click Install. That’s it! I know, uneventful.
To check if the font is installed, press Windows key+Q then type: fonts then hit Enter on your keyboard.
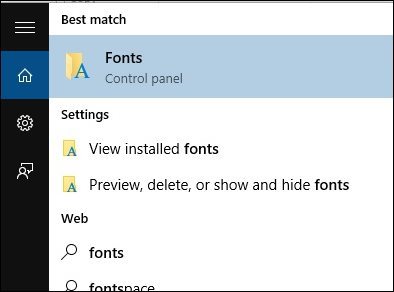
You should see your fonts listed in the Font Control Panel.
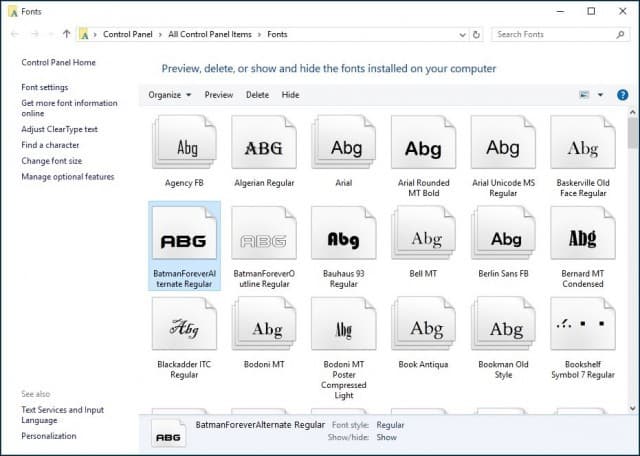
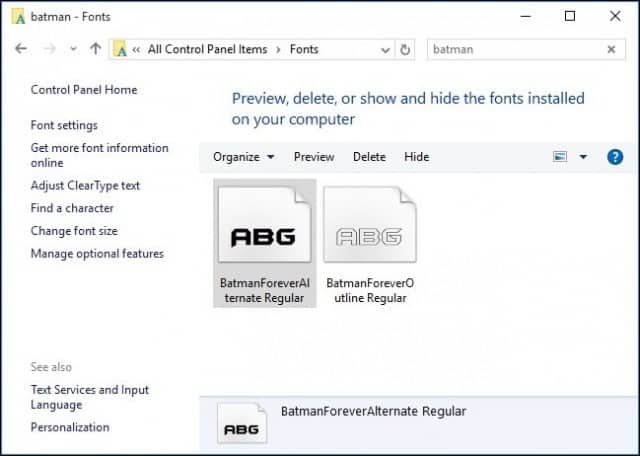
If you don’t see it and have a ton of them installed, just type in its name in the search box to find it.
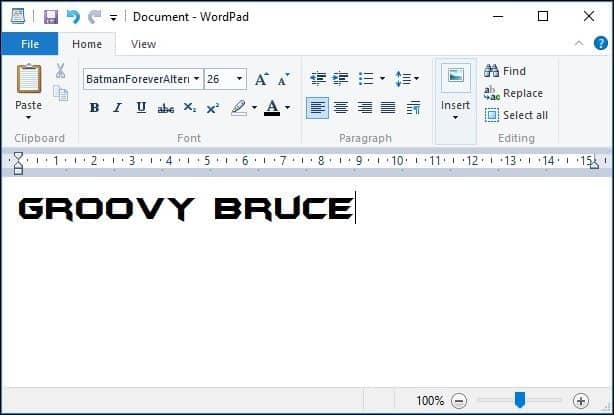
That’s all there is to it. Now you can create stylish and unique documents with some of your favorite fonts not included in Windows 10 by default.
If you’re not on Windows 10 yet, check out our article on how to install fonts on Windows 8.1.
If you’re a graphics design enthusiast, before downloading a font, be sure to check out our article about the best and worst fonts for homemade designs.
How to install and manage fonts in Windows 10 [Quick Guide]

- If you’re looking to install the best fonts for Windows 10, in our article we’ll give you some unexpected and fun options.
- Going for something more sophisticated? then Adobe will surprise you with a multitude of features.
- Once you add your favorite fonts to Windows 10, learn to manage them efficiently in our excellent guide.
- You won’t have to worry about potential errors regarding fonts, we have some great solutions for that too.

- Photos
- Videos
- Songs
- 3D models & infographics
- Many other artworks
If you want to add some additional cool fonts to your Windows 10 OS, you don’t have to put much effort in it, because it’s very easy.
And in this article we’ll show you not only how to install fonts in your Windows 10 but we’ll also provide you with interesting data on how to manage them.
How can I install and manage new fonts in Windows 10?
1. Use the Fonts folder in Control Panel
- Go to Search.
- Type fonts and open Fonts.
- Drag your font file to Fonts folder and wait until the installation is complete.
Your fonts are packed in .otf files and these files have an installing option, so just right-click on the font you want to install, and choose Install.
There are two ways to add fonts to Windows 10: you can add them simply by installing them or putting them in the Fonts folder in Control Panel.
2. Download fonts from the Microsoft Store
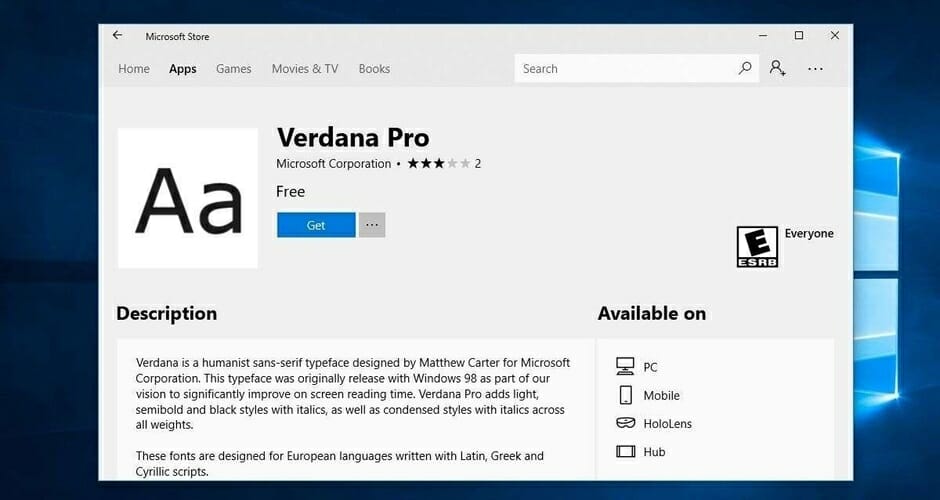
You can also download and install Windows 10 fonts from the Microsoft Store. There are many resources that you can use to add new fonts on your computer.
For example, the Fonts app lets you customize your posts and replies on social media using a wide variety of fonts.
You can write in different styles and your text will definitely stand out in the crowd. You can also rotate your text if you want to puzzle your friends.
3. Use Adobe Fonts

By using Adobe Fonts, you will get the fonts directly on the websites that you are using. More so, they become synced via Adobe Creative Cloud to applications installed on the subscriber’s PC.
Get ready to be amazed by the multitude of style fonts that can help you enhance the impact you make whether you’re an entrepreneur or a media content creator.
You have over 1.000 different options to choose from and they’re all one click away, all you have to do is switch the toggle button and you’re free to make the best of those amazing fonts.
The fonts you download with this smart tool can also be used with other editing programs, for example you can add the Adobe font to Photoshop in your Windows 10.
A great advantage of this high-quality tool is the fact it’s reliable so you won’t have to deal with bugs or other annoying errors.

Adobe Fonts
4. Manage your fonts

Once installed, you can manage your fonts. You can preview them to make sure that you really like them, hide them if you’re not planning on using them any time soon or you can simply delete them.
All you need to do is go to Start, type fonts and double click on the first result. The fonts window will now open and you just have to select the font that you want to manage and click on the option of your choice.
There you go, with just a few simple steps, you have new fonts installed on your computer, ready to decorate your project or other kinds of work.
As we already showed you, managing your fonts is as easy as installing them. Just go to the above-mentioned Fonts folder in Control Panel, where you can preview, add, delete or even print your fonts.
5. Manage possible font issues

Upgrading to Windows 10 can also create some font-related problems. These are not some out-of-normal issues but can seriously obstruct you from using your PC.
Hopefully, we have managed to find the necessary fixes for the most faced font issues in Windows 10.
First of all, we have a great fix article if you encounter problems with installing fonts in Windows 10 that it’s definitely worth your attention.
Fortunately we managed to offer solution for one of he most common issues that users confront with and you can check it in our article on how to fix the font being too small in Windows 10.
If you’re having issues with changing the default font in Windows 10 Registry Editor, take a look at this guide that will help you handle the problem. Checking the fixing guides above will help you get rid of various font issues in Windows 10.
As you can there are plenty of sources if you want to install fonts in Windows 10 and we recommend you to try all of them.
Don’t forget that if you encounter any issues you can always check out the useful guides we mentioned about how you can fix potential errors.
If you have some additional comments or questions, please write them down in the comments section below, we would love to hear them.
Fix Installed fonts not showing up in font folder on Windows 10
January 28, 2020 By Admin
Some Windows 10 users have complained that when they are trying to install fonts on their PC and copy and paste the font in their Windows Fonts folder, the font does not show up in the fonts folder and after popping up a message which says font is already installed. Do you want to replace it . If you are also not able to see your installed font in your windows font folder, here is the required fix.
Fix 1 – Install Font from Control Panel
1. Search control panel in windows 10 search.
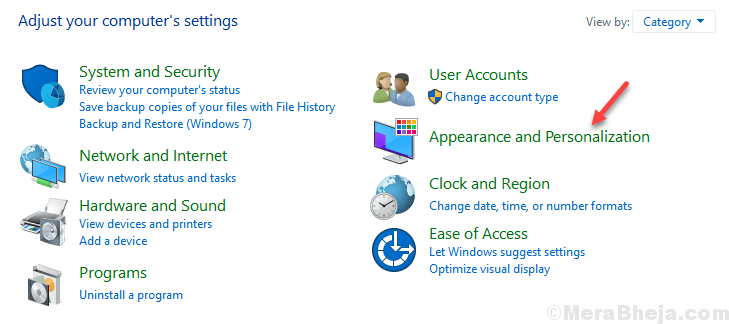
2. Click on the search result to go to control panel.
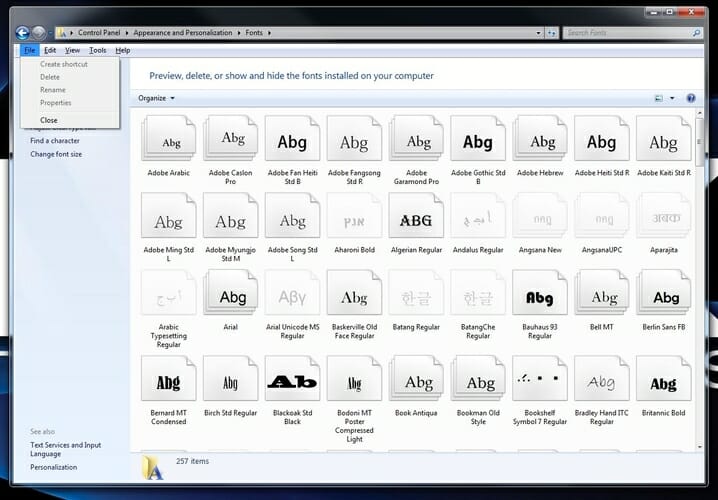
3. Click on Appearance & Personalization.
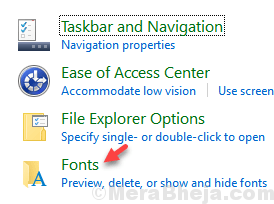
4. Click on Fonts
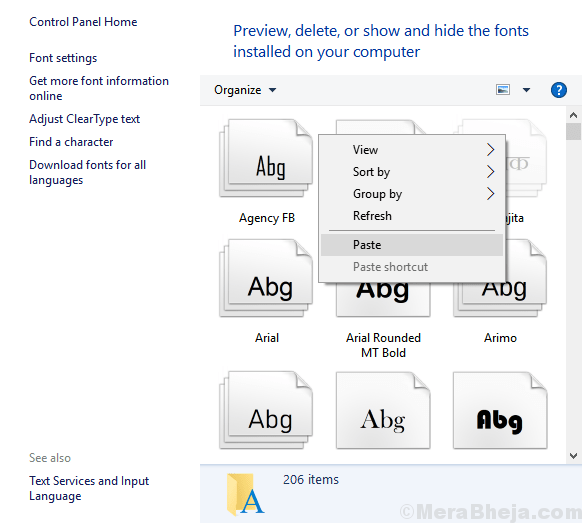
5. Try to paste and install font here.
Fix 2 – Using Command Prompt
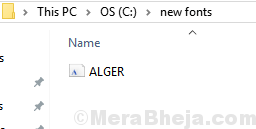
1. Go to C drive and create a folder named new fonts
2. Copy and paste the font you want to install to this folder. For example here i want to install ALGER.TTF font in my case.
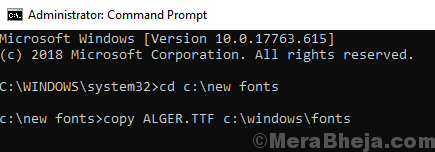
3. Now, Search cmd in Windows 10 Search
4. Right click on search result and Choose run as administrator.

5. Now, Copy and paste the command given below in command prompt and hit enter to move to this folder in cmd.
cd C:\new fonts
6. Now, execute the command given below to copy the font to c:\windows\font
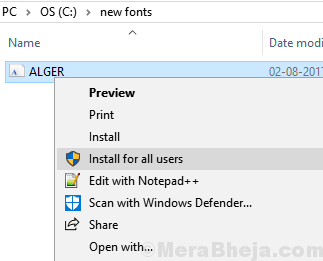
Fix 3 – Install font for all users
1. Just do a right click on the font you want to install to open right click context menu.
2. Now, choose install for all users.
Fix-4 Run Word in Safe Mode-
If you are encountering this issue, running the application ( in which you are facing this issue) in Safe Mode may help you to solve it.
[We have given the example how to open Word is Safe Mode.]
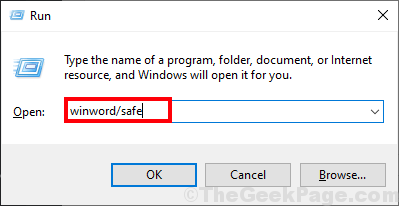
1. Press Windows key+R to launch Run on your computer. Now, type “winword/safe” and hit Enter.
2. Try to write something using the new font. Check if you can find the new font in the list of the fonts.
3. Once you can see the fonts, close Word in Safe Mode.
4. Now, reopen the original document and you will be able to visualize the font on your computer.
Fix-5 Remove corrupted Fonts-
Some fonts on your computer may be corrupted and that may cause this problem.
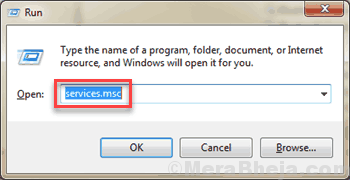
1. Press Windows key+R to open Run window. Now, type “services.msc” and hit Enter to open Services window.
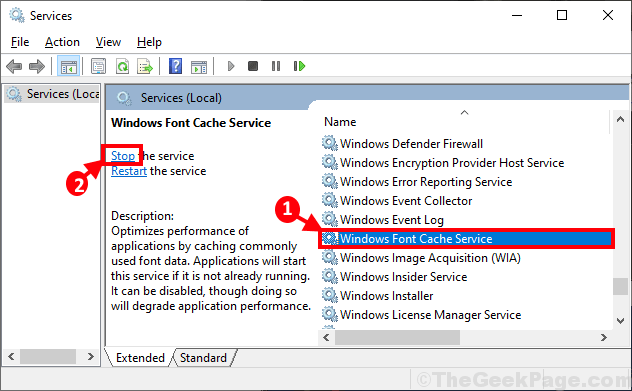
2. In Services window, scroll down to find “Windows Font Cache Service“. Select it and then click on “Stop” on the right side of the Services window to stop that service. Now, again double click on “Windows Font Cache Service” to open the Properties of it.
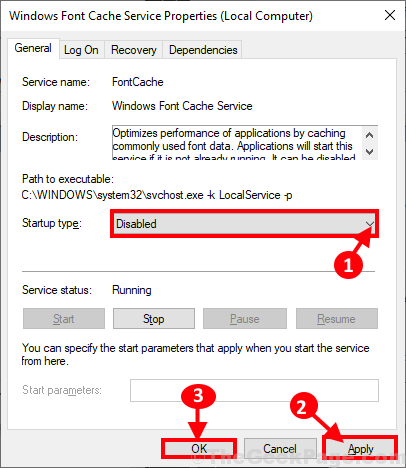
3. In Windows Font Cache Service Properties window, click on the “Startup type:” and select “Disabled” from the drop-down. Finally click on “Apply” and “OK” to save the changes on your computer.
4. Repeat the step-2 and step-3 for “ Windows Presentation Foundation Font Cache 3.0.0.0” in Services window.
Close Services window.
5. Reboot your computer to let these changes take effect on your computer.
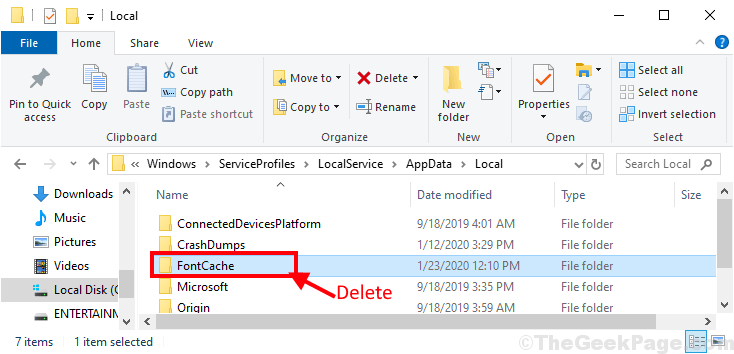
6. After rebooting your computer, open File Explorer by pressing Windows key+E and then navigate to this location-
C:\Windows\ServiceProfiles\LocalService\AppData\Local
Delete the “FontCache” folder. Then, delete any .dat files with a prefix of “FontCache“.
Close File Explorer window.
7. Now, press Windows key+R to launch Run and then type “control” and hit Enter to open Control Panel.
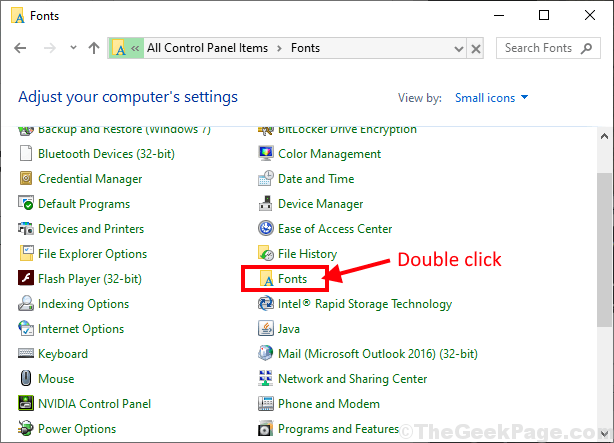
8. In Control Panel window, find out and double click on “Fonts” to see the full list of fonts on your computer.
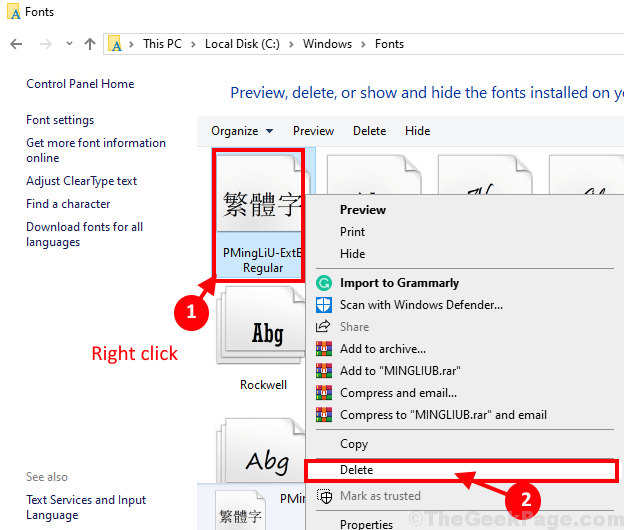
9. Now in the list of the fonts, simply right click on the problematic font and then click on “Delete” to delete the font on your computer.
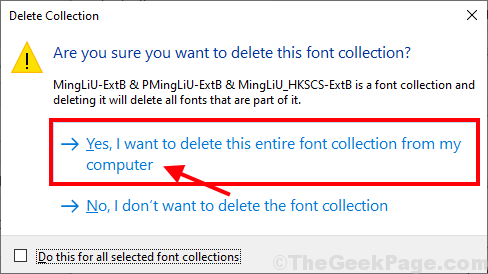
10. If you are prompted “Are you sure you want to delete this font collection?” then click on “Yes, I want to delete this entire font collection from my computer“.
After deleting the fonts from your computer, reboot your computer to save the changes.
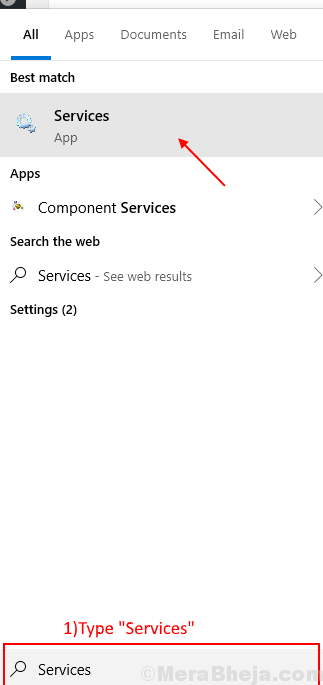
11. After rebooting your computer, type “Services” in the search box just beside the Windows icon and then click on “Services” in the elevated search result.
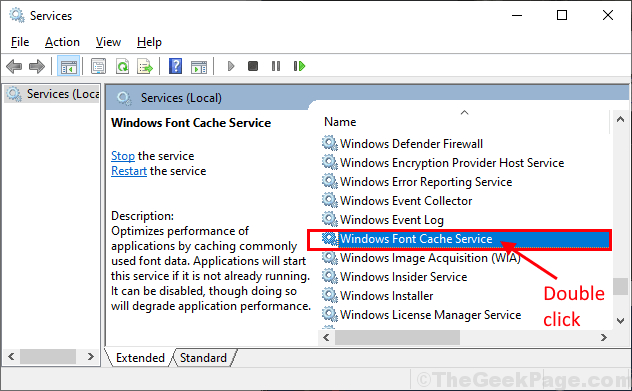
12. In Services window, scroll down to find “Windows Font Cache Service” and double click on it.
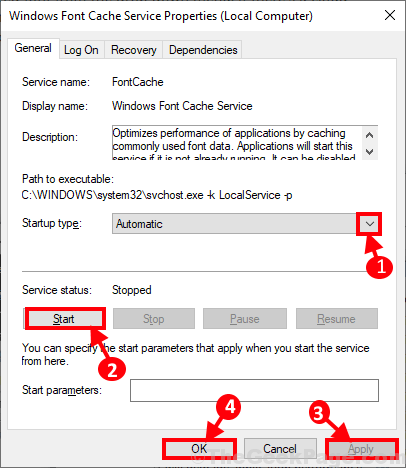
13. In Windows Font Cache Service Properties window, click on ‘Startup type:‘ and choose “Automatic“. Now, click on “Start” just under ‘Service status:‘. Finally click on “Apply” and “OK” to save the changes on your computer. This will start the service on your computer.
14. Repeat the same step to start and enable the “ Windows Presentation Foundation Font Cache 3.0.0.0” service again on your computer.
Close Services window.
15. Open the document in Word. Select the problematic font. You should notice the cloud symbol beside the font as the font is going to be downloaded and installed on your computer. Select the font and begin typing. Your problem should be solved.
Fix-6 Copy the fonts to the default application directory-
If the font is not showing up at all then copying the fonts directly to application directly can solve this issue.
1. Press Windows key+R to launch Run and then type “control” and hit Enter to open Control Panel.
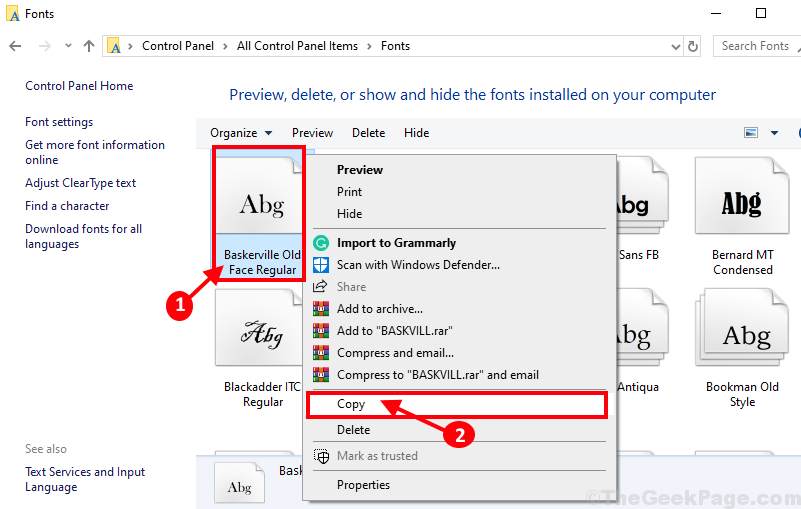
2. In Control Panel window, find out and double click on “Fonts” to see the full list of fonts on your computer.
3. Now,right click on the font you want to copy and then click on “Copy” to copy the font.
4. Now, go to the font storage of the application on your computer and press Ctrl+V to paste it.
Example: If someone is using Adobe InDesign then they should paste this in this location-
Program Files\Adobe\Adobe InDesign\Fonts
Now, reboot your computer and after rebooting your computer you should be able to use the font on your computer without any further issue.

Saurav is associated with IT industry and computers for more than a decade and is writing on The Geek Page on topics revolving on windows 10 and softwares.
Related Posts:
Reader Interactions
Comments
If you had the same problem, it’s mainly related to fonts cache you can copy the below text to notepad and save as .BAT file and then execute it with admin access :
:: Stop and disable “Windows Font Cache Service” service
:FontCache
sc stop “FontCache”
sc config “FontCache” start=disabled
sc query FontCache | findstr /I /C:”STOPPED”
if not %errorlevel%==0 (goto FontCache)
:: Grant access rights to current user for “%WinDir%\ServiceProfiles\LocalService” folder and contents
icacls “%WinDir%\ServiceProfiles\LocalService” /grant “%UserName%”:F /C /T /Q
:: Delete font cache
del /A /F /Q “%WinDir%\ServiceProfiles\LocalService\AppData\Local\FontCache\*FontCache*”
del /A /F /Q “%WinDir%\System32\FNTCACHE.DAT”
:: Enable and start “Windows Font Cache Service” service
sc config “FontCache” start=auto
sc start “FontCache”
At step 8, my computer still shows empty folder.
In the screenshots of Windows above the fonts show up, on my system they do not show up, as a result I cannot perform these steps. The system used to make these screenshots don’t seem to have the problem I am having.


