- Создание загрузочной флешки с DOS Дневник Максим Боголепов
- Создание загрузочной флешки с DOS
- How to Make Partition Bootable in Windows 7 Effortlessly?
- Need to make partition bootable in Windows 7
- Solutions to make bootable partition in Windows 7
- Solution 1. Use Diskpart to create boot partition
- Solution 2. Use Disk Management to set partition bootable
- Solution 3. Use the best partition manager to set partition active
- Summary
- How to Format Bootable USB Flash Drive to Normal in Windows 7, 8, 10?
- Why Need to Format Bootable USB Drive?
- Can We Format Bootable USB Drive in Windows 10/8/7/XP?
- How to Format Bootable USB Drive via AOMEI Partition Assistant?
Создание загрузочной флешки с DOS Дневник Максим Боголепов


Создание загрузочной флешки с DOS
 | На днях столкнулся с некоторой проблемой обновления BIOS вот этого сервера. Программа обновления вместе с самой новой “прошивкой” занимает 1 156 258 байт. А в самом BIOS нет возможности самообновления. На сайте разработчика материнской платы написано, что для обновления BIOS необходимо загрузиться с загрузочной дискеты Windows 95 или Windows 98… Шутники… |
Чтобы до конца стало все понятно, три файла с DOS ( COMMAND .COM, IO.SYS, MSDOS .SYS) занимают места 316 400 байт на дискете емкостью 1 457 664 байт. Получается, что все это хозяйство просто не уместиться на одну дискету! Конечно можно было сделать дискету DOS с поддержкой CD-привода… Но, как оказалось, программа прошивки BIOS этой материнской платы не работает, если используется драйвер дополнительной (extended memory) и HMA -памяти для операционной системы MS- DOS , обеспечивающий поддержку дополнительной памяти (extended или expanded). Так называемый HIMEM .SYS. Этот драйвер необходим для загрузки драйверов CD-привода. Мне просто необходимо было на загрузочном устройстве места больше, чем на 1,44 дискете! Порывшись в интернете нашел замечательную утилиту от Hewlett-Packard для создания загрузочных флеш-дисков – HP Windows Format Utility for USB Drive Key or DiskOnKey. В этом было мое спасение!
Загрузите с моего сайта архив USB _boot_Flash.zip, и разархивируйте в любое место на вашем диске. Зайдите в разархивированную папку USB _boot_Flash и запустите файл установки утилиты для создания загрузочных флеш-дисков hp_usb_tool.exe.
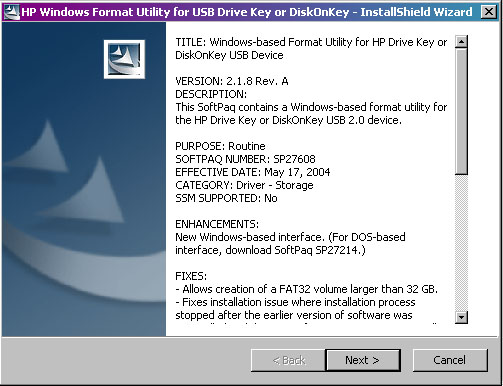
Нажмите Next >.
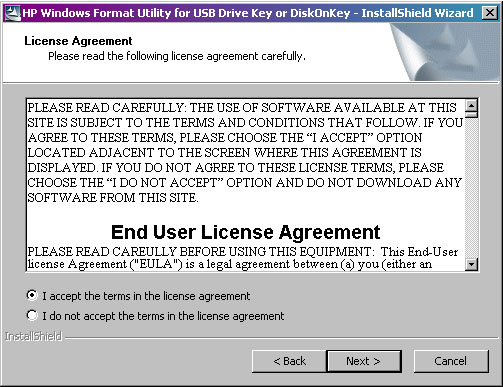
Примите условия лицензионного соглашения и нажмите Next >.
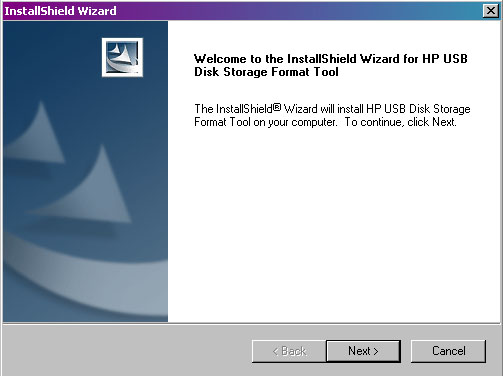
В следующем окне нажмите Next >.
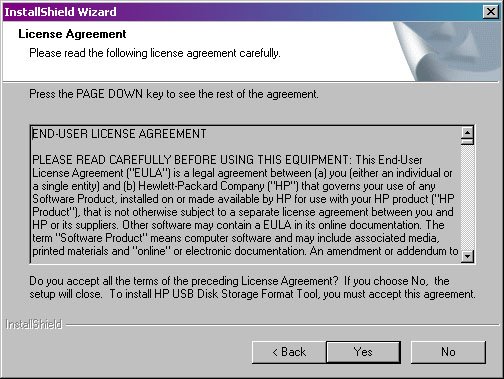
Примите еще одно лицензионное соглашение, нажав Yes.
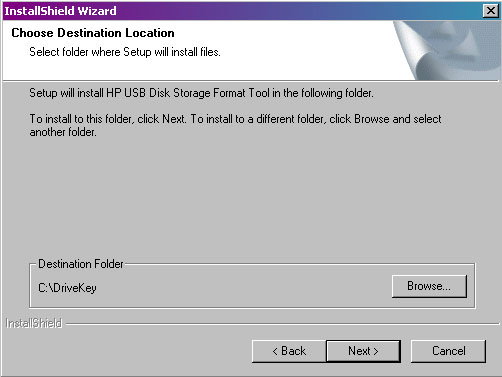
На этом этапе вы можете поменять папку назначений для устанавливаемой программы, нажав кнопку Browse… или продолжить установку в папку по-умолчанию c:\DriveKey, нажав Next >.
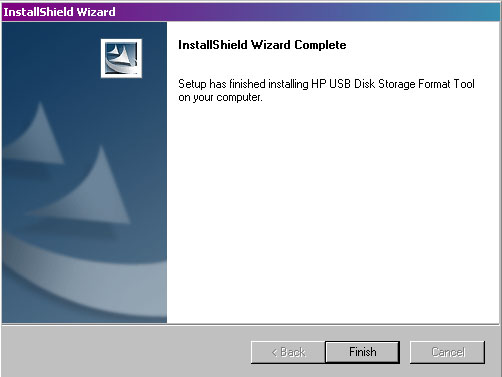
В последнем окне завершите установку утилиты, нажав кнопку Finish.
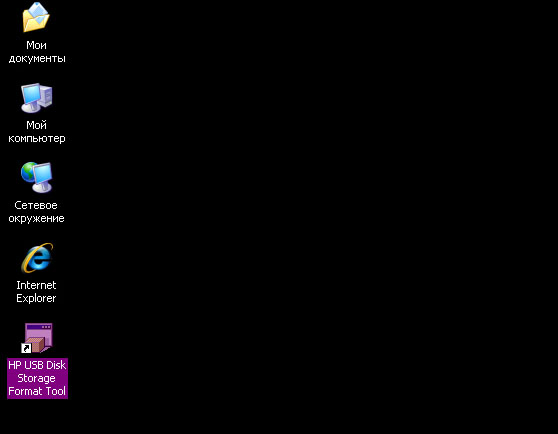
На своем рабочем столе вы обнаружите ярлык для установленной утилиты HP USB Disk Storage Format Tool.
Предупреждение: В процессе создания загрузочной флешки вся информация с нее будет удалена.
Запустите утилиту HP Windows Format Utility for USB Drive Key or DiskOnKey с помощью этого ярлыка.
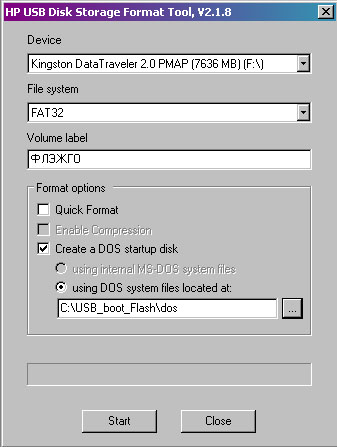
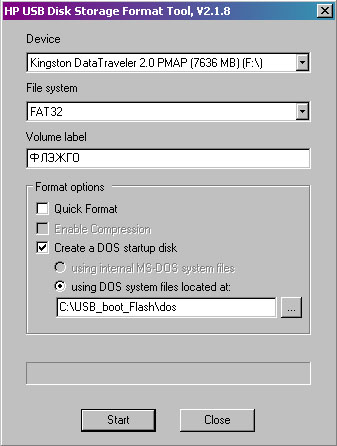
Вверху в поле Device указываем устройство, на котором размещена Ваша флешка. Ставим галочку напротив Create a DOS startup Disk, отмечаем using DOS system files located at и указываем путь к папке DOS в папке, куда Вы распаковали скачанный с моего сайта архив USB _boot_Flash.zip (в моем случае это папка C:\USB_boot_Flash\dos). В поле File System указываем FAT32, в поле Volume label вы можете указать метку будущей загрузочной флешки. Запускаем процесс ее создания, нажав Start.
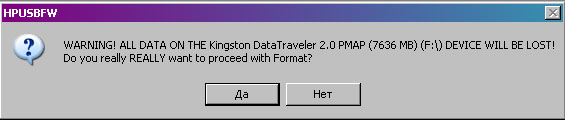
В появившемся окне предупреждения о том, что вся информация, расположенная на флешке будет уничтожена, нажимаем Да.

В следующем окне вы увидите статус процесса создания загрузочной флешки.

По окончании процесса ее создания вы увидите информационное окно о состоянии вашей флешки. Закончите процесс кнопкой OK.
Вернувшись в предыдущее окно закройте его, нажав Close.
Нам осталось только скопировать все содержимое папки C:\USB_boot_Flash\USB к себе на флешку. Так же вы можете скопировать туда необходимые для запуска из-под DOS программки, в моем случае я скопировал программу для обновления BIOS и саму новую прошивку (места теперь более, чем предостаточно!)
Осталось зайти в BIOS и в настройках способов загрузки выбрать первым пунктом загрузку с нашей только что созданной USB -флешки. При загрузке с нее вы увидите чистый DOS с запущенным файловым менеджером Volkov Commander.
Напоследок для тех, кому может понадобиться загрузочная дискета Windows 98 с возможностью обращения к CD-приводу предлагаю утилиту, которая создает такую дискету. Распакуйте содержимое архива boot98se.zip к себе на диск и запустите файл boot98se.exe, который сделает за вас всю грязную работу. В процессе загрузки с нее вы можете выбрать пункты загрузки либо с драйверами поддержки CD-привода, либо без оных.


Rating: 4.4/5(16 votes cast)
How to Make Partition Bootable in Windows 7 Effortlessly?
To start a system normally, you should first make the relevant partition bootable. This article provides three methods to make partition bootable in Windows 7.

By AOMEI  / Last Updated February 27, 2020
Need to make partition bootable in Windows 7
Boot partition, also known as boot volume, is the disk partition that contains the boot loader and necessary files for the Windows operating system. It is the prerequisite to start a computer normally. A suitable boot partition does not only need to contain the related bootable data, it also needs to be marked as an active partition.
For each OS you install, you’ll have boot partitions for each. If you have multiple systems in one disk and you only want to load the appropriate operating system, then you can make the related partition bootable by setting the partition active. But meanwhile, other partitions cannot be set as an active partition because one disk can only has one active partition.
Besides, set active partition is often used when your computer fails to boot. If your computer can’t boot, you should first check if the boot partition is set as active. If not set, you must mark this partition as active to make partition bootable in Windows 7.
Solutions to make bootable partition in Windows 7
How to create boot partition in Windows 7? Here, three efficient methods are listed. Within your own circumstances, choose a solution that will be satisfying for you.
Solution 1. Use Diskpart to create boot partition
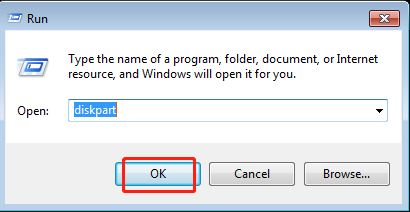
Step 1. Press Windows logo key + R to open Run box. Then type diskpart and click OK.
Step 2. Type the commands below into the Command Prompt one at a time and press Enter after each command.
list disk
select disk n (replacing n with the number assigned to the relevant drive)
list partition
select partition n (replacing n with number of the partition you want to set as active)
active
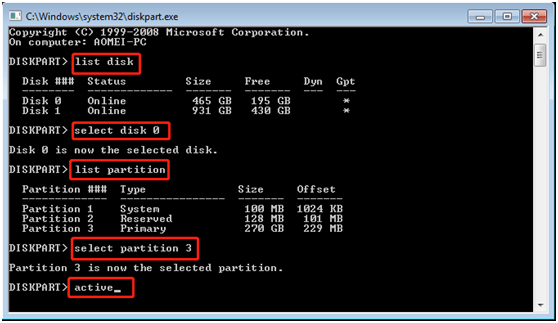
Step 3. Your partition is now active. Type exit, press Enter and then restart your computer.
Solution 2. Use Disk Management to set partition bootable
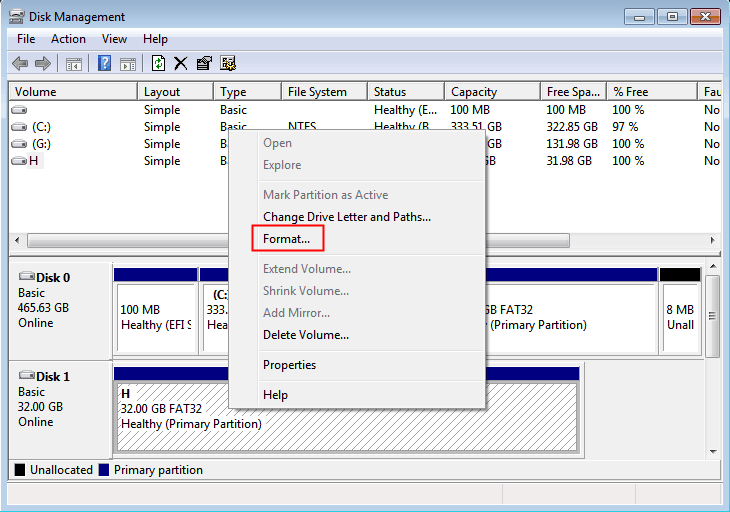
Step 1. Press Windows logo key + R to open Run box. Type diskmgmt.msc and then click OK.
Step 2. Right click the partition you want to set as active. Then choose Mark Partition as Active.

Step 3. Wait for the process to finish and then restart your computer.
Although the two methods noted above can make partition bootable in Windows 7, you must be very careful when using them, as data loss will occur if you make a mistake in the process. Moreover, you aren’t allowed to return to the previous step in the use process. For your data security, the third method is highly recommended.
Solution 3. Use the best partition manager to set partition active
Things get easier and safer when you use AOMEI Partition Assistant Professional. This is a comprehensive partition manager that enables you to make partition bootable in Windows 7/8/8.1/10/Vista/XP effortlessly.
It has a feature called Set Active Partition that allows you to mark a partition as active in 3 easy steps. Cancelling the current operations is also very simple to operate. By using this utility, you also can fix mark partition as active greyed out. Now, let’s look at the detailed steps.
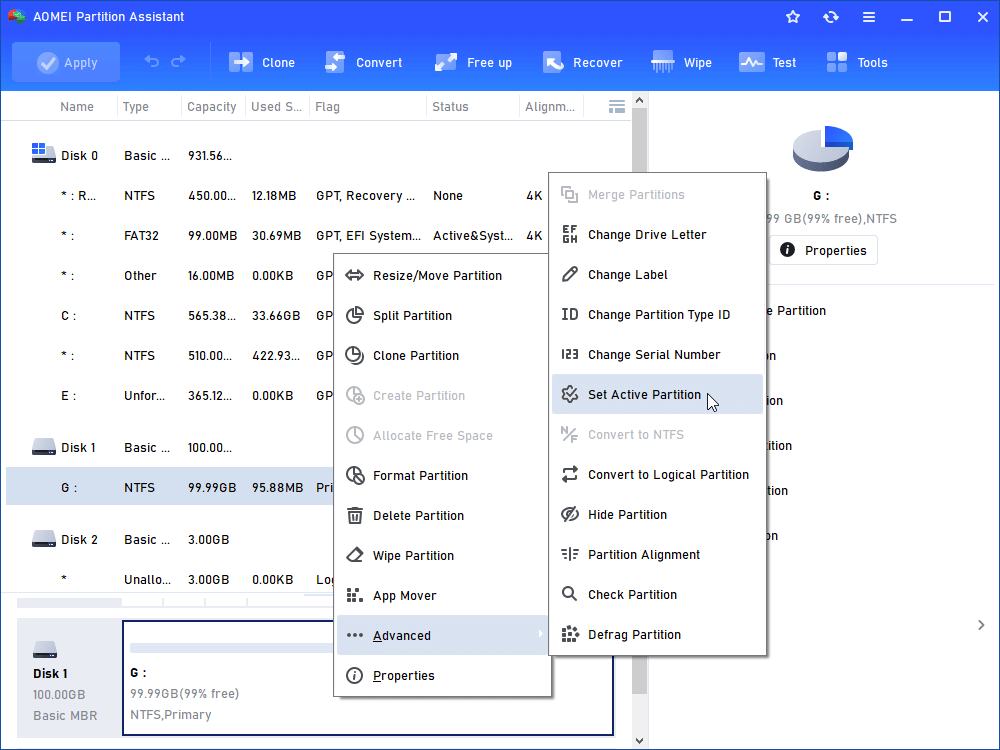
Step 1. Right click the primary partition you want to set as active. Click Advanced and Set Active Partition subsequently.
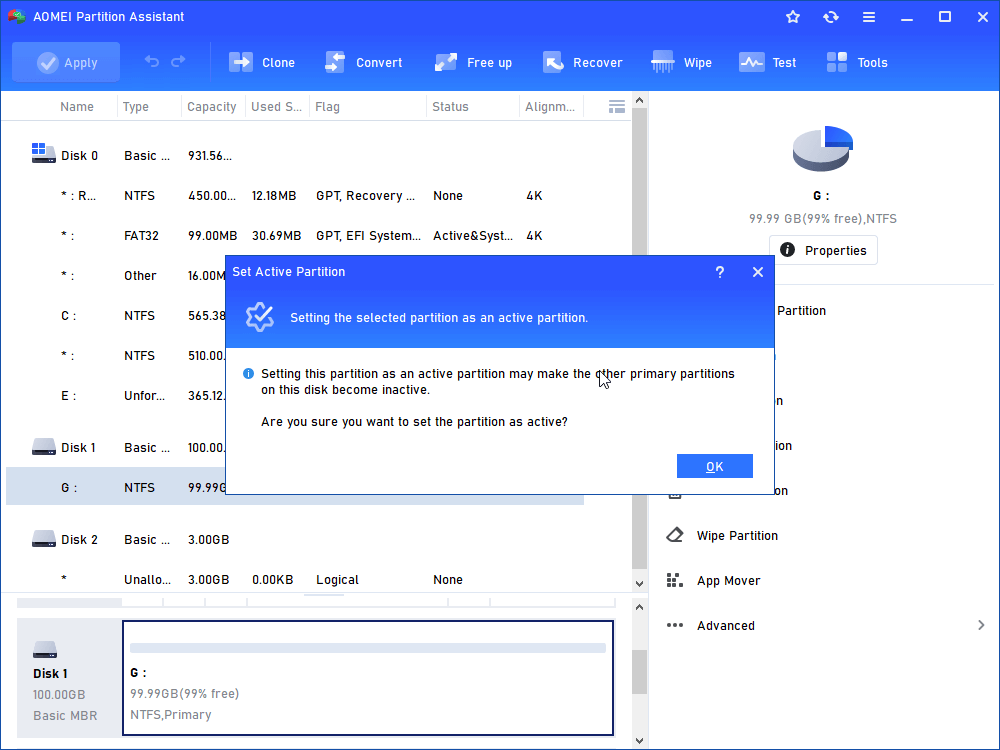
Step 2. Click OK to continue.
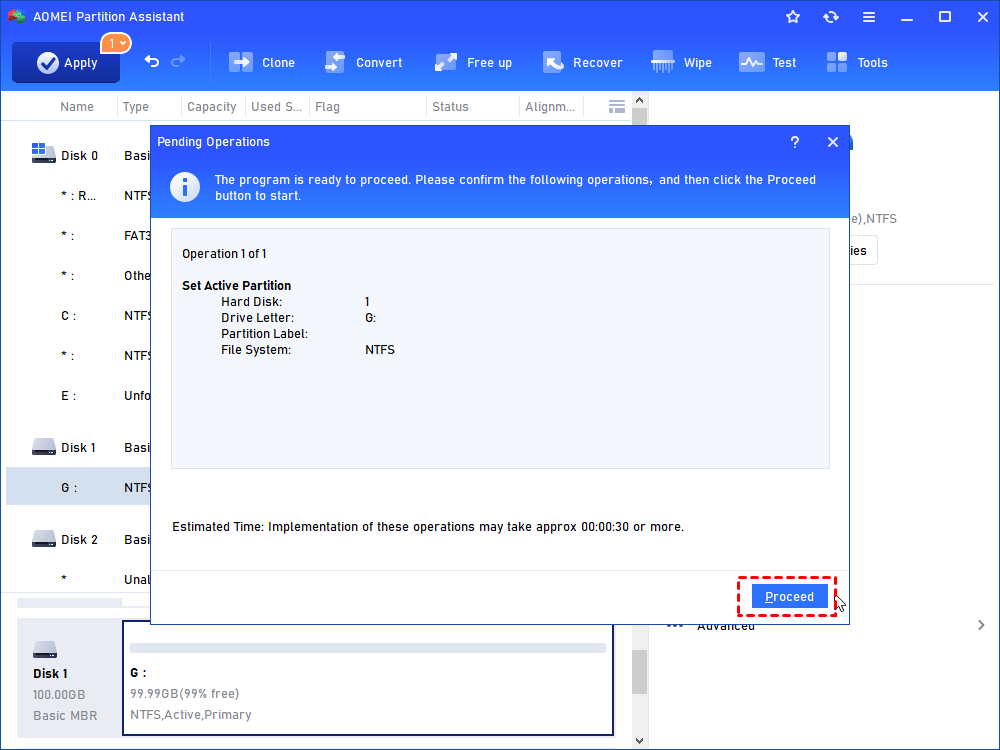
Step 3. Confirm your operations and then click Apply and Proceed.
Tips:
Only a primary partition can be marked as active. Other partitions can’t be set as active. Otherwise, your computer will stop working. If there is no primary partition, you can convert logical partition to primary partition.
Make sure the partition contains the loader or boot files such as “boot.ini”, “ntldr”, “bootmgr” or “BCD” before marking it as active.
Summary
This tutorial contains three practical methods to help you make partition bootable in Windows 7. They are Diskpart, Disk Management and AOMEI Partition Assistant Professional respectively. It is suggested that you use the third method as it is easier and safer. Besides, this utility can solve various problems, such as migrating OS to SSD, converting MBR to GPT, and so on.
How to Format Bootable USB Flash Drive to Normal in Windows 7, 8, 10?
This article illustrates how to format bootable USB stick to normal flash drive with NTFS or FAT32-based file system using reliable bootable USB drive format tool in Windows 7, 8, 10.
![]()
By Teresa / Last Updated February 21, 2021
Why Need to Format Bootable USB Drive?
Bootable USB drive is a kind of helpful assistant in many situations. If you cannot access Windows, the bootable USB drive you created before can help you enter into Windows PE or Linux environment for further operations. Sometimes, to backup hard drive or system, the bootable USB stick helps backup hard drive without booting Windows. What’s more, USB drives are easy to carry and easy to save. One bootable USB stick can apply to different computers.
Well, with so many conveniences it brings to us, why would we want to format bootable USB stick? As we know, USB flash drive comes with larger capacity and reasonable price in recent years. As time goes by, current bootable USB may not meet your computing requirements anymore. In that case, you can choose to copy bootable USB drive to another USB or to format bootable USB drive in Windows 7 and create another new bootable device. Also, when you no longer need the bootable USB, it is not a bad choice to reformat it to FAT32 for new files. Surely, other conditions might result in bootable USB drive formatting as well. The key point is to find out how to format bootable USB to normal.
Can We Format Bootable USB Drive in Windows 10/8/7/XP?
Obviously, the answer is positive. Bootable USB drive is no different than normal USB drive except for the starting programs and Windows pre-installed environment. Therefore, you can format bootable flash drive as usual in some cases. On Windows alone, there are two bootable USB drive format utilities: Disk Management and Diskpart in Command Prompt.
Plug in the bootable USB drive when you running Windows and then type “diskmgmt.msc” in Run box to start Disk Management. Right-click the bootable drive and select “Format”. Then follow the wizard to complete the formatting.
One can not only create bootable USB using Diskpart but also format bootable USB stick with this application. Steps are quite easy as well. First, type “diskpart” in Run box to start Command Prompt. Second, input following commands in turn and remember to press Enter after each move.
select disk X (X stands for the disk number of your bootable USB drive)
create partition primary
format fs=fat32 quick or format fs=ntfs quick (select one file system based on your own needs)
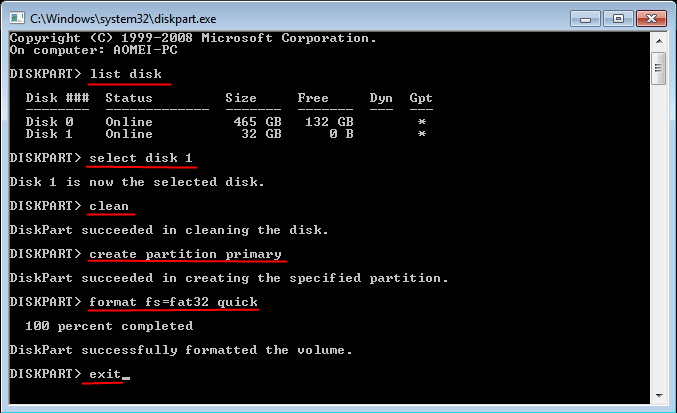
No cumbersome steps required can you format the bootable USB flash drive. Nevertheless, sometimes you cannot complete formatting using both methods. Besides, all operations take place immediately so that you cannot step back. No matter from which side, finding another powerful bootable USB drive formatter is recommendable.
How to Format Bootable USB Drive via AOMEI Partition Assistant?
AOMEI Partition Assistant Professional is reliable and well-known disk partition manager that allows you to, for example, format SD card for 3DS in Windows 10, 8.1, 8, 7, XP, and Vista. This bootable flash drive format utility can assist you format USB drive to NTFS, FAT32, Ext 2 or Ext3 for different uses. During the format process, you are allowed to change cluster size of the file system. If you just want to wipe data on the USB drive like erasing files on SanDisk USB, it supports wipe partition up to 100 times. It has user-friendly interface and provides demo version. You can download the demo version of AOMEI Partition Assistant Professional to have a try.
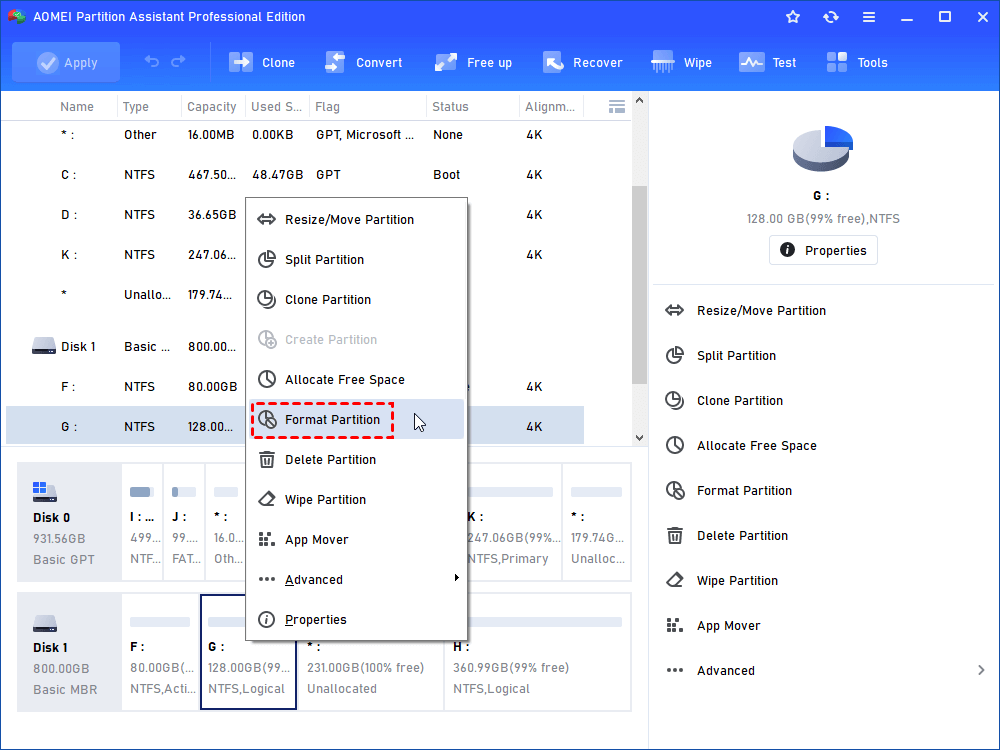
1. Plug in the bootable USB drive when you running Windows. Install and launch AOMEI Partition Assistant.
2. Right-click the bootable flash drive and select “Format Partition”.
3. Set file system and cluster size and then click “OK”.
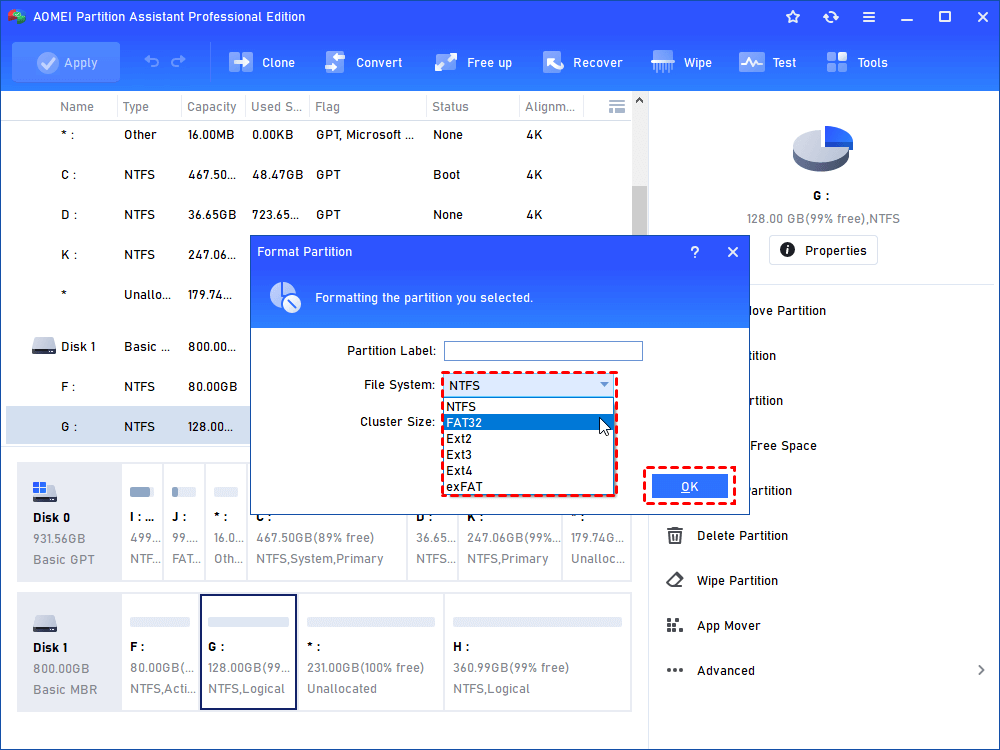
4. This is the virtual result. Click “Apply” to make it real.
Tips: If you want the USB drive to bootable again, try “Make Bootable Media” in this software to create a bootable device with Windows PE, and you can use this bootable USB to format hard drive in WinPE mode without booting Windows.
Except for formatting bootable USB drive, AOMEI Partition Assistant is also an Intenso USB format tool, HP USB format tool and Lexar USB format utility. In addition, you are able to migrate OS from HDD to SSD while keeping files on HDD if the need ever arises.


