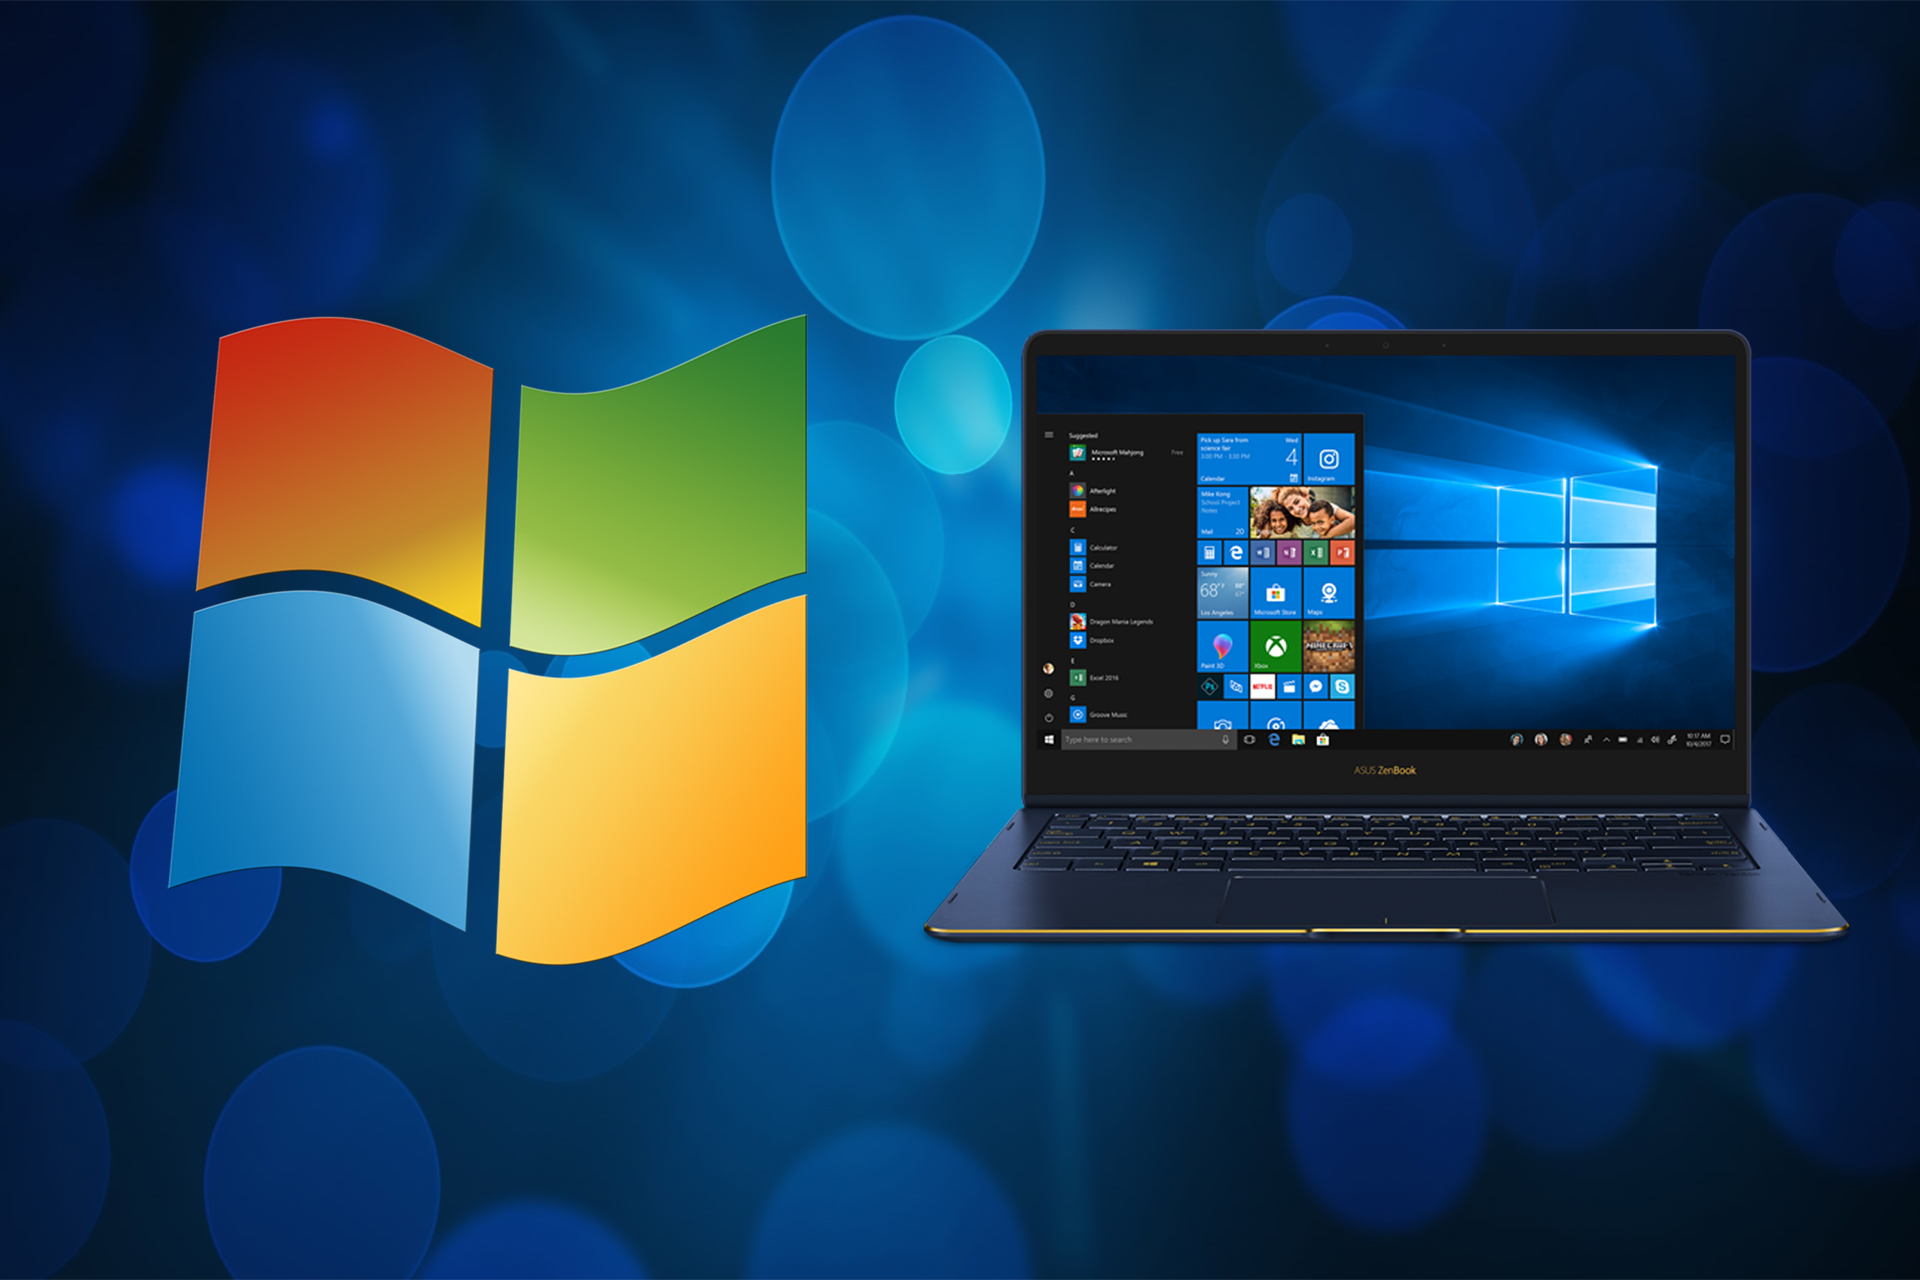
- How Much Space does Windows 10 Take Up in Disk
- Part 1. How Much Space does Windows 10 Take up in Hard Disk and SSD?
- 1. How Much Space does Windows 10 Installation Take up?
- 2. How Much Space does Windows 10 System Update Take up?
- How do I upgrade to Windows 10 with low disk space
- How do I install Windows 10 on low disk space computers?
- 1. Free up disk space before installing Windows 10
- Ashampoo WinOptimizer
- 2. Use an SD card
- 3. Install Windows 10 on a low disk space computer
- 12 best ways to free up hard drive space on Windows 10
- 1. Free up space emptying Recycle Bin on Windows 10
- 2. Free up space deleting junk files using Storage Sense on Windows 10
- Enable Storage Sense
- Delete unnecessary files using Storage Sense
- Delete temporary files with Storage Sense
- View storage usage on Windows 10
- 3. Free up space deleting temp files using Disk Cleanup on Windows 10
- Remove temporary files with Disk Cleanup
- Delete System Restore and Shadow Copies using Disk Cleanup
- 4. Free up space using OneDrive files on-demand on Windows 10
- Enable OneDrive Files On-Demand
- Convert local files available only-online
- Get subscribed
- Microsoft 365
How Much Space does Windows 10 Take Up in Disk

Part 1. How Much Space does Windows 10 Take up in Hard Disk and SSD?
1. How Much Space does Windows 10 Installation Take up?
CPU: 1GHz or faster processor
Memory: 1GB (for 32-bit) or 2GB (for 64-bit)
Hard disk space: 16GB (for 32-bit system) or 20GB (for 64-bit system)
GPU: DirectX 9 or later versions with WDDM 1.0 driver
Official Recommended Disk Space for Windows 10: 20GB or more (for 32-bit), 40GB or more (for 64-bit).
2. How Much Space does Windows 10 System Update Take up?
Automatic 4K alignment Improves SSD performance during system migration.
Support GPT and MBR Automatically adapt to the suitable partition format.
Support NTFS and FAT32 Redeploy various files in different file systems.
Back up quickly Back up files at up to 3,000MB/min.
Overall backup schedule Support system redeployment/system backup/partition backup/disk backup/disk clone.
Automatic 4K alignment Improve SSD performance
Support GPT and MBR Intelligently adapt to a partition format
Support NTFS and FAT32 Redeploy files in different file systems
Free Trial Free Trial Now 2000 people have downloaded!
How do I upgrade to Windows 10 with low disk space

- Even if it’s challenging, there’s a way to install Windows 10 on devices with limited disk space.
- Refer to the below steps in order to get the desired OS version even on your low disk space PC.
- If there’s enough hard drive space left, correct the issue by using the best optimization software.
- Whenever you need help, keep in mind that you can visit this Tech Tutorials Hub in that regard.
Upgrading to a new operating system isn’t always easy. For example, you might encounter some issues with hardware requirements.
One common question that many users have is how to install Windows 10 on devices with low free disk storage space or small hard drive. Worry not, we’re going to explain to you how to do it.
How do I install Windows 10 on low disk space computers?
1. Free up disk space before installing Windows 10

When you start upgrading to Windows 10 setup will perform a compatibility check to see if you have enough hard drive space. The setup will inform you of how much space is required.
In most cases, Windows 10 takes about 10 GB of your hard drive, but it’s recommended to have some more for additional files and software.
If this is a problem, the easiest way to free up some space is to perform an in-depth cleaning with the help of a reliable tool such as Ashampoo WinOptimizer.
Just make sure that you leave some extra space available because you’ll need it for updates and additional software.

Ashampoo WinOptimizer
2. Use an SD card

Another option is to use an SD card as well but be careful because SD cards drivers are not migrated if the device doesn’t support Connected Standby.
You don’t have to use an external hard drive or USB for installation. But if you don’t use it, you’ll see that on your hard drive there’s a previous version of Windows available.
Don’t worry, this version will be automatically deleted after 30 days, or you can delete it manually right now if you want.
If you decide to use a USB stick or external hard drive during Windows 10 installation, your previous version of Windows will be moved to that external device.
As you can see you don’t need that much space in order to install Windows 10, but if you want to save maximum space, you might want to use external storage to store your previous version of Windows.
Alright, so now that you have all the information you need to upgrade your low disk space device to Windows 10, let’s quickly sum up the steps to follow.
3. Install Windows 10 on a low disk space computer

- Check your hard disk space. Make sure you have at least 10 GB of free space.
- If you don’t have enough disk space, use Ashampoo WinOptimizer to free up some space.
- Once you’ve got at least 10 GB of free space, your Windows 10 install will begin.
- Wait patiently and follow the on-screen instructions.
Have you completed the above procedure? Let us know how it went for you in the comments area below.
12 best ways to free up hard drive space on Windows 10
 Source: Windows Central
Windows 10 includes several options to free up space when the hard drive on your device fills up. Although drives with multiple terabytes are common on laptops and desktop computers, it does not take a long time to stuff them up with documents, pictures, videos, apps, and games. And then, without warning, you will start noticing slow performance, problems saving files and many other issues.
If your device is running low on space, Windows 10 offers several tools (such as Storage Sense, OneDrive File On-demand, Compact OS, NTFS compression, and many others) to delete junk and temporary files, apps, and games to optimize the device storage. Using these tools will help you reclaim additional space, but it will improve the overall performance and problems during updates.
In this Windows 10 guide, we’ll walk you through the best tips to free up storage space on your device to make room to store more files and install feature updates without issues.
1. Free up space emptying Recycle Bin on Windows 10
On Windows 10, when deleting files, the system does not erase them from the hard drive. Instead, they are placed inside the Recycle Bin in case you need them back. However, depending on how the feature is configured, over time, the Recycle Bin can take a lot of space, which means that emptying the bin is one of the first actions you should take to regain valuable storage space.
To empty the Recycle Bin to free up space on Windows 10, use these steps:
- Open Start.
Search for Recycle Bin and click the top result to open the app.
Quick tip: If the app does not appear in the result, you can open File Explorer (Windows key + E), and then type Recycle Bin and press Enter in the address bar.
Click the Empty Recycle Bin button.
 Source: Windows Central
Once you complete the steps, the system will free up around ten percent of the drive capacity (assuming the Recycle Bin is at capacity).
2. Free up space deleting junk files using Storage Sense on Windows 10
On Windows 10, Storage Sense is a feature that allows you to quickly delete junk files (including previous installation files after an upgrade and temporary files) to free up space on the primary and secondary drives to make room to store other files and improve drive efficiency.
Enable Storage Sense
Although you can use Storage Sense manually, you can also enable the feature to run maintenance automatically to prevent running out of space quickly.
To set up Storage Sense to run automatically, use these steps:
- Open Settings.
- Click on System.
- Click on Storage.
Under the «Storage» section, click the Configure Storage Sense or run it now option.
Source: Windows Central
Use the «Run Storage Sense» drop-down menu and select the best option for your situation:
- Every day.
- Every week.
- Every month.
- During low free disk space (recommended).
Source: Windows Central
Once you complete the steps, Storage Sense will run automatically at the schedule you specified.
The option to enable the feature is also available on the Storage page, but using this option only activates the default settings. Using the Storage Sense settings page allows you to configure how the feature should remove unnecessary content.
Delete unnecessary files using Storage Sense
To free up space using Storage Sense, use these steps:
- Open Settings.
- Click on System.
- Click on Storage.
Under the «Storage» section, click the Configure Storage Sense or run it now option.
Source: Windows Central
Use the Downloads drop-down menu to specify how to clean up files you downloaded from the internet.
Quick tip: If you need to delete the most files, use the 1 day option. The Downloads folder may contain valuable files you may have downloaded from the internet, which means that it is recommended to backup those files manually before running Storage Sense.
Under the «Locally available cloud content» section, use the drop-down menu to specify how long OneDrive content synced to the device becomes online-only.
 Source: Windows Central
Quick note: This option is part of OneDrive Files On-Demand that allows you to access your documents, pictures, videos, and other files using File Explorer, without the need to sync them to reduce the space usage on your device. When your computer is low on space, you can use it to make files only available in the cloud. You will still see your files, but their content will only download when you need them.
Under the «Free up space now» section, check the Delete previous versions of Windows option (if applicable).
Source: Windows Central
Quick note: If this option is available, you may be able to free up close to 20GB of space.
Storage Sense will run and delete unnecessary files from the computer to reclaim more space after you complete the steps.
Delete temporary files with Storage Sense
Storage Sense also allows you to delete temporary system and apps files to reclaim several gigabytes of space.
To delete temporary files with the Settings app, use these steps:
- Open Settings.
- Click on System.
- Click on Storage.
Under the «Local Disk (C:)» section, click the Temporary files item. (If the item is not available, click the Show more categories option.)
Source: Windows Central
Check all the items you want to remove to optimize the space. For example:
- Downloads.
- Windows Update Cleanup.
- Recycle Bin.
- Delivery Optimization Files.
- Thumbnails.
- Microsoft Defender Antivirus.
- Temporary Internet Files.
- Temporary files.
- Windows error reports and feedback diagnostics.
- DirectX Shader Cache.
- Previous Windows installation(s).
- Temporary Windows installation files.
Quick tip: The available items may vary in your installation. If you want to select the Downloads item, before clearing these files, make sure to understand that this option will erase everything in the «Downloads» folder.
Click the Remove files button.
Source: Windows Central
After you complete the steps, the files you selected will be deleted permanently, freeing up space for more important files.
View storage usage on Windows 10
While you are probably aware that your device is running low on space, Storage Sense can also help you understand which contents are using the most space to know the files you want to clean up.
To view the storage usage on Windows 10, use these steps:
- Open Settings.
- Click on System.
- Click on Storage.
Under the «Local Disk C:» section, click the Show more categories option.
 Source: Windows Central
See how the storage is being utilized.
![]() Source: Windows Central
Source: Windows Central
Once you complete the steps, you will better understand the storage usage and the areas of focus to free up space.
For instance, by clicking the System & reserved category, you will see how much space the installation is using, and how much space virtual memory, hibernation files, system restore, and the amount of space the system is reserving for updates.
3. Free up space deleting temp files using Disk Cleanup on Windows 10
If Storage Sense is not for you, it is still possible to free up space using the legacy Disk Cleanup tool.
Remove temporary files with Disk Cleanup
To delete temporary files using Disk Cleanup, use these steps:
- Open Start.
- Search for Disk Cleanup and select the top result to open the feature.
- Use the «Drives» drop-down menu and select the (C:) drive (if applicable).
- Click the OK button.
Click the Cleanup system files button.
 Source: Windows Central
Check all the contents you want to clear. For example:
- Windows Update Cleanup.
- Microsoft Defender Antivirus.
- Downloaded Program Files.
- Temporary Internet Files.
- Windows error reports and feedback diagnostics.
- DirectX Shader Cache.
- Delivery Optimization Files.
- Device driver packages.
- Language Resource Files.
- Previous Windows installation(s).
- Recycle Bin.
- Temporary files.
- Thumbnails.
Click the OK button.
Source: Windows Central
Once you complete the steps, those unnecessary files will be removed from the computer to freeing up hard drive space.
Delete System Restore and Shadow Copies using Disk Cleanup
If you use System Restore and the Shadow Copies feature, you can also delete older files to reclaim additional space.
To delete old system restore points on Windows 10, use these steps:
- Open Start.
- Search for Disk Cleanup and select the top result to open the feature.
- Use the «Drives» drop-down menu and select the (C:) drive (if applicable).
- Click the OK button.
Click the Cleanup system files button.
Source: Windows Central
Under the «System Restore and Shadow Copies» section, click the Clean up button.
Source: Windows Central
After you complete the steps, you will reclaim some additional space to store more important files.
4. Free up space using OneDrive files on-demand on Windows 10
If you need to free up space immediately (and every megabyte counts), you can use the OneDrive files on-demand feature to make files available online only manually.
Enable OneDrive Files On-Demand
On Windows 10, the Files On-Demand feature should be already enabled in OneDrive, but if it is not, use these steps:
- Click the OneDrive icon in the bottom-right corner of the taskbar.
- Click the Help & Settings option.
Click the Settings option.
Source: Windows Central
Under the «File On-Demand» section, check the Save space and download files as you use them option.
Source: Windows Central
Once you complete the steps, you can move files to the OneDrive folder and make them available only online to free up space (see steps below).
Convert local files available only-online
To make files available online-only, use these steps:
- Open File Explorer.
- Select the OneDrive folder from the left pane.
Select the files and folders taking up space.
Quick tip: You can select all files using the Ctrl + A keyboard shortcut; selecting the first file, holding down the Shift key and selecting the last files, or holding down the Ctrl key and selecting each file individually.
Right-click the selection and choose the Free up space option.
Source: Windows Central
In addition to making synced files available only with an internet connection, you can free up even more space by moving other files to the OneDrive folder and use the above steps to make them available on-demand.
After you complete the steps, you will be able to access all of your content using File Explorer, but you will only be able to open them with an internet connection.
The free version of OneDrive only allows you to store up to 5GB of data. However, you can always get a Microsoft 365 subscription to lift the limit to 1TB. In addition to the 1TB of storage, the subscription also gives you access to all the Office apps and services like Microsoft Teams and Family Safety.
Get subscribed
![]()
Microsoft 365
Microsoft 365 (formerly Office 365) gives you full access to all the apps and perks, such as 1TB OneDrive storage and Skype minutes. You can also install Word, Excel, PowerPoint, Outlook, and other apps on up to five devices, and depending on the subscription, you can share the account with up to six people.


