- Adding languages in Windows 10: Known issues
- Adding Local Experience Packs (LXPs) in Windows 10 version 2004 and later versions: Known issue
- Adding language packs in Windows 10, version 1803 and later versions: Known issue
- Cause
- Resolution
- Windows 10, version 1903(build 18362) and later
- Windows 10, versions 1803 and 1809
- Example
- Add language packs to a Windows 10 multi-session image
- Prerequisites
- Create a content repository for language packages and features on demand
- Create a custom Windows 10 Enterprise multi-session image manually
- Create a custom Windows 10 Enterprise multi-session image automatically
- Finish customizing your image
- Enable languages in Windows settings app
- Next steps
Adding languages in Windows 10: Known issues
This topic captures known issues that affect language provisioning in Windows 10.
Adding Local Experience Packs (LXPs) in Windows 10 version 2004 and later versions: Known issue
When servicing a Windows image that contains LXPs with a cumulative monthly security update or public preview, the corresponding LXP ISO for that update needs to be downloaded and installed to the system image prior to launching OOBE. If this step is skipped, then the user may experience unexpected language fallback (e.g., see text in a language that they cannot understand) until they are able to update their LXP via the Microsoft Store. Note that LXPs cannot be updated via the Microsoft Store until OOBE is completed (i.e., device has reached the Desktop) and the device has established internet connectivity.
To find the correct LXP ISO for your associated monthly quality update, look for the abbreviation of your update in the LXP ISO filename (e.g., 9B). If a quality update doesn’t have a corresponding LXP ISO, use the LXP ISO from the previous release.
| Monthly quality update | Servicing update file name and KB article | LXP ISO part numbers and/or filenames |
|---|---|---|
| *9B | 2020-09 Cumulative Update for Windows 10 Version 2004 for x64-based Systems (KB4571756) | |
| *9C | 2020-09 Cumulative Update Preview for Windows 10 Version 2004 for x64-based Systems (KB4577063) | |
| *10C | 2020-10 Cumulative Update Preview for Windows 10 Version 2004 for x64-based Systems (KB4580364) | |
| *11C | 2020-11 Cumulative Update Preview for Windows 10 Version 2004 for x64-based Systems (KB4586853) | |
| *1C | 2021-01 Cumulative Update Preview for Windows 10 Version 2004 for x64-based Systems (KB4598291) | |
| *2C | 2021-02 Cumulative Update Preview for Windows 10 Version 2004 for x64-based Systems (KB4601382) | |
| *3C | 2021-03 Cumulative Update Preview for Windows 10 Version 2004 for x64-based Systems (KB5000842) | |
| *4B | 2021-04 Cumulative Update Preview for Windows 10 Version 2004 for x64-based Systems (KB5001330) | |
*The number aligns to the month (e.g., 9 = September), and the letter aligns to the quality update type. See this blog post for more information on the monthly update terminology and servicing cadence.
Adding language packs in Windows 10, version 1803 and later versions: Known issue
In Windows 10, version 1803 (build 17134) and later versions, you use Lpksetup.exe or Deployment Image Servicing and Management (DISM.exe) to add language packs to an image. However, the language does not automatically appear in the list of Windows display languages under Settings > Time & Language > Language.
Cause
Beginning in Windows 10, version 1803, a background cleanup task removes language packs that are not actively used. The list of Windows display languages shows only the languages of the language packs that have been used. It is possible for the cleanup task to remove a language pack before the language pack can be used.
Resolution
The specific steps to resolve this issue depend on the version of Windows 10 that you are using.
Windows 10, version 1903(build 18362) and later
After you install the language pack, change the Group Policy that governs the affected computer. To do this, set the BlockCleanupOfUnusedPreinstalledLangPacks Group Policy Object (GPO) to Yes.
After you make this change, the added language remains visible under Settings > Time & Language > Language > Windows display language.
Windows 10, versions 1803 and 1809
When you run the commands that are described in this section, you must use the security context of the user who will use the language pack. If more than one user will be using the system, you have to run these commands under the security context of each user in turn.
After you install the language pack, add the language pack to the user language list. To do this, open a Windows PowerShell window, and run the following commands:
In these commands, represents the language code of the language pack that you want to add.
To verify that the language pack was added to the user language list, run the Get-WinUserLanguageList cmdlet.
Example
This example adds the Spanish language pack (“es-es») to the list of Windows display languages. To add other language packs, replace all instances of “es-es” with the language code of the desired language pack.
Install a language pack by using Lpksetup.exe or DISM.exe. To do this, open an elevated Command Prompt window, and run one of the following commands:
Verify that the language pack is installed. To do this, type the following command at an elevated command prompt:

Depending on the version of Windows 10, do one of the following:
- Windows 10, version 1903(build 18362) and later: Change the Group Policy that governs the affected computer. Set the BlockCleanupOfUnusedPreinstalledLangPacks Group Policy Object (GPO) to Yes.
- Windows 10, versions 1803 and 1809: Open a PowerShell window and run the following commands:

To verify that the language is now available, do one of the following:
- In a PowerShell window, run Get-WinUserLanguageList.

- Select Settings >Time & Language >Language >Windows display language, and verify that EspaГ±ol (EspaГ±a) appears.

—>
Add language packs to a Windows 10 multi-session image
Windows Virtual Desktop is a service that your users can deploy anytime, anywhere. That’s why it’s important that your users be able to customize which language their Windows 10 Enterprise multi-session image displays.
There are two ways you can accommodate the language needs of your users:
- Build dedicated host pools with a customized image for each language.
- Have users with different language and localization requirements in the same host pool, but customize their images to ensure they can select whichever language they need.
The latter method is a lot more efficient and cost-effective. However, it’s up to you to decide which method best suits your needs. This article will show you how to customize languages for your images.
Prerequisites
You need the following things to customize your Windows 10 Enterprise multi-session images to add multiple languages:
An Azure virtual machine (VM) with Windows 10 Enterprise multi-session, version 1903 or later
The Language ISO, Feature on Demand (FOD) Disk 1, and Inbox Apps ISO of the OS version the image uses. You can download them here:
If you use Local Experience Pack (LXP) ISO files to localize your images, you will also need to download the appropriate LXP ISO for the best language experience
An Azure Files Share or a file share on a Windows File Server Virtual Machine
The file share (repository) must be accessible from the Azure VM you plan to use to create the custom image.
Create a content repository for language packages and features on demand
To create the content repository for language packages and FODs and a repository for the Inbox Apps packages:
On an Azure VM, download the Windows 10 Multi-Language ISO, FODs, and Inbox Apps for Windows 10 Enterprise multi-session, version 1903/1909, and 2004 images from the links in Prerequisites.
Open and mount the ISO files on the VM.
Go to the language pack ISO and copy the content from the LocalExperiencePacks and x64\langpacks folders, then paste the content into the file share.
Go to the FOD ISO file, copy all of its content, then paste it into the file share.
Go to the amd64fre folder on the Inbox Apps ISO and copy the content in the repository for the inbox apps that you’ve prepared.
If you’re working with limited storage, only copy the files for the languages you know your users need. You can tell the files apart by looking at the language codes in their file names. For example, the French file has the code «fr-FR» in its name. For a complete list of language codes for all available languages, see Available language packs for Windows.
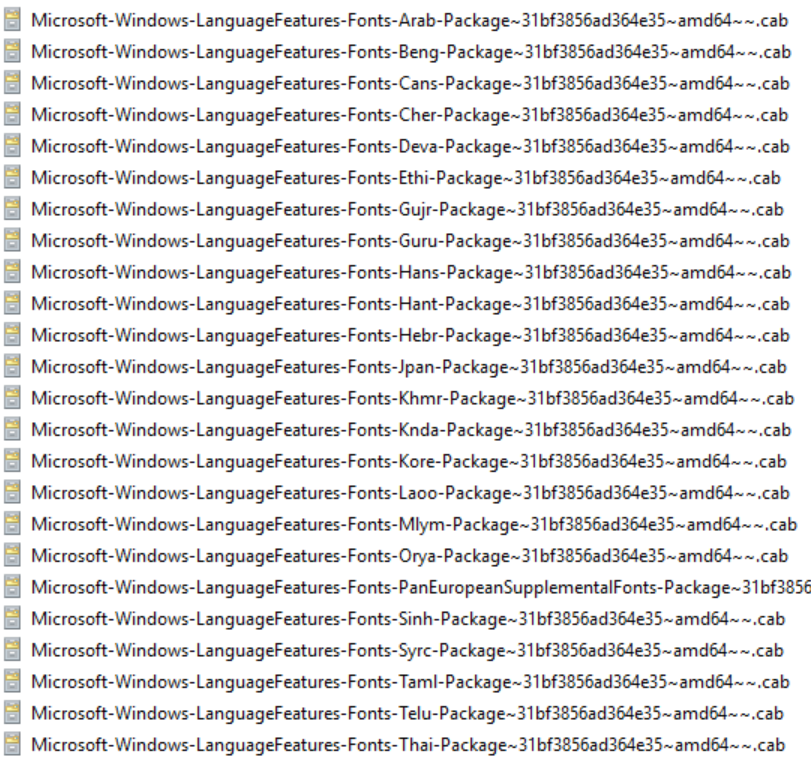
Some languages require additional fonts included in satellite packages that follow different naming conventions. For example, Japanese font file names include “Jpan.»
Set the permissions on the language content repository share so that you have read access from the VM you’ll use to build the custom image.
Create a custom Windows 10 Enterprise multi-session image manually
To create a custom Windows 10 Enterprise multi-session image manually:
- Deploy an Azure VM, then go to the Azure Gallery and select the current version of Windows 10 Enterprise multi-session you’re using.
- After you’ve deployed the VM, connect to it using RDP as a local admin.
- Make sure your VM has all the latest Windows Updates. Download the updates and restart the VM, if necessary.
- Connect to the language package, FOD, and Inbox Apps file share repository and mount it to a letter drive (for example, drive E).
Create a custom Windows 10 Enterprise multi-session image automatically
If you’d rather install languages through an automated process, you can set up a script in PowerShell. You can use the following script sample to install the Spanish (Spain), French (France), and Chinese (PRC) language packs and satellite packages for Windows 10 Enterprise multi-session, version 2004. The script integrates the language interface pack and all necessary satellite packages into the image. However, you can also modify this script to install other languages. Just make sure to run the script from an elevated PowerShell session, or else it won’t work.
The script might take a while depending on the number of languages you need to install.
Once the script is finished running, check to make sure the language packs installed correctly by going to Start > Settings > Time & Language > Language. If the language files are there, you’re all set.
After adding additional languages to the Windows image, the inbox apps are also required to be updated to support the added languages. This can be done by refreshing the pre-installed apps with the content from the inbox apps ISO. To perform this refresh in a disconnected environment (no Internet Access from the VM possible), you can use the following PowerShell script sample to automate the process.
The inbox apps included in the ISO aren’t the latest versions of the pre-installed Windows apps. To get the latest version of all apps, you need to update the apps using the Windows Store App and perform an manual search for updates after you’ve installed the additional languages.
When you’re done, make sure to disconnect the share.
Finish customizing your image
After you’ve installed the language packs, you can install any other software you want to add to your customized image.
Once you’re finished customizing your image, you’ll need to run the system preparation tool (sysprep).
Open an elevated command prompt and run the following command to generalize the image:
Stop the VM, then capture it in a managed image by following the instructions in Create a managed image of a generalized VM in Azure.
You can now use the customized image to deploy a Windows Virtual Desktop host pool. To learn how to deploy a host pool, see Tutorial: Create a host pool with the Azure portal.
Enable languages in Windows settings app
Finally, after you deploy the host pool, you’ll need to add the language to each user’s language list so they can select their preferred language in the Settings menu.
To ensure your users can select the languages you installed, sign in as the user, then run the following PowerShell cmdlet to add the installed language packs to the Languages menu. You can also set up this script as an automated task or logon script that activates when the user signs in to their session.
After a user changes their language settings, they’ll need to sign out of their Windows Virtual Desktop session and sign in again for the changes to take effect.
Next steps
If you have any other questions about Windows 10 Enterprise multi-session, check out our FAQ.


