- Description of the Windows Update Standalone Installer in Windows
- Introduction
- More Information
- References
- «Автономный установщик обновлений» в Windows 7
- Описание компонента
- Установка апдейтов через «Автономный установщик обновлений»
- Удаление обновлений
- Отключение компонента
- Решение возможных проблем
- Windows Installer
- Where applicable
- Developer audience
- Run-time requirements
Description of the Windows Update Standalone Installer in Windows
Introduction
This article describes the Windows Update Standalone Installer (Wusa.exe) in the following Windows operating systems:
Windows Server 2008
Windows Server 2008 R2
Windows Server 2012
Windows Server 2012 R2
Windows Server 2016 Technical Preview
The Wusa.exe file is in the %windir%\System32 folder. The Windows Update Standalone Installer uses the Windows Update Agent API to install update packages. Update packages have an .msu file name extension. The .msu file name extension is associated with the Windows Update Standalone Installer.
More Information
An .msu file contains the following contents.
Windows Update metadata
Describes each update package that the .msu file contains.
One or more .cab files
Each .cab file represents one update.
This .xml file describes the .msu update package. Wusa.exe uses the .xml file when you perform an unattended installation of the update by using the Package Manager tool (Pkgmgr.exe).
For example, you download hotfix 934307. The Windows6.0-KB934307-x86.msu file is in the C:\934307 folder. You type the following command at a command prompt to expand the .msu file to a temporary folder:
expand -f:* «C:\934307\Windows6.0-KB934307-x86.msu» %TEMP%
Then, you type the following command at a command prompt:
A properties file
This file contains string properties that Wusa.exe uses. For example, this file contains the title of the associated article in the Microsoft Knowledge Base.
When you use Wusa.exe to install an update package, Wusa.exe expands the contents of the .msu file to a temporary folder. Then, Wusa.exe performs the following steps:
Wusa.exe uses the Windows Update metadata in the .msu file to search for applicable updates.
Wusa.exe copies the contents of the applicable updates to the Windows Update sandbox. The Windows Update sandbox is a protected folder.
Wusa.exe calls the appropriate function in the Windows Update Agent API according to the mode in which you start Wusa.exe.
When the Windows Update wizard finishes the installation, the Windows Update Agent API returns a status. Then, Wusa.exe works synchronously with the Windows Update Agent API.
Note Each update in an .msu update package is installed in a separate session. Only one instance of Wusa.exe runs when you use Wusa.exe. Wusa.exe does not change the contents of the updates in .msu files. The Windows Update infrastructure performs the required actions according to the contents of the update.
When you start Wusa.exe in interactive mode, a welcome screen displays high-level information about the update. If you continue to install the update, Wusa.exe calls the appropriate function in the Windows Update Agent API to start the Windows Update wizard. The Windows Update wizard displays the Microsoft Software License Terms that are associated with the update package. Wusa.exe calls the Windows Update Agent API to continue the installation. Then, Wusa.exe waits until the Windows Update wizard finishes the installation.
To install an .msu update package, run Wusa.exe together with the full path of the file.
For example, if the Windows6.0-KB934307-x86.msu file is in the D:\934307 folder, type the following command at a command prompt to install the update package:
wusa.exe d:\934307\Windows6.0-KB934307-x86.msuYou can also double-click the .msu file to install the update package.
You can use Wusa.exe to uninstall an update in Windows 7, Windows Server 2008 R2, Windows 8, and Windows Server 2012.
Note You cannot use Wusa.exe to uninstall updates in Windows Vista or Windows Server 2008. You can use Windows Defender Software Explorer to manually uninstall the updates. For more information about Software Explorer, go to the following Microsoft website:
Using Software Explorer in Windows Defender
You can use the following switches together with Wusa.exe.
Run Wusa.exe in quiet mode without user interaction. When the tool runs in quiet mode, it runs without user interaction. The computer restarts if this is required.
For example, if the Windows6.0-KB934307-x86.msu file is in the D:\934307 folder, type the following command at a command prompt to install the update package without user interaction:
wusa.exe d:\934307\Windows6.0-KB934307-x86.msu /quiet
Note When you use this switch, the Microsoft Software License Terms do not appear.
Prevents Wusa.exe from restarting the computer. The /norestart switch is ignored if the /quiet switch is not present. If you run Wusa.exe together with these two switches, you must manually restart the operating system after the installation is complete if the installation requires you to restart the computer.
For example, if the Windows6.0-KB934307-x86.msu file is in the D:\934307 folder, type the following command at a command prompt to install the update package:
wusa.exe D:\934307\Windows6.0-KB934307-x86.msu /quiet /norestart
Uninstalls the specified package or KB number.
Specifies the package to be uninstalled by using its KB number. Can be passed only together with the /uninstall switch.
Wusa.exe extracts the package contents to a destination folder.
When this switch is combined with the /quiet switch, Wusa.exe prompts you before it begins a restart for install and uninstall operations.
When this switch is combined with the /quiet switch, Wusa.exe forcibly closes applications and then begins a restart.
Note The .msu files can be installed to an offline image by using the DISM.exe /Add-Package option together with the Windows 7 or Windows 8 OEM Preinstallation Kit (OPK) or the Windows Automated Installation Kit (AIK). For more information, go to the following Microsoft TechNet website:
Operating System Package Servicing Command-Line Options
To view the Windows Update Standalone Installer event log, follow these steps:
Click Start  , type event viewer in the Start Search box, and then click Event Viewer in the Programs list. In Windows 8 and Windows Server 2012, on the Start screen, type event viewer, click Settings, and then click View event logs under Settings.
 If you are prompted for an administrator password or for confirmation, type the password, or click Continue.
In Event Viewer, expand Windows Logs, and then click Setup.
Setup events appear in the middle pane.
In the Actions pane, click Filter Current Log.
In the Event sources list, click to select the WUSA check box, and then click OK.
References
For more information about the Windows Update Agent API, go to the following Microsoft website:
«Автономный установщик обновлений» в Windows 7
Описание компонента
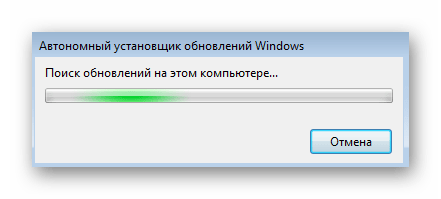
«Автономный установщик обновлений» в Windows 7 предназначен для инсталляции тех апдейтов, которые не могут быть получены из стандартного «Центра обновления Windows». Обычно этот компонент запускается при ручной установке файлов, скачанных с официального сайта компании Microsoft или других проверенных источников. Такие объекты в названии имеют приставку KB, а затем идет номер самого обновления. На скриншоте ниже вы видите интерфейс стандартного окна «Автономного установщика обновлений».
Установка апдейтов через «Автономный установщик обновлений»
Вкратце разберемся с тем, как пользователи взаимодействуют с рассматриваемым компонентом при ручной установке описанного типа обновлений. Обычно для этого выполняется стандартный алгоритм:
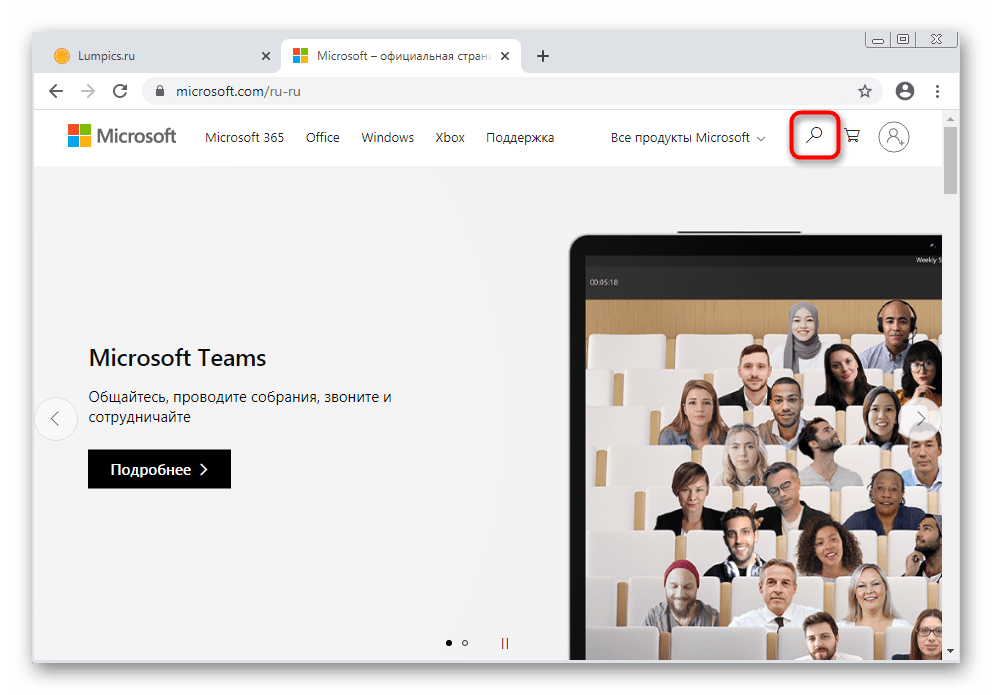
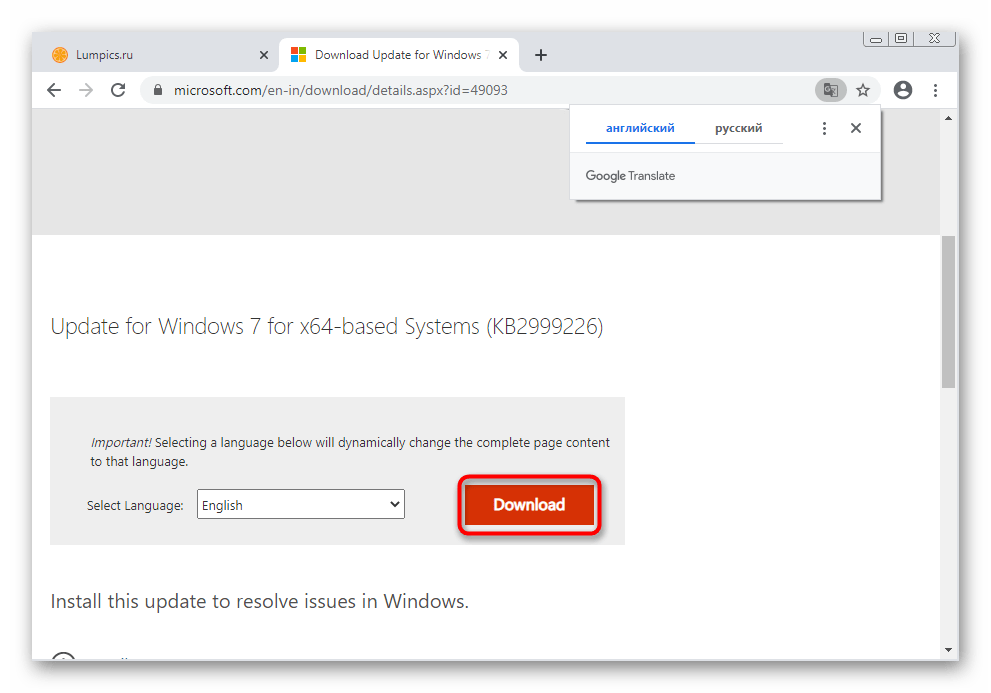
- Откройте официальный сайт компании Microsoft или выполните поиск обновления по его коду через поисковик в браузере. Если открыта главная страница, на ней нажмите по значку лупы для отображения поисковой строки.
В ней введите название обновления и нажмите по подходящему результату из выдачи.
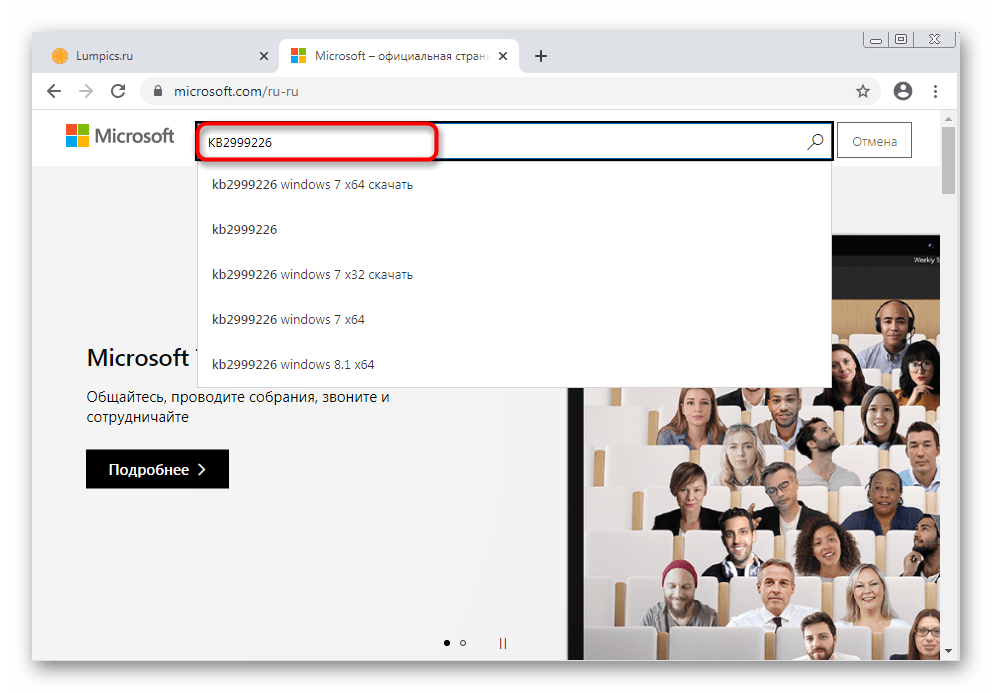
Перейдите к странице обновления через новую вкладку с результатами.

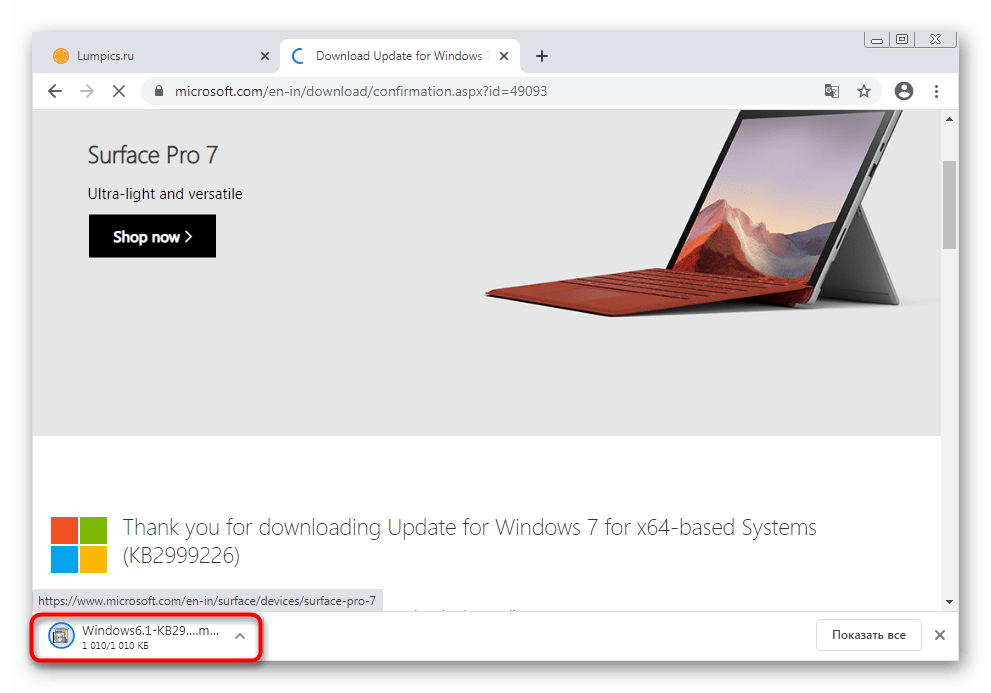
Скачается исполняемый файл, который и следует запустить.
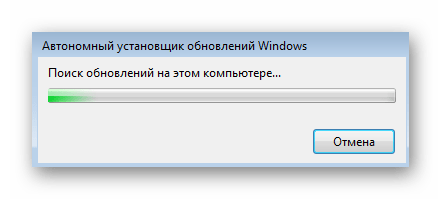
Появится окно «Автономного установщика обновлений Windows» и начнется проверка возможного наличия этого обновления на компьютере. Дождитесь окончания этой операции, не закрывая текущее окно.
При отображении уведомления об отсутствии уведомления и установки апдейта подтвердите инсталляцию.

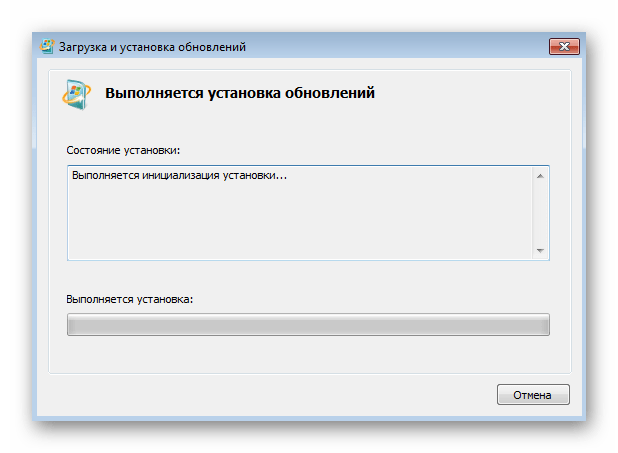
Как только операция пройдет успешно, отправьте компьютер на перезагрузку, подтвердив сообщение о необходимости сделать это. При старте следующего сеанса все апдейты уже будут активированы.
Удаление обновлений
Начиная с Windows 7, «Автономный установщик обновлений» может не только инсталлировать их, но и удалять. Деинсталляция тоже производится пользователем вручную через «Командную строку», что осуществляется так:
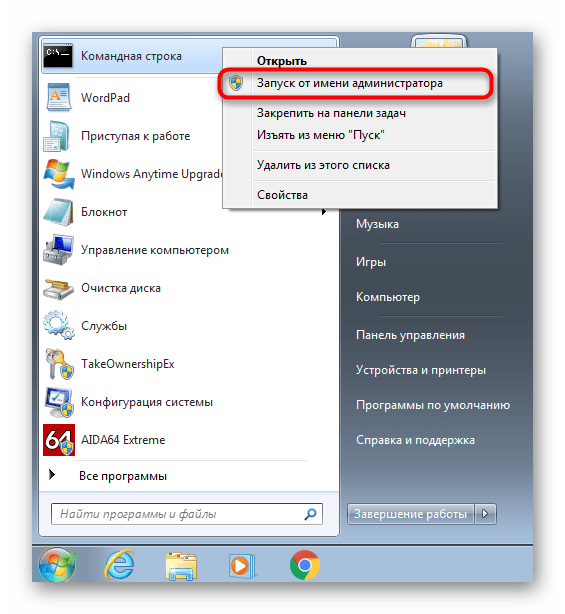
- Откройте «Пуск», отыщите там консоль, кликните по приложению правой кнопкой мыши и в контекстном меню выберите вариант «Запуск от имени администратора».
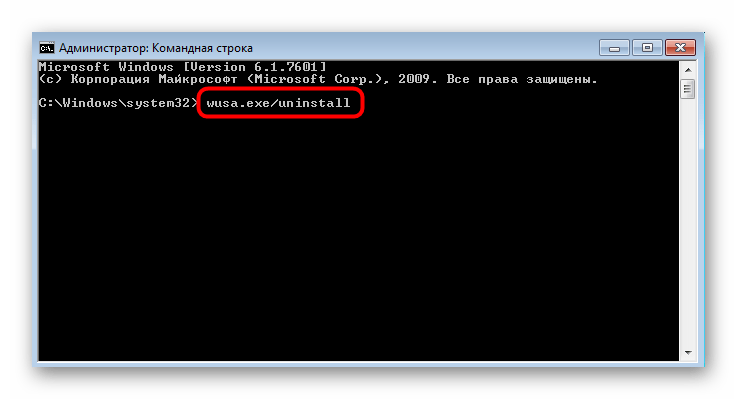
Удаление апдейта с известным путем производится по команде wusa.exe/uninstall , где в конце строки указывается полный путь. Нажатие по клавише Enter активирует выполнение команды.
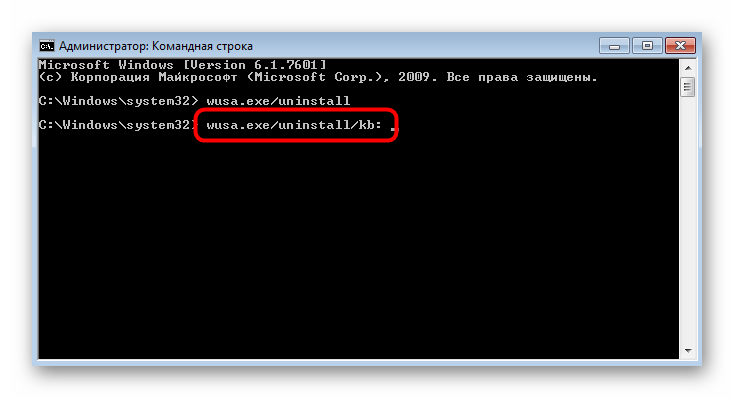
Если знаете только код обновления, вставьте команду wusa.exe/uninstall/kb: и после двоеточия без пробела укажите код этого пакета.
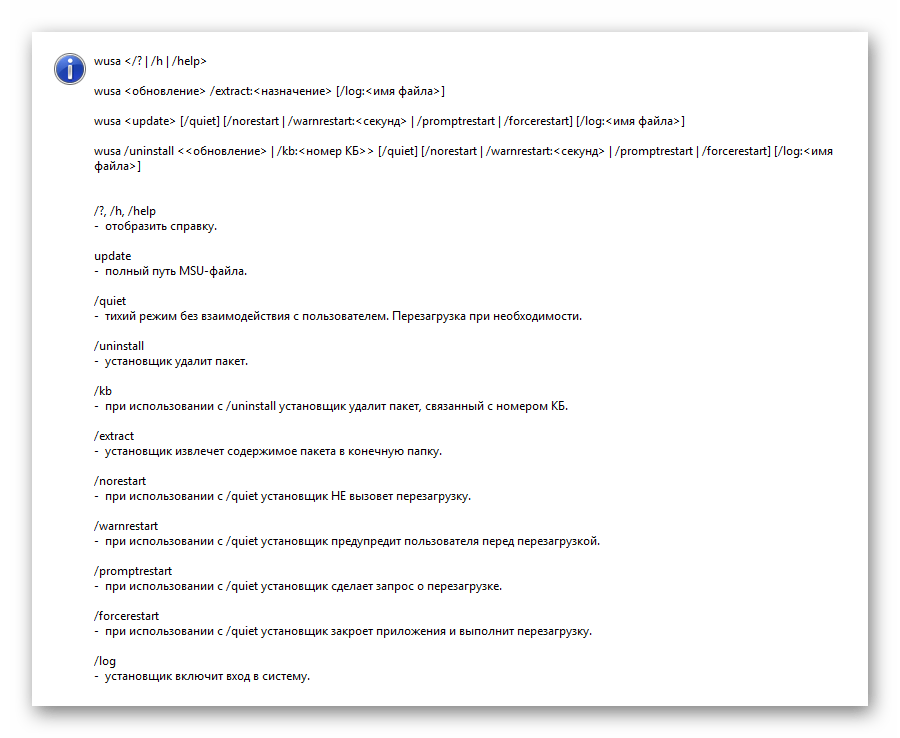
В случае ошибки в команде или при вводе wusa.exe /help появится отдельный список со всеми доступными функциями, запускаемыми пользователем вручную. Ознакомьтесь с ними и решите, какие из них могут пригодиться.
Отключение компонента
Рассматриваемый сегодня компонент тесно связан с «Центром обновления Windows» и зависит от его статуса. Соответственно, отключить его можно только полностью, избавившись от возможности получать апдейты автоматически. Если вас устраивает такой вариант и вы хотите отключить работу функций, чтобы другие пользователи не смогли запускать исполняемые файлы обновлений, выполните следующие действия:
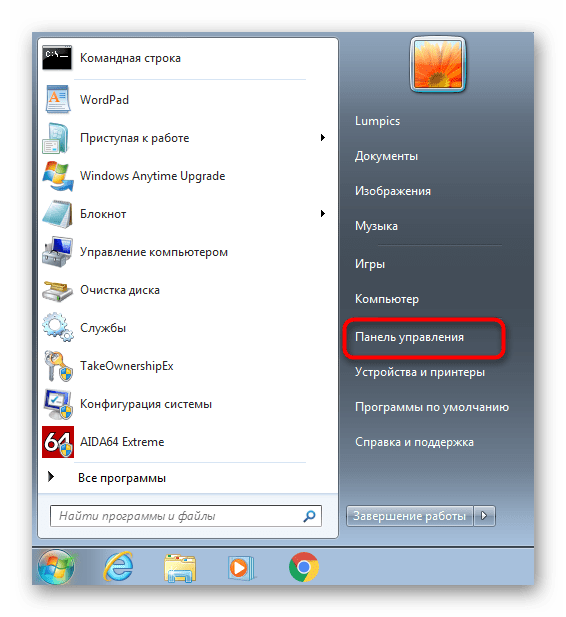
- Откройте «Пуск» и перейдите в меню «Панель управления».
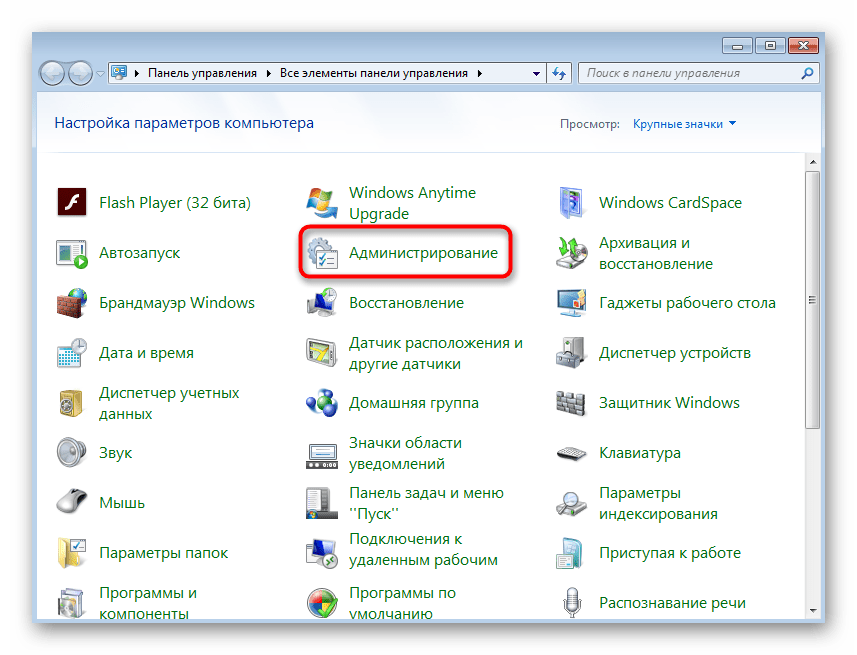
В нем вас интересует раздел под названием «Администрирование».
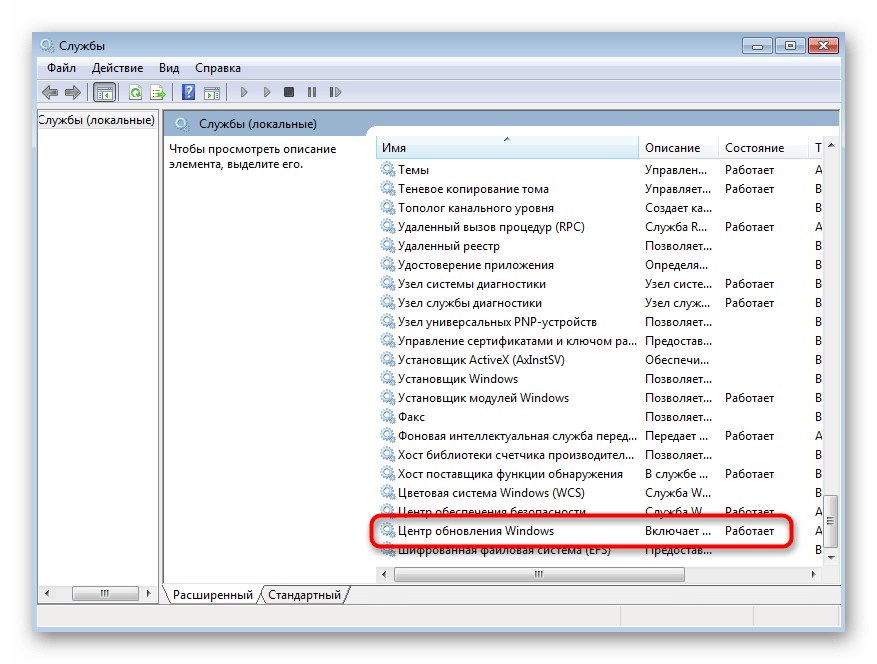
Среди списка инструментов отыщите элемент «Службы».

В перечне служб найдите «Центр обновления Windows». Дважды кликните по пункту, чтобы открыть его свойства.
Выберите тип запуска «Вручную», а затем остановите службу.
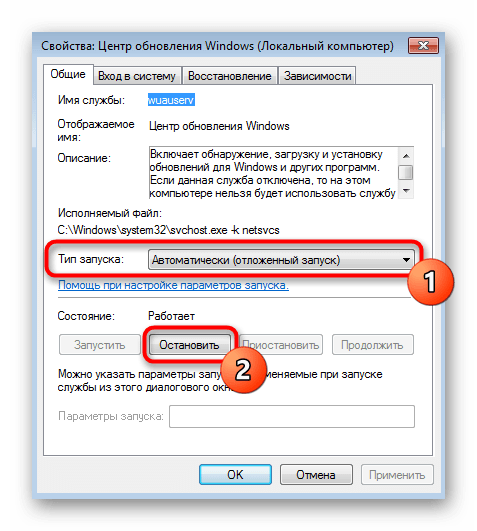
Теперь автоматическая проверка обновлений отключена и Автономный установщик тоже не найдет апдейтов при его запуске. Если вы захотите снова сделать службу активной, просто откройте это же меню и включите ее.
Решение возможных проблем
Самая распространенная проблема при использовании «Автономного установщика обновлений Windows» — ошибки в процессе инсталляции апдейтов. Они появляются из-за разных причин, например не подходит разрядность загруженных файлов или на компьютере уже есть этот пакет. Реже неполадки связаны с системными сбоями и ошибками при автоматическом поиске обновлений. Найти информацию по решению этой ситуации вы можете в отдельной статье на нашем сайте по следующей ссылке.
Windows Installer
This documentation is intended for software developers who want to use Windows Installer to build installer packages for applications. If you’re looking for a redistributable for Windows Installer 4.5 and earlier, see this article. Note that there is no redistributable for Windows Installer 5.0. This version is included with the OS in Windows 7, Windows ServerВ 2008В R2, and later client and server releases (including Windows 10).
Microsoft Windows Installer is an installation and configuration service provided with Windows. The installer service enables customers to provide better corporate deployment and provides a standard format for component management. The installer also enables the advertisement of applications and features according to the operating system. For more information, see Platform Support of Advertisement.
This documentation describes Windows InstallerВ 5.0 and earlier versions. Not all the capabilities available in later Windows Installer versions are available in earlier versions. This documentation does not describe versions earlier than Windows InstallerВ 2.0. Installation packages and patches that are created for Windows InstallerВ 2.0 can still be installed by using Windows InstallerВ 3.0 and later.
Windows InstallerВ 3.0 and later, can install multiple patches with a single transaction that integrates installation progress, rollback, and reboots. The installer can apply patches in a specified order regardless of the order that the patches are provided to the system. Patching using Windows InstallerВ 3.0 only updates files affected by the patch and can be significantly faster than earlier installer versions. Patches installed with Windows Installer 3.0 or later can be uninstalled in any order to leave the state of the product the same as if the patch was never installed. Accounts with administrator privileges can use the API of Windows InstallerВ 3.0 and later to query and inventory product, feature, component, and patch information. The installer can be used to read, edit, and replace source lists for network, URL, and media sources. Administrators can enumerate across user and install contexts, and manage source lists from an external process.
Windows Installer 4.5 and later can install multiple installation packages using transaction processing. If all the packages in the transaction cannot be installed successfully, or if the user cancels the installation, the Windows Installer can roll back changes and restore the computer to its original state. The installer ensures that all the packages belonging to a multiple-package transaction are installed or none of the packages are installed.
Beginning with Windows Installer 5.0, a package can be authored to secure new accounts, Windows Services, files, folders, and registry keys. The package can specify a security descriptor that denies permissions, specifies inheritance of permissions from a parent resource, or specifies the permissions of a new account. For information, see Securing Resources. The Windows Installer 5.0 service can enumerate all components installed on the computer and obtain the key path for the component. For more information, see Enumerating Components. By Using Services Configuration, Windows Installer 5.0 packages can customize the services on a computer. Setup developers can use Windows Installer 5.0 and Single Package Authoring to develop single installation packages capable of installing an application in either the per-machine or per-user installation context.
Where applicable
Windows Installer enables the efficient installation and configuration of your products and applications running on Windows. The installer provides new capabilities to advertise features without installing them, to install products on demand, and to add user customizations.
Windows Installer 5.0 running on Windows ServerВ 2012 or WindowsВ 8 supports the installation of approved apps on WindowsВ RT. A Windows Installer package, patch, or transform that has not been signed by Microsoft cannot be installed on WindowsВ RT. The Template Summary property indicates the platform that is compatible with an installation database and in this case should include the value for WindowsВ RT.
Windows Installer is intended for the development of desktop style applications.
Developer audience
This documentation is intended for software developers who want to make applications that use Windows Installer. It provides general background information about installation packages and the installer service. It contains complete descriptions of the application programming interface and elements of the installer database. This documentation also contains supplemental information for developers who want to use a table editor or a package creation tool to make or maintain an installation.
Run-time requirements
Windows InstallerВ 5.0 is included with, Windows 7, Windows ServerВ 2008В R2, and later releases. There is no redistributable for Windows Installer 5.0.
Versions earlier than Windows Installer 5.0 were released with Windows ServerВ 2008, WindowsВ Vista, Windows ServerВ 2003, WindowsВ XP, and WindowsВ 2000. Windows Installer Redistributables are available for Windows Installer 4.5 and some earlier versions.
Windows InstallerВ 4.5 requires Windows ServerВ 2008, WindowsВ Vista, WindowsВ XP with Service PackВ 2 (SP2) and later, and Windows ServerВ 2003 with Service PackВ 1 (SP1) and later.
Windows InstallerВ 4.0 requires WindowsВ Vista or Windows ServerВ 2008. There is no redistributable for installing Windows InstallerВ 4.0 on other operating systems. An updated version of Windows InstallerВ 4.0, which does not add any new features, is available in WindowsВ Vista with Service PackВ 1 (SP1) and Windows ServerВ 2008.
Windows InstallerВ 3.1 requires Windows ServerВ 2003, WindowsВ XP, or WindowsВ 2000 with Service PackВ 3 (SP3).
Windows InstallerВ 3.0 requires Windows ServerВ 2003, WindowsВ XP, or WindowsВ 2000 with SP3. Windows InstallerВ 3.0 is included in WindowsВ XP with Service PackВ 2 (SP2). It is available as a redistributable for WindowsВ 2000 Server with Service PackВ 3 (SP3) and WindowsВ 2000 Server with Service PackВ 4 (SP4), WindowsВ XP RTM and WindowsВ XP with Service PackВ 1 (SP1), and Windows ServerВ 2003 RTM.
Windows InstallerВ 2.0 is contained in Windows ServerВ 2003 and WindowsВ XP.
Windows InstallerВ 2.0 is available as a package for installing or upgrading to Windows InstallerВ 2.0 on WindowsВ 2000. This package should not be used to install or upgrade Windows InstallerВ 2.0 on Windows ServerВ 2003 and WindowsВ XP.


