- Fix: No Hard Drives Found in Windows 7 Installer
- Why Windows 7 Setup cannot find your hard drive
- Method 1: Format/Clean the Hard drive using ‘diskpart’ in command prompt
- Method 2: Load the hard drive storage controller drivers from a USB into the Windows setup
- Method 3: Change the boot controller mode in BIOS
- Method 4: Reset BIOS
- Method 5: Use a different SATA port
- FIX: New hard drive not showing up in Windows 10
- What can I do if my hard drive won’t show up on Windows 10?
- 1. Check if the disk is well-connected
- 2. Initialize the disk
- 3. Update your drivers
- DriverFix
- 4. Use diskpart command to clean your drive
- 5. Check if your hard drive appears in BIOS
- 6. Connect the hard drive to a different port or use a different cable
Fix: No Hard Drives Found in Windows 7 Installer
Windows 7 was hands down the most popular operating system. Since Windows 10 is relatively new and has had its share of bugs and incompatibility, Windows 7 is still being used by millions of people as an alternative. This means that people are still actively buying Windows 7 licenses and installing the operating system on their PC. However, there is a common problem where the Windows 7 setup does not recognize the hard drive that you want to install into. All you see on the setup is a blank list box when it comes to choosing a drive to install into. There is also a vague message preceded by an exclamation in a yellow triangle stating “No drivers found Click load driver to provide a mass storage driver for installation.” This article will explore this problem, give the reasons why it occurs and finish off by giving you working solutions to the problem.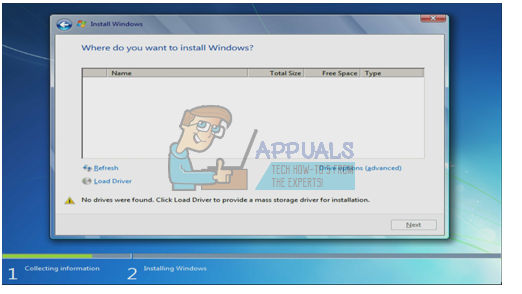
Why Windows 7 Setup cannot find your hard drive
In order to read the hard drive, Windows must have the motherboard storage controller drivers, unlike the BIOS setup. Windows setup usually loads all the hard disk drivers but if your motherboard was unveiled after the release of Windows 7, then there is a likelihood that your drivers are not loaded hence the hard disk cannot be detected. You might see the hard drive in the BIOS setup but the Windows setup will not be able to find it.
Another common reason why your hard drive cannot be detected in the volume file format. Windows usually read NTFS file format, so if your hard disk is new or was previously used in Ubuntu, Mac or Linux, there is a possibility that its file format is unreadable by the Windows setup.
The motherboard and hard drives also connect in different ways (dictated by the motherboard storage controller) which determines how data is exchanged to and from the drive and the interface that is used in BIOS. This includes EFI/UEFI, SATA/IDE, SATA/ATA, SATA/AHCI, and SATA/RAID. Using the wrong connection protocol can lead to a conflict hence your hard drive will not be detected by the BIOS and by Windows setup.
Below is how you can resolve this issue. Start with this method 3, 4 & 5 if your BIOS is not able to detect your hard disk.
Method 1: Format/Clean the Hard drive using ‘diskpart’ in command prompt
If your hard drive is detected by BIOS then using the “clean” command will format the hard drive and set the NTFS file format. You will lose any data that was saved in the hard disk so use this method if you are absolutely sure you don’t need the data in the hard drive.
- Insert your Windows 7 bootable disc or USB and restart your computer.
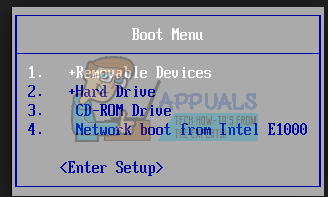
- Press F12 to bring up the boot device options and choose the USB or DVD/RW (whichever has your Windows 7 setup)

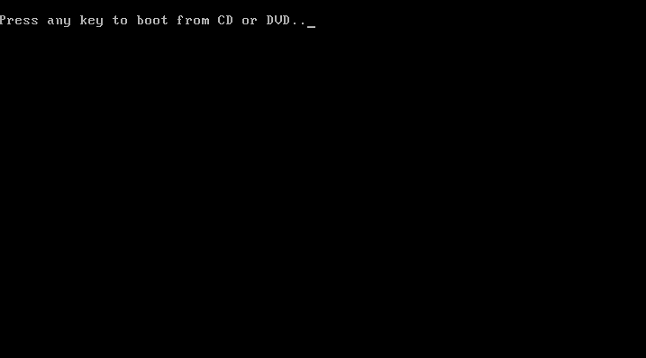
- A screen will come up asking you to press any key to boot from DVD/RW or USB. Press any key to boot up Windows 7 setup.
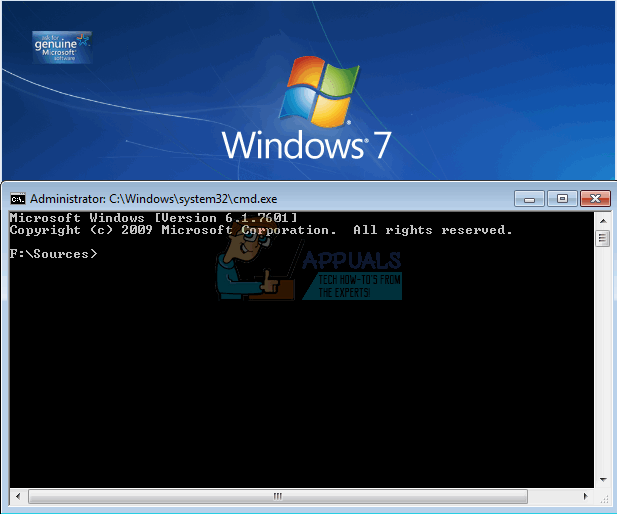
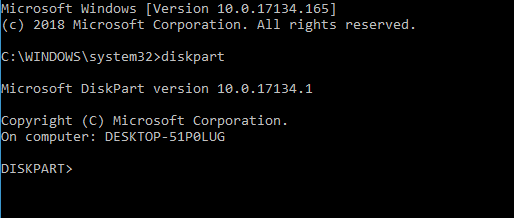
- When the welcome screen comes up on Windows Setup, press Shift + F10, which will display a command prompt (similar to choosing a language > Repair > Command Prompt)
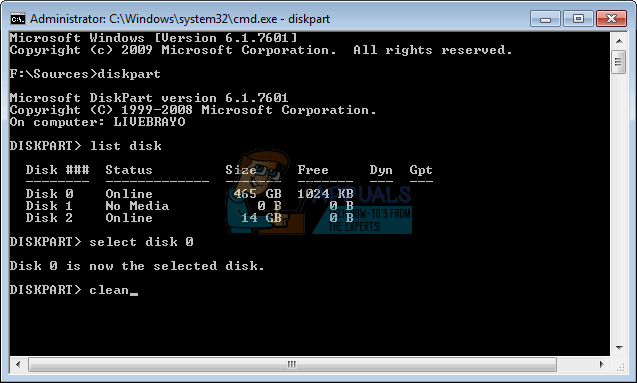
- Type “diskpart” (no quotes) and press enter.
- Type “list disk” and press enter.
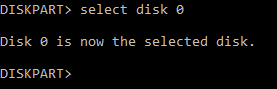
- Hopefully, you can see your drive in the list. You should see a number identifying it. Now type “select disk X” (where X is the number identifying your drive) and press enter.
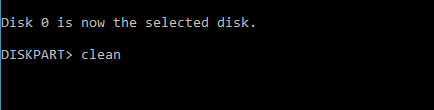
- Type “clean” and press enter. This will write a blank MBR, you will lose any data on the hard drive if you did have anything on it.
- No retry installing Windows 7
Alternatively, remove your HDD, slave it to a machine that already has Windows and format the drive using an NTFS file system. When finished, fix the HDD back on your machine and start your win7 installation.
Method 2: Load the hard drive storage controller drivers from a USB into the Windows setup
If your SATA/storage controller is newer than your Windows 7 version, then this method will load the missing storage controller drivers needed to detect your hard disk.
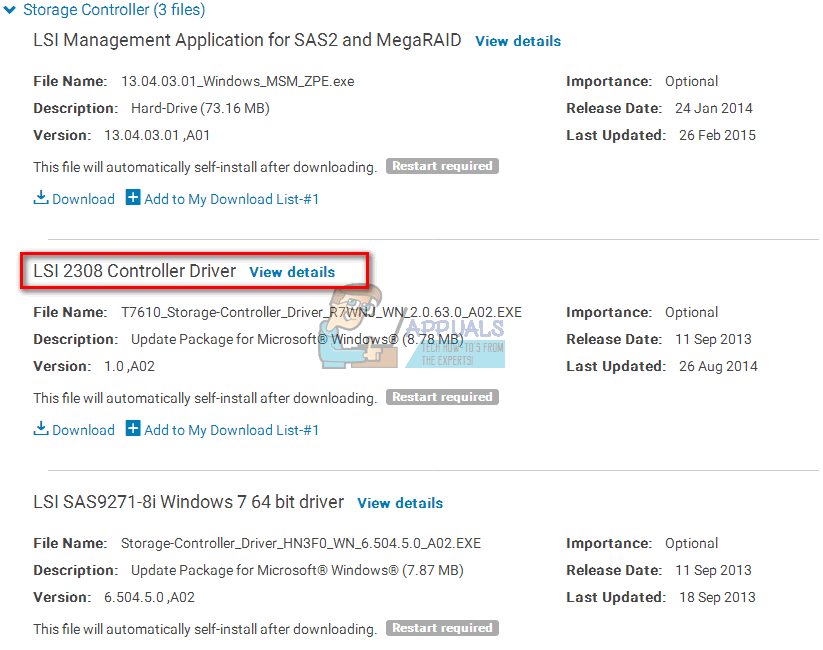
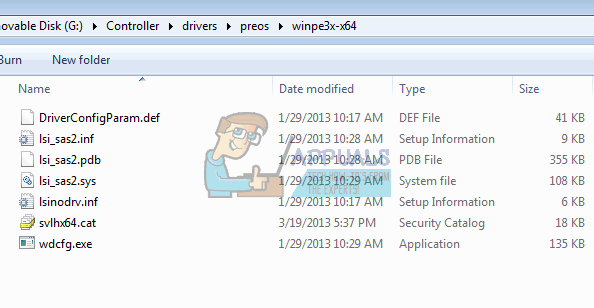
- Working from another PC, download the hard drive host/storage controller drivers from your motherboard manufacturer, or from your PC manufacturer website (assuming you have not changed the motherboard that came with your computer)
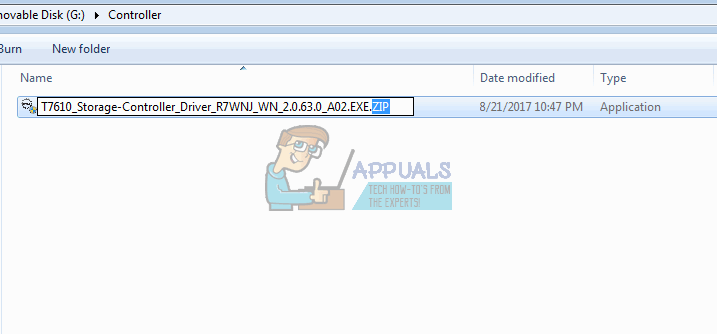
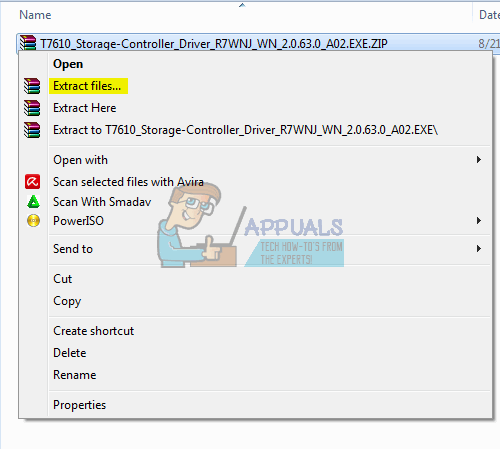
- Extract the zip file into your USB drive (if it a .exe file, add a .zip file at the end and extract to your USB)
- Insert your Windows 7 bootable disc and the USB drive into the PC with the installation problem and restart it.
- Press F12 to bring up the boot device options and choose the USB or DVD/RW (whichever has your Windows 7 setup)
- A screen will come up asking you to press any key to boot from DVD/RW or USB. Press any key to boot up Windows 7 setup.
- When the welcome screen comes up on Windows Setup, choose a language and click next
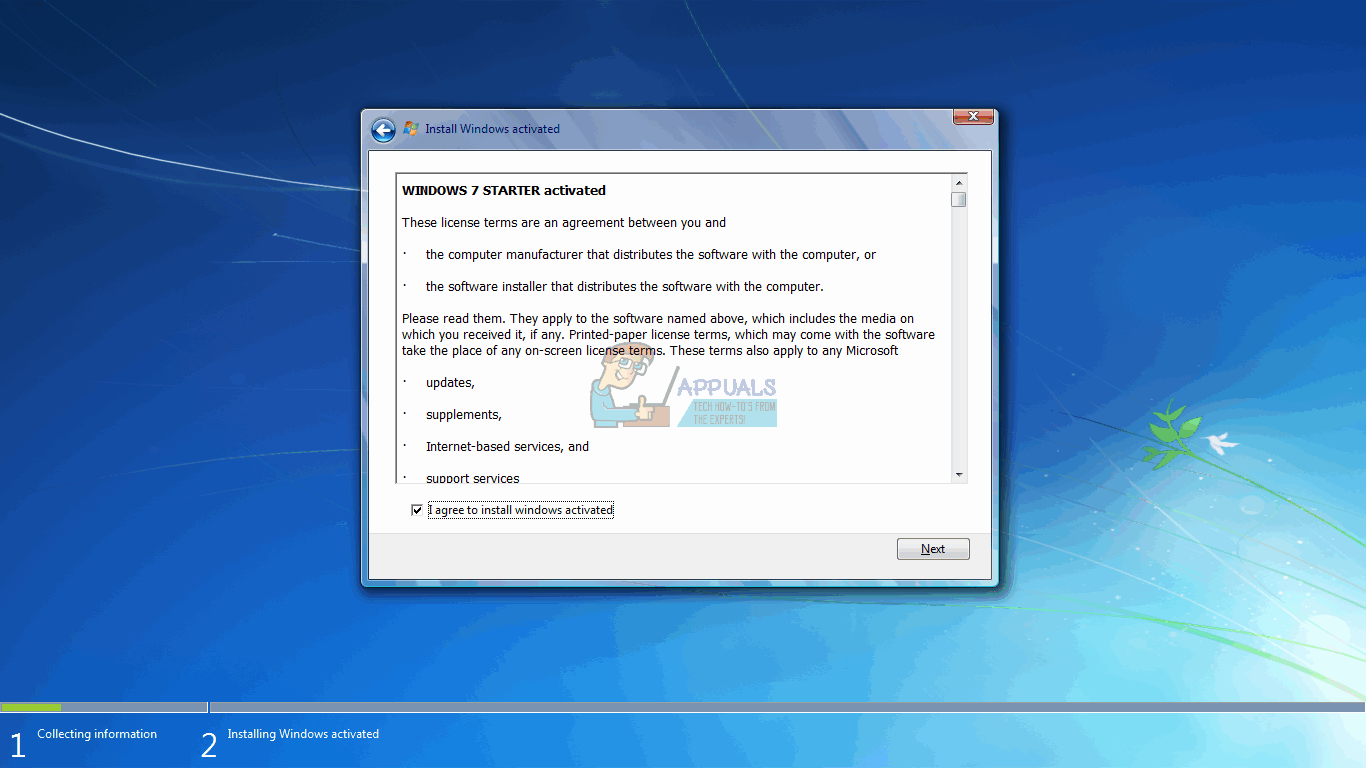
- Accept the license and terms and then click next
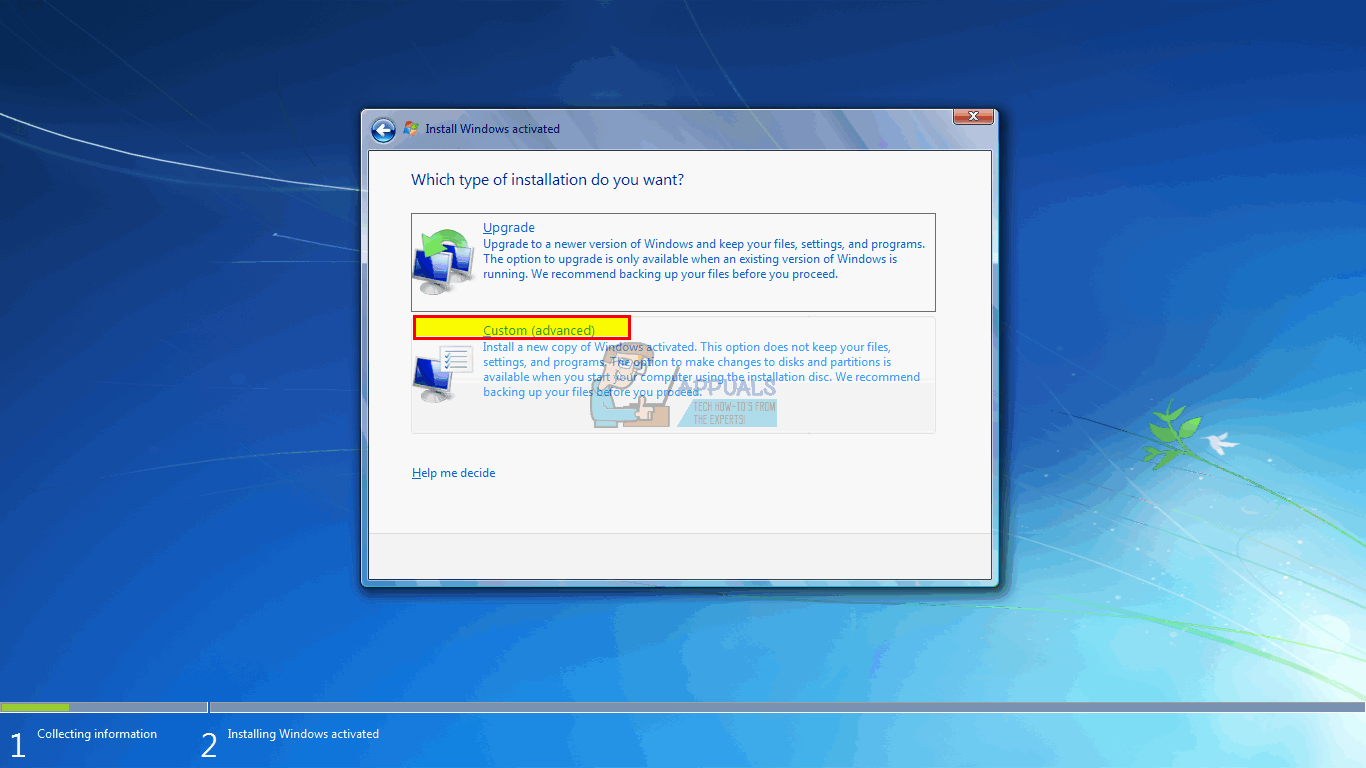
- Select the Custom (advanced) installation
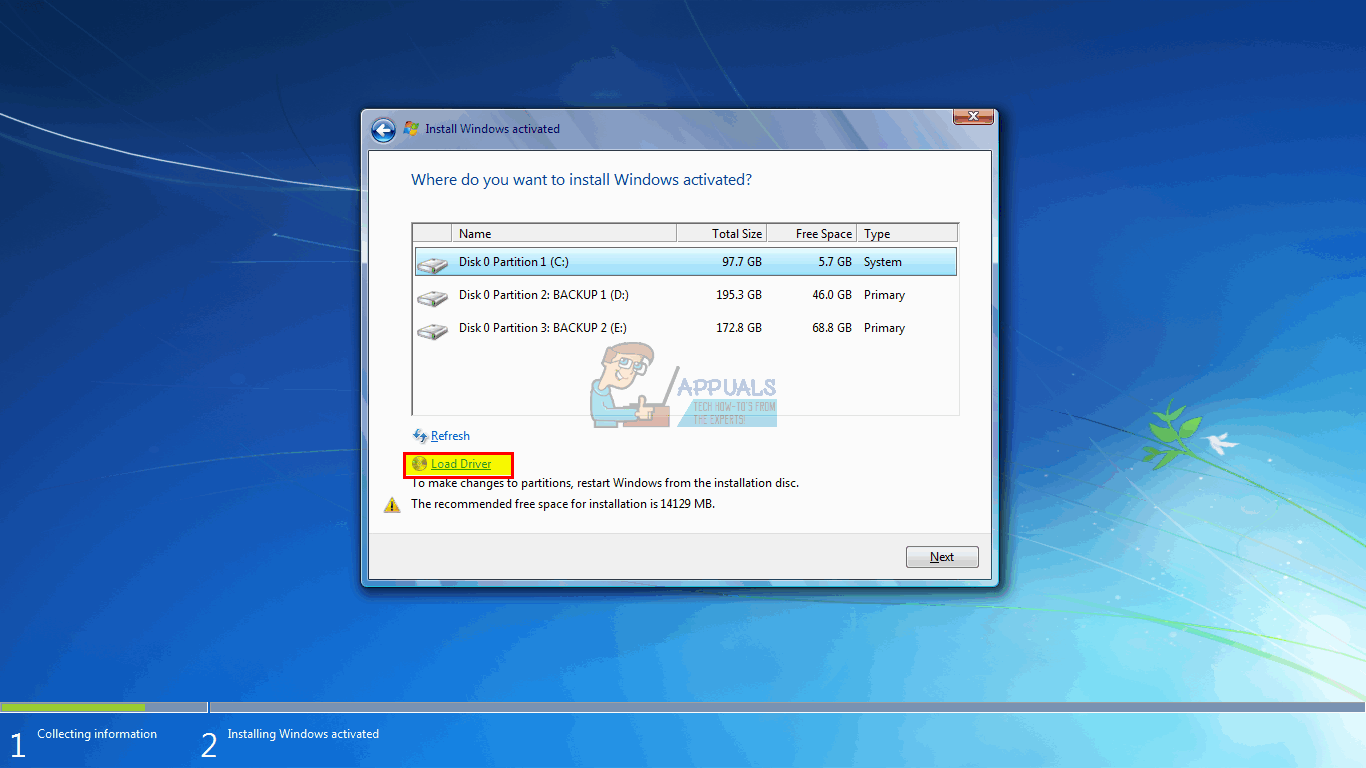
- Windows will ask you where you want to install the OS but there won’t be anything in the list.
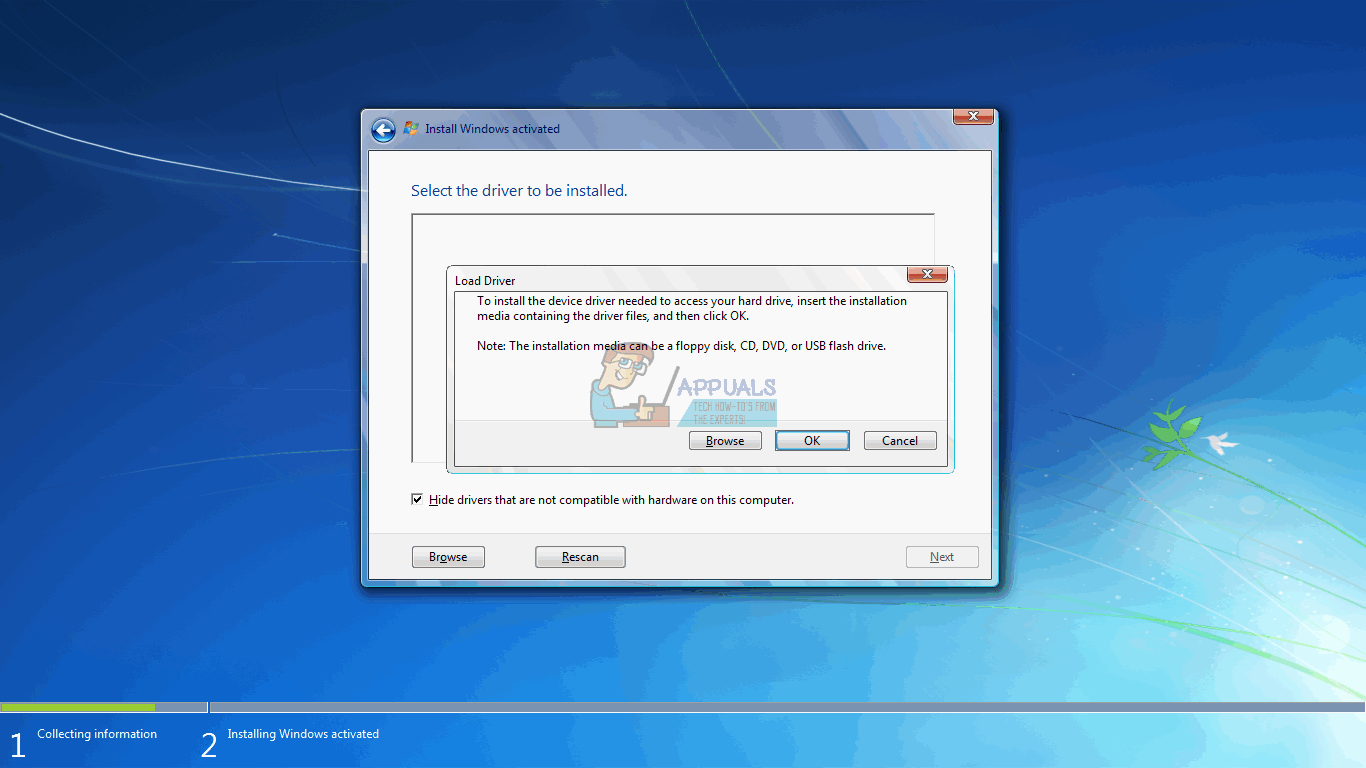
- Click the ‘load driver’ link at the left bottom of the Window.
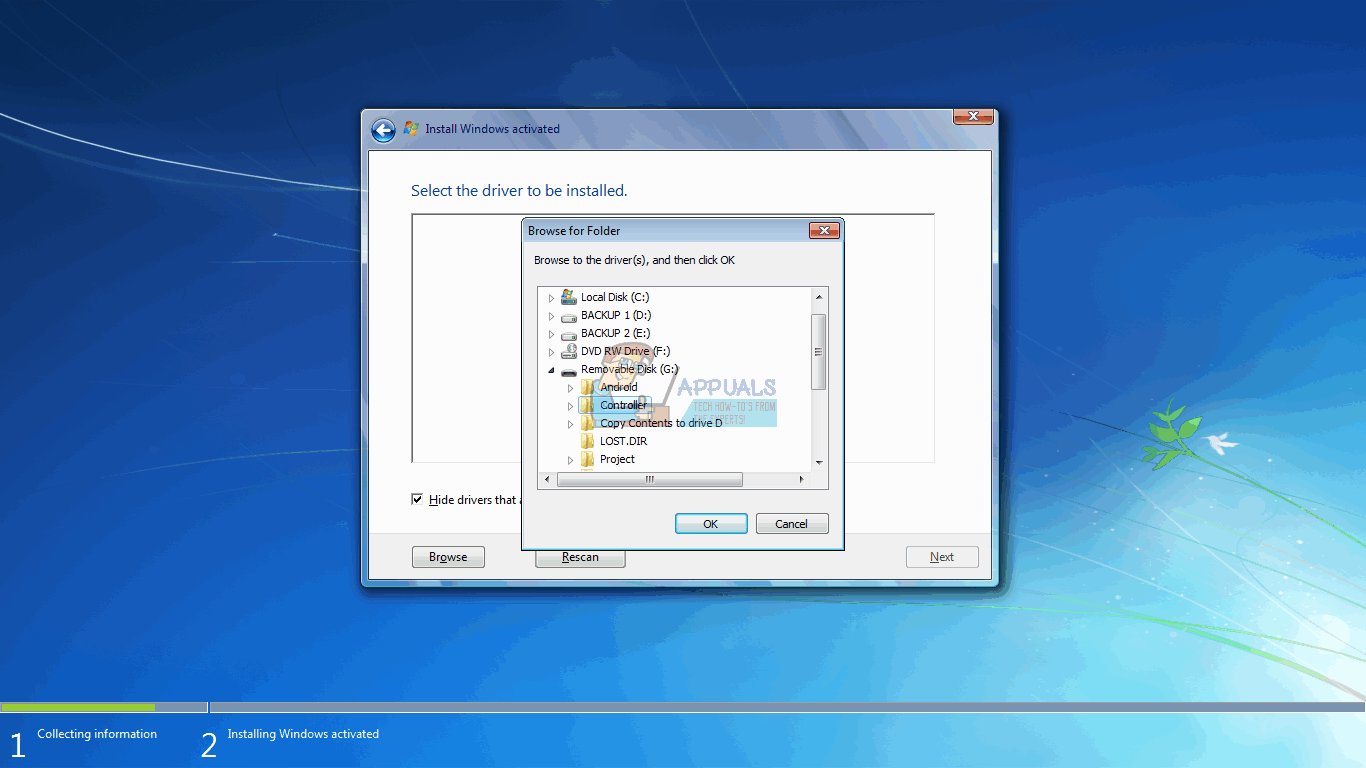
- If you receive a message box asking you to plug in the device with your drivers, click on “OK” (or click Cancel and then Browse… to manually search for the driver. You have to pinpoint the driver for this case. If necessary, close the warning about no suitable drivers, and uncheck the Hide drivers… checkbox)
- Browse to the correct drive letter and location for the USB drive and click OK
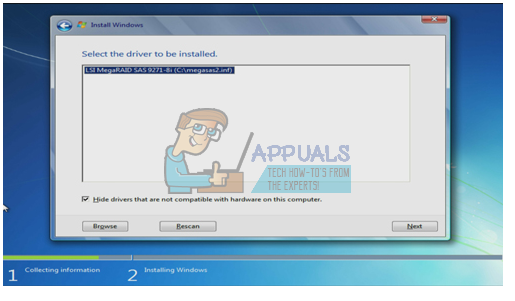
- Once the driver is found, you will be prompted to select the controller from the list. Make sure it is selected and click Next:
- The hard drive will now be shown and ready to begin the Windows 7 installation: choose a drive and click “Next” to continue with your installation.
Method 3: Change the boot controller mode in BIOS
This method will help if your BIOS cannot detect the hard drive. By changing to the correct BIOS interface and data exchange mechanism, the Windows 7 setup will be able to find your hard drive. You have the option of EFI/UEFI or SATA that has four boot modes (ATA, RAID, IDE, AHCI).
- Switch off your PC and restart it
- Quickly press F2 or F10 to boot into BIOS
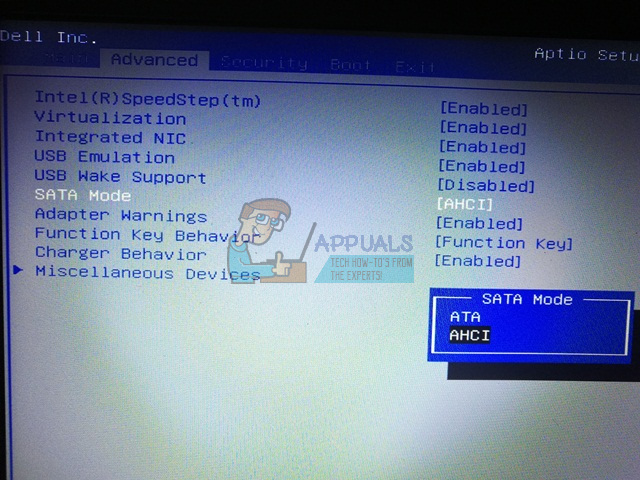
- Go to the “Advanced” tab and scroll down to “SATA Mode.”
- Press enter and choose a mode. Go to exit and exit after saving changes. Restart and check if your HDD is now detected by the BIOS. Do this until it is detected.
If you are using RAID on your computer, change it to AHCI or IDE. Otherwise, just change whatever controller is selected and check to see if the issue persists. After doing so, format the disk using the first method or you can also use Acronis True Image to complete the formatting process.
UEFI motherboard might miss this option since they only have one type of storage controller protocol. Note that this method and the controller mode options might be different for different computers. You can get the controller mode under “Host controller” “IDE Configuration” “SATA configuration” or something similar.
Method 4: Reset BIOS
If you changed the storage controller configuration due to an update of any sort, you could try resetting your BIOS.
- Switch off your PC and restart it
- Quickly press F2 or F10 to boot into BIOS
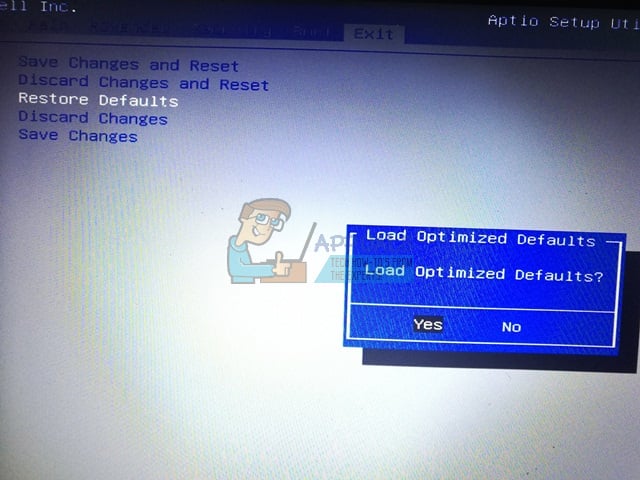
- Go to the “exit” tab and select “Restore Defaults.”
- Select “Yes” in the warning message and exit after saving changes
Method 5: Use a different SATA port
If you are using a desktop computer, try using a different SATA port and see if that helps at all. Sometimes they come with two different controllers.
Note: Sometimes, copying the Boot Folder from the Windows install Disk to the USB drive fixes this particular issue so you can have a go at that.
FIX: New hard drive not showing up in Windows 10

- If your internal hard drive is not showing up, it might be because it is not set up.
- Make sure your disk is properly connected to your motherboard with the SATA cable.
- Your HDD not showing up on Windows 10 might also be because you need to initialize the disk.
- Updating your hardware drivers will also solve the internal drive not showing up on Windows 10.

There’s a chance that you might encounter certain problems when installing a new hard drive on your computer.
Perhaps the most common issue with new hard drives in Windows is that the system doesn’t show them for some reason.
So, if your new internal hard drive is missing from Windows, check out some of the solutions listed below. Here are some other common problems reported by users:
- Internal hard drive not showing up Windows 10, in Disk Management – If your hard drive isn’t showing in Windows at all, it’s possible that it’s not properly connected. To fix that, enter BIOS and make sure that the drive appears.
- Can’t see hard drive Windows 10 – If you can’t see your hard drive in Windows 10, it’s possible that your hard drive isn’t properly initialized and formatted. However, you can fix that with ease using Disk Management.
- External hard drive not showing up – This issue can also appear with external hard drives, and we already covered how to fix problems with an external hard drive on your PC in one of our previous articles.
- Hard drive won’t show up in BIOS, on PC, in File Explorer – In some cases, the hard drive won’t appear in BIOS at all. This is usually caused by your configuration in BIOS or by connection issues with your hard drive.
What can I do if my hard drive won’t show up on Windows 10?
1. Check if the disk is well-connected
First thing first, you need to make sure your hard drive is properly connected to your motherboard and power supply. If you’re already sure about this, skip this solution, and head over to solution 2.
If not, open your computer case, and make sure you attached a data cable to an appropriate port on the motherboard and a power cable to the power supply.
When you make sure your hard disk is connected properly, but still missing from your system, try some of the solutions listed below.
2. Initialize the disk
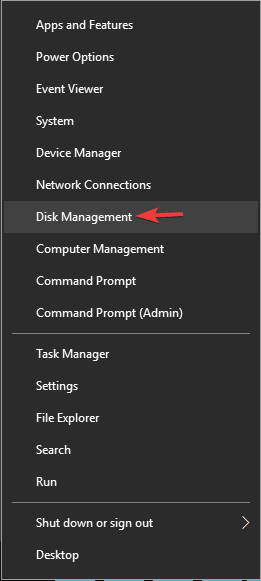
- Press Windows Key + X to open Win + X menu and choose Disk Management from the list.
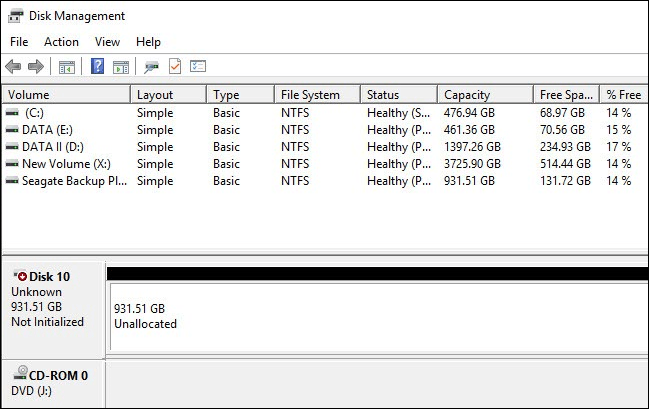
- When the Disk Management window opens, you’ll see all connected hard drives listed.
- Take a look at the list, and find a drive listed as Disk 1, or Disk 10 (other names are possible, as well).
- You’ll recognize this drive because it is not initialized and is listed as unknown, and unallocated.
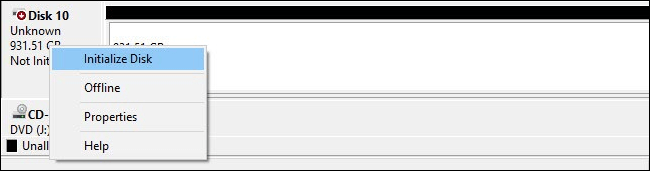
- Right-click on that partition, and select Initialize Disk from the right-click context menu
- As soon as you initiate the process it will ask you to choose between a Master Boot Record (MBR) or a GUID Partition Table (GPT).
- We advise you to choose a GPT, but if you want more info about these two, take a look at this article for some comparisons. Click OK.
- Once you do this, you’ll get back to the main window, where your new drive is going to be listed as Basic and Online, but it will still have unallocated space.
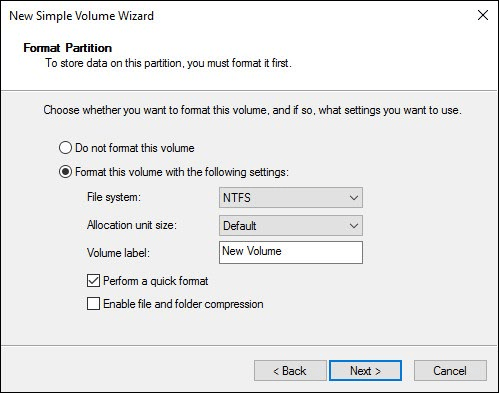
- To fix that, right-click on the stripped box, and select New simple volume…
- Right-click your hard drive and choose New Simple Volume.
- Click Next, and assign a drive letter.
- Now you just need to format your new drive. For the best results, choose the NTFS file system, and perform a quick format.
- Finish the process

There you go, after initializing your hard drive, it should start working again. If you’re not too fond of Disk Management, you can use any other third-party disk management software.
In most cases, all you need to do is simply initialize your new hard drive, after which the HDD will show up in your PC normally.
If you’re looking for a simple disk management application, we advise you to try Mini Tool Partition Wizard. For more alternatives, check out this list with the best disk management tools for Windows 10.
Additionally, if you encounter any problems with the disk management loading, fix them easily with the help of this detailed guide.
3. Update your drivers
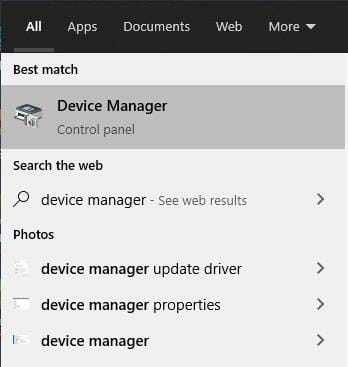
- Press the Windows Key + S and open the Device Manager.
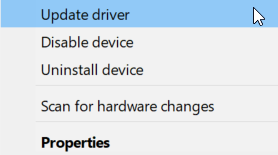
- In the Device Manager, select the device you wish to update.
- Right-click on it, then select Update driver.
- Repeat for all the devices you want to update.
If your hard drive won’t show up in Windows, it’s possible that you have a driver issue. To fix the problem, be sure that your drivers are up to date.
This goes for your motherboard and chipset drivers, so be sure to visit the manufacturer’s websites and download the latest drivers for your motherboard.
Update drivers automatically
Alternatively, you can download the missing drivers automatically using a third-party driver updater tool to keep your drivers updated.
This will save you the hustle of researching your component’s model numbers and finding compatible drivers by yourself.
DriverFix
4. Use diskpart command to clean your drive
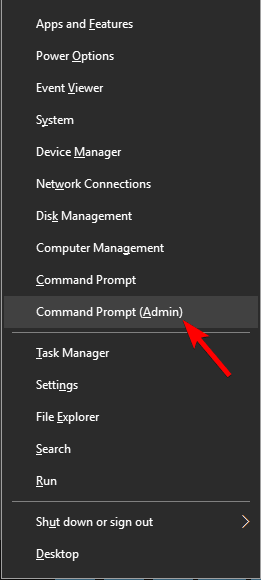
- Press Windows Key + X and choose Command Prompt (Admin) or Powershell (Admin) from the menu.
- When Command Prompt opens, enter the following command and press Enter: diskpart
- After diskpart starts, enter: list disk
- You should now see a list of all hard drives on your PC.
- It’s crucial that you select the correct hard drive. In case you select the wrong hard disk, you’ll wipe all your files and lose them, so be extra cautious.
- Check the size of each drive in order to find the hard drive that is giving you trouble. Select the problematic drive by entering select disk X.
- In our example, we used select disk 0, but you’ll most likely need to use a different number on your PC.
- After you select the hard drive, double-check everything and make sure that the problematic drive is selected.
- Now enter: clean
If your internal hard drive won’t show up, it might not be properly configured. Sometimes, you need to use a single command in order to completely wipe your hard drive and initialize it again.
Before we start, we have to mention that this solution will delete all files and partitions from the selected drive, so it’s best to use it with a new hard drive that doesn’t have any files on it.
In case your hard drive has some files on it, it would be best to back up the files to removable storage or to a different drive.
After a few moments, your hard drive will be wiped and all your files will be removed. Now go back to the Disk Management tool and initialize your hard drive.
Then, create a new partition , and assign a letter to it as we showed you in one of our previous solutions.
Alternatively, you can initialize and format your hard drive right from diskpart. Just start Command Prompt as an admin and run the following commands:
5. Check if your hard drive appears in BIOS
- Keep pressing F2 or Del while your system boots to enter BIOS.
- Sometimes it might be a different keyboard key, so if you’re not sure, check your motherboard’s manual.
- Once you enter BIOS, look for your hard drive.
Many users reported that their internal hard drive won’t show up in Windows, and this can be caused by various issues. However, you can always check if your hard drive shows in BIOS.
If your hard drive appears in BIOS, it means that it’s connected and working properly, so the issue is caused by Windows.
On the other hand, if the hard drive doesn’t show in BIOS, it’s rather likely that it’s not properly connected.
If you’re finding it hard to access your BIOS, take a closer look at our dedicated guide that will teach you how to easily do it.
6. Connect the hard drive to a different port or use a different cable
In some cases, your hard drive won’t show up due to problems with your ports.
If you suspect that a port might be a problem, open your computer case and connect the hard drive to a different SATA port on your motherboard.
If switching to a different port doesn’t fix the problem, it’s possible that your SATA cable is broken. To check if that’s the case, you’ll need to get a new SATA cable and try it out.
A couple of users reported that they fixed the problem simply by connecting their drive to a different port, so be sure to try that.
For more info on hard drive issues on Windows 10, you can check out this dedicated guide. If you have a second drive that isn’t detected in Windows, take a look at this article and solve the issue with ease.
That’s about it for our problem with invisible hard drives in Windows 10. In most cases, you just need to initialize it, and we sincerely hope this action will be the only one required.
If you have any comments, questions, or suggestions, let us know in the comments section below.


