Windows restart device driver

Device Installations and System Restarts

Device installations should not force the user to restart the system unless absolutely necessary. The following circumstances are the only ones for which a system restart should be necessary:

Installing or removing a non-Plug and Play device.
For these earlier devices, a user typically must shut down the system before physically adding or removing the device. After the power is turned back on, the system starts.

NoteВ В The device’s setup files should not initiate a system restart, regardless of whether the user installs the drivers before or after plugging in the hardware.

Updating a driver for a system boot device.
If a device can potentially hold the system’s paging, hibernation, or crash dump file, its drivers must service IRP_MN_DEVICE_USAGE_NOTIFICATION requests. The system sends this request before putting one of these files on the disk. If the drivers succeed the request, they must fail any subsequent IRP_MN_QUERY_REMOVE_DEVICE requests. When a driver for the device fails an IRP_MN_QUERY_REMOVE_DEVICE request, the system prompts the user to restart the system.

NoteВ В The device’s setup files should not initiate a system restart.

Installing a non-WDM filter driver.
If a filter driver is added to a non-WDM driver stack, the system must be restarted. In this case, the driver’s installer or co-installer should request a system restart (see Initiating System Restarts During Device Installations).

NoteВ В Adding a filter driver to a WDM driver stack does not require a system restart, unless an underlying device is a system boot device.

Avoiding System Restarts during Device Installations and Driver Updates

To avoid system restarts during device installations, use the following rules:

Never use Reboot or Restart entries in INF DDInstall sections. These directives were originally provided for compatibility with Windows 9x/Me and should not be used for Windows 2000 and later versions of Windows.

Do not use COPYFLG_FORCE_FILE_IN_USE, or COPYFLG_REPLACE_BOOT_FILE flags with INF CopyFiles directives, unless absolutely necessary.

Assign a new file name to each new version of a class installer or co-installer, or a service DLL. This avoids the need for a system restart if an older version is in use. (In fact, if a new file name is not used for an updated class installer or class co-installer, these new files will not be used for the installation.)

To update a device’s drivers, follow the rules that are listed under Updating Driver Files.

Minimizing restarts when updating file-backed drivers

Prior to WindowsВ 10, all kernel-mode drivers were backed by the system’s paging file. As a result, a driver binary could be overwritten on disk even while the driver was running.

To improve performance, starting with WindowsВ 10, most non-boot-start drivers are instead backed by the driver binary on disk.

Читайте также:  Аналог yowindow для windows

Driver start types that are now file-backed include:

  • SERVICE_SYSTEM_START (0x00000001)
  • SERVICE_AUTO_START (0x00000002)
  • SERVICE_DEMAND_START (0x00000003)

Boot start drivers continue to be backed by the paging file.

To update a file-backed driver, use the following best practices. Otherwise, the update might require two restarts, one to replace the file and a second to load the new version of the driver.

If you are using an INF file, follow these steps:

Modify your driver INF file’s CopyFiles section to use COPYFLG_IN_USE_RENAME, as follows:

If you use this flag, Windows attempts to replace the driver file on disk. For more info, see INF CopyFiles Directive.

If the INF is for a PnP driver, during device installation Windows attempts to unload the running driver and restart the devices that use it, in order to pick up the new version of the driver. If that fails, device installation indicates that the system should be rebooted.

If the INF is not for a PnP driver and you are using a method such as InstallHInfSection to process the INF, then manually stop and restart the driver:

Close all open handles to the driver and then stop the driver using one of the following:

  • sc.exe stop
  • ControlService(SERVICE_CONTROL_STOP)

If you are not using an INF file, use these steps:

  1. Stop the driver, as described above. Replace the old driver binary file with the new one.
  2. If you can’t stop the driver, rename the existing file, copy the new file into place, and set up the existing file to be deleted in the future (for example, using MoveFileEx with the MOVEFILE_DELAY_UNTIL_REBOOT flag). In order to start using the new version of the driver, the system will need to be restarted.

DevCon Restart

Stops and restarts the specified devices. Valid only on the local computer.

Parameters

/r Conditional reboot. Reboots the system after completing an operation only if a reboot is required to make a change effective.

* Represents all devices on the computer.

ID Specifies all or part of a hardware ID, compatible ID, or device instance ID of a device. When specifying multiple IDs, type a space between each ID. IDs that include an ampersand character (&) must be enclosed in quotation marks.

The following special characters modify the ID parameter.

Matches any character or no character. Use the wildcard character () to create an ID pattern, for example, disk.

Indicates a device instance ID, for example, @ROOT\FTDISK\0000.

Matches the string literally (exactly as it appears). Precede a string with a single quote to indicate that an asterisk is part of the ID name and is not a wildcard character, for example, ‘*PNP0600’, where *PNP0600 (including the asterisk) is the hardware ID.

=class Specifies the device setup class of the devices. The equal sign (=) identifies the string as a class name.

You can also specify hardware IDs, compatible IDs, device instance IDs, or ID patterns following the class name. Type a space between each ID or pattern. DevCon finds devices in the class that match the specified IDs.

Comments

The system might need to be rebooted to make this change effective. To have DevCon reboot the system, add the conditional reboot parameter (/r) to the command.

How to restart Graphics Driver in Windows 10

If you work on your Windows PC for a very long time, I am sure you must have faced the situation where your display doesn’t work as expected. Scenarios can be different which includes a black screen, screen frozen, keyboard and mouse inputs don’t respond at all. This points out to one thing–the display or the graphics driver has some problem. While Windows 10 can recover the graphics driver on its own, you can always restart the Graphics Driver in Windows 10 manually. Let’s get to know about it.

Restart Graphics Driver in Windows 10

In this guide, we will talk about multiple methods which can help you restart, and recover your graphics password. Rest assured that your work will not be lost – the screen may only flicker for a second or two.

1] Restart Graphics Driver using Win+Ctrl+Shift+B Shortcut

Use the key combination Win+Ctrl+Shift+B on your Windows 10/8 keyboard. The screen flickers and goes black for a second, and will be back in less than a second. In case it is not working for you, make sure to check if your Windows Key is not disabled. In many gaming PCs, the onboard software disables the windows key as it can accidentally shift the focus.

This is the easiest method to restart your driver without the need of an admin account.

2] Remove & Update corrupt Display or Graphics Driver

If the graphics driver is misbehaving a lot, chances are that your driver has gone corrupt. You will have to either re-install the driver or update to the latest version. Many a time old drivers are not compatible with latest Windows Update as a result of which Display drivers stop responding.

There are two ways to fix this. You can remove it manually using Device Manager or from the Control Panel. You may need administrative privileges to complete this.

A] Uninstall the drivers using Device Manager

  • Open Device Manager by either searching in Start Menu or type devmgmt.msc and press Enter in the run prompt.
  • Find Display Adapters and expand it.
  • Right click on the adapter select Uninstall.
  • Restart the computer.

Post this, Windows should install the required driver using Windows Update system automatically. In case it doesn’t, you can always install the driver manually using the Update Driver option.

B] Uninstall the drivers from Control Panel

Many OEMs develop software that could give users more control over features that run on top of the driver. Nvidia offers a control panel which can help you optimize few display settings. After removing the driver from the device manager, it’s a good idea to remove OEM software as well.

  • In the search box, type Control Panel, and when the program shows up, click to open it.
  • Type Programs & Features > Add or Remove Programs.
  • Find the Driver program, select and uninstall it.

You may want to install the software & driver again post these two steps to make sure your graphics card is completely utilized, and not using the basic driver.

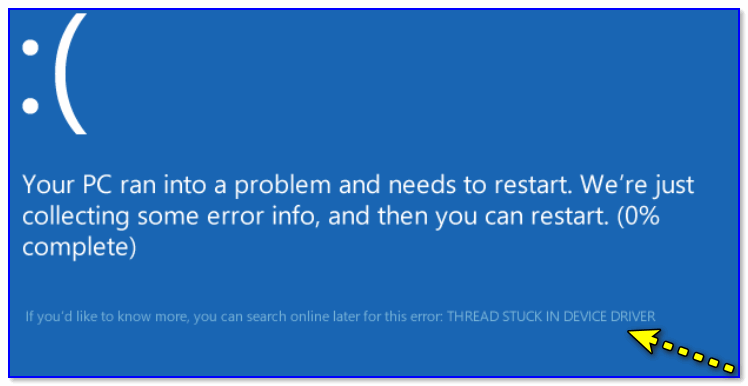
Как исправить ошибку thread stuck in device driver в Windows 10, 4 способа

В период эксплуатации операционная система и дополнительные модули персонального компьютера могут давать сбой. Если на мониторе Windows 10 отобразилось сообщение о неисправности «Thread stuck in device driver», необходимо ознакомиться с инструкцией, как исправить параметры и характеристики ПК. Существует несколько способов устранения ошибки – через БИОС, видеокарту и другие.

Что это за ошибка?

Любая неполадка операционки сопровождается дополнительным уведомлением на экране (при загрузке персонального устройства или в процессе работы), в котором указывается уникальный код остановки и краткое пояснение. Кодировка позволяет уточнить параметры неисправности, возможные причины и методы исправления.

Обозначение «thread_stuck_in_device_driver» появляется, если произошел сбой в работе графической карты персонального компьютера (стационарного устройства, ноутбука). Основные признаки – частая перезагрузка ПК, появление «экрана смерти» (монитор синего цвета).

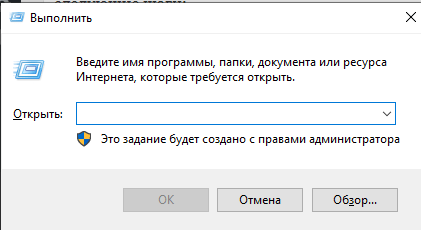
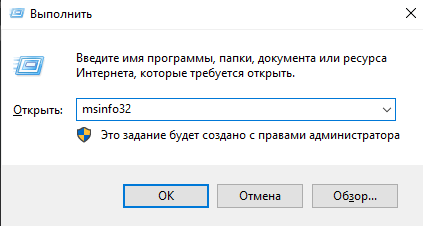
Как исправить «thread_stuck_in_device_driver» в Windows 10
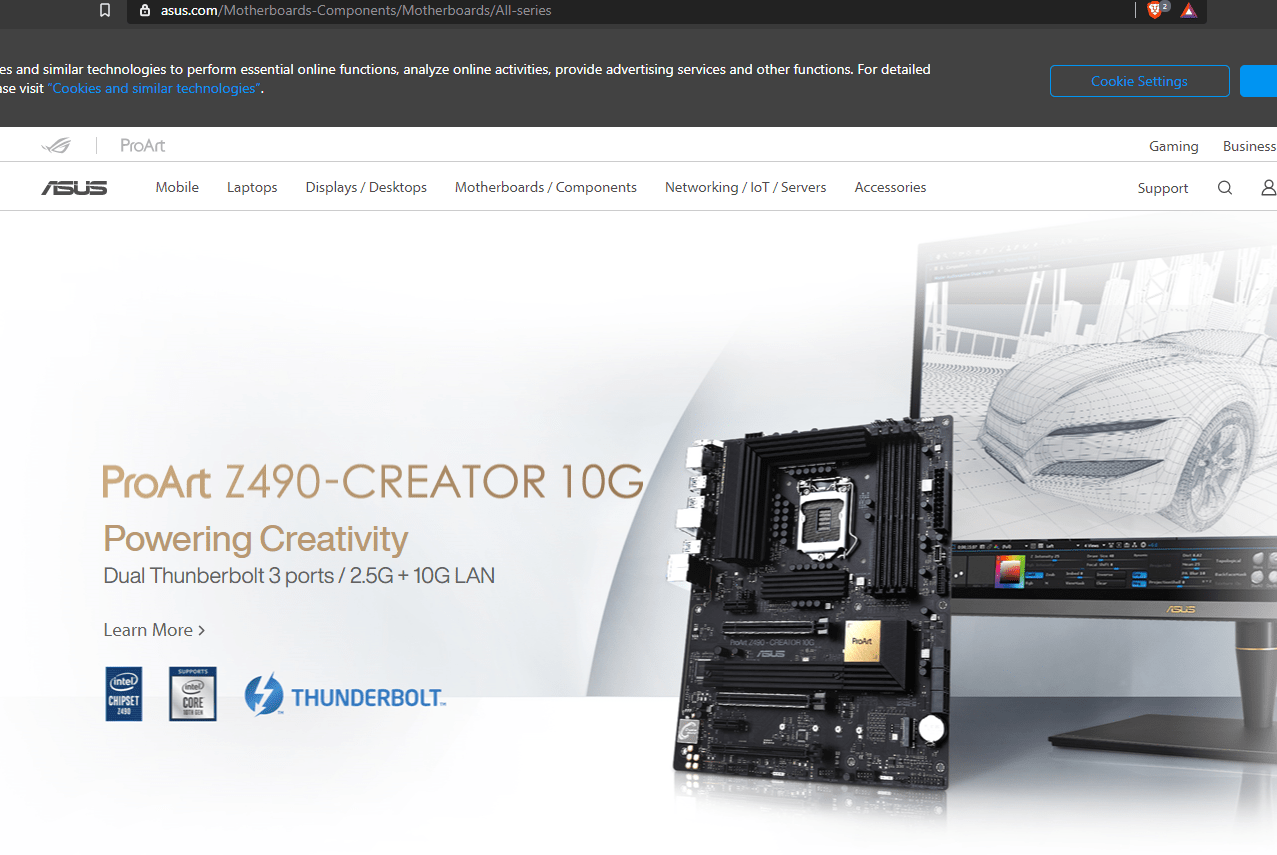
Видеокарта обеспечивает передачу информации на монитор ПК. Обработка и скорость передачи данных – качество изображения, плавность переходов – зависят от исправности устройства, наличие продуктивных драйверов взаимодействия. Чтобы устранить ошибку «thread_stuck_in_device_driver», используют блок БИОС и настройку параметров устройства.

Обновление BIOS

Схема работы персонального компьютера построена на основе специального интерфейса БИОС – basic input/output system. Обновление программных блоков продуктов позволяет устранить значительное количество сбоев и неисправностей. Этапы действий:

  • одновременно нажать сочетание горячих клавиш «Win» и «R»;

  • откроется дополнительное окно, в пустой строке которого необходимо ввести команду msinfo32;

  • зайти на сайт производителя ПК (материнской платы стационарного компьютера или ноутбука);

  • сравнить данные – текущая вариация устройства и на официальном сайте; если есть обновленная версия, ее скачивают и устанавливают.

После процедуры установки персональное устройство требуется перезагрузить в принудительном режиме.

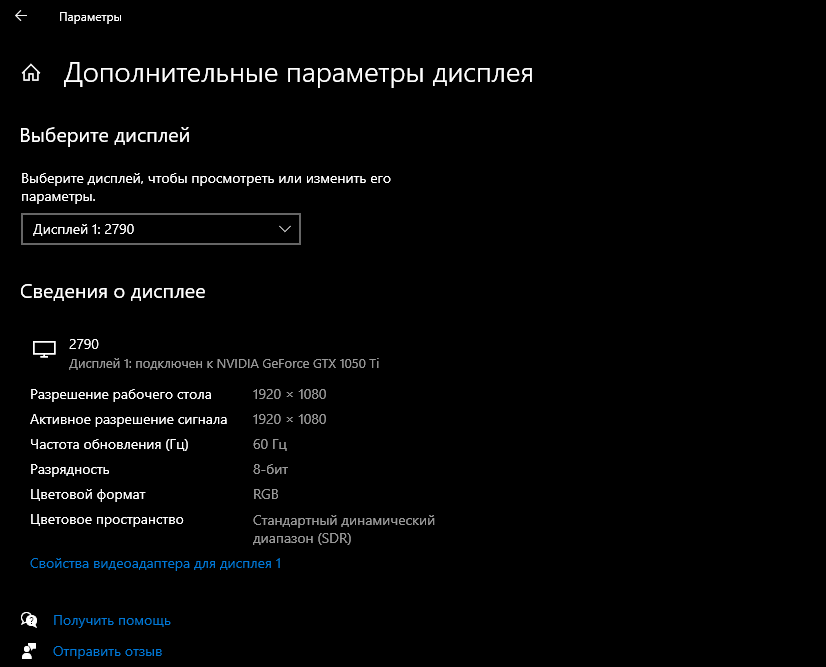
Проверка актуальности драйверов видеокарты

Если предыдущий способ не решил проблему, проверяют «дрова» видеокарты. Драйвера – это дополнительное программное обеспечение, которое помогает операционной системе персонального компьютера взаимодействовать с установленными механизмами (камеры, принтеры, микрофоны и другое).

Чтобы проверить работоспособность «дров» видеокарты, необходимо выполнить следующие шаги:

  • вызвать контекстное меню кнопки «Пуск» на рабочем столе (кликнуть по изображению правой клавишей мышки);

  • в открывшемся перечне выбрать строку «Диспетчер устройств»;

  • в новом списке перейти на пункт «Видеоадаптеры»;

  • по нужной видеокарте кликнуть правой клавишей и выбрать действие «Обновить драйверы».

Другой вариант – полное удаление текущих «дров», чтобы затем скачать и установить последние обновленные версии драйверов. После внесенных изменений персональное устройство перезагружают принудительно.

Замена видеокарты

Крайний вариант – полная физическая замена устройства. Хотя программные методы устранения неисправностей помогают в большинстве случаев. Важно внимательно отнестись к выбору механизма – сравнить разрядность устройств, наименование с текущим, совместимость внутренних настроек.

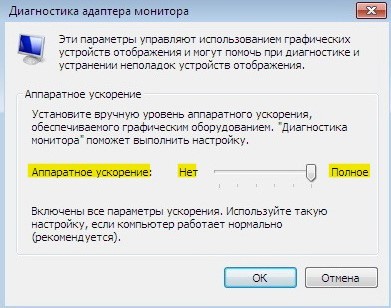
Отключение аппаратного ускорения

Изменение характеристик данного параметра снизит производительность видеокарты. Но такой вариант поможет изменить ситуацию без покупки нового устройства. Инструкция:

  • вызвать меню контекстного режима кнопки «Пуск», открыть подраздел «Панель управления»;

  • перейти на пункт «Экран», затем последовательно – «Настройки», «Дополнительные характеристики», «Диагностика», «Изменение данных»;

  • значок, располагающийся напротив строки «Аппаратное ускорение» перевести в положение «Выкл».

Затем компьютер перезагружают. Если после включения ПК экран синего цвета не отобразился, значит, проблема устранена. Необходимо четко следовать указанным инструкциям, после каждого произведенного действия ПК перезагружают, чтобы изменения были активированы.

Появление неисправности с кодом «thread_stuck_in_device_driver» означает сбой в работе видеокарты персонального устройства (стационарного или ноутбука). Устранить ошибку можно с помощью программных методов – обновление компонента БИОС, драйверов. Крайний вариант – полная замена механизма. Для исправления ошибки могут потребоваться дополнительные навыки и знания.

Читайте также:  Как выглядит windows server
Оцените статью
Character Description