- Устанавливаем GUI на Windows Server Core
- Оболочка сторонними средствами
- 1. Сложный, но наиболее экономичный способ
- Способ 2. Запускаем родной Explorer
- How to install the GUI on Windows Server 2016
- Install the GUI on Server 2016 “MinShell” ^
- Install the GUI on Server Core ^
- To install the GUI or not? ^
- Subscribe to our newsletter!
- Как включить и отключить графический интерфейс в Windows Server 2012/2016/2019
Устанавливаем GUI на Windows Server Core
В прошлом нашем посте мы рассказали как готовим стандартные клиентские виртуальные машины и показали на примере нашего нового тарифа с Ultralight windows vds за 99 рублей, как мы создавали стандартный образ Windows Server 2019 Core.
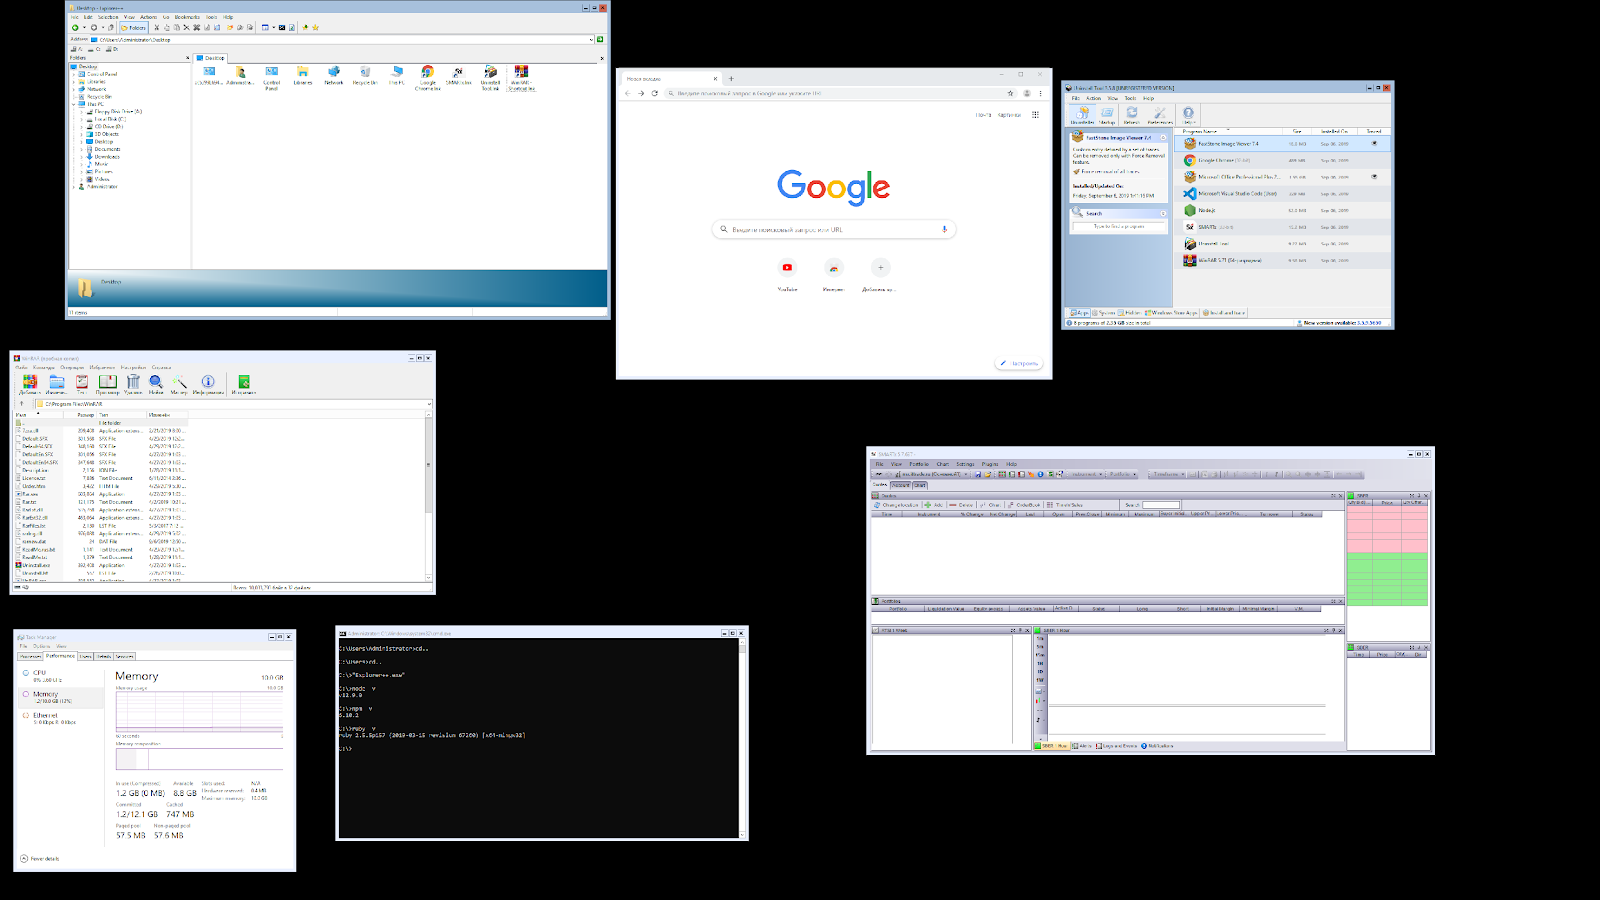
В службу поддержки стали поступать заявки как работать с Server 2019 Core без привычной графической оболочки. Мы решили показать работу с Windows Server 2019 Core и как установить на него GUI.

Не повторяйте это на рабочих машинах, не используйте Server Core как рабочий стол, отключите RDP, обезопасьте свою информационную систему, именно безопасность — это главная фишка «Core» инсталляции.
В одной из следующих наших статей мы рассмотрим таблицу совместимости программ с Windows Server Core. В этой статье мы затронем то, как установить оболочку.
Оболочка сторонними средствами
1. Сложный, но наиболее экономичный способ
В Server Core из коробки нет привычного нам explorer.exe, чтобы облегчить нам жизнь, мы скачаем explorer++. Он заменяет все, что умеет оригинальный explorer. Рассматривался только explorer++, но подойдет почти любой файловый менеджер, в том числе Total Commander, FAR Manager и другие.
Сначала нам нужно скачать файл на сервер. Это можно сделать через SMB (общую папку), Windows Admin Center и Invoke-WebRequest, он работает с параметром -UseBasicParsing.
Где -uri это URL файла, а -OutFile полный путь куда его скачивать, указывая расширение файла и
C помощью Powershell:
На сервере создаём новую папку:
Расшариваем общую папку:
На вашем ПК папка подключается как сетевой диск.

Через Windows Admin Center создаем новую папку выбрав пункт в меню.
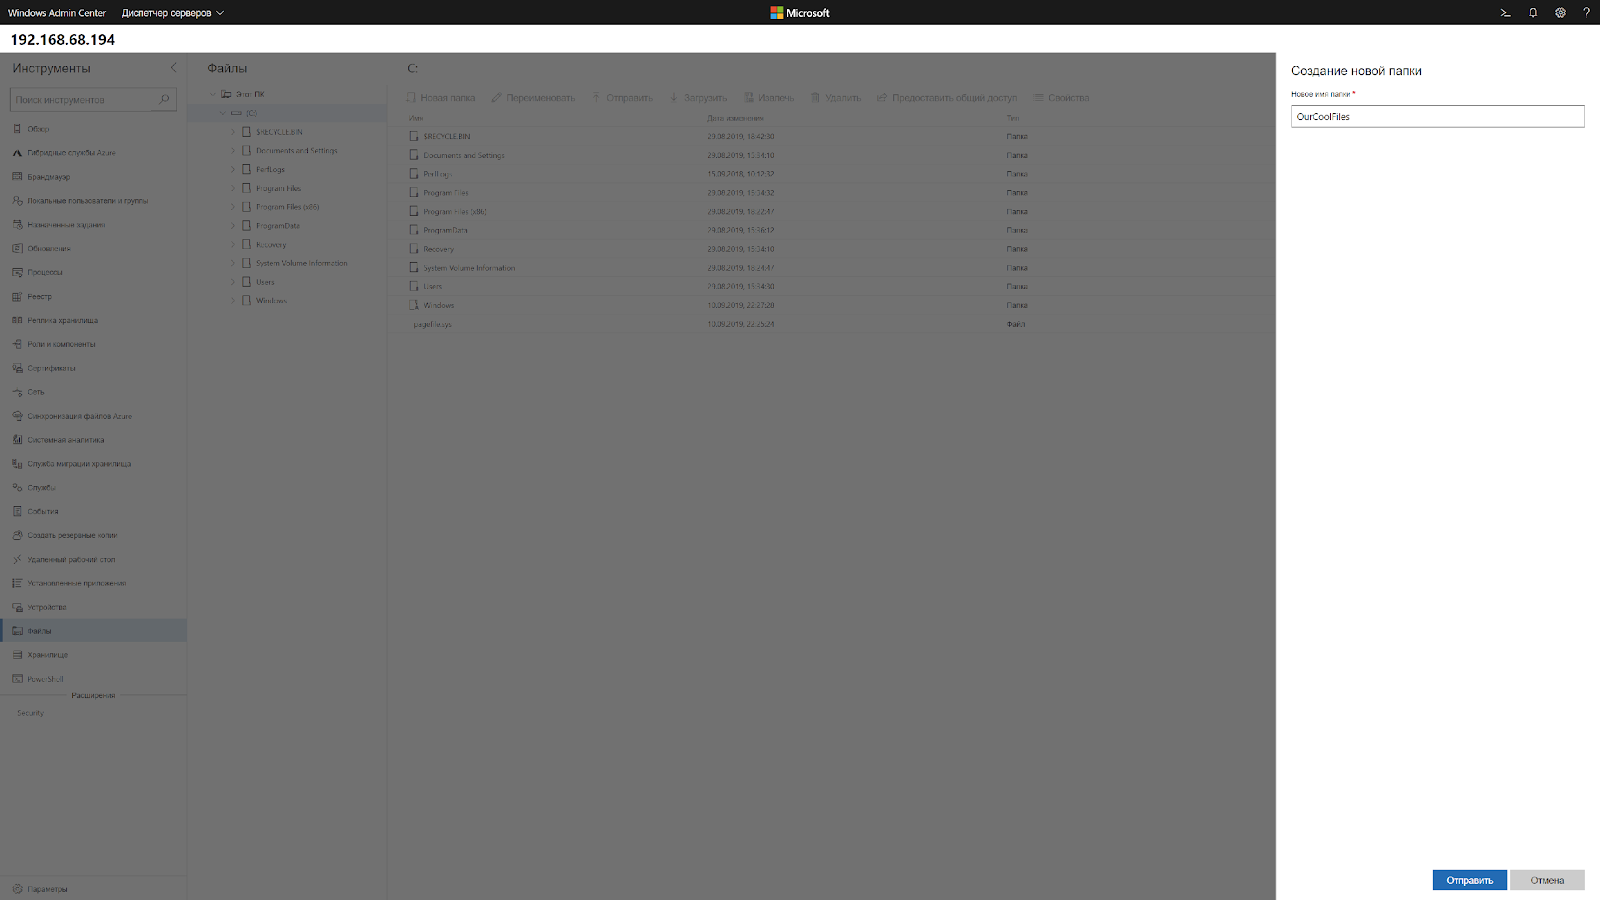
Переходим в общую папку и жмем кнопку отправить, выбираем файл.

Добавляем оболочку в планировщик.
Если вы не хотите запускать оболочку вручную при каждом входе в систему, то нужно добавить её в планировщик задач.
Без планировщика можно запустить через CMD:
Способ 2. Запускаем родной Explorer
Remember, no GUI
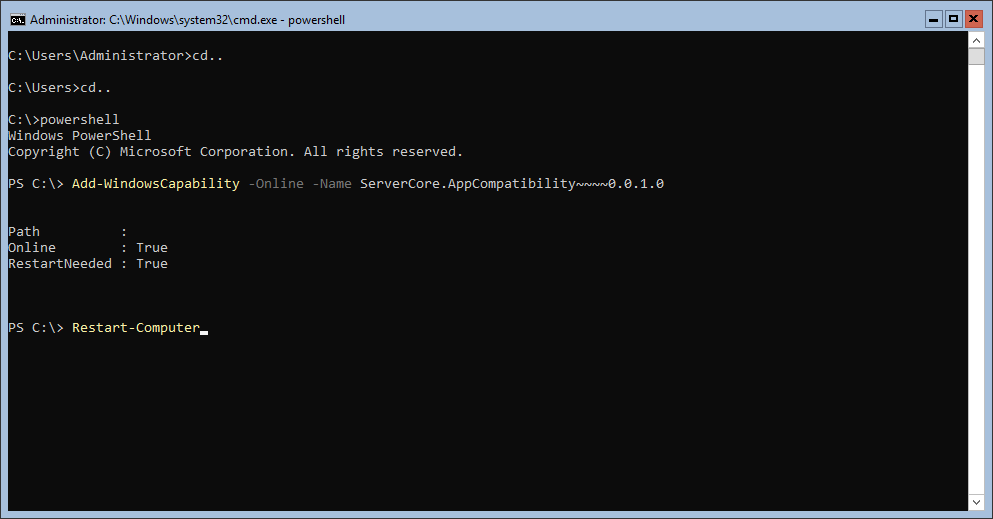
Server Core App Compatibility Feature on Demand (FOD), вернет в систему: MMC, Eventvwr, PerfMon, Resmon, Explorer.exe и даже Powershell ISE. Подробнее можете ознакомиться на MSDN. Существующий набор ролей и компонентов он не расширяет.
Запустите Powershell и введите следующую команду:
Затем перезагрузите сервер:
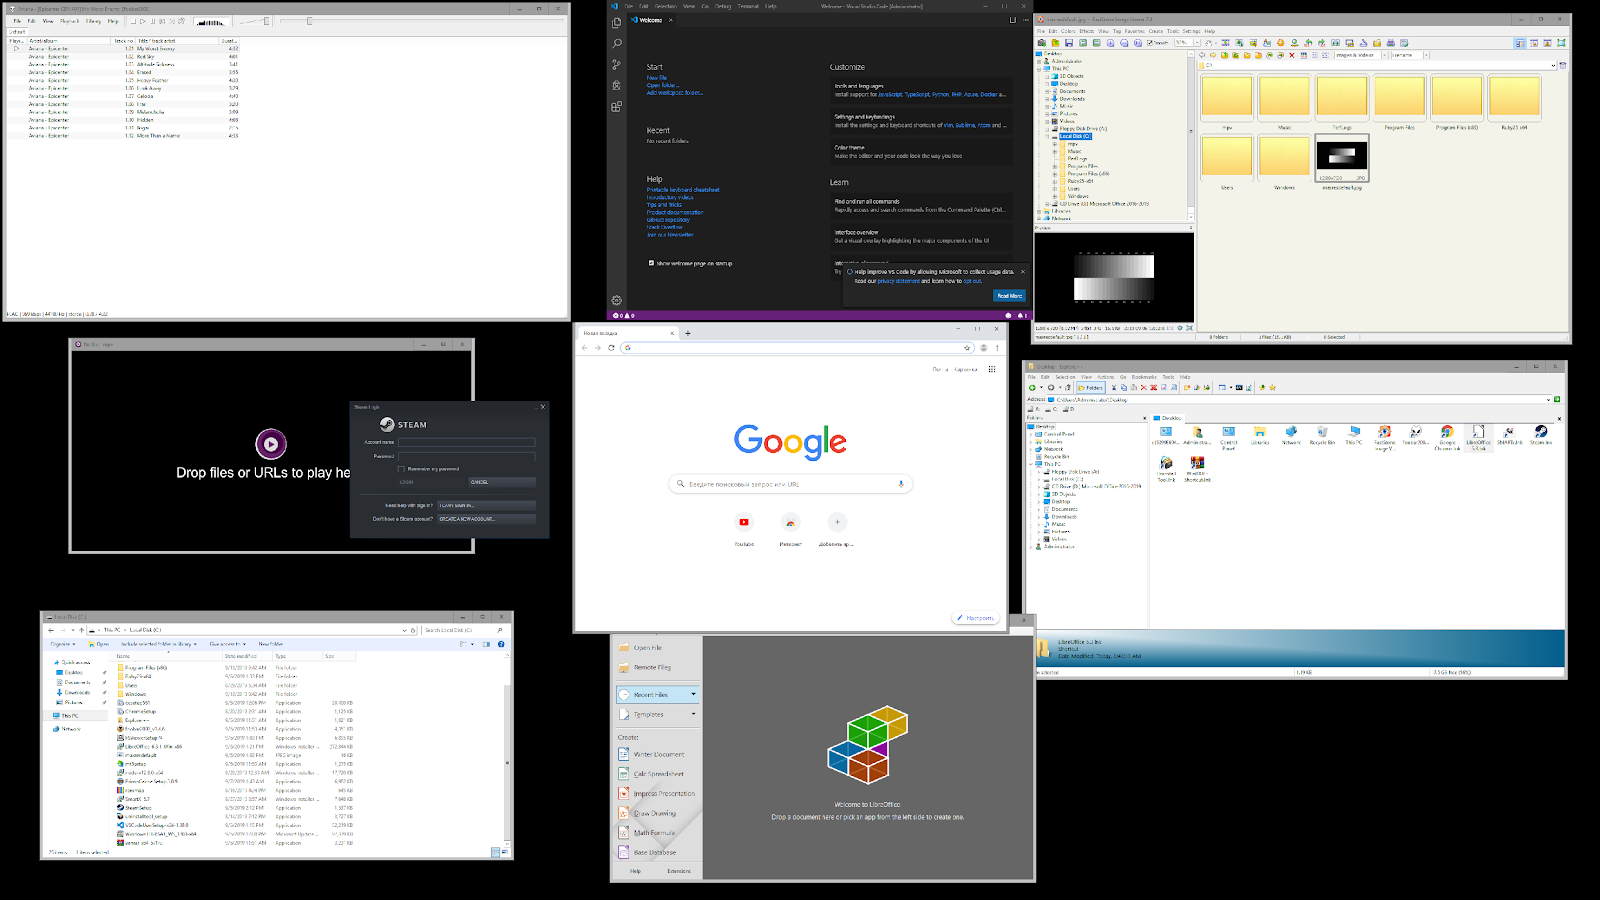
После этого вы сможете запускать даже Microsoft Office, но потеряете примерно 200 мегабайт ОЗУ навсегда, даже если в системе нет активных пользователей.
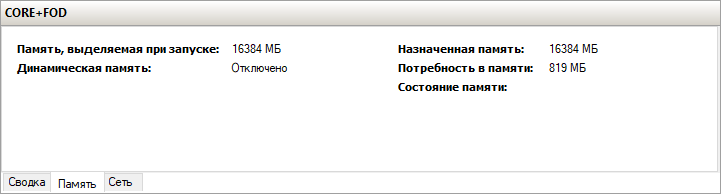
Windows Server 2019 c установленным Features on Demand

Windows Server 2019 CORE
На этом всё. В следующей статье мы рассмотрим таблицу совместимости программ с Windows Server Core.
Предлагаем обновлённый тариф UltraLite Windows VDS за 99 рублей с установленной Windows Server 2019 Core. 
How to install the GUI on Windows Server 2016

- Managing shared mailboxes in Office 365 with PowerShell — Thu, May 5 2016
- Managing shared mailboxes in Office 365 with the GUI — Wed, May 4 2016
- Installing and configuring the Enhanced Mitigation Experience Toolkit (EMET) — Wed, Mar 16 2016
If you’ve taken the time to install the latest build of Windows Server Technical Preview 2, you may have noticed that the graphical user interface (GUI) is no longer an option in a default install. When you’re prompted to select the operating system you want to install, you have two options.
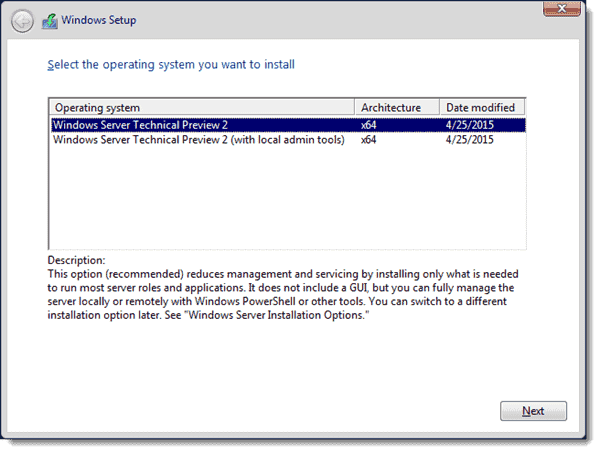
Windows Server 2016 – Select the operating system you want to install
The first option, Windows Server Technical Preview 2 (the verbiage will most likely be replaced with Windows Server 2016 when the product is eventually released) is the traditional Server Core install that doesn’t include the GUI.
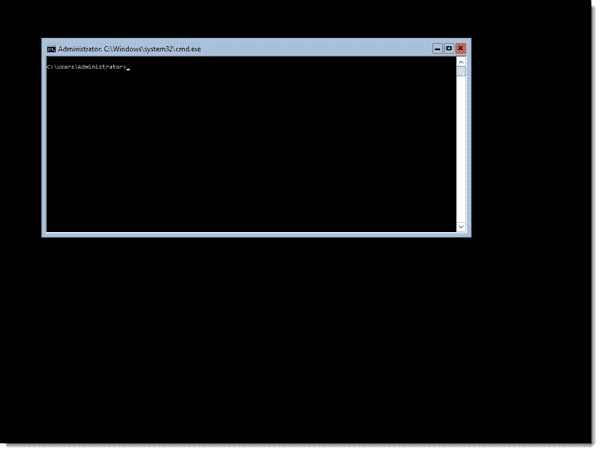
Windows Server 2016 Server Core
Just to show you how hardcore and serious Microsoft is, the Control+Alt+Delete logon prompt sits in a command prompt box. I wouldn’t be surprised to see this one day go the way of UNIX/Linux and drop the window completely in favor of just straight text.
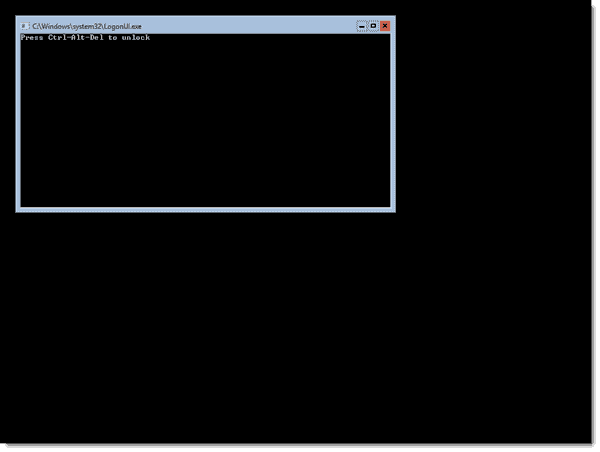
Ctrl+Alt+Delete logon screen on Windows Server 2016 Server Core
The second option, Windows Server Technical Preview 2 (with local admin tools), is the “MinShell” install that contains a minimal GUI that includes Server Manager and the other GUI administration tools, but no traditional desktop.
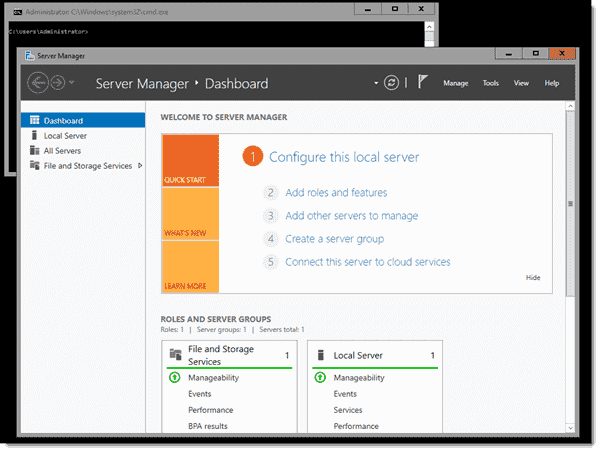
Windows Server 2016 running MinShell
Install the GUI on Server 2016 “MinShell” ^
If you’re running the MinShell version of Windows Server 2016 that includes Server Manager and the other GUI administrative tools, installing the full GUI is rather easy. At the command prompt that you get when you log in, type powershell and press Enter to run PowerShell. Then, run the following command:
The first part is the Install-WindowsFeature PowerShell cmdlet that tells Windows to install a feature of Windows Server. The second part tells the cmdlet that you want to install the GUI. The last part tells Windows to automatically reboot after installing the feature. The reboot is required to finish the install; just be aware that adding -Restart will force the reboot immediately following the completion of the install.
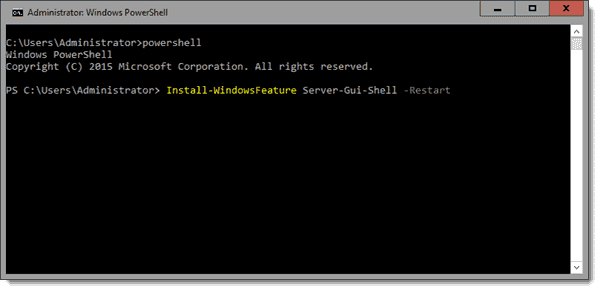
Install the GUI on Windows Server 2016 “MinShell” using PowerShell
Install the GUI on Server Core ^
If you decided to install Server Core, you have slightly more work to do to get the GUI installed. If you run the PowerShell command we used in the MinShell version of Windows Server 2016, it will fail and you’ll get a pretty big error message with lots of red error text: “Install-WindowsFeature : The request to add or remove features on the specified server failed. Installation of one or more roles, role services, or features failed. The source files could not be found.”
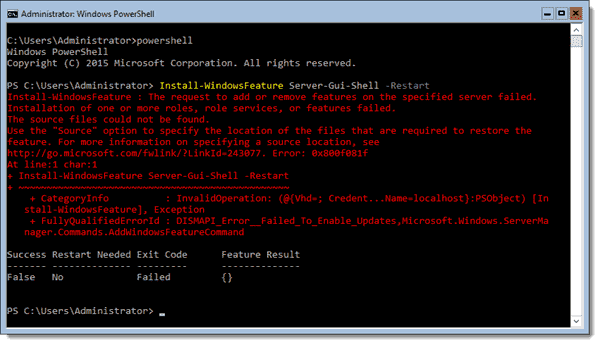
Error installing the GUI on Windows Server 2016 Server Core
We can dig a little bit by running this PowerShell command:
This will show us the installable GUI options on the server. As you can see in the screenshot below, the Install State is “Removed.” Because this is a Server Core install, options such as the GUI aren’t cached on the disk for quick install. Instead, we’ll have to access the OS install WIM file to install the GUI.

Looking at GUI options on Windows Server 2016 Server Core
In my example, I’m using a Hyper-V VM that has the Windows Server Technical Preview 2 ISO image connected to the DVD drive so I can access the install.wim file. To install the GUI, I run this command:
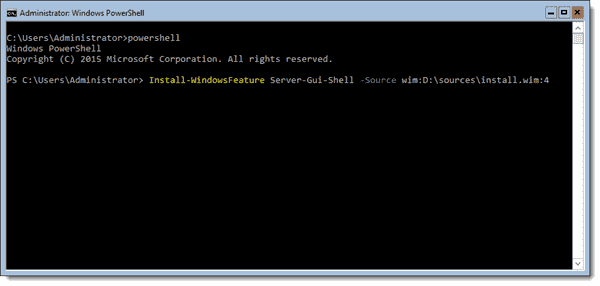
Install the GUI on Windows Server 2016 Server Core using PowerShell
After a reboot on Windows Server 2016 MinShell or Server Core, you’ll be greeted by the full graphical user interface.
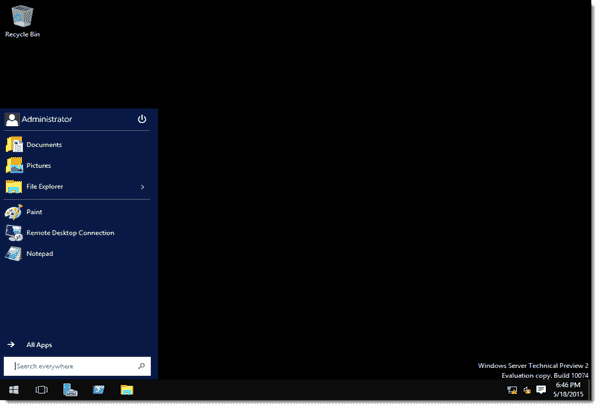
Windows Server 2016 with GUI enabled
To install the GUI or not? ^
Most, if not all, organizations still have server-based applications that don’t play well with Server Core and need the full GUI. In many cases, the management tools and agents that we use to manage those servers are the apps that need the GUI. Until more vendors catch up to Microsoft’s philosophy, we’ll still see lots of sysadmins installing the GUI on their servers.
In a perfect world, I’d love to see Microsoft embrace some of the Linux philosophy with respect to GUIs. If the GUI was something that ran only when we needed it, then Windows systems administrators could run the GUI whenever they needed to perform certain administrative functions or use applications that don’t support a pure command-line interface.
Subscribe to our newsletter!
That would also allow the GUI to remain in an offline mode when it wasn’t needed, and it could be patched without the need to constantly reboot the system for updates. As it stands today, the non-GUI version of Windows Server just looks like a GUI that’s been stripped of the Start menu/screen, Task Bar, File Explorer, and other useful GUI tools other than a few utilities. As for what the future holds for Windows Server, I don’t think the GUI will ever completely go away, but now is the time to start using and learning PowerShell before you’re left in the dust.
Как включить и отключить графический интерфейс в Windows Server 2012/2016/2019

Когда появилась самая первая версия Server Core многие администраторы избегали его по той причине, что они могли использовать исклюительно возможности командной строки, а это не всегда удобно. Однако, в Windows Server 2012 ситуация поменялась, теперь стало возможным использовать гибридный режим, т.е. возможно как отключение, так и включение графического интерфейса.
Отключение GUI
В Windows Server 2012 GUI последовал примеру общей архитектуры интерфейса управления и работы операционной системы и стал «фичей». Это в свою делает процесс удаления графического интерфейса простым до невозможности. Для начала необходимо запустить «Server Manager».
Нажмите «Manage», а затем выберите пункт «Remove Roles or Features» из меню. 
Далее нажмите «Next» для того, чтобы проскочить предварительные пункты мастера настройки, далее выберите необходимый вам сервер из доступного пула (в нашем случае это сервер DC1) и нажмите «Next». 
Так как GUI не является ролью, нажмите «Next», чтобы пропустить мастер ролей и перейти к следующей секции.
Когда вы дойдете до мастера фич, вам будет необходимо снять галочку с чек-бокса «User Interfaces and Infrastructure», а затем нажать «Next». 
Поставьте отметку на «Restart Destination Server» и нажмите «Remove». 
После этого действия GUI будет удален.
После удаления всех необходимых данных сервер будет автоматически перезагружен.
После того как сервер вновь загрузиться, а вы залогинитесь – с этого момента вы сможете использовать только командную строку для взаимодействия с сервером.
Включение GUI
После того как мы успешно удалили GUI, было бы очень неплохо знать как же все-таки его вернуть обратно. Для этого мы используем утилиту «SConfig» — так что просто наберите в командной строке «sconfig» и нажмите Enter. 
В самом низу экрана можно увидеть пункт меню 12, который как раз отвечает за восстановление графического интерфейса – все что нам остается сделать, это набрать 12 и нажать «Enter».
На экране появится уведомление о том, что в случае включения GUI потребуется перезагрузка сервера – смело нажимаем «Yes» для завершения операции восстановления графического интерфейса. 
После этого запуститься DISM, который произведет добавление необходимых файлов для активации графической оболочки. 
После окончания вышеуказанного процесса вам будет предложено перезагрузить сервер, наберите «y» и нажмите для перезагрузки.
Отключение GUI с помощью PowerShell
Также мы можем осуществить все вышеперечисленный операции как по удалению, так и по возвращению GUI гораздо быстрее, если воспользуемся командами PowerShell.
Для того чтобы удалить GUI мы используем командлет Remove-WindowsFeature:


