- How to Install and Activate the RDS Licensing Role on Windows Server 2019/2016?
- Installing the Remote Desktop Licensing Role on Windows Server 2019/2016
- Activating the RDS License Server on Windows Server
- RDS CALs: Types of Remote Desktop Client Access Licenses
- Installing RDS CALs on Windows Server 2016/2019
- How to Remove RDS CALs from a RD License Server?
- Specify a License Server Address on an RD Session Hosts
- Настройка и лицензирование терминального сервера Windows Server 2016
- Ссылки
- Подготовка Windows Server 2016
- Установка роли терминального сервера
- Лицензирование терминального сервера
How to Install and Activate the RDS Licensing Role on Windows Server 2019/2016?
In this article, we’ll consider the installation, configuration, and activation of Remote Desktop Licensing role on Windows Server 2019/2016, as well as the installation and activation of the RDS client access licenses (CALs).
I remind that after the installation of Remote Desktop Session Host role, users can use it only for 120 days of a trial period, and users can’t connect to an RDS host afterward. According to Microsoft licensing scheme, all users or devices that used RDS features must be licensed. To register and issue remote desktop client access licenses (RDS CALs), there is a separate service in RDS role called Remote Desktop License Server.
Installing the Remote Desktop Licensing Role on Windows Server 2019/2016
You can deploy the Remote Desktop License service on any domain server; it is not necessary to install it on one of the servers onthe RDSH farm.
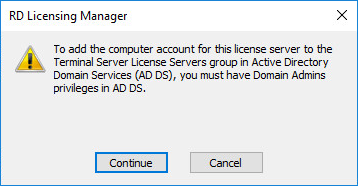
Before you start the installation, add a new server to the Terminal Server License Servers domain group (or make sure you have the permission to change this group membership), otherwise the server won’t be able to issue RDS Per User CAL to the domain users.
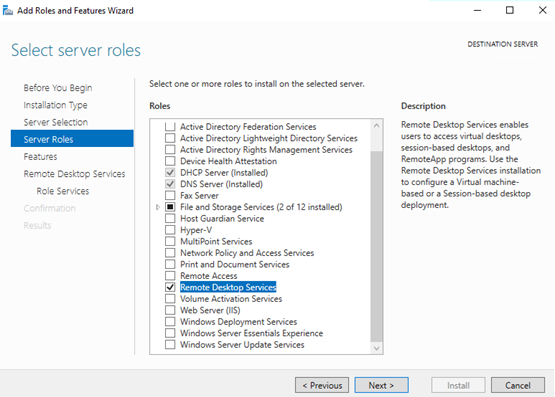
You can install Remote Desktop Licensing using Server Manager. To do it, select Remote Desktop Services role in the Add Roles and Features Wizard.
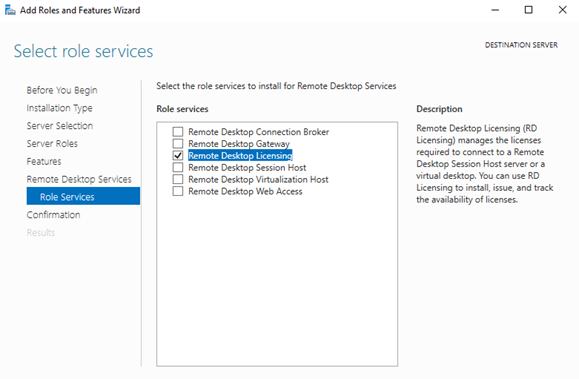
Select Remote Desktop Licensing as the role service.
Wait untill the role is installed. 
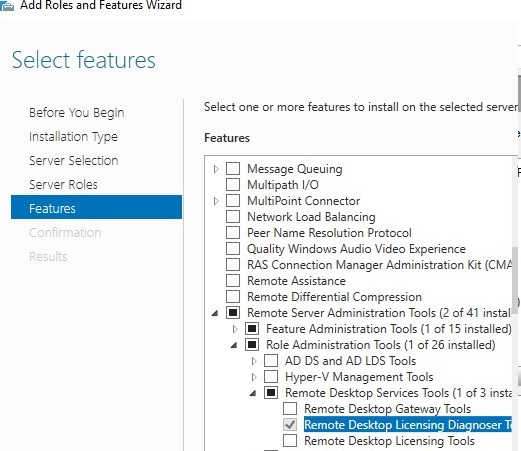
Additionally, install the utility for diagnosing licensing problems on RDS servers — Remote Desktop Licensing Diagnoser (lsdiag.msc), which can be set using Server Manager: Features -> Remote Server Administration Tools -> Role Administration Tools -> Remote Desktop Services Tools -> Remote Desktop Licensing Diagnoser Tools (by default, when installing the RDS-Licensing service, only the Remote Desktop Licensing Manager console [licmgr.exe] is installed).
You can also install the RDS Licensing service and lsdiag.msc tool using PowerShell:
Install-WindowsFeature RDS-Licensing –IncludeAllSubFeature -IncludeManagementTools
Activating the RDS License Server on Windows Server
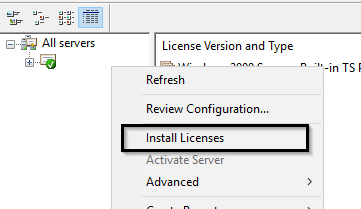
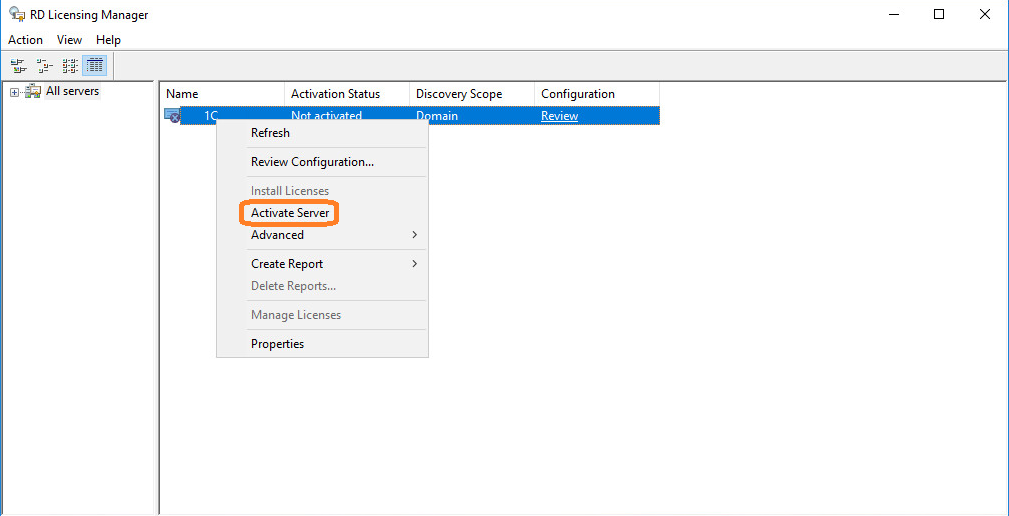
In order to issue licenses to RDP clients, your RDS License Server must be activated. To do it, open the Remote Desktop Licensing Manager, right-click the name of your server and select Activate Server. 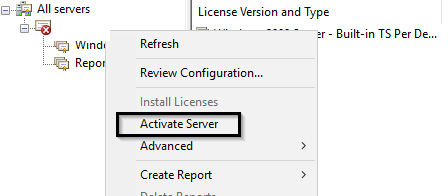
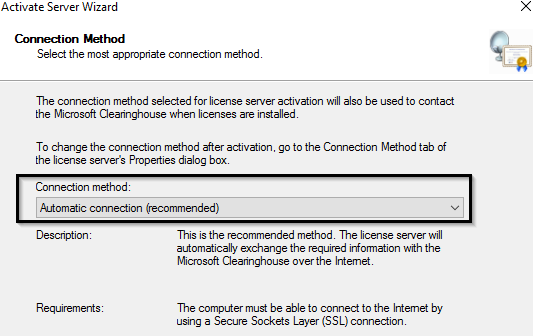
The RDS licensing server activation wizard will start. Here you will need to select the activation method you prefer. If your server is connected to the Internet, it can automatically connect to Microsoft servers and activate RDS license server. If there is no direct Internet access from the server, you can activate the server using a web browser or by phone.
Then you must enter some information about your company (some fields are mandatory). 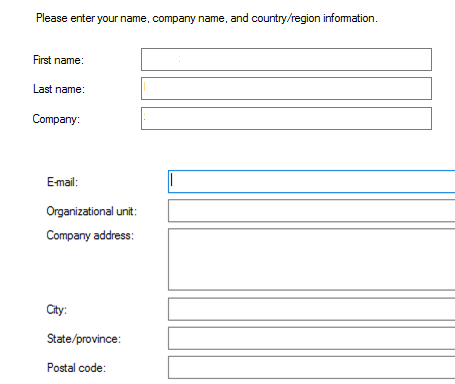
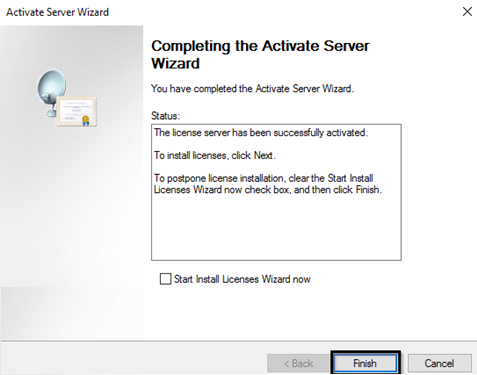
It remains to click the Finish button.
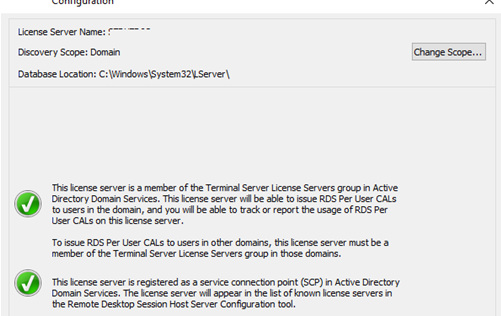
If you right-click the server name in the console and select Review Configuration, you can verify that the RDS License Server is activated and can be used to activate RDSH clients in your domain.
RDS CALs: Types of Remote Desktop Client Access Licenses
Each user or device that connects to Remote Desktop Session hosts must have a client access license (CAL). There are two types of RDS CALs:
- Per Device CAL – is the permanent license type assigned to a computer or a device that connects to the RDS server more than once (when a device is first connected, a temporary license is issued to it). These licenses are not concurrent, i.e., if you have 10 Per Device licenses, only 10 hosts can connect to your RDS server;
- Per User CAL – is the type of license that allows a user to connect to the RDS server from any number of computers/devices. This type of license is associated with an Active Directory user and issued not permanently, but for a specific period of time (90 days, by default).
Installing RDS CALs on Windows Server 2016/2019
Now you must install the package of remote desktop client licenses (RDS CAL) you have purchased on the License Server.
Right-click your server in Remote Desktop Licensing Manager and select Install Licenses.
Select the activation method (automatic, online or by phone) and the license program (in our case, it is Enterprise Agreement). 
The next steps of the wizard depend on which license program you have selected. In case of Enterprise Agreement, you must specify its number. If you have chosen License Pack (Retail Purchase), enter the 25-character product key you got from Microsoft. 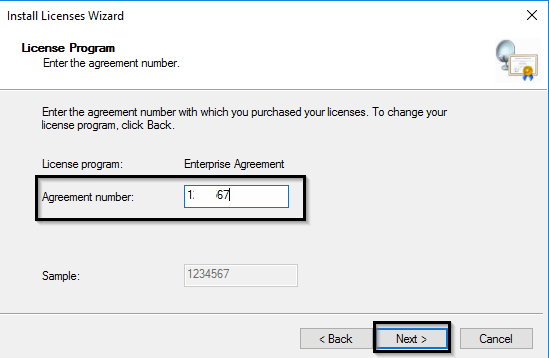
Specify the product version (Windows Server 2019/2016), license type (RDS Per user CAL) and the number of licenses to be installed on the server.
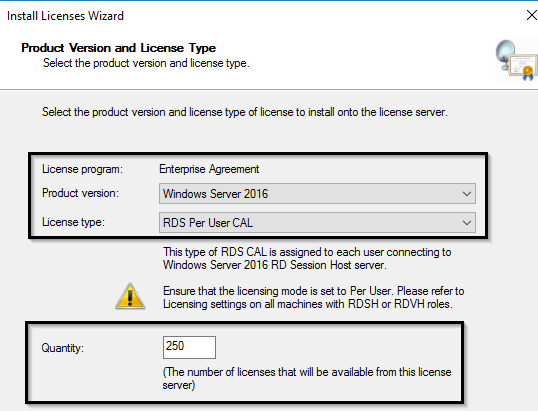
After that, the server can issue licenses (RDS CAL) to clients.
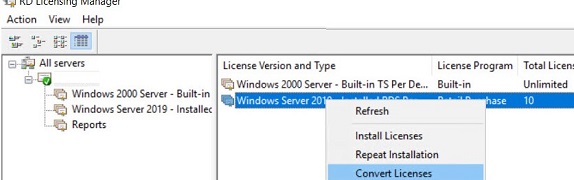
You can convert User CAL RDS to Device CAL (and vice versa) using the Convert Licenses menu item in the RD Licensing Manager console.
If you have run out of free RDS licenses, you can revoke previously issued RDS Device CALs for inactive computers using the following PowerShell script:
$RevokedPCName=”lon-bc1-123”
$licensepacks = Get-WmiObject win32_tslicensekeypack | where <($_.keypacktype -ne 0) -and ($_.keypacktype -ne 4) -and ($_.keypacktype -ne 6)>
$licensepacks.TotalLicenses
$TSLicensesAssigned = gwmi win32_tsissuedlicense | where <$_.licensestatus -eq 2>
$RevokePC = $TSLicensesAssigned | ? sIssuedToComputer -EQ $RevokedPCName
$RevokePC.Revoke()
How to Remove RDS CALs from a RD License Server?
If you want to transfer your RDS CAL license set from one Remote Desktop licensing server to another, you can remove installed CAL licenses pack from the licensing server using PowerShell.
Using the following cmdlet, you can list all the installed RDS CAL packages on the server:
Get-WmiObject Win32_TSLicenseKeyPack|select-object KeyPackId,ProductVersion,TypeAndModel,AvailableLicenses,IssuedLicenses |ft

Find the KeyPackId value for the RDS CAL package that you want to remove and run the command:
wmic /namespace:\\root\CIMV2 PATH Win32_TSLicenseKeyPack CALL UninstallLicenseKeyPackWithId yourKeyPackId
You can also completely remove all CALs by re-creating the RDS license database. To do this, stop the Remote Desktop Licensing service:
Rename the file C:\Windows\System32\lserver\TLSLic.edb to C:\Windows\System32\lserver\TLSLic.edb_bak and start the service:
After that, all RDS CAL licenses will be deleted, and you must reactivate them.
Specify a License Server Address on an RD Session Hosts
After the RDS License Server is activated and being run, you can reconfigure RD Session Host to obtain CAL licenses from this server. You can set the license type and specify the name of the license server from the Server Manager GUI, using PowerShell or GPO.
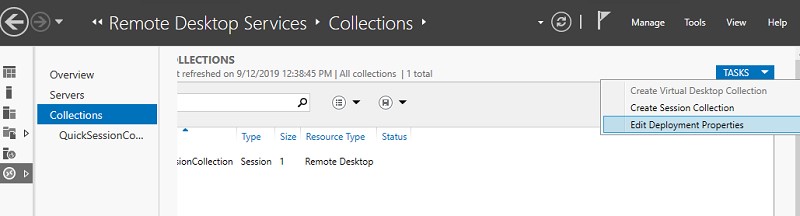
To change the name/address of the licensing server on the RDS host, open Server Manager -> Remote Desktop Services -> Collections. In the upper right menu “Tasks” select “Edit Deployment Properties”.
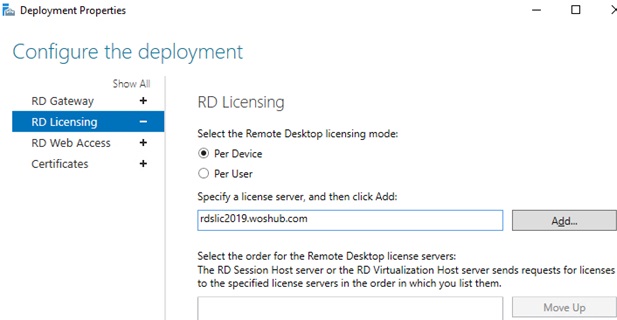
In the deployment properties, go to the RD Licensing tab, select the Remote Desktop licensing mode and the RDS license server. Click Add -> Ok.
You can change the RDS license server address and CAL type using PowerShell:
$obj = gwmi -namespace «Root/CIMV2/TerminalServices» Win32_TerminalServiceSetting
Then specify the license type you need:
Then specify the name of the RDS License Server:
And check the current settings:
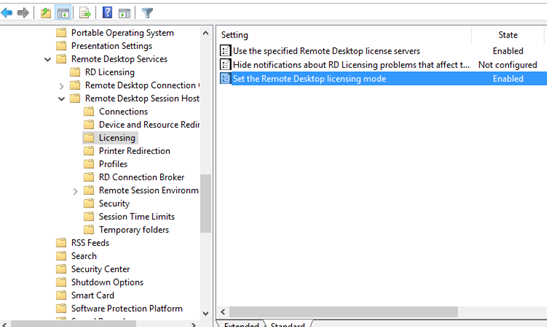
When configuring RDS licensing parameters for RD session hosts via GPO, you need to create a new GPO and link it to the OU with RDS servers (or you can specify the name of the RDS licensing server using the local Group Policy editor – gpedit.msc). The RD licensing settings are located in the following GPO section: Computer Configuration -> Policies -> Admin Templates -> Windows Components -> Remote Desktop Services -> Remote Desktop Session Host -> Licensing
There are 2 RD policies that we need to configure:
- Use the specified Remote Desktop license servers – the address of the License Server is set;
- Set the Remote Desktop licensing mode – select RDS CAL license type.
- TCP/135 – Microsoft RPC;
- UDP/137 – NetBIOS Datagram Service;
- UDP/138 – NetBIOS Name Resolutio;
- TCP/139 – NetBIOS Session Service;
- TCP/445 – SMB;
- TCP/49152–65535 – RPC dynamic address range
You can check for open ports using the PortQry utility or the Test-NetConnection cmdlet.
Try to check the License Server status and the number of the issued licenses using RD Licensing Diagnoser (Administrative Tools -> Remote Desktop Services -> RD Licensing Diagnoser).
If there are no warnings, and you see the message “RD Licensing Diagnoser did not identify any licensing problems for the Remote Desktop Session Host server”, then the RDSH server can successfully receive RDS CALs for remote users/devices.
Настройка и лицензирование терминального сервера Windows Server 2016

Установим роли терминального сервера на Windows Server 2016 и лицензируем.
- Подготовка Windows Server 2016.
- Установка роли терминального сервера.
- Лицензирование терминального сервера.
Ссылки
Подготовка Windows Server 2016
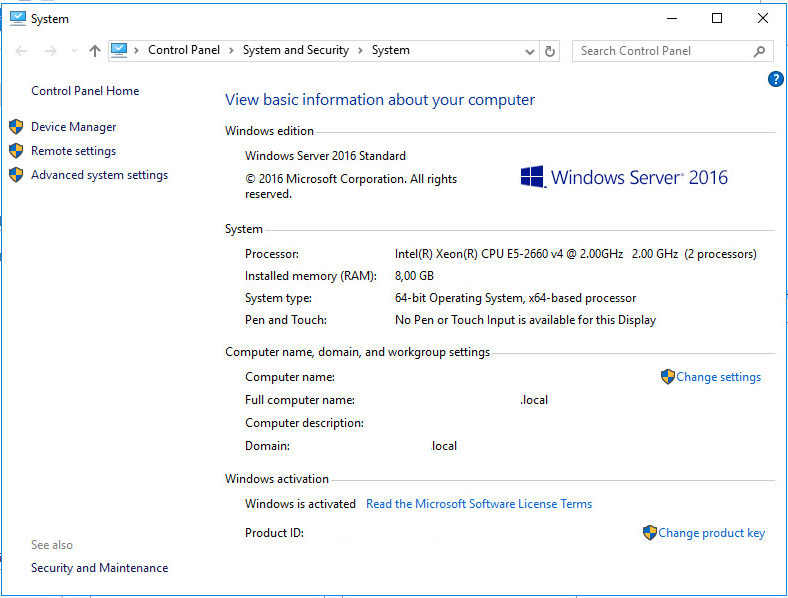
Сервер разворачиваю на базе виртуальной машины VMware. Устанавливаем ОС:
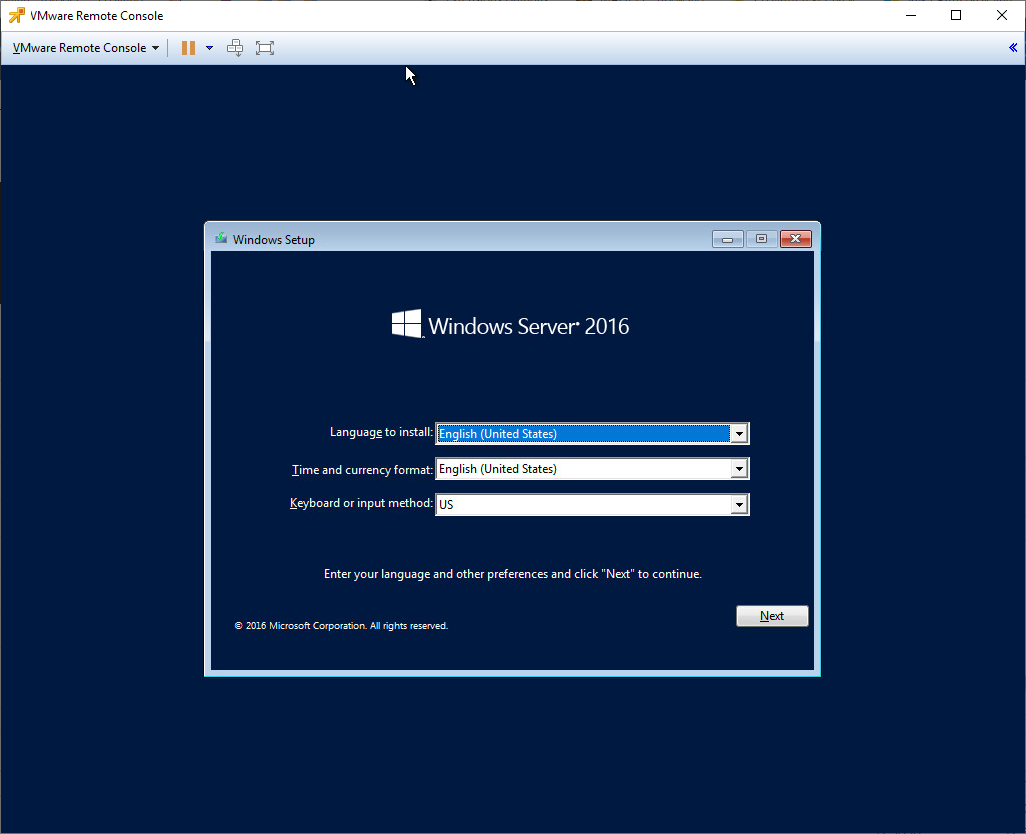
Ссылка на инструкцию по установке ОС приведена выше. ОС установлена.
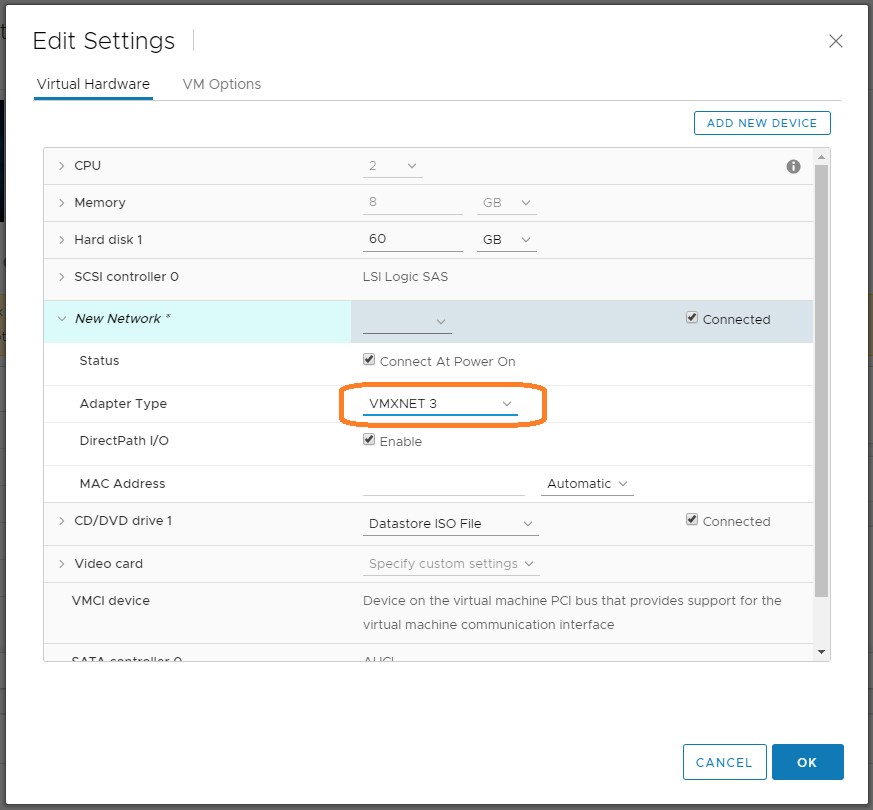
Не забываем установить VMware Tools.

Тип сетевухи E1000E нежелателен.

Меняем его на VMXNET 3.
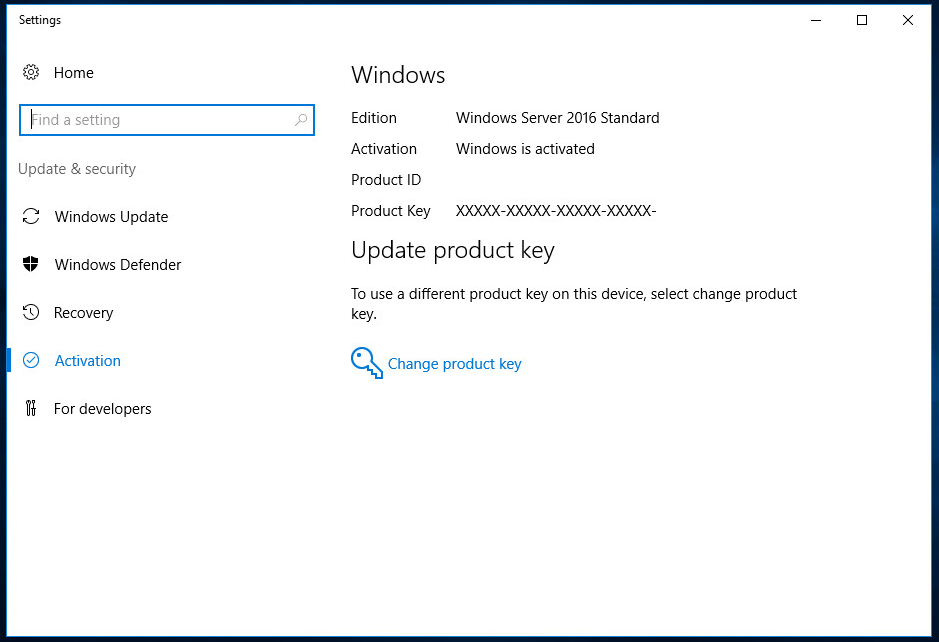
Активируем Windows Server 2016.
Установка роли терминального сервера
Входим в Server Manager. Справа вверху выбираем Manage > Add Roles and Features.
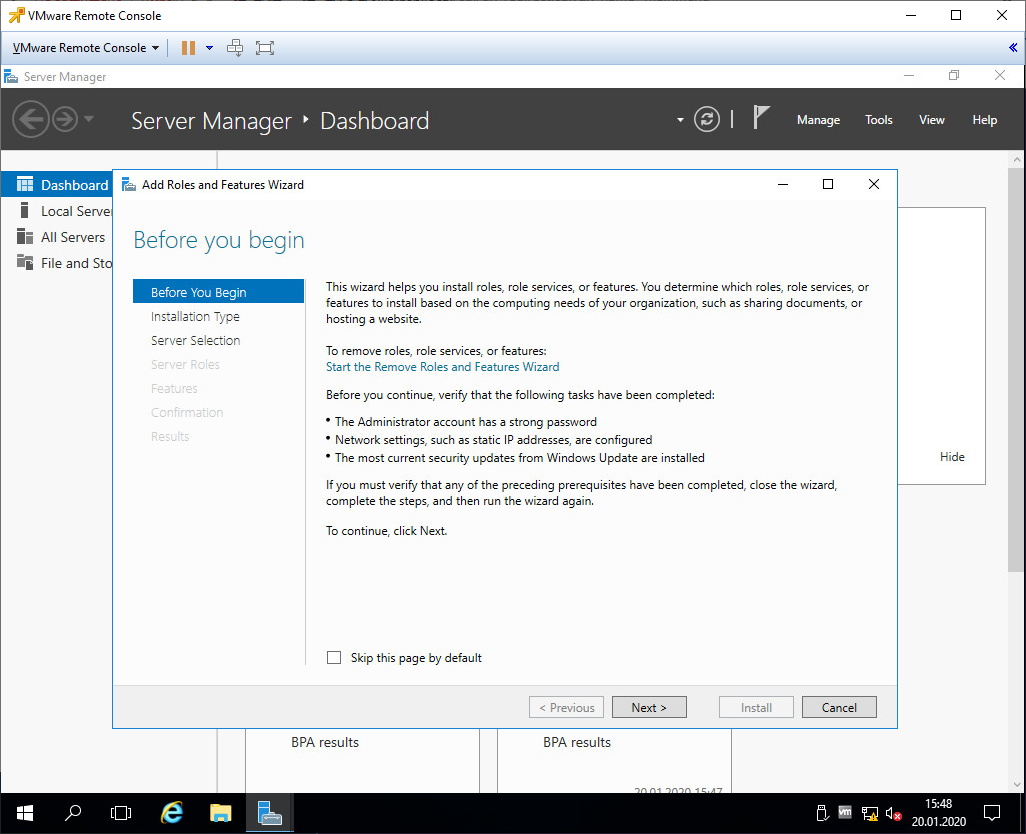
Before You Begin пропускаем. Next.
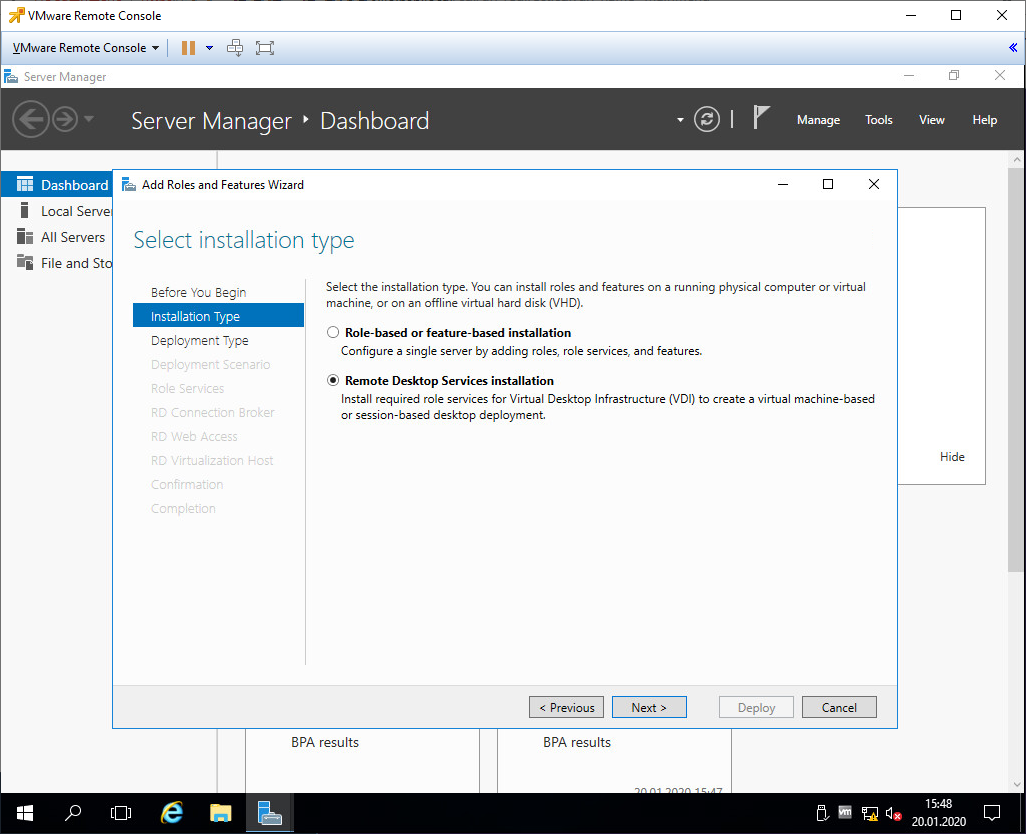
Installation Type. Для установки сервиса удаленных рабочих столов предусмотрен специальный мастер Remote Desktop Services installation, выбираем его, Next.
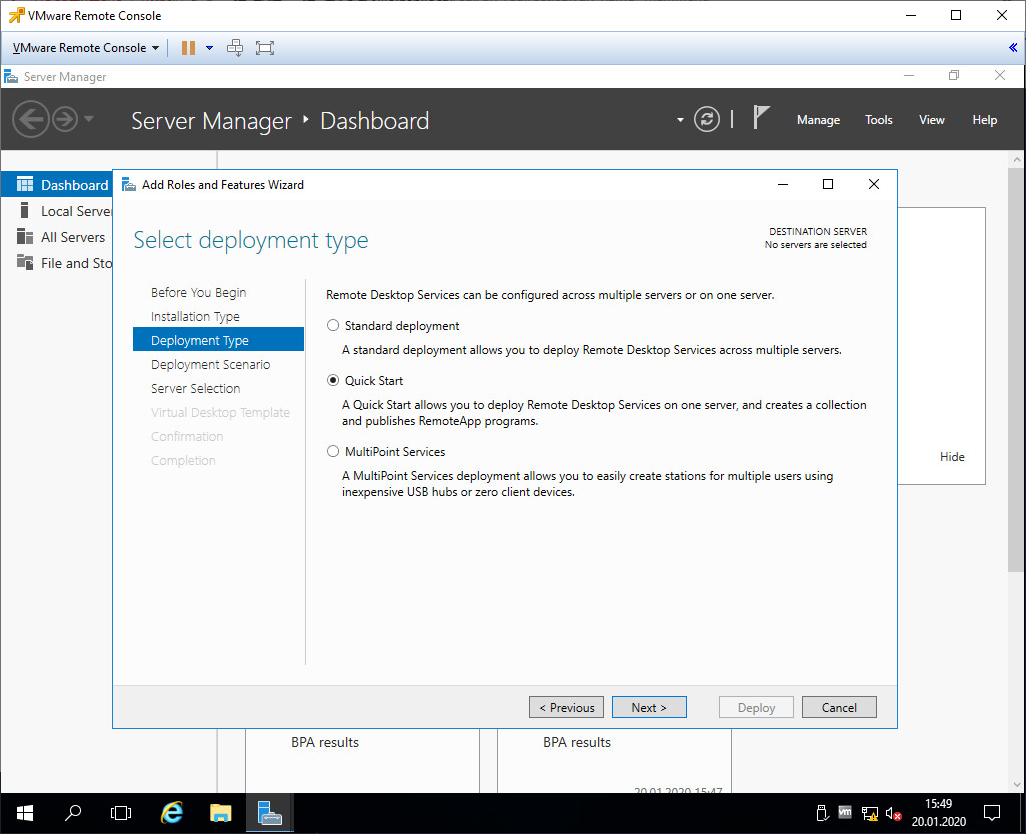
Deployment Type. Для одного сервера, выбираем Quick Start. Next.
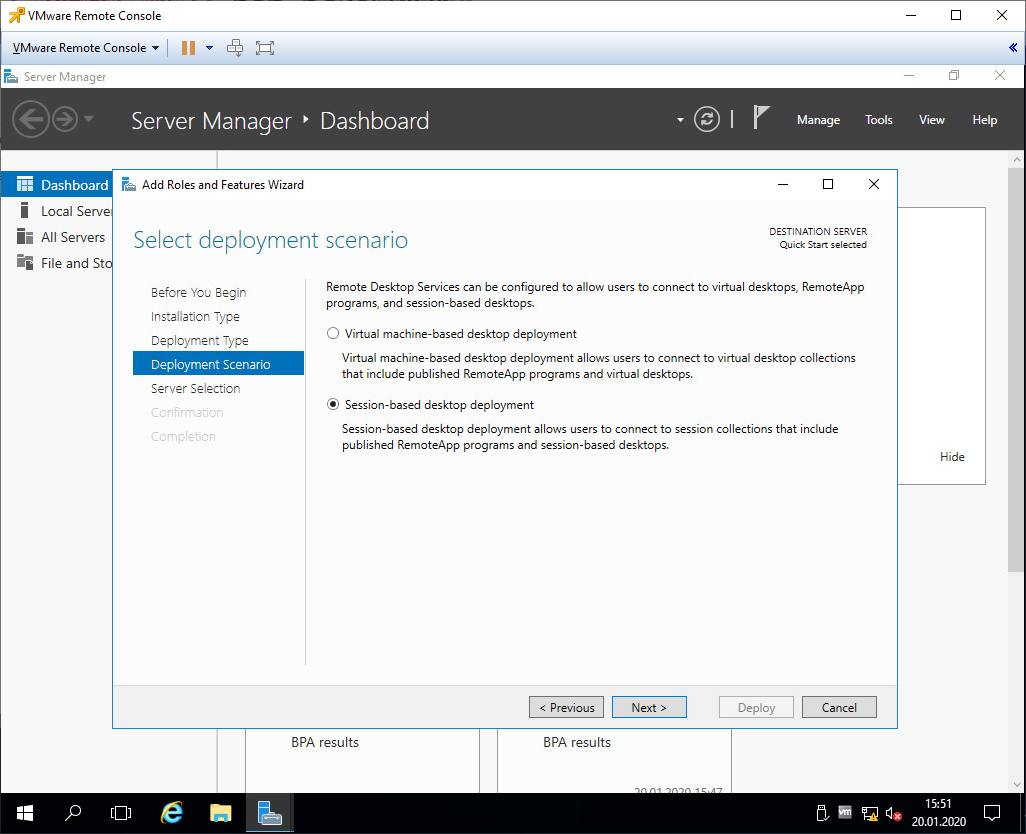
Deployment Scenario. Наши пользователи будут подключаться к серверу (собственным сессиям на сервере), а не к собственным виртуальным машинам. Выбираем Session-based desktop deployment. Next.
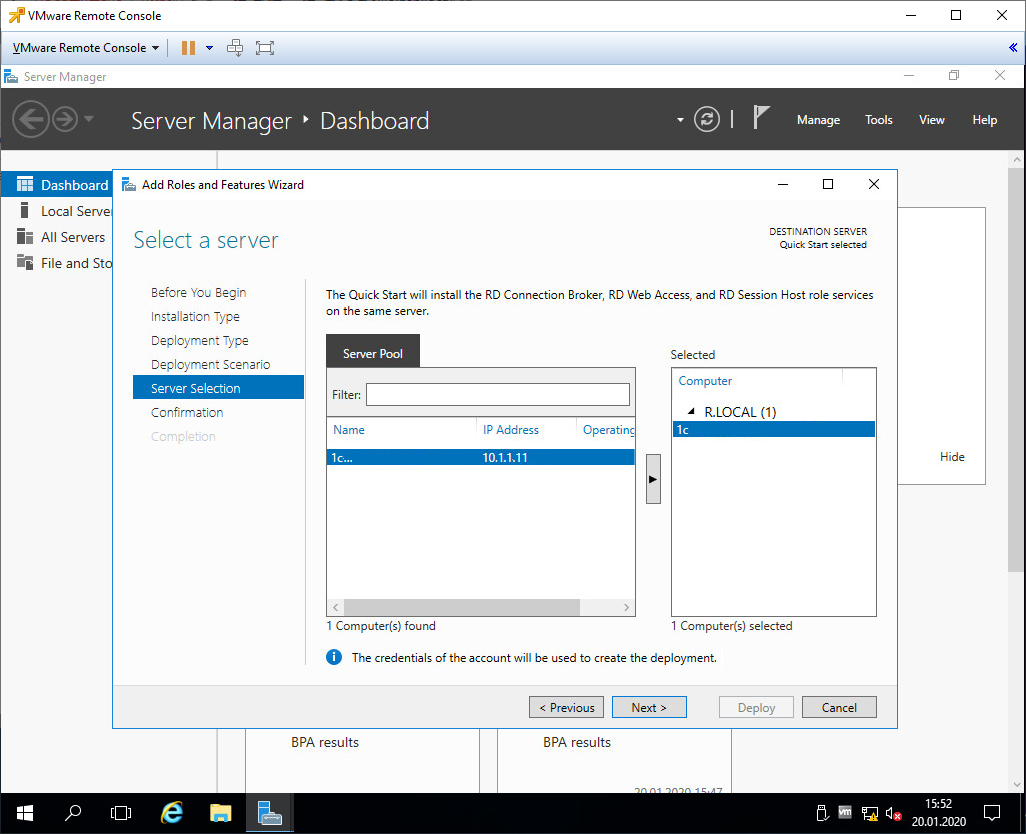
Server Selection. Выбираем текущий сервер. Next.
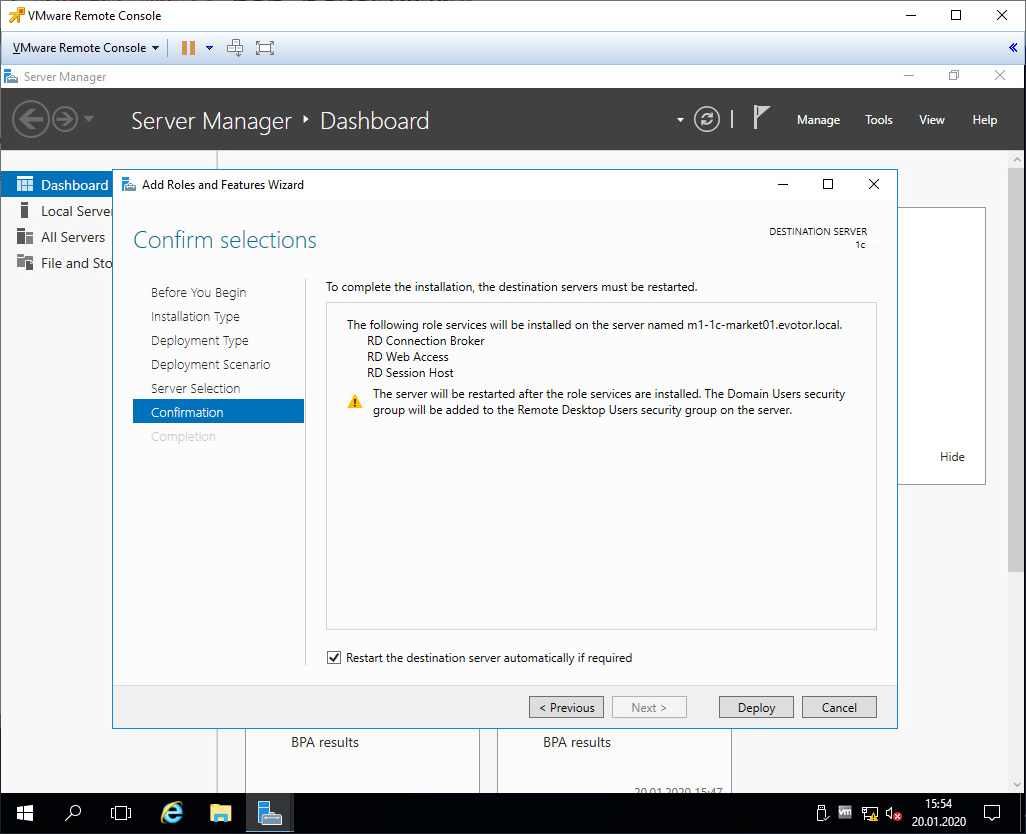
На наш сервер будут добавлены следующие серверные роли:
- RD Connection Broker — контроль подключений пользователей, определяет для какого пользователя на каком сервере будет открыта сессия или запущено приложение.
- Web Access — доступ к приложениям через веб браузер.
- RD session Host — сервер, на котором будут опубликованы приложения и на который пользователи смогут подключаться через удаленный рабочий стол.
Позже мы добавим на сервер ещё одну роль:
- RD Licensing — сервер лицензий.
Установим галку, чтобы сервер при необходимости перезагружался. Deploy.
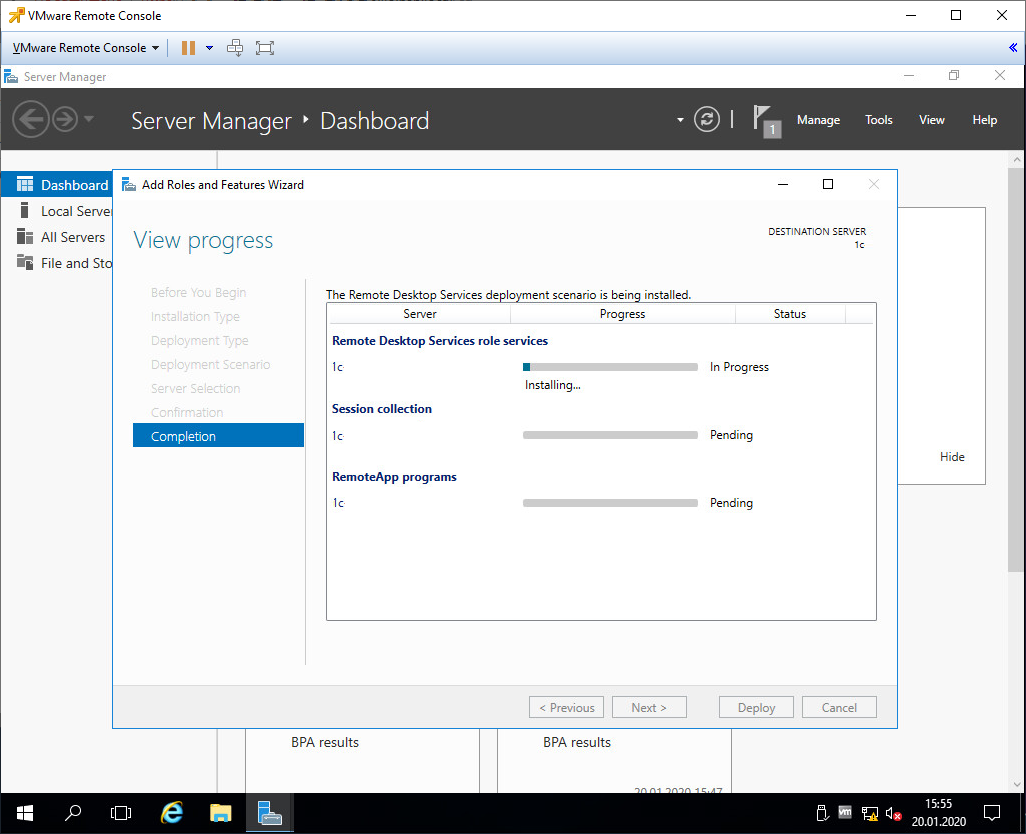
Начинается автоматическая установка ролей. Сервер перезагружается.
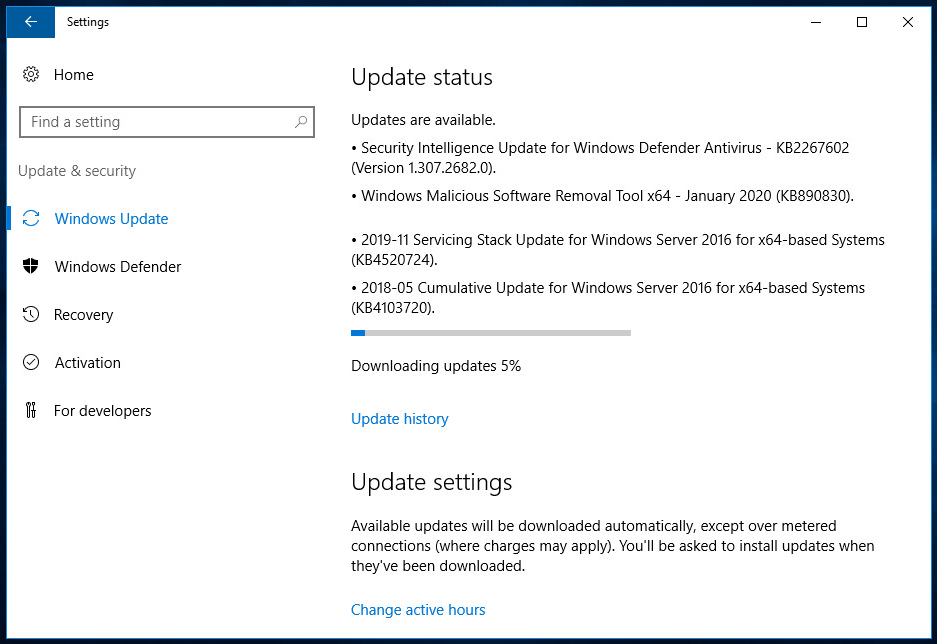
Даже какие-то обновления подтянулись.
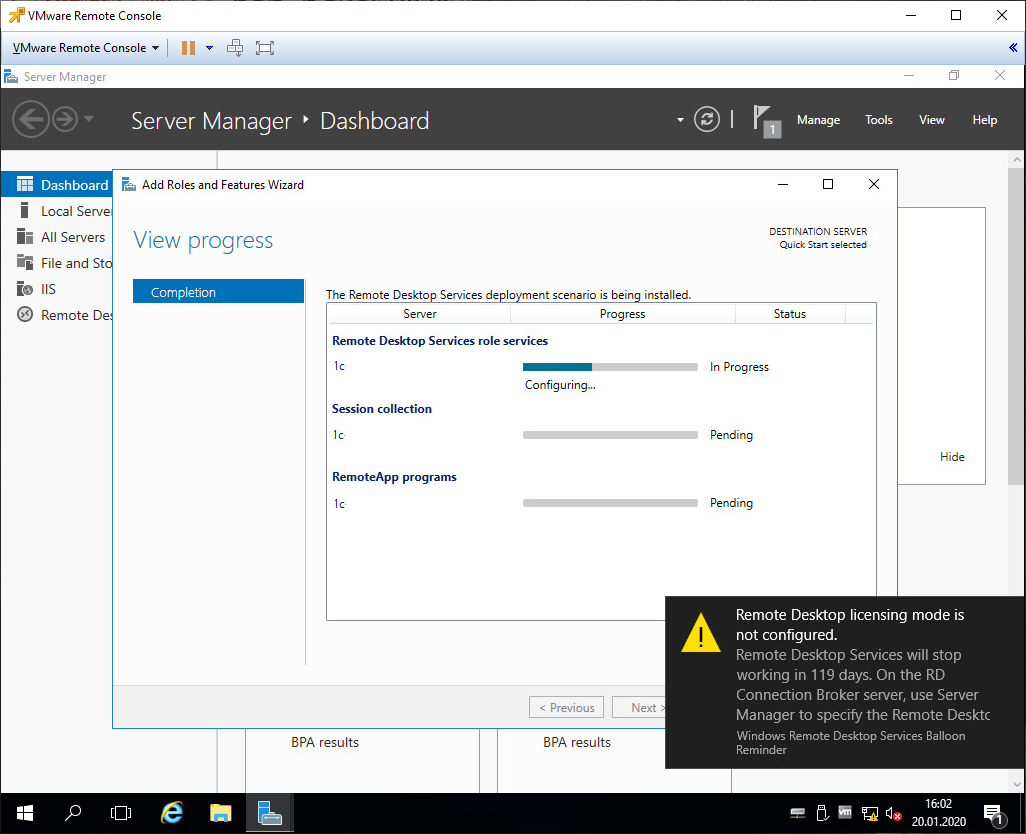
После перезагрузки и установки первой роли включается триальный период работы терминального сервера 120 дней.
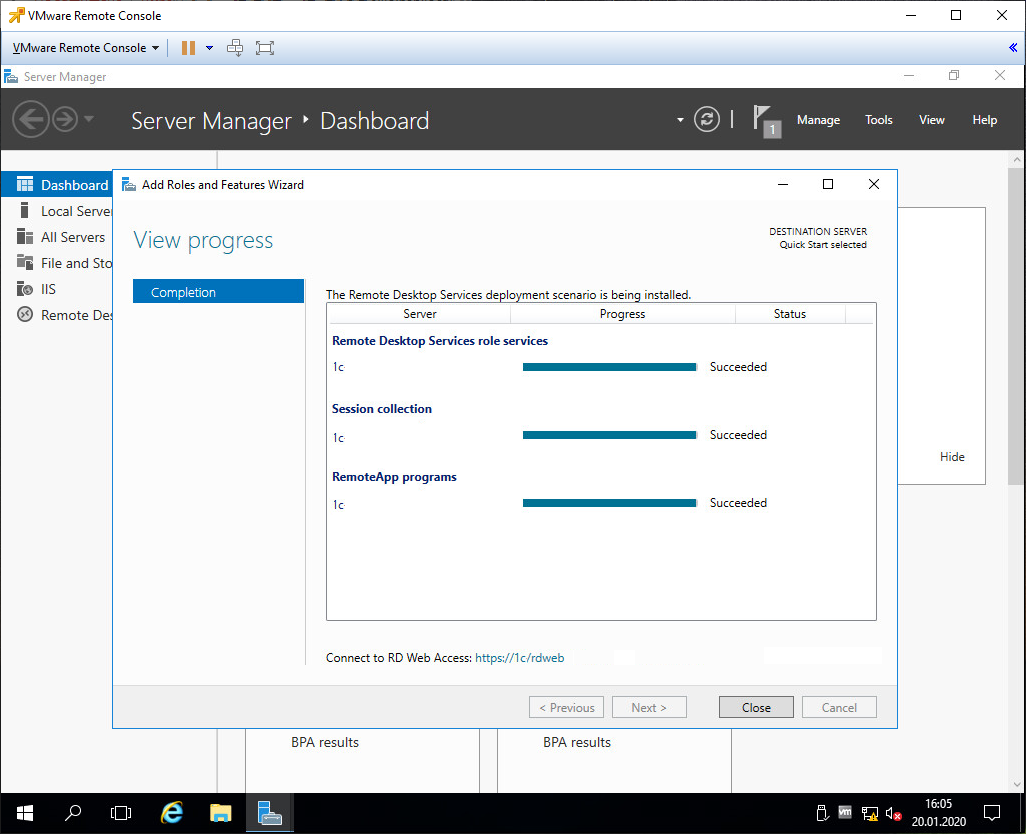
Первые три роли установлены. Close.
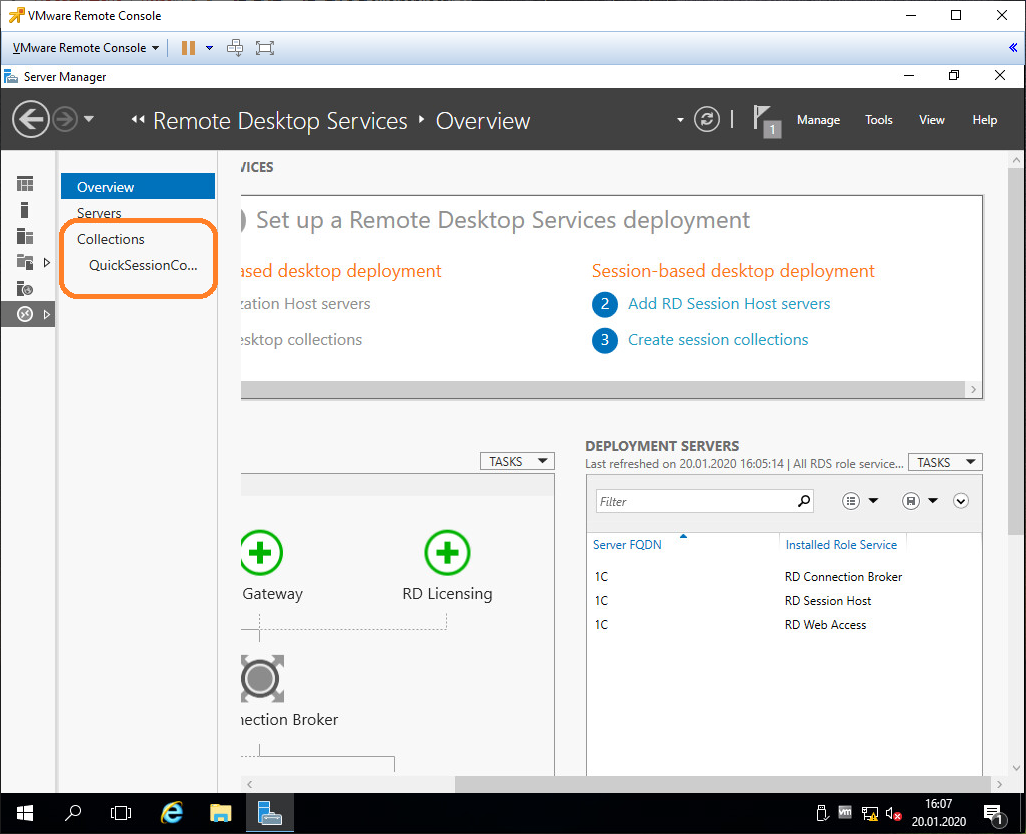
Выбираем QuickSessionCollection, проверяем, что пользователям дан доступ к терминальному серверу. При необходимости можно создать свою коллекцию.
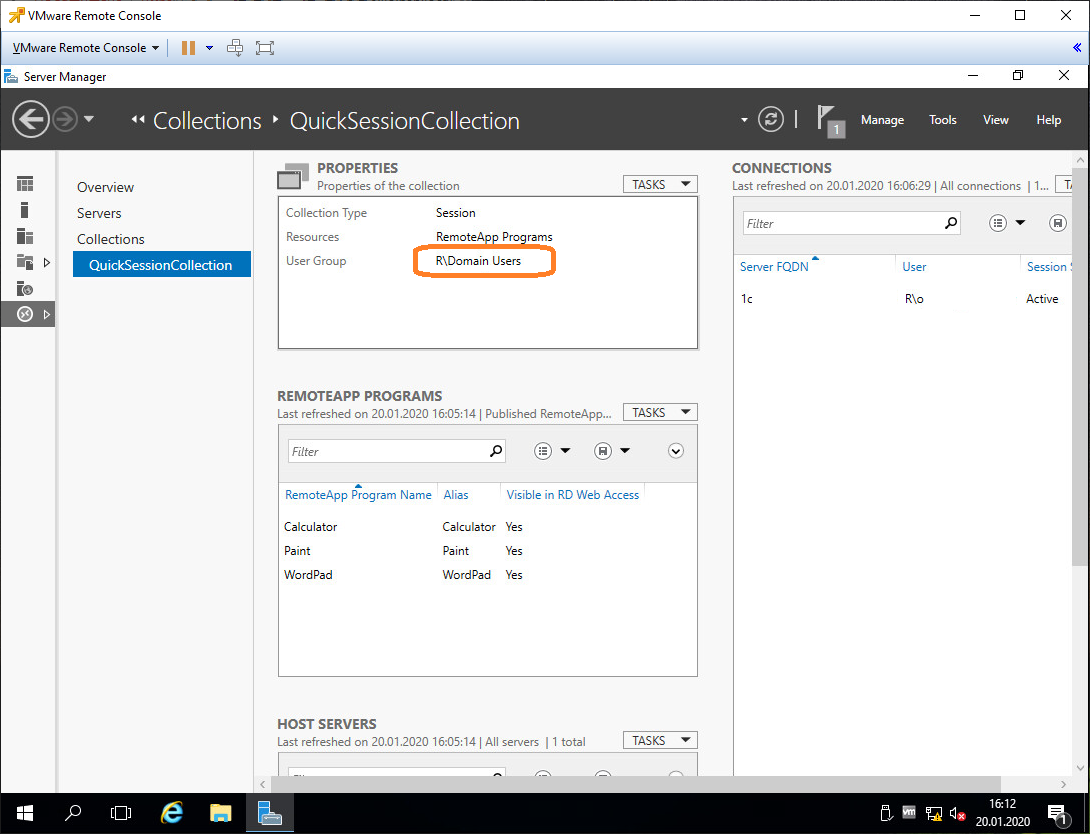
По умолчанию в группе все доменные пользователи.
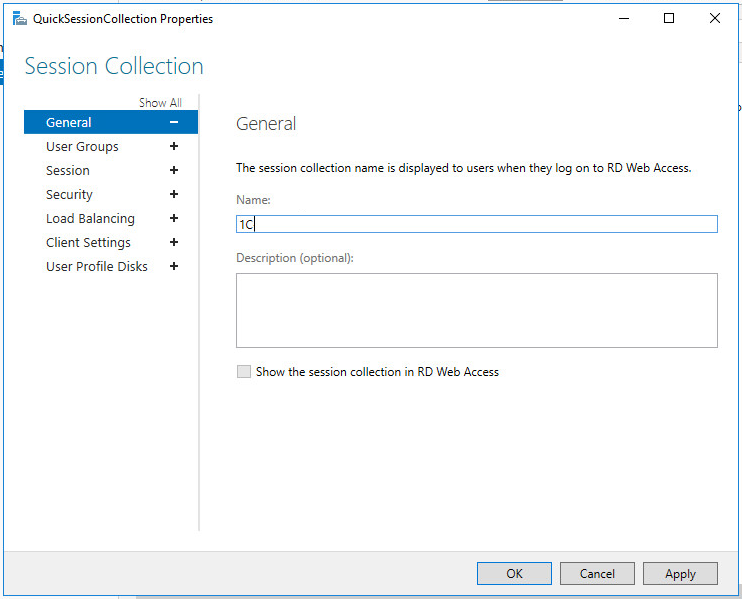
Редактирую, даю доступ нужной группе пользователей и переименовываю коллекцию.
Перезагружаемся и переходим к лицензированию.
Лицензирование терминального сервера
Устанавливаем RD Licensing сервис, нажав на зелёный плюсик.
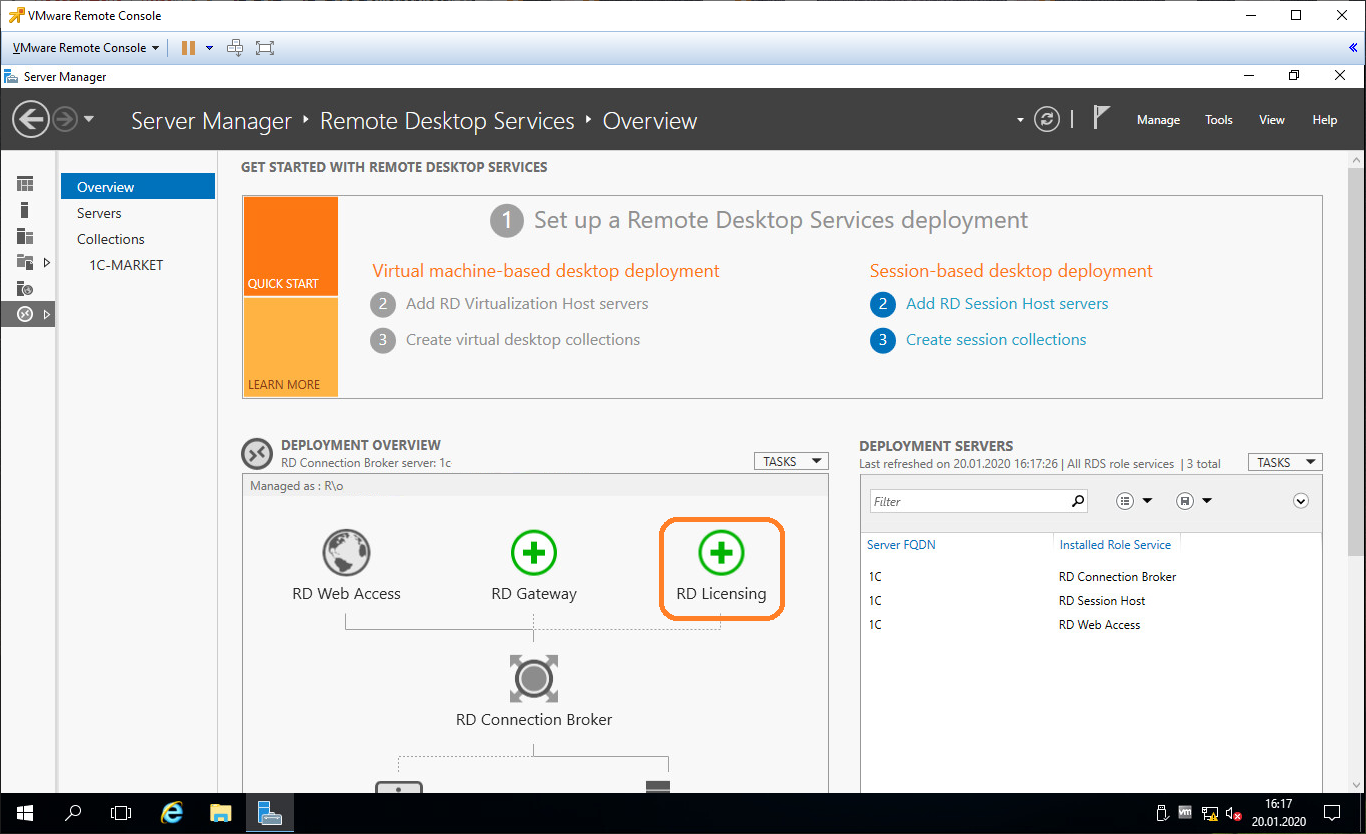
Следуем инструкциям, сложностей не должно быть.
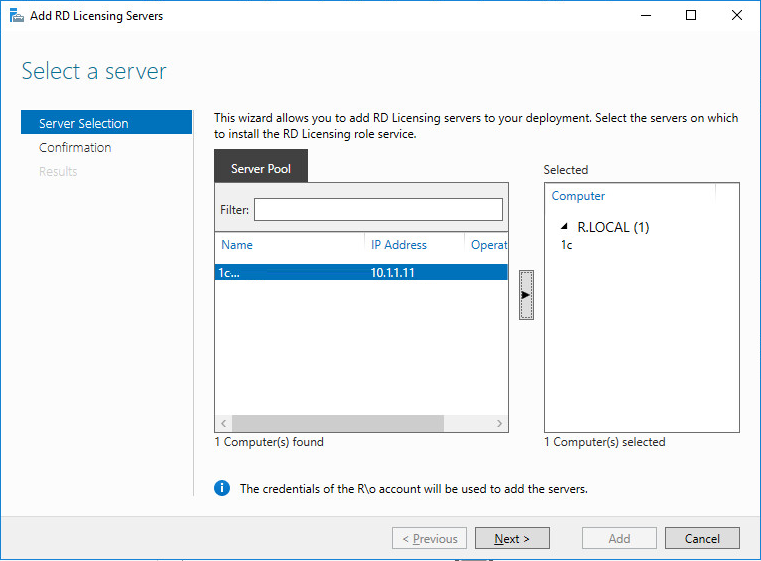
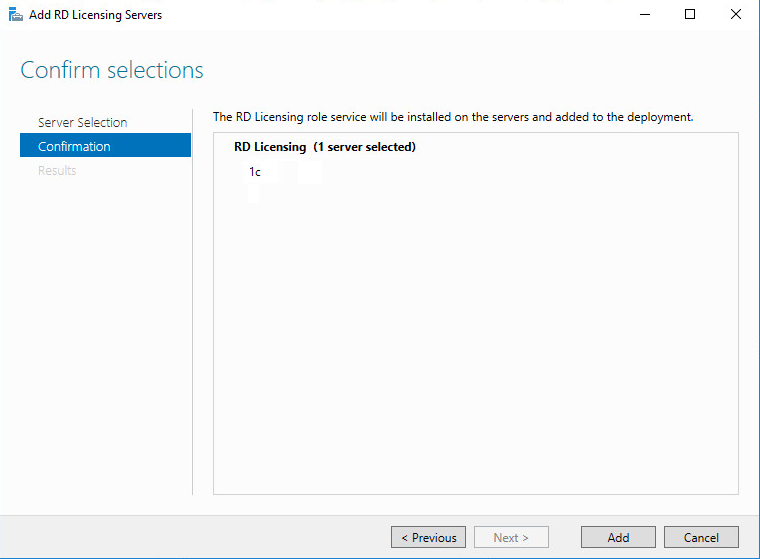
Выбираем текущий сервер, Next.
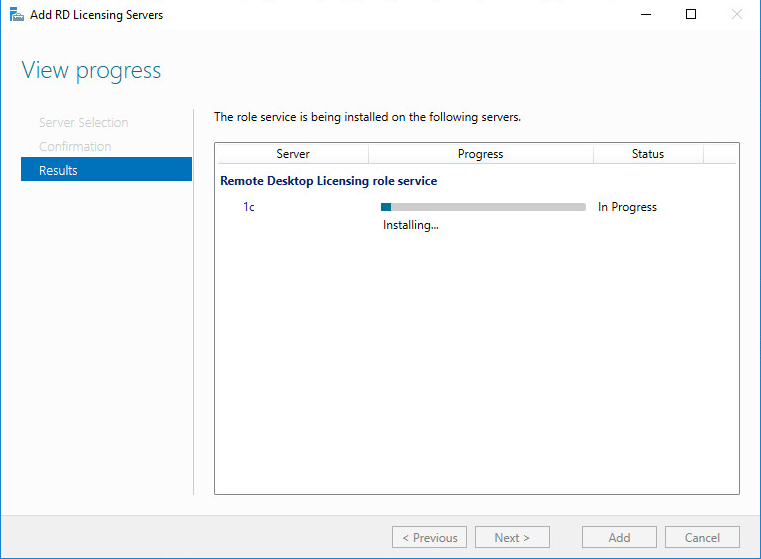
Начинается установка роли RD Licensing.
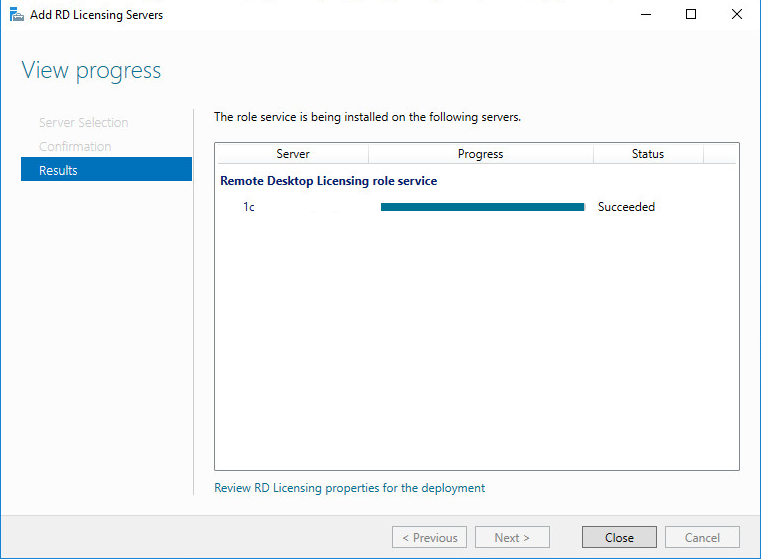
Установка роли RD Licensing успешно завершена. На всякий случай перезагружаю сервер.
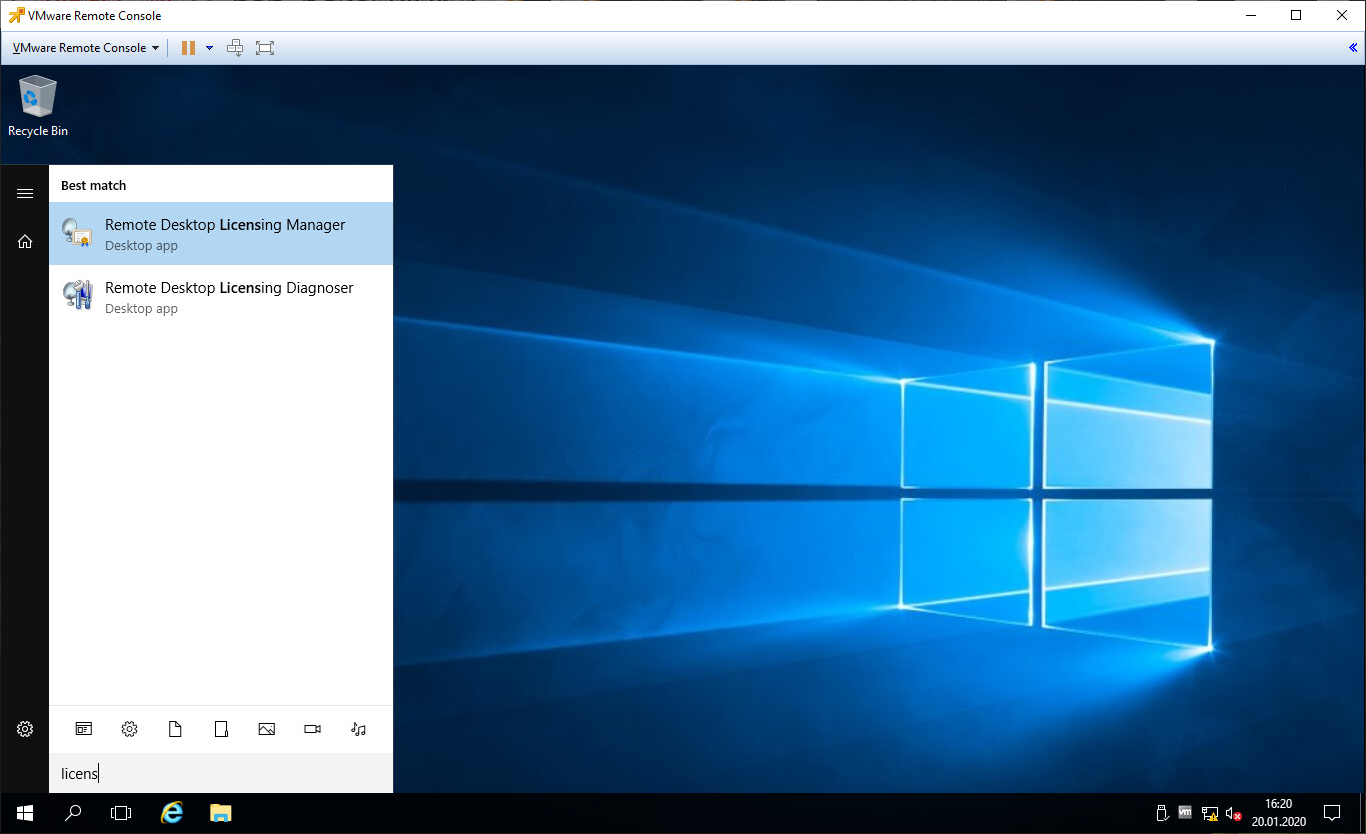
Запускаем Диспетчер лицензирования удалённых рабочих столов (Remote Desktop Licensing Manager).
Выбираем наш сервер, правой кнопкой — активировать.
Открывается окно активации.
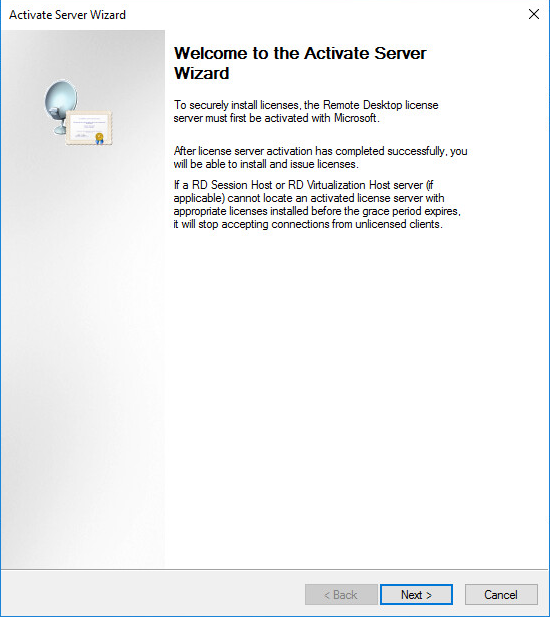
Жмем Next на первой странице мастера.
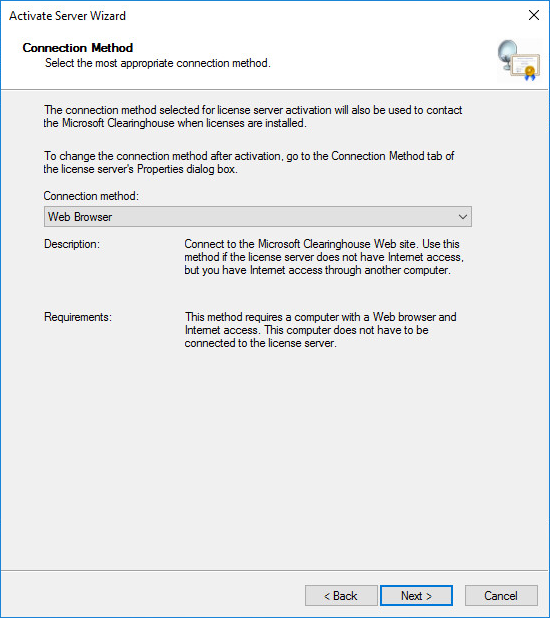
Выбираем метод соединения Web Browser. Next.
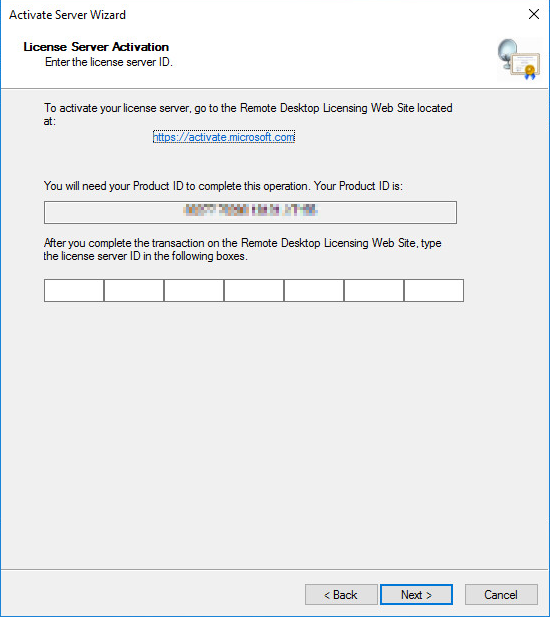
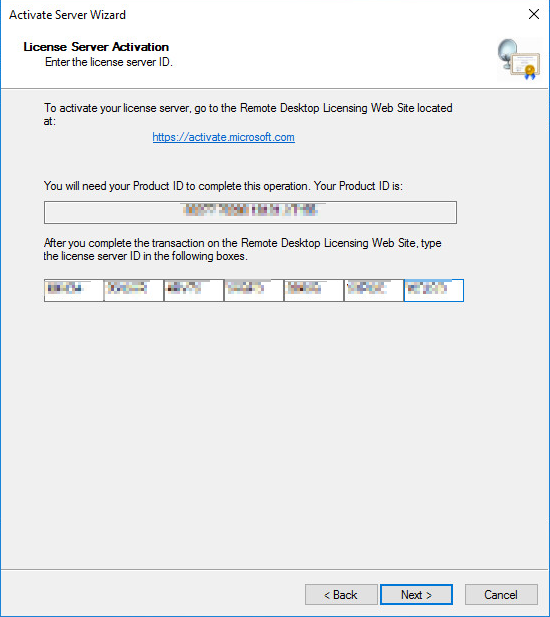
Получаем код продукта который нам понадобится для активации (Product ID).
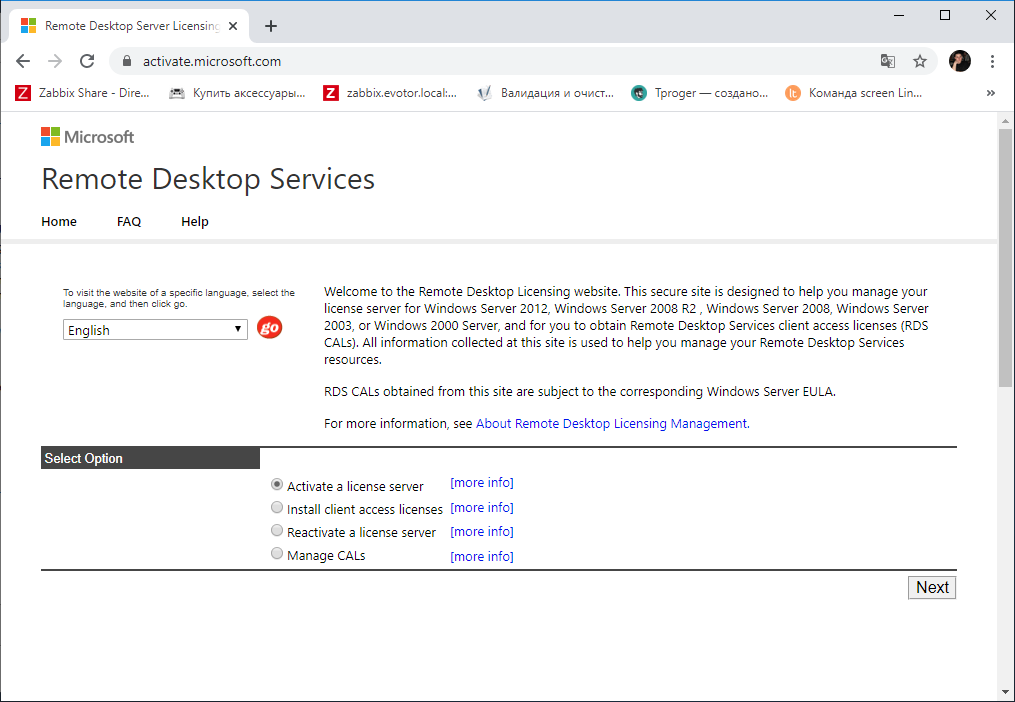
Выбираем «Activate a license server». Next.
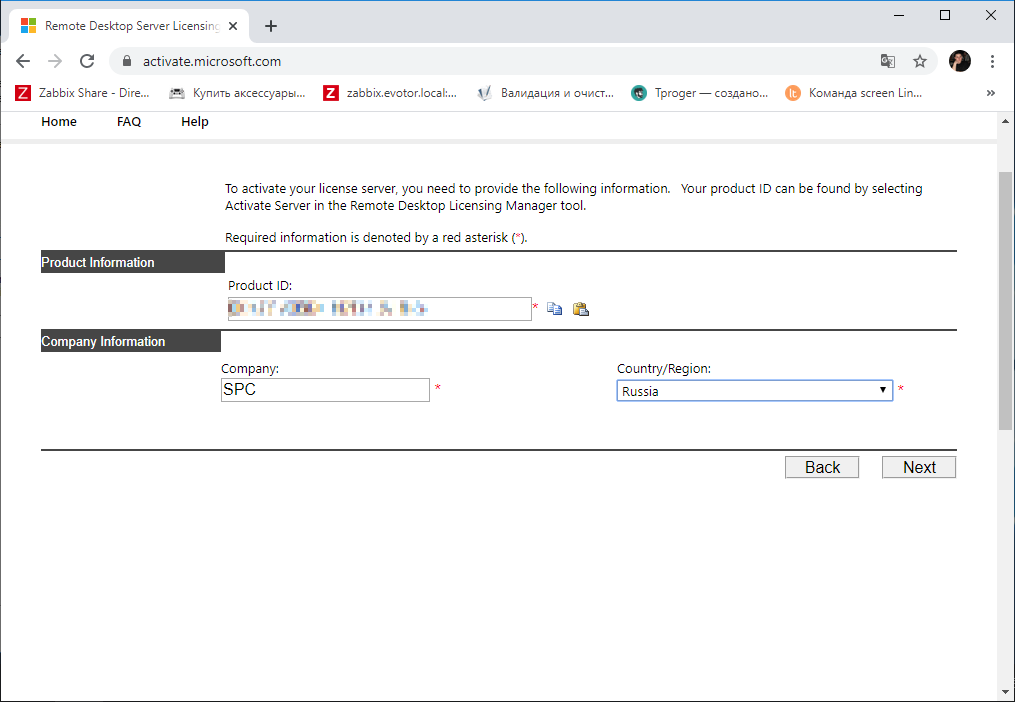
Вводим Product ID полученный ранее, организацию и любую страну или регион. Next.
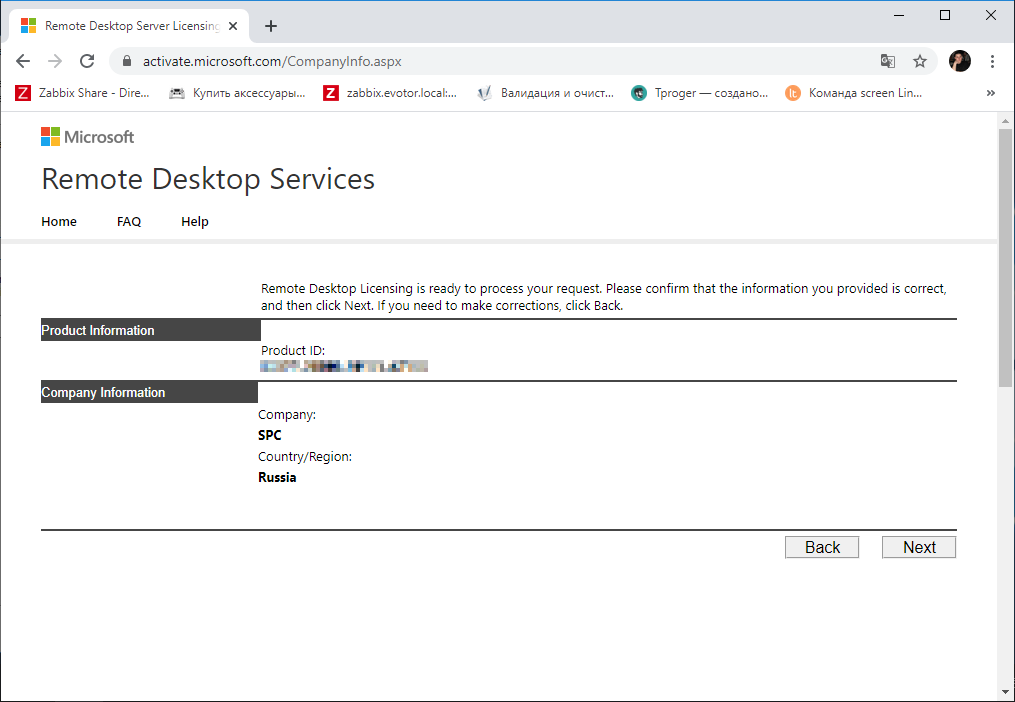
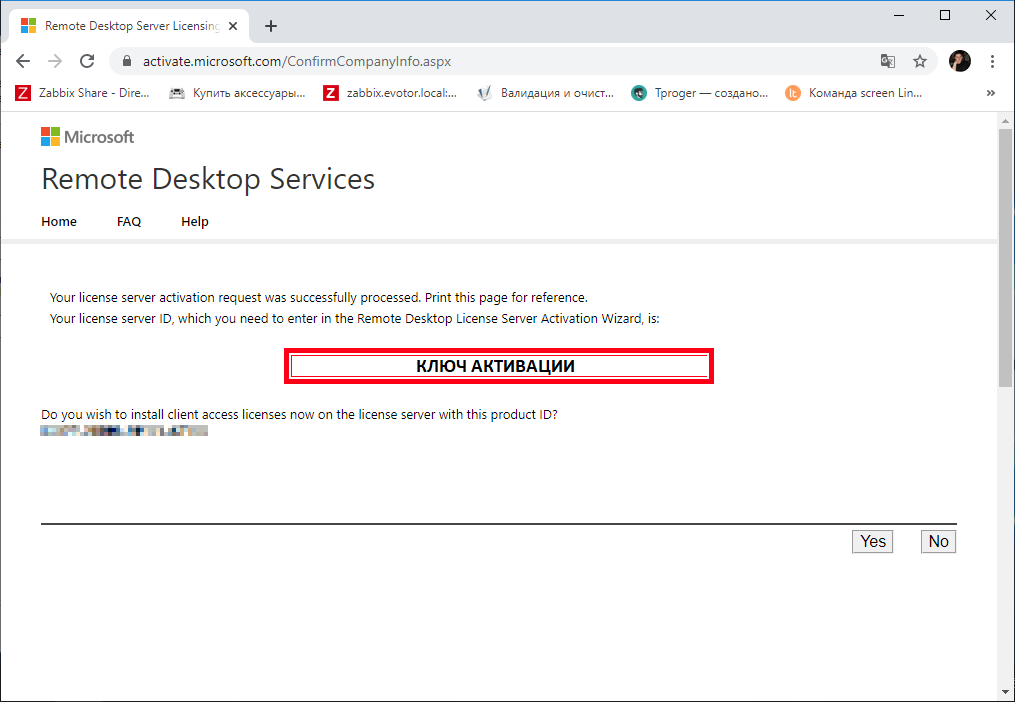
Если все сделано правильно, то мы получим необходимый код сервера лицензирования. На вопрос «Do you wish to install client access licenses now on the license server with this product ID?» отвечаем «Yes» и пока возвращаемся к терминальному серверу, к текущему окну ещё вернёмся.
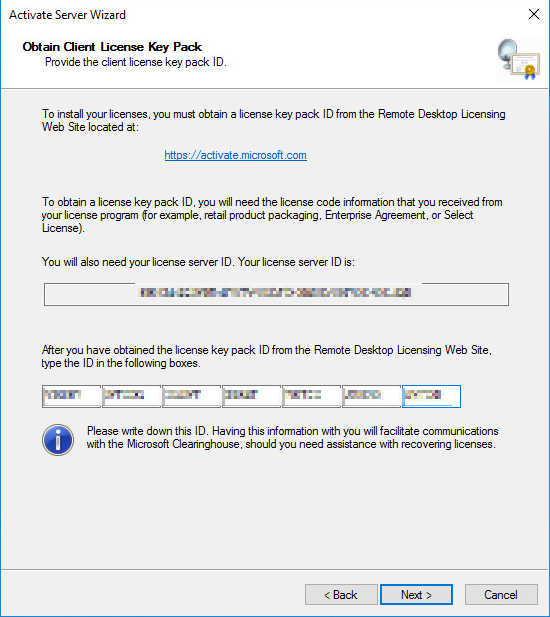
Вводим код в открытом мастере, жмём Next.
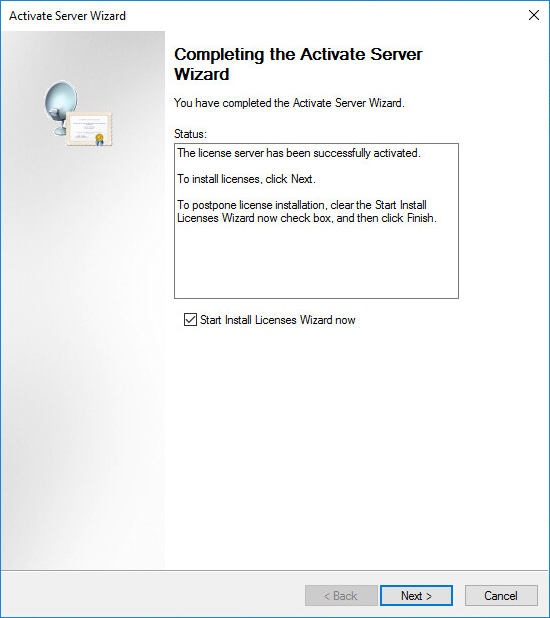
Устанавливаем галку «Start Install Licenses Wizard now». Next.
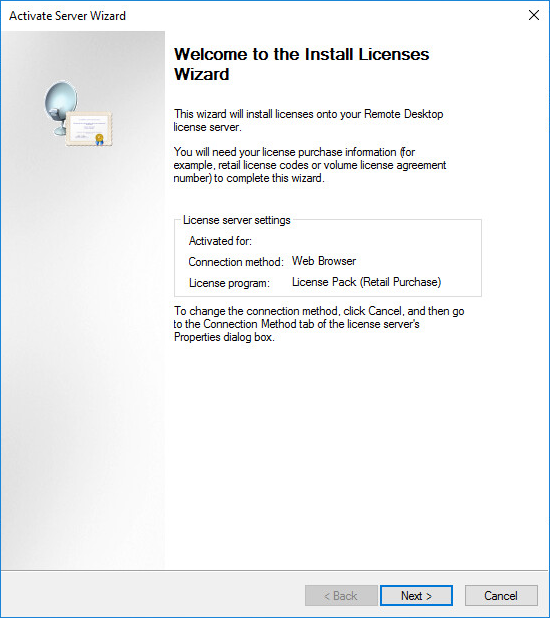
Открывается мастер установки лицензий. Next.
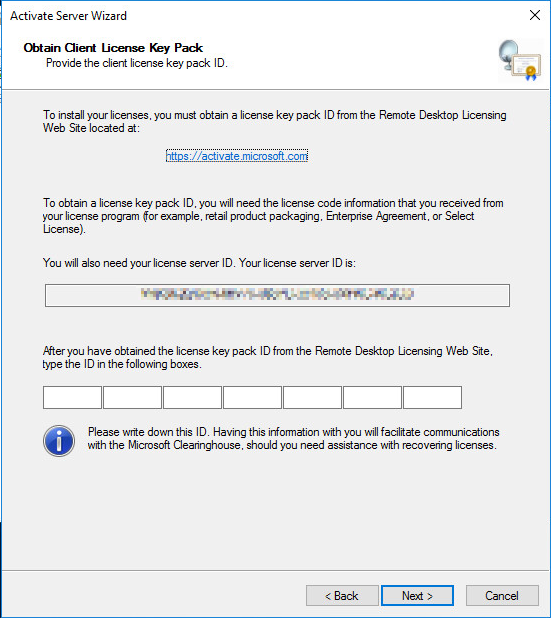
Нас просят ввести license key pack ID. Возвращаемся к браузеру.
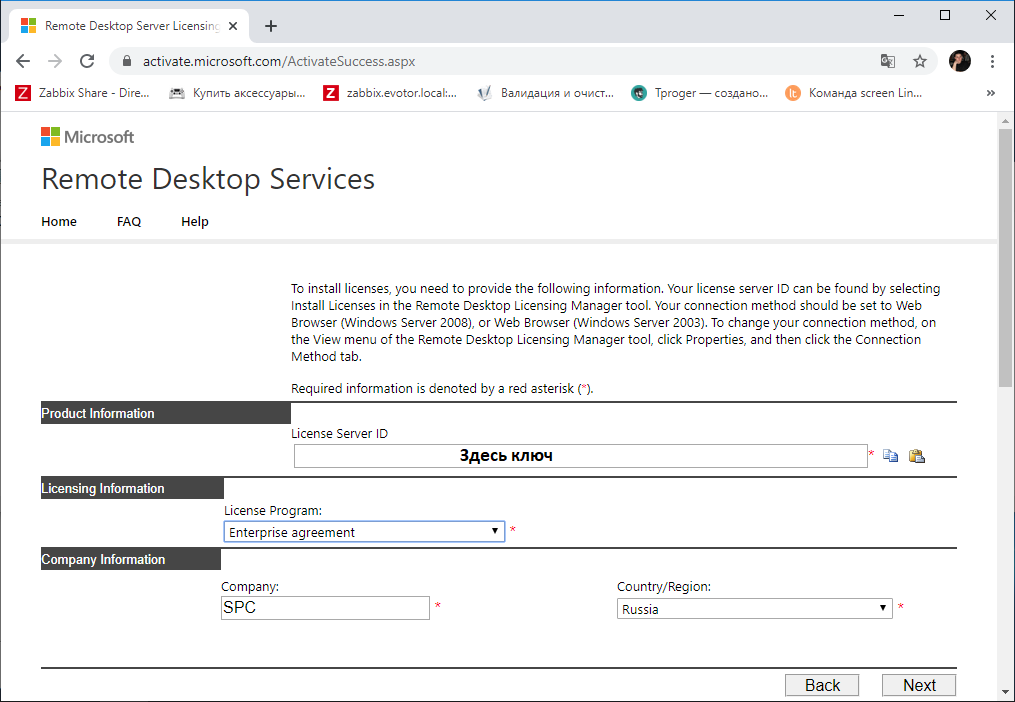
Вставляем License Server ID, в качестве программы лицензирования, по идее он уже должен сюда переместиться из предыдущего окна. License Program выбираем Enterprise agreement. Указываем компанию и страну. Next.
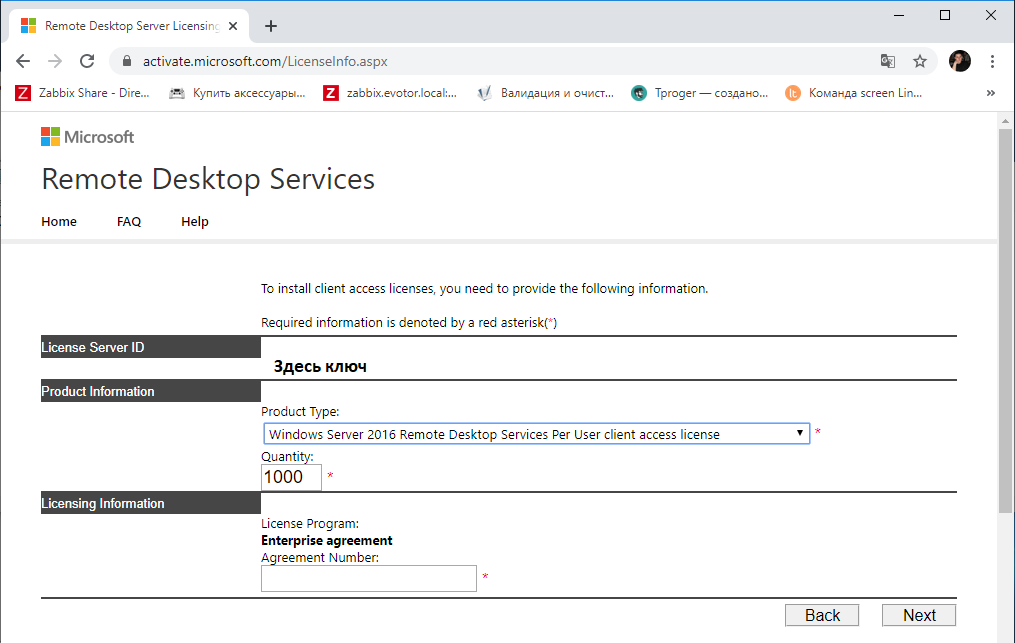
Выбираем тип продукта: Windows Server 2016 Remote Desktop Services Per User client access license. Указываем количество лицензий. Обязательно соглашение Enterprise agreement, один из данных номеров 6565792, 5296992, 3325596, 4965437, 4526017 или ищем в интернете который подойдет… Next.
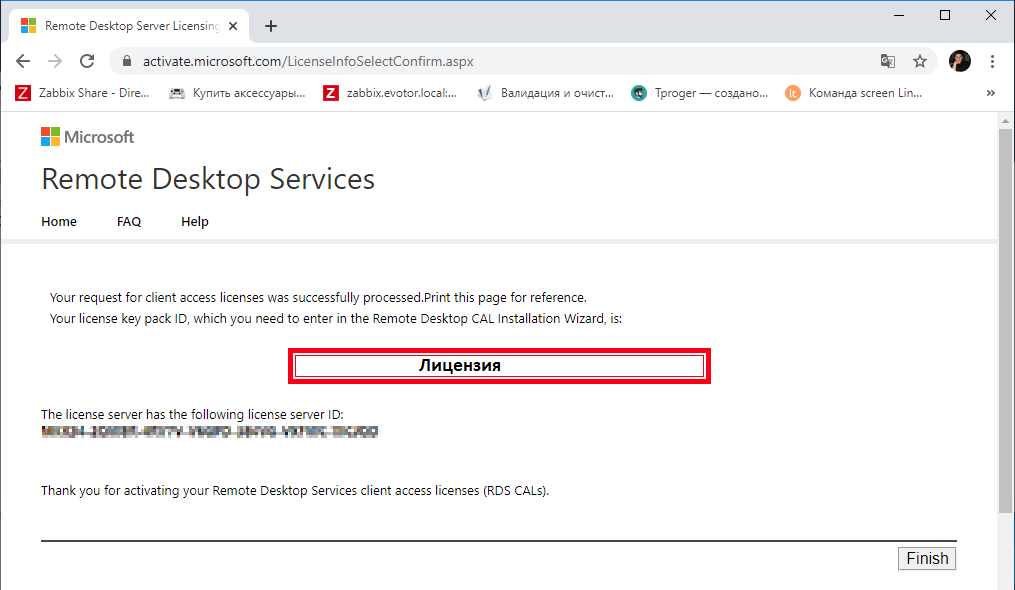
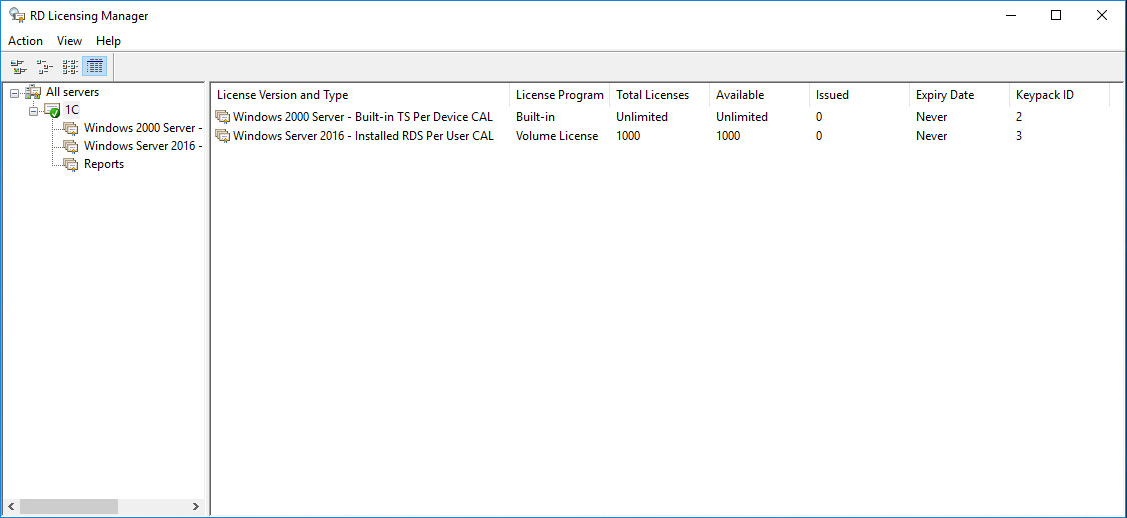
Ну вот мы и получили нужные нам клиентские лицензии.
Копируем ключ и вводим его в мастер. Next.
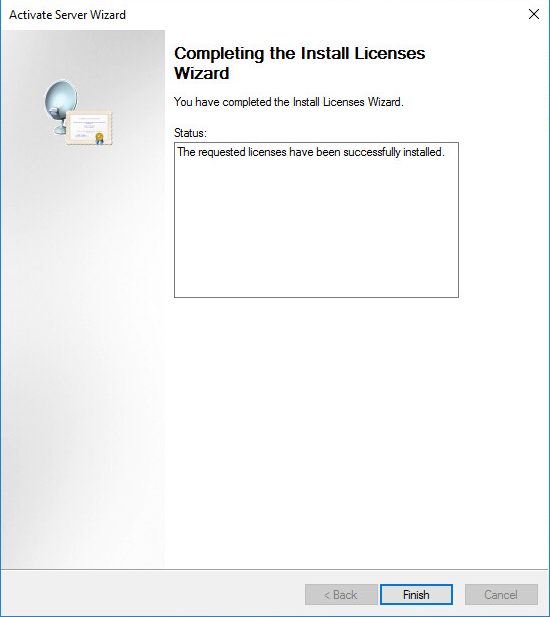
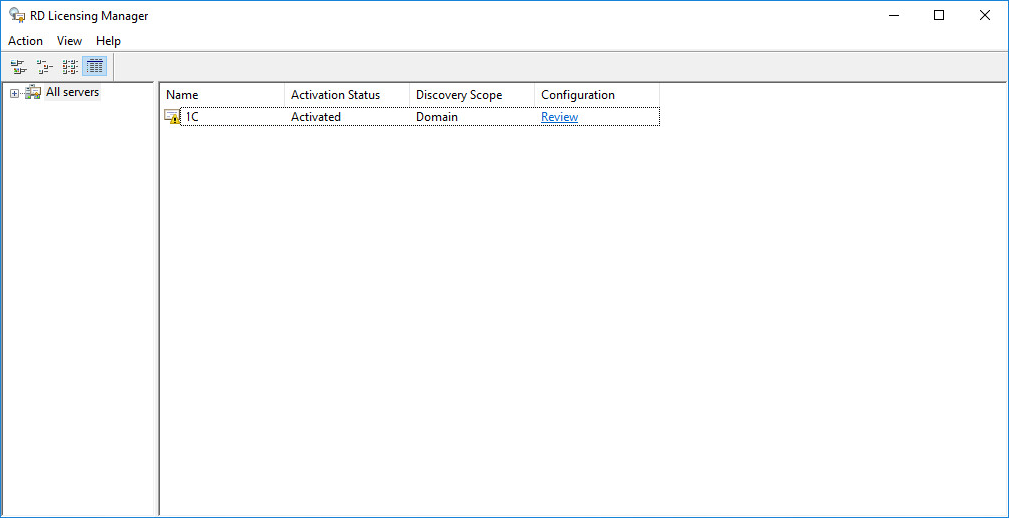
Возвращаемся к Remote Desktop Licensing Manager. Сервер активирован. Лицензии получились, но сервер светится желтым:

Сервер не является членом группы терминальных серверов в Active Directory. Нажмём Add to Grоup.
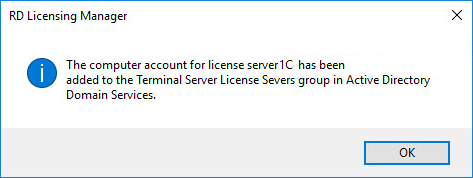
Сервер добавлен в группу терминальных серверов в Active Directory.
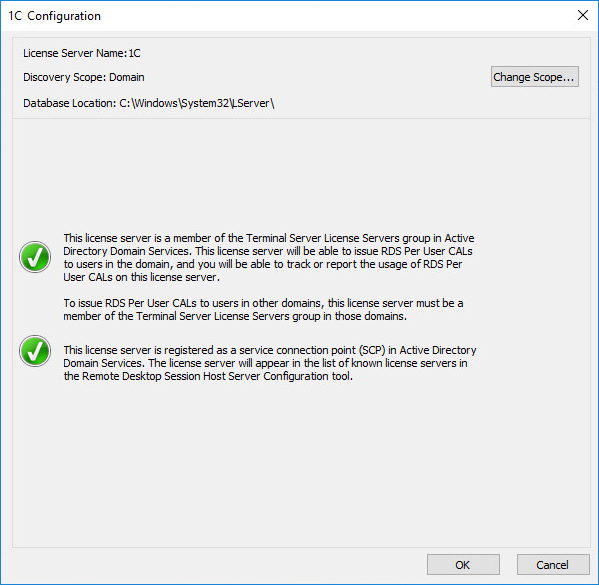
Сервер лицензий позеленел, на первый взгляд всё в порядке.
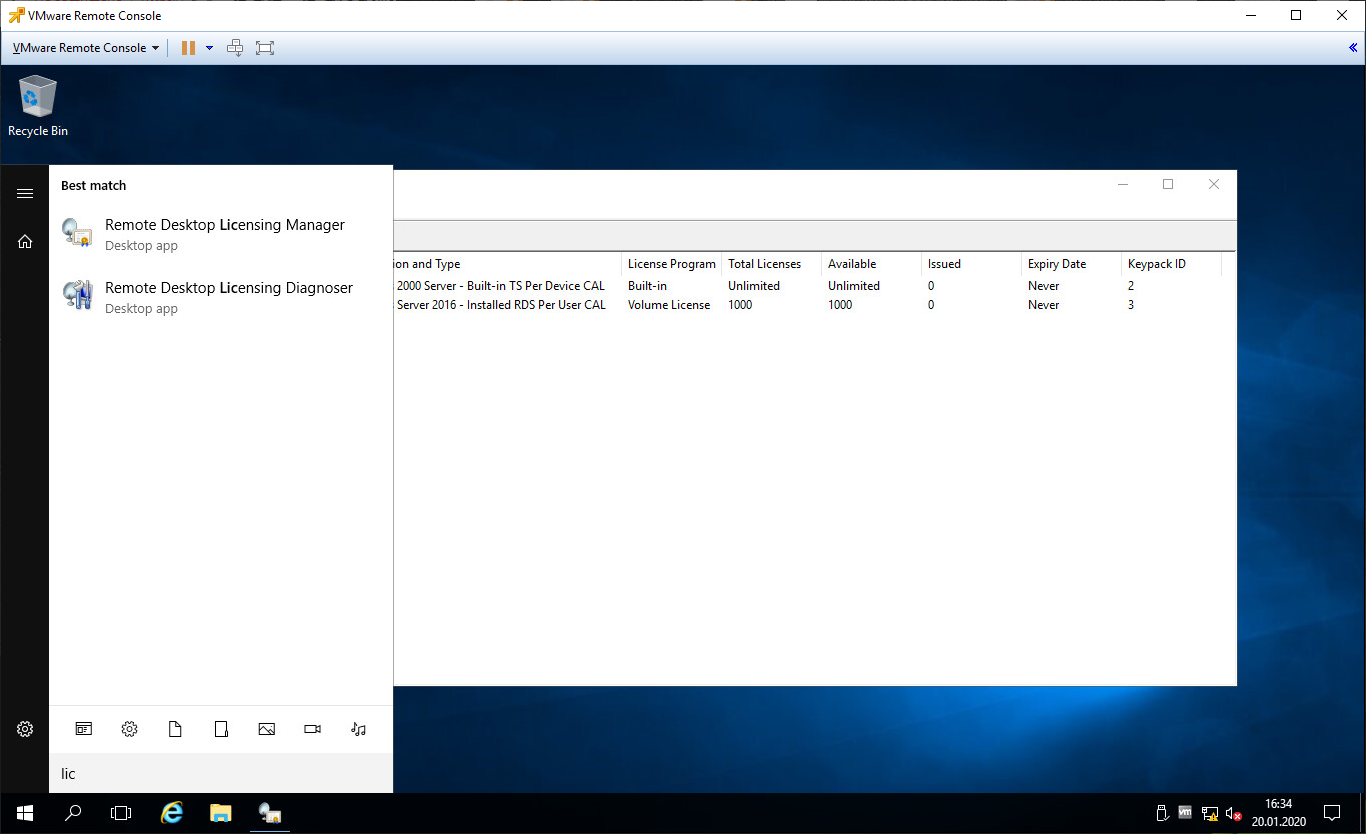
Запускаем Remote Desktop Licensing Diagnoser.
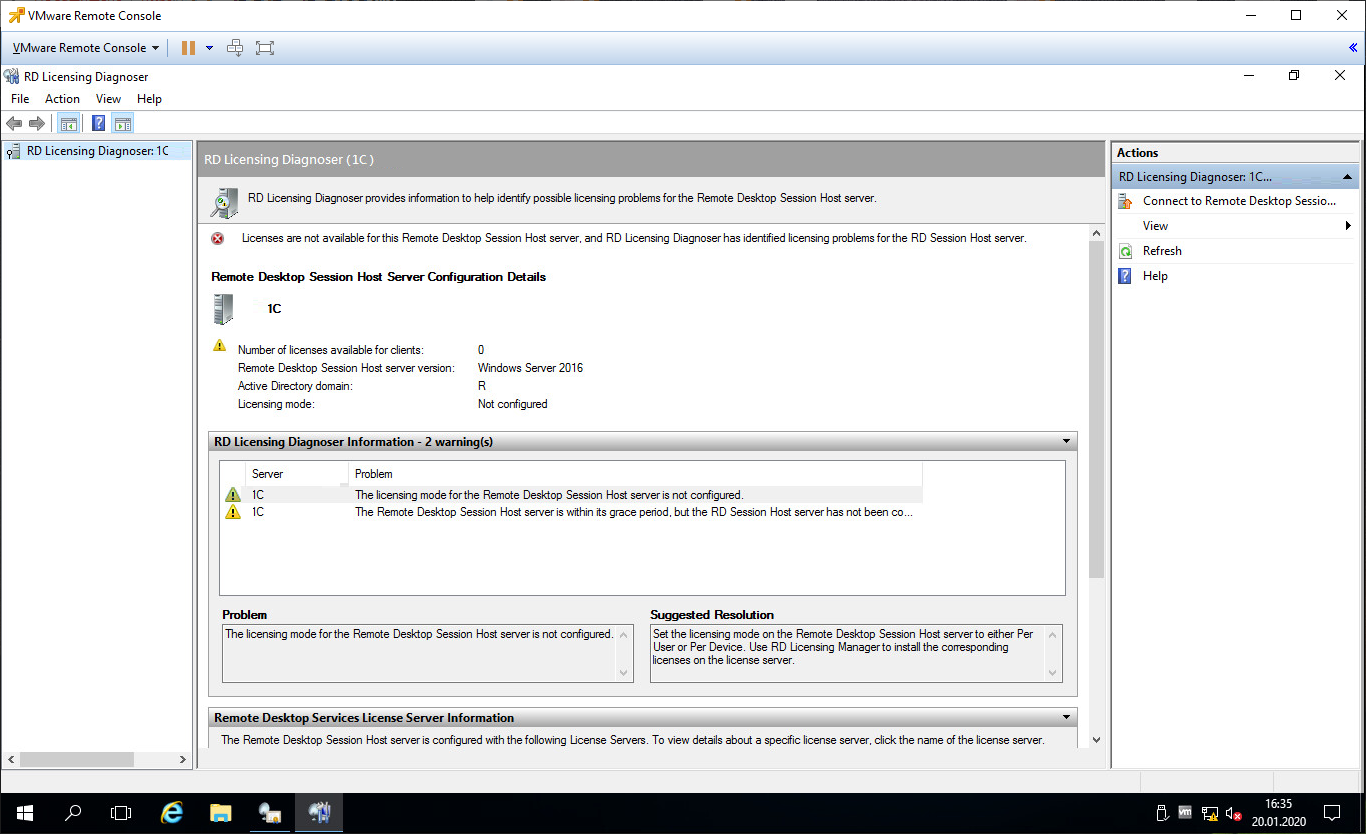
The licensing mode for Remote Desktop Session Host server is not configured.
Откроется Local Group Policy Editor.
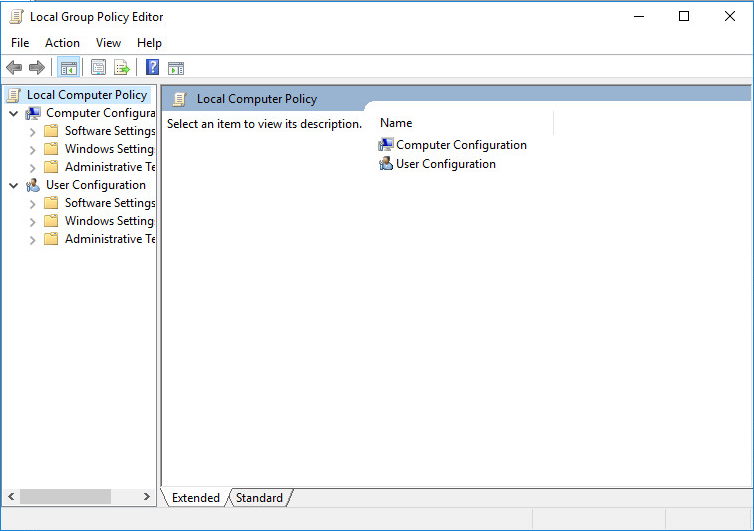
Раскрываем Computer Configuration > Administrative Templates > Windows Components > Remote Desktop Services > Remote Desktop Session Host > Licensing.
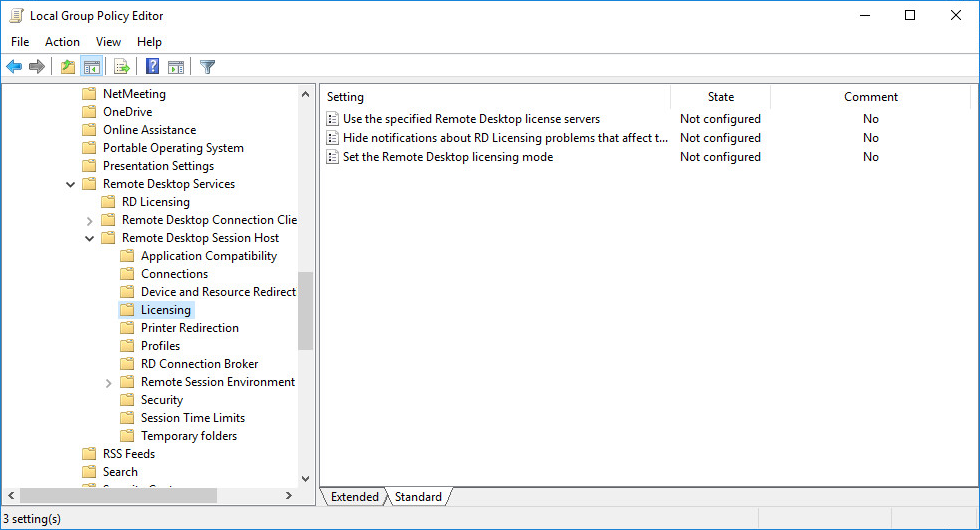
Редактируем Set the Remote Desktop licensing mode.
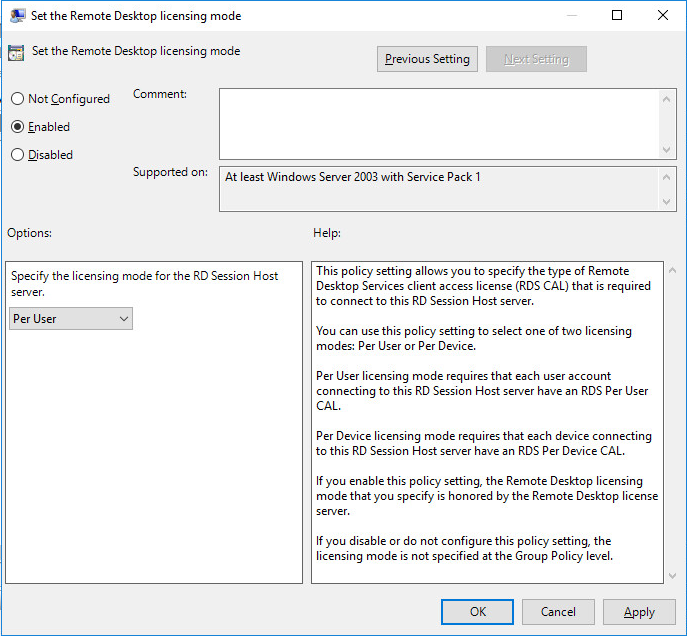
Включаем — Enabled. В поле «Specify the licensing mode for the RD Session Host server» устанавливаем значение Per Device или Per User в зависимости от установленных вами лицензий. В моём случае Per User. OK.

Редактируем Use the specified Remote Desktop license servers.
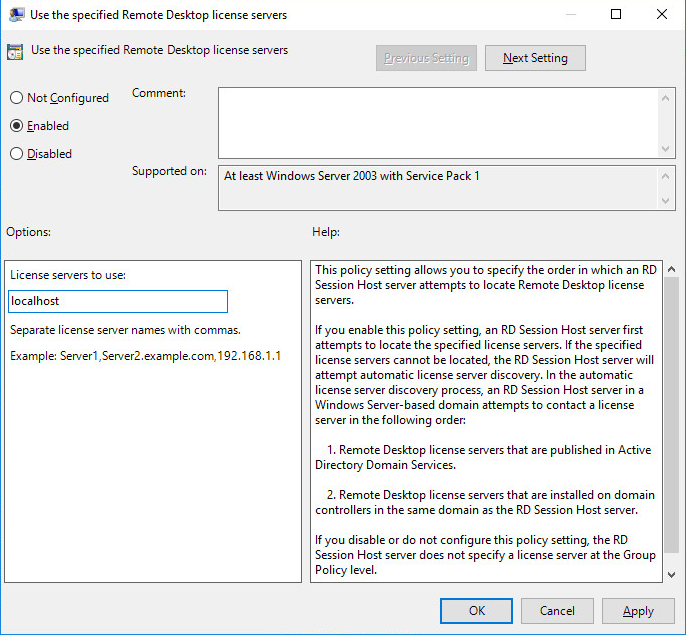
Включаем — Enabled. В поле «License server to use» прописываем сервер, с которого получать лицензии, в моём случае «localhost». OK.
Перезагружаем сервер. Запускаем Remote Desktop Licensing Diagnoser.


