- Adding Users to the Local Admin Group via Group Policy
- Local Administrators Group in Active Directory Domain
- How to Add Domain Users to the Local Administrators via GPO Preferences?
- Managing Local Admins Group Using Restricted Groups
- Using GPO to Add a Single User to the Local Admin Group on a Specific Computer
- «Локальные пользователи и группы» в Windows 10
- Запуск «Локальных пользователей и групп»
- «Пользователи»
- «Группы»
- Добавление нового пользователя
- Присоединение пользователя к группе
Adding Users to the Local Admin Group via Group Policy
You can use GPO (Group Policy) to add Active Directory users and groups to the local Administrators group on domain-joined servers and workstations. This allows you to grant local admin privileges on domain computers to technical support staff, HelpDesk team, specific users or other privileged accounts. In this article we’ll show how to manage members of the local Administrator group on domain computers using GPO.
Local Administrators Group in Active Directory Domain
When you joining a computer to an AD domain, the Domain Admins group is automatically added to the local Administrators group, and the Domain User group is added to the local Users group.
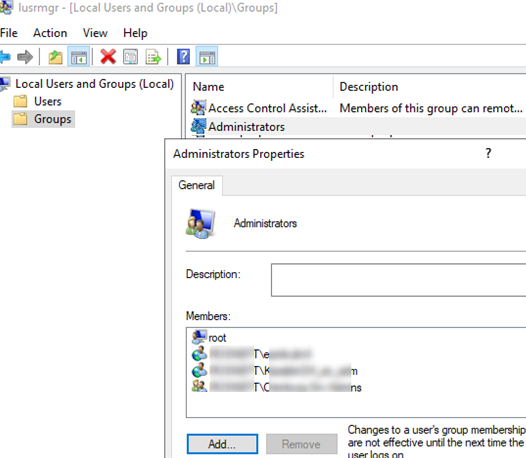
The easiest way to grant local admin privileges on a computer is to add a user or group to the local security group Administrators using the Local users and groups snap-in ( lusrmgr.msc ). However, this method is not convenient if there are a lot of computers and in some time unwanted people may stay the members of the privileged group. If you are using this method of granting local privileges, it is not convenient to control the members of the local admins group on each domain computer.
Microsoft recommends using the following groups to separate administrative privileges in an AD domain:
- Domain Admins are used only on domain controllers;
Suppose, you want to grant local administrator privileges on computers in the specific OU to the group of technical support and HelpDesk employees. Create a new security group in your domain using PowerShell and add the technical support accounts to it:
New-ADGroup munWKSAdmins -path ‘OU=Groups,OU=Munich,OU=DE,DC=woshub,DC=com’ -GroupScope Global –PassThru
Add-AdGroupMember -Identity munWKSAdmins -Members amuller, dbecker, kfisher
Open the domain Group Policy Management console ( GPMC.msc ), create a new policy (GPO) AddLocaAdmins and link it to the OU containing computers (in my example, it is ‘OU=Computers,OU=Munich,OU=DE,DC=woshub,DC=com’).
AD Group Policy provides two methods to manage local groups on domain computers. Let’s study them in turn:
- Local groups management using Group Policy Preferences;
- Restricted Groups.
How to Add Domain Users to the Local Administrators via GPO Preferences?
Group Policy Preferences (GPP) provide the most flexible and convenient way to grant local administrator privileges on domain computers through a GPO.
- Open the AddLocaAdmins GPO you created earlier in the Edit mode;
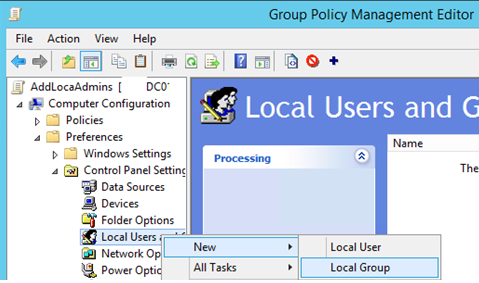
- Go to the following GPO section: Computer Configuration –> Preferences –> Control Panel Settings –> Local Users and Groups;
- Add a new rule (New ->Local Group);

- Select Update in the Action field (it is an important option!);
- In the Group Name dropdown list, select Administrators (Built-in). Even if this group has been renamed on the computer, the settings will be applied to the local Administrators group by its SID — S-1-5-32-544 ;
- Click the Add button and select the groups you want to add to the local administrators group (in our case, it is munWKSAdmins);
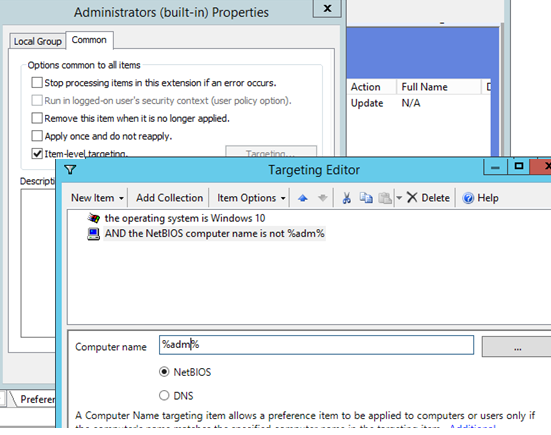
You can configure additional (granular) conditions for targeting the policy on the specific computers using the GPO WMI filters or Item-level Targeting.
In the second case, go to the Common tab and check the Item-level targeting. Click Targeting. Here you can specify the conditions when the policy will be applied. For example, I want the policy of adding administrator groups to be applied only to Windows 10 computers, which NetBIOS/DNS names don’t contain adm . You can use your own filtering options.
It is not recommended to add individual user accounts to this policy. It is better to use the domain security groups. In this case, to grant administrator privileges to another tech support employee, it is enough to add them to the domain group (you won’t need to edit the GPO).
Managing Local Admins Group Using Restricted Groups
The Restricted Groups policy also allows to add domain groups/users to the local security group on computers. It is an older method of granting local administrator privileges and is used less often now (it is less flexible than that the Group Policy Preferences method).
- Open a GPO in the editing mode;
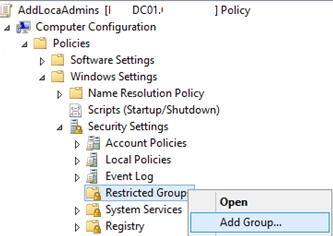
- Expand the section Computer Configuration -> Policies -> Security Settings -> Restricted Groups;
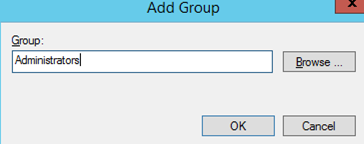
- Select Add Group in the context menu;
- In the next window, type Administrators and then click OK;
- Click Add in the Members of this group section and specify the group you want to add to the local admins;
- Save the changes, apply the policy to user computers and check the local Administrators group. It must contain only the group you have specified in the policy.

Using GPO to Add a Single User to the Local Admin Group on a Specific Computer
Sometimes you may need to grant a single user the administrator privileges on the specific computer. For example, you have several developers who need elevated privileges from time to time to test drivers, debug or install them on their computers. It is not advisable to add them to the group of workstation admins on all computers.
To grant local administrator privileges on the specific computer, you can use the following scheme:
Right in the GPO preference section (Computer Configuration –> Preferences –> Control Panel Settings –> Local Users and Groups) of AddLocalAdmins policy created earlier create a new entry for the Administrators group with the following settings:
- Action: Update
- Group Name: Administrators (Built-in)
- Description: “ Add amuller to the local administrators on the mun-dev-wsk21 computer ”
- Members: Add -> amuller
- In the Common ->Targeting tab, specify this rule: “ the NETBIOS computer name is mun—dev-wks24. ” It means that this policy will be applied only to the computer specified here.


Also, pay attention to the order in which groups are applied on the computer (the Order GPP column). Local group settings are applied from top to bottom (starting from the Order 1 policy).
The first GPP policy (with the “Delete all member users” and “Delete all member groups” settings as described above) removes all users/groups from the local administrator groups and adds the specified domain group. Then the additional computer-specific policies are applied that add the specified user to the local admins. If you want to change the membership order in your Administrators group, use the buttons on top of your GPO Editor console.
«Локальные пользователи и группы» в Windows 10

Важно! Рассматриваемая оснастка присутствует только в редакциях Pro и Enterprise!
Запуск «Локальных пользователей и групп»
Доступ к рассматриваемому элементу можно получить следующим образом:
- Вызовите инструмент «Выполнить» сочетанием клавиш Win+R, введите в нём запрос lusrmgr.msc и щёлкните «ОК».
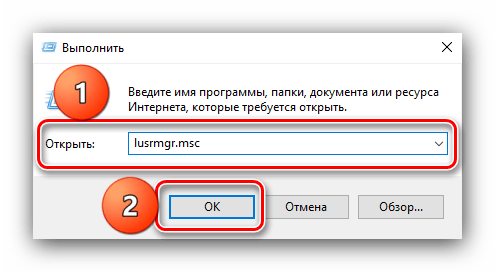
Запустится нужный инструмент.
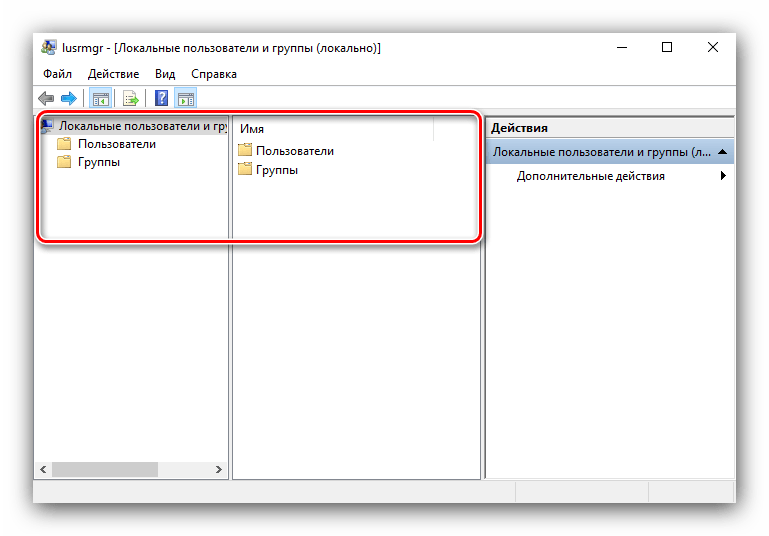
Теперь взглянем подробнее на особенности приложения.
«Пользователи»
В данном каталоге присутствуют такие категории:
- «Администратор» – встроенный аккаунт, который используется в процессе инсталляции ОС перед тем, как юзер создаст свой собственный. Полномочия данной учётки весьма обширны, плюс её нельзя никаким образом удалить. Она пригодится в случае, когда в систему необходимо внести серьёзные изменения, но обычного пользователя-администратора для этой цели недостаточно.
Читайте также: Использование встроенной учётной записи администратора Windows 10
Читайте также: Отключение Защитника в Windows 10
«Группы»
В каталоге «Группы» записей намного больше – они обозначают категории, разграниченные в правах и выполняемых функциях. В этой директории обычно присутствуют следующие элементы:
- «Администраторы» – основная группа, члены которой имеют полный доступ к управлению операционной системой, соответственно, добавлять к ней новые учётки стоит с осторожностью.
- «Администраторы Hyper-V» – здесь находятся записи, которым разрешен доступ к виртуальной машине Hyper-V.
Читайте также: Виртуальная машина в Windows 10
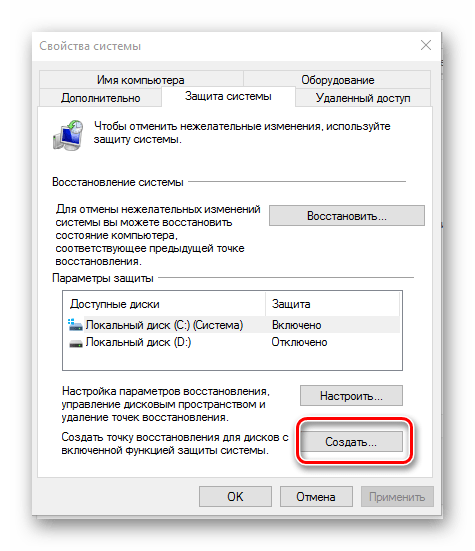
Читайте также: Создание точек восстановления Windows 10
Остальные позиции представляют собой системные категории, с которыми рядовой юзер навряд ли столкнётся.
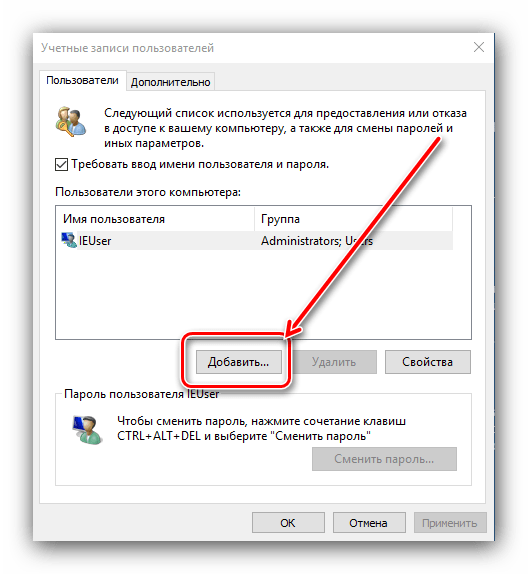
Добавление нового пользователя
Посредством рассматриваемой оснастки можно добавить новую учётную запись. Процедура описана одним из наших авторов, рекомендуем прочитать статью по ссылке далее.
Присоединение пользователя к группе
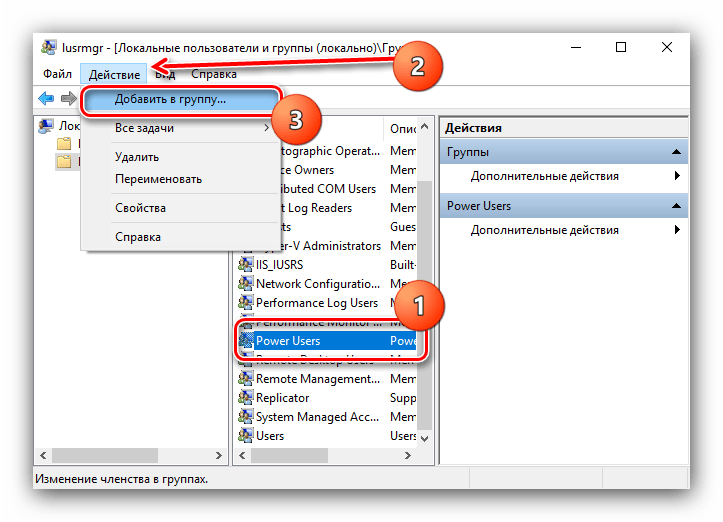
Редактирование группы происходит по похожему алгоритму:
- Выделите одиночным кликом ЛКМ категорию, после чего воспользуйтесь вариантами «Действие» – «Добавить пользователя в группу».
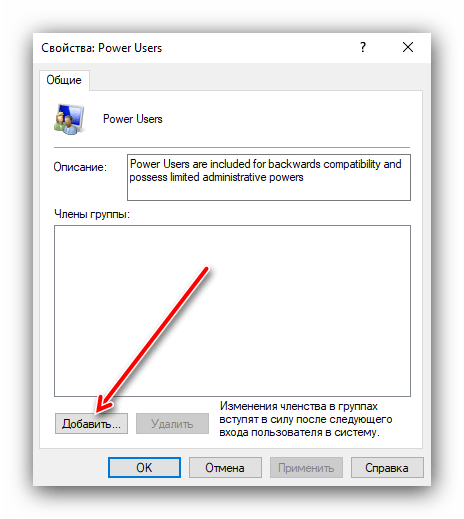
В окне свойств группы кликните по кнопке «Добавить».
Укажите имя аккаунта в блоке «Введите имена выбираемых объектов», после чего щёлкните «Проверить имена».
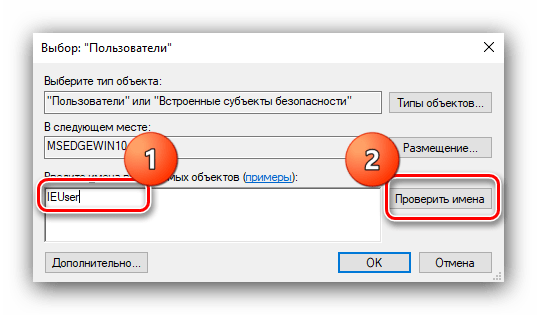
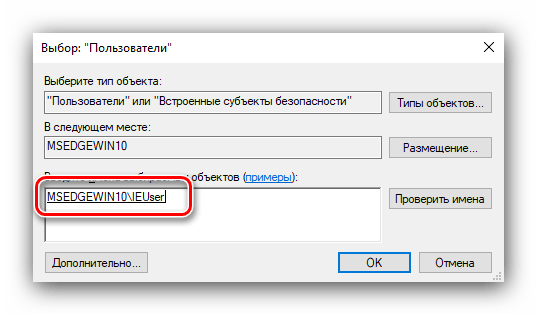
Под названием должно появиться подчёркивание – это означает, что объект распознан и будет присоединён.
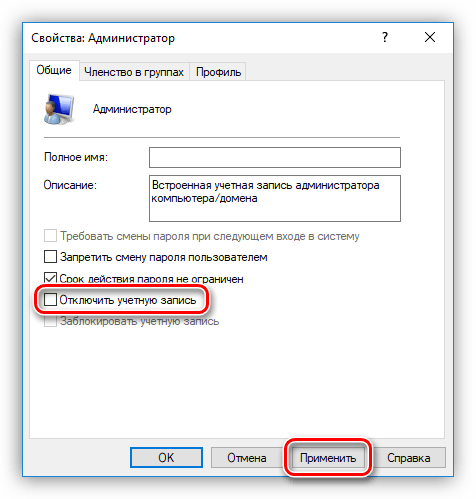
По возвращении в окно свойств вы увидите имя добавленной учётки.
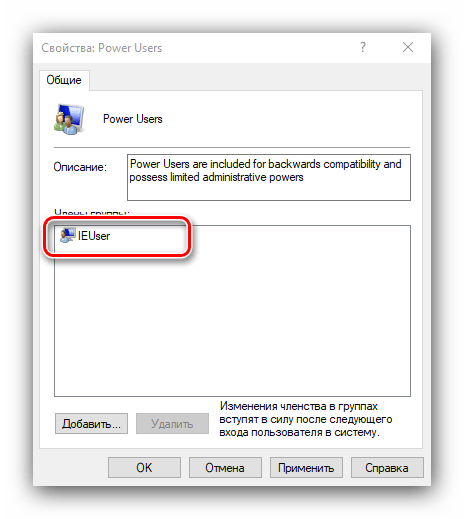
Как видим, действительно ничего сложного.
Теперь вам известно, что собой представляет оснастка «Локальные пользователи и группы» в Windows 10.


