- Windows Installer
- Where applicable
- Developer audience
- Run-time requirements
- Create an MSIX package from any desktop installer (MSI, EXE, ClickOnce, or App-V)
- Packaging method
- Prepare computer
- Choose the installer you want to package
- MSI installers
- App-V installers
- EXE installers
- ClickOnce installers
- Scripts
- Manual installation
- Signing preference
- Package information
- Installation
- Manage first launch tasks
- Services report
- Create package
Windows Installer
This documentation is intended for software developers who want to use Windows Installer to build installer packages for applications. If you’re looking for a redistributable for Windows Installer 4.5 and earlier, see this article. Note that there is no redistributable for Windows Installer 5.0. This version is included with the OS in Windows 7, Windows ServerВ 2008В R2, and later client and server releases (including Windows 10).
Microsoft Windows Installer is an installation and configuration service provided with Windows. The installer service enables customers to provide better corporate deployment and provides a standard format for component management. The installer also enables the advertisement of applications and features according to the operating system. For more information, see Platform Support of Advertisement.
This documentation describes Windows InstallerВ 5.0 and earlier versions. Not all the capabilities available in later Windows Installer versions are available in earlier versions. This documentation does not describe versions earlier than Windows InstallerВ 2.0. Installation packages and patches that are created for Windows InstallerВ 2.0 can still be installed by using Windows InstallerВ 3.0 and later.
Windows InstallerВ 3.0 and later, can install multiple patches with a single transaction that integrates installation progress, rollback, and reboots. The installer can apply patches in a specified order regardless of the order that the patches are provided to the system. Patching using Windows InstallerВ 3.0 only updates files affected by the patch and can be significantly faster than earlier installer versions. Patches installed with Windows Installer 3.0 or later can be uninstalled in any order to leave the state of the product the same as if the patch was never installed. Accounts with administrator privileges can use the API of Windows InstallerВ 3.0 and later to query and inventory product, feature, component, and patch information. The installer can be used to read, edit, and replace source lists for network, URL, and media sources. Administrators can enumerate across user and install contexts, and manage source lists from an external process.
Windows Installer 4.5 and later can install multiple installation packages using transaction processing. If all the packages in the transaction cannot be installed successfully, or if the user cancels the installation, the Windows Installer can roll back changes and restore the computer to its original state. The installer ensures that all the packages belonging to a multiple-package transaction are installed or none of the packages are installed.
Beginning with Windows Installer 5.0, a package can be authored to secure new accounts, Windows Services, files, folders, and registry keys. The package can specify a security descriptor that denies permissions, specifies inheritance of permissions from a parent resource, or specifies the permissions of a new account. For information, see Securing Resources. The Windows Installer 5.0 service can enumerate all components installed on the computer and obtain the key path for the component. For more information, see Enumerating Components. By Using Services Configuration, Windows Installer 5.0 packages can customize the services on a computer. Setup developers can use Windows Installer 5.0 and Single Package Authoring to develop single installation packages capable of installing an application in either the per-machine or per-user installation context.
Where applicable
Windows Installer enables the efficient installation and configuration of your products and applications running on Windows. The installer provides new capabilities to advertise features without installing them, to install products on demand, and to add user customizations.
Windows Installer 5.0 running on Windows ServerВ 2012 or WindowsВ 8 supports the installation of approved apps on WindowsВ RT. A Windows Installer package, patch, or transform that has not been signed by Microsoft cannot be installed on WindowsВ RT. The Template Summary property indicates the platform that is compatible with an installation database and in this case should include the value for WindowsВ RT.
Windows Installer is intended for the development of desktop style applications.
Developer audience
This documentation is intended for software developers who want to make applications that use Windows Installer. It provides general background information about installation packages and the installer service. It contains complete descriptions of the application programming interface and elements of the installer database. This documentation also contains supplemental information for developers who want to use a table editor or a package creation tool to make or maintain an installation.
Run-time requirements
Windows InstallerВ 5.0 is included with, Windows 7, Windows ServerВ 2008В R2, and later releases. There is no redistributable for Windows Installer 5.0.
Versions earlier than Windows Installer 5.0 were released with Windows ServerВ 2008, WindowsВ Vista, Windows ServerВ 2003, WindowsВ XP, and WindowsВ 2000. Windows Installer Redistributables are available for Windows Installer 4.5 and some earlier versions.
Windows InstallerВ 4.5 requires Windows ServerВ 2008, WindowsВ Vista, WindowsВ XP with Service PackВ 2 (SP2) and later, and Windows ServerВ 2003 with Service PackВ 1 (SP1) and later.
Windows InstallerВ 4.0 requires WindowsВ Vista or Windows ServerВ 2008. There is no redistributable for installing Windows InstallerВ 4.0 on other operating systems. An updated version of Windows InstallerВ 4.0, which does not add any new features, is available in WindowsВ Vista with Service PackВ 1 (SP1) and Windows ServerВ 2008.
Windows InstallerВ 3.1 requires Windows ServerВ 2003, WindowsВ XP, or WindowsВ 2000 with Service PackВ 3 (SP3).
Windows InstallerВ 3.0 requires Windows ServerВ 2003, WindowsВ XP, or WindowsВ 2000 with SP3. Windows InstallerВ 3.0 is included in WindowsВ XP with Service PackВ 2 (SP2). It is available as a redistributable for WindowsВ 2000 Server with Service PackВ 3 (SP3) and WindowsВ 2000 Server with Service PackВ 4 (SP4), WindowsВ XP RTM and WindowsВ XP with Service PackВ 1 (SP1), and Windows ServerВ 2003 RTM.
Windows InstallerВ 2.0 is contained in Windows ServerВ 2003 and WindowsВ XP.
Windows InstallerВ 2.0 is available as a package for installing or upgrading to Windows InstallerВ 2.0 on WindowsВ 2000. This package should not be used to install or upgrade Windows InstallerВ 2.0 on Windows ServerВ 2003 and WindowsВ XP.
Create an MSIX package from any desktop installer (MSI, EXE, ClickOnce, or App-V)
You can use the MSIX Packaging Tool to create an MSIX application package from any of the following options:
This doc will walk you through how to take any existing assets you have, and convert them to MSIX.
Before you start conversion, we recommend ensuring that you understand your installer, and whether it will convert.
We also recommend following the best practices to configure your environment and the MSIX Packaging Tool for conversion.
The MSIX Packaging Tool currently supports App-V 5.1. If you have a package with App-V 4.x, we recommend that you use the source installer to convert to MSIX.
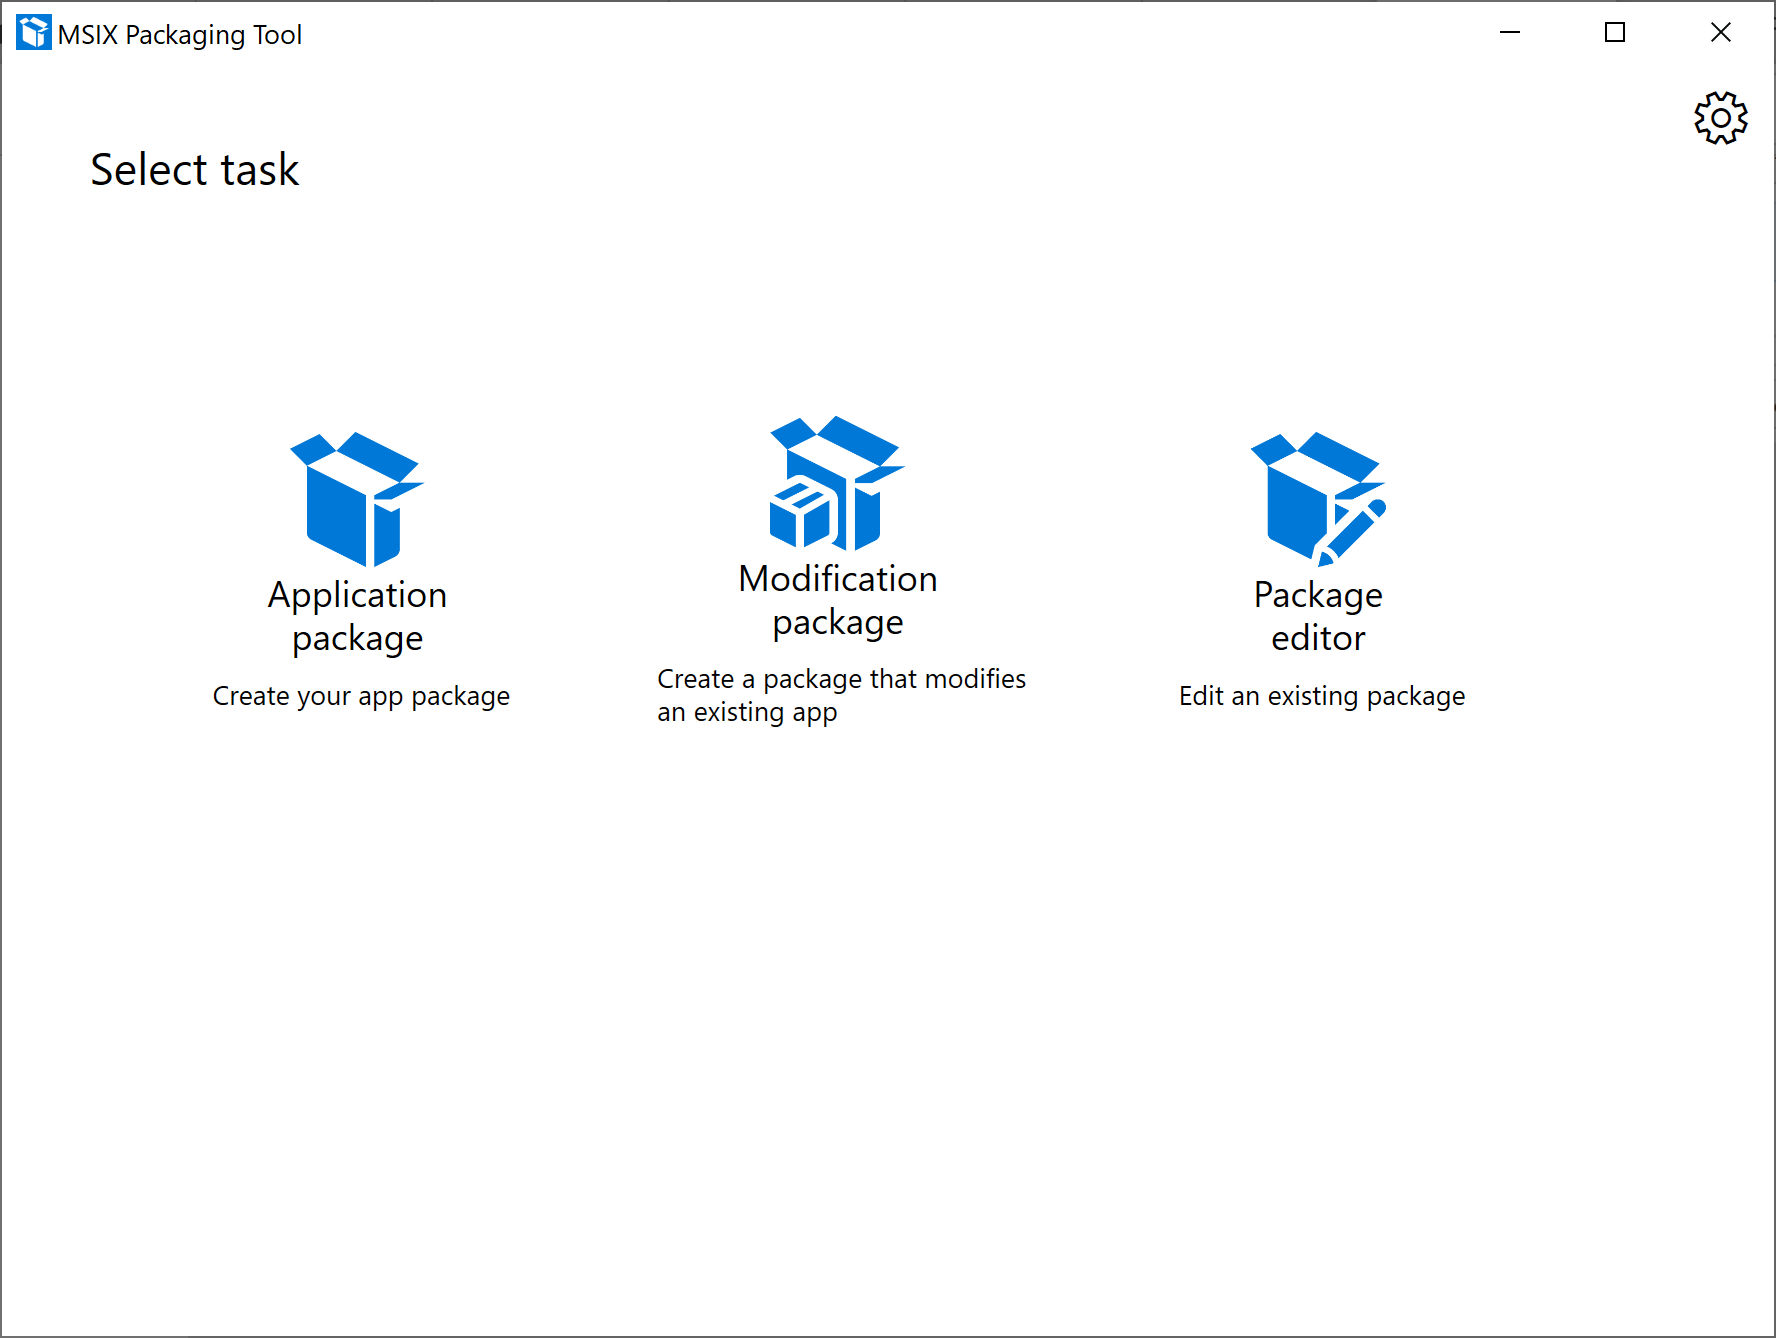
When the tool is first launched, you will be prompted to provide consent to sending telemetry data. It’s important to note that the diagnostic data you share only comes from the app and is never used to identify or contact you.
Creating an application package is the most commonly used option. This is where you will create an MSIX package from an installer, or by manual installation of the application payload.
Packaging method
Select an option your conversion machine:
If you are already working in a clean environment, select Create package on this computer
If you want to connect to an existing virtual or remote machine, select Create package on a remote machine
- You will need to set up your remote machine before you are able to convert on it
If you have a local virtual machine on your machine you want to convert on, select Create package on a local virtual machine
- Please note that we only support Hyper-V virtual machines, if you want to use another virtualization product you can connect using the remote machine option.
Click Next
Prepare computer
Next, the Prepare computer page provides options to prepare the computer for packaging.
The MSIX Packaging Tool Driver is required and the tool will automatically try to enable it if it is not enabled. The tool will first check with DISM to see if the driver is installed. If you run into an issue, try checking our troubleshooting documentation, then filing a Feedback Hub issue if the problem persists.
The MSIX Packaging Tool Driver monitors the system to capture the changes that an installer is making on the system which allows MSIX Packaging Tool to create a package based on those changes.
Windows Update is Active We will temporarily disable Windows Update for the duration of packaging so that we don’t collect any extraneous data.
The Pending reboot checkbox is disabled by default. You’ll need to manually restart the machine and then launch the tool again if you are prompted that pending operations need a reboot. This not required, only recommended.
[Optional] Check the box for Windows Search is Active and select Disable selected if you choose to disable the search service.
- This is not required, only recommended.
- Once disabled, the tool will update the status field to Disabled.
[Optional] Check the box for SMS Host is Active and select Disable selected if you choose to disable the host service.
- This is not required, only recommended.
- Once disabled, the tool will update the status field to Disabled.
When you’re done preparing the machine, click Next.
Choose the installer you want to package
The first thing you will want to do is understand what will happen with the installer you wish to convert. With any of these installers, you can specify them here to simplify your workflow, or you can manually run it at the time of installation later in the workflow.
MSI installers
If you are converting a .msi installer, you can simply browse for it, and specify the .msi. If you have an accompanying .mst or .msp file, you can specify that in the installer arguments field. One of the benefits of specifying your .msi here is that we can pull all of the package information from it, saving you time on the next step of conversion.
App-V installers
If you are converting using an App-V, this is a really simple process for you. All you need to do is specify an App-V file, and you get fast tracked to the create an MSIX page. This is because the manifest of the package simply needs to get translated to an MSIX package, and then it just works as an MSIX. The caveat here is that the tool only supports App-V 5.1 — if your App-V is version 4.x, we recommend that you take the source installer and then convert it directly to MSIX.
EXE installers
If you are converting a .exe installer, you can specify the installer at this point. Due to the lack of format consistency with an exe, you will need to manually enter the package information for your installer.
ClickOnce installers
If you are converting a ClickOnce installer, you can specify the installer at this point. Like an .exe, you will need to manually enter the package information for your installer.
Scripts
If you are using a script to install your application, you can specify the command line here. Alternatively, you can leave this field blank and run the script manually during the installation phase.
Manual installation
If you wish to manually run your installer, or perform the actions of the installer manually, you can leave the installer field blank, and during the installation phase, perform the actions required for your installer.
If you are trying to generate a conversion template file, you will be unable to do so without specifying an installer.
If you have any installer arguments, you can enter the desired argument in the provided field. This field accepts any string.
Signing preference
Under Signing preference, select a signing option. You can also set this as a default in your settings, which will save you some steps each time you convert.
- Sign with Device Guard signing This option allows you to sign in to your Microsoft Active Directory account that you have configured to use with Device Guard signing, which is a signing service that Microsoft provides where you don’t need to provide your own certificate. Learn more about how to set up your account and about Device Guard signing here.
- Sign with a certificate(.pfx) Browse to and select your .pfx certificate file. If the certificate is password protected, type the password in the password box.
- Specify a .cer file (does not sign) This option allows you to specify a .cer file. This is useful when you don’t want to sign the package, but you want to ensure that the publisher information matches the subject of the certificate that will be used for signing.
- Do not sign package Select this option if you will be signing your package at a later time. NOTE: You cannot install an MSIX package if it is not signed
- When signing, we highly recommend adding a timestamp to your certificate so that the validity of your certificate can outlast its expiration date. The accepted format is an RFC 3161 time stamp server URL.
Signing an MSIX package format application with a SHA1 certificate is not supported.
Click Next to proceed.
Package information
After you choose to package your application on an existing virtual machine, you must provide information about to the app. The tool will try to auto-fill these fields based on the information available from the installer. You will always have a choice to update the entries as needed. If the field as an asterisk*, it’s required. Inline help is provided if the entry is not valid.
- Package name:
- Required and corresponds to package identity Name in the manifest to describe the contents of the package.
- Is not shown to the end user.
- Is case-sensitive and cannot have a space.
- Can accept string between 3 and 50 characters in length that consists of alpha-numeric, period, and dash characters.
- Cannot end with a period and be one of these: «CON», «PRN», «AUX», «NUL», «COM1», «COM2», «COM3», «COM4», «COM5», «COM6», «COM7», «COM8», «COM9», «LPT1», «LPT2», «LPT3», «LPT4», «LPT5», «LPT6», «LPT7», «LPT8», and «LPT9.»
- Package display name:
- Required and corresponds to package in the manifest to display a friendly package name to the user, in start menu and settings pages.
- Field accepts A string between 1 and 256 characters in length and is localizable.
- Publisher name:
- Required and corresponds to package that describes the publisher information.
- The Publisher attribute must match the publisher subject information of the certificate used to sign a package.
- This field accepts a string between 1 and 8192 characters in length that fits the regular expression of a distinguished name : «(CN | L | O | OU | E | C | S | STREET | T | G | I | SN | DC | SERIALNUMBER | Description | PostalCode | POBox | Phone | X21Address | dnQualifier | (OID.(0 | 93)(.(0 | 66))+))=(([^,+=»<>#;])+ | «.»)(, ((CN | L | O | OU | E | C | S | STREET | T | G | I | SN | DC | SERIALNUMBER | Description | PostalCode | POBox | Phone | X21Address | dnQualifier | (OID.(0 | 23)(.(0 | 49))+))=(([^,+=»<>#;])+ | «.»)))*».
- Publisher display name:
- Required and corresponds to package in the manifest to display a friendly publisher name to the user, in App installer and settings pages.
- Field accepts A string between 1 and 256 characters in length and is localizable.
- Version:
- Required and corresponds to the package in the manifest to describe the version number of the package.
- This field accepts a version string in quad notation: «Major.Minor.Build.Revision».
- Description:
- This field is optional.
- Install location:
- This is the location that the installer is going to copy the application payload to (usually Programs Files folder).
- This field is optional but recommended when the app payload is being installed outside of the Program Files folders.
- Browse to and select a folder path.
- Make sure this file matches the installer’s install location while you go through the application install operation.
- Add support for MSIX Core to this package.
- When selected, this checkbox will then reveal a drop down that will aloow you to select a Windows version for MSIX Core support for the package you are generating.
Installation
- This is the installation phase where the tool is monitoring and capturing the application install operations.
- The tool will launch the installer in the environment that was specified previously and you’ll need to go through the installer wizard to install the application.
- Make sure the installation path matches what was defined earlier in the package information page.
- You might need to create a shortcut in desktop for the newly installed application.
- Once you’re done with the application installation wizard, make sure you finish or close on the installation wizard.
- If you need to run multiple installers you can do that manually at this point.
- If the app needs other pre-requisites, you need to install them now.
- If the application needs .Net 3.5/20, add the optional feature to Windows.
- If you did not specify an installer previously, here is where you can manually run your installer or script.
- If your installer requires a restart, you can perform a manual restart, or use the ‘restart’ button to perform the restart, and you will return to this point in the conversion process after the restart.
- When you’ve completed installing the application, click Next.
Manage first launch tasks
This page shows application executables that the tool captured. We recommended launching the application at least once to capture any first launch tasks.
You can launch the executable by selecting it, and then clicking run. You can also remove any unnecessary entry points by selecting it, and then clicking remove.
If there are multiple applications, check the box that corresponds to the main entry point. If you don’t see the application .exe here, manually browse to and run it. Then, refresh list.
Click Next You’ll be prompted with a pop up asking for confirmation that you’re finished with application installation and managing first launch tasks.
- If you’re done, click Yes, move on.
- If you’re not done, click No, I’m not done. You’ll be taken back to the last page to where you can launch applications, install or copy other files, and dlls/executables.
Services report
Starting in the 1.2019.1220.0 version of the MSIX Packaging Tool, you can convert an installer with services, and so we’ve added a Services report page. If no services were detected, you will still see this page, but it will be empty with a message that no services were detected at the top of the page.
The Services report page lists services that were detected in your installer during conversion. Services that have all the information they need and are supported will be shown in the Included table. Services that need additional information, need a fix, or aren’t supported will be shown in the Excluded table.
To fix a service or see additional data about the service, double-click the service entry in the table to view a pop-up with more information about the service. You can edit some of this information if you need to.
- Key name: The name of the service. This is not editable.
- Description: The description of the service entry.
- Display name: The display name of the service.
- Image path: Location of the service executable. This is not editable.
- Start account: The start account for the service.
- Startup type: Type of startup for the service. Supports Automatic, Manual, and Disabled.
- Arguments: Arguments to be run when the service starts.
- Dependencies: Dependencies for the service.
After a service has been fixed, you can move it to the Included table or you can choose to leave it in the Excluded table if you don’t want it in your final package. For additional information, check out the services documentation.
Create package
- Provide a location to save the MSIX package.
- By default, packages are saved in local app data folder.
- You can define the default save location in Settings menu.
- If you are generating a conversion template file, you can also specify a different save location for that template file if you don’t want it in the same location as the MSIX package.
- If you’d like to continue to edit the content and properties of the package before saving the MSIX package, you can select Package editor and be taken to package editor.
- Click Create to create the MSIX package.
You’ll be presented with a pop up when the package is created. This pop up will include the save location, linked to the file location of the newly created package. It also includes a link to the location of the log files for the MSIX Packaging Tool. You can close this pop up and get redirected to the welcome page. You can also select Package editor to see and modify the package content and properties.


