- Fix- Windows Setup could not configure Windows to run on this computer’s hardware problem in Windows 10
- Fix-1 Run msoobe.exe manually-
- Fix-2 Change SATA settings-
- Fix-3 Manually install the problematic driver-
- Fix-1 Run Windows Update Troubleshooter-
- Fix-2 Download the Feature Update with MCT-
- “Windows Setup could not configure Windows on this computer’s hardware” installation error on a Windows 7-based or a Windows Server 2008 R2-based computer
- Symptoms
- How do I know if I have this issue?
- Cause
- Resolution
- Method 1: Download the appropriate drivers for your hard disk drive
- Method 2: Change the BIOS hard disk drive setting to AHCI or IDE
- More Information
- Windows Setup could not configure windows to run on this computer’s hardware — Win 10 Pro 1709
Fix- Windows Setup could not configure Windows to run on this computer’s hardware problem in Windows 10
August 31, 2020 By Sambit Koley
While installing a feature update from a stand-alone installer or re-installation of Windows 10, you may see this error message “Windows Setup could not configure Windows to run on this computer’s hardware“. This message usually pops up after the installation stage ends. So, if you are facing this issue on your computer, there is no need to worry. Follow these easy fixes to solve the problem very easily.
Fix-1 Run msoobe.exe manually-
Microsoft Out of Box Experience (Msoobe.exe) is the application that ensures the activation of Windows.
1. Press Shift+F10 to open the Command Prompt window, while you are in the error screen.
2. In the Command Prompt window, copy-paste these commands sequentially and hit Enter at the end.
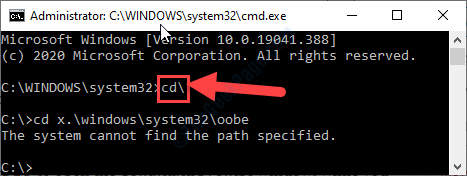
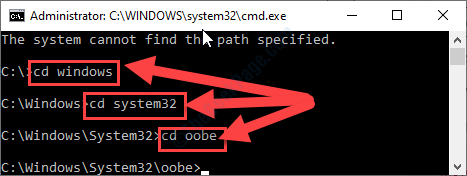
In case, if you see “The system cannot find the path specified.” error message, follow this step-
a. Execute these three codes in the CMD terminal.
3. Now, you have to execute msoobe.exe on your computer.
To do it, copy-paste this command and then hit Enter.
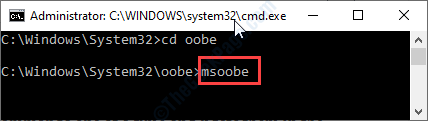
Now, wait a while. Windows will complete the installation process normally.
Fix-2 Change SATA settings-
Modify SATA settings on your computer to IDE, RAID, ATA or AHCI.
1. Shut down your computer.
2. Start the computer.
3. Press the “F12” key to open boot settings on your computer.

4. When the BIOS setting opens on your computer, you need to go to the “Advanced“.
5. Now, press down arrow keys to highlight the “SATA Operation” setting, and hit Enter.

6. Now, change the settings to “IDE” or “RAID” and then hit Enter.
7. Now, press ‘Esc‘ key from your keyboard.
8. Finally, when the ‘Save configuration and reset‘ message pops up, select “Yes” and hit Enter.

Now, save and exit the BIOS settings on your computer.
Fix-3 Manually install the problematic driver-
Sometimes problematic drivers on your computer may cause this type of issue. Manually installing the latest driver may fix the issue on your computer.
NOTE– For this fix, you will need a separate laptop/ PC to download the latest driver for the problematic driver.
For most of the cases, the hard disk drive has been found to be the actual culprit.
Steps to do on the other computer–
1. Download the latest hard disk drive from the manufacturer’s website.
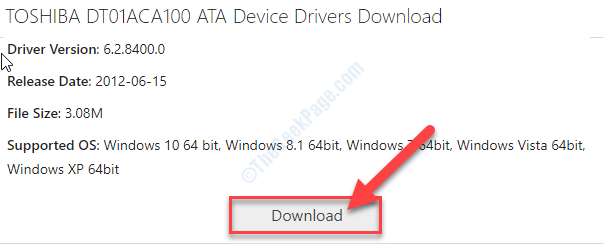
2. Store the driver package on a USB flash drive or an external drive.

Steps to do on your computer-
1. Plugin the USB device on your computer.
2. Initialize the system installation.
3. Now, you will notice the “Load driver” option. Click on the “Load driver“.
5. Now, choose the latest harddisk driver from the external drive. Wait for the installation to complete.
6. Now, advance with the installation of Windows.
This should solve your problem.
If you are facing the problem while installing a Windows Feature Update, try these fixes-
Fix-1 Run Windows Update Troubleshooter-
Windows Update Troubleshooter can determine the problem you are facing and solve the issue easily.
1. Open the Settings window.
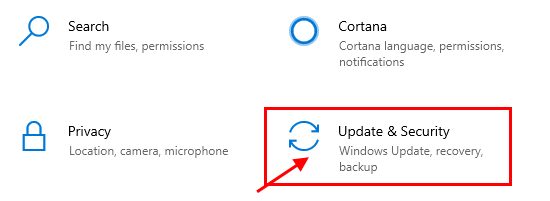
2. Then click on “Update & Security“.
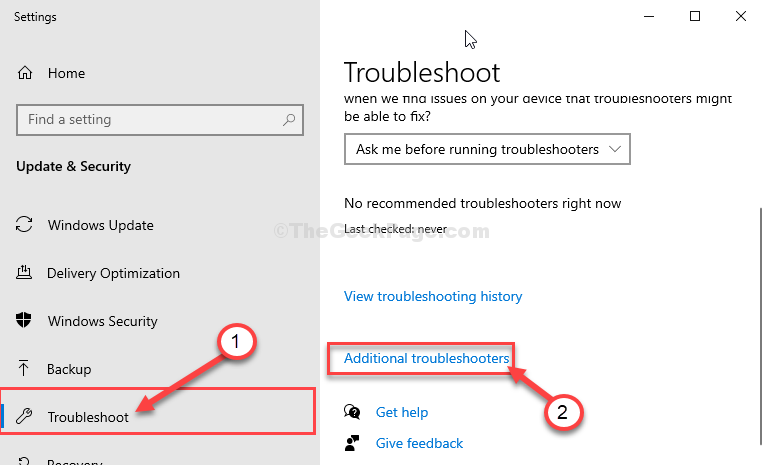
3. After that, you need to click on “Troubleshoot“.
4. Then, click on “Additional troubleshooters“.
5. Simply click on the “Windows Update” in the list of troubleshooters.
6. To start the troubleshooting process “Run the Troubleshooter“.
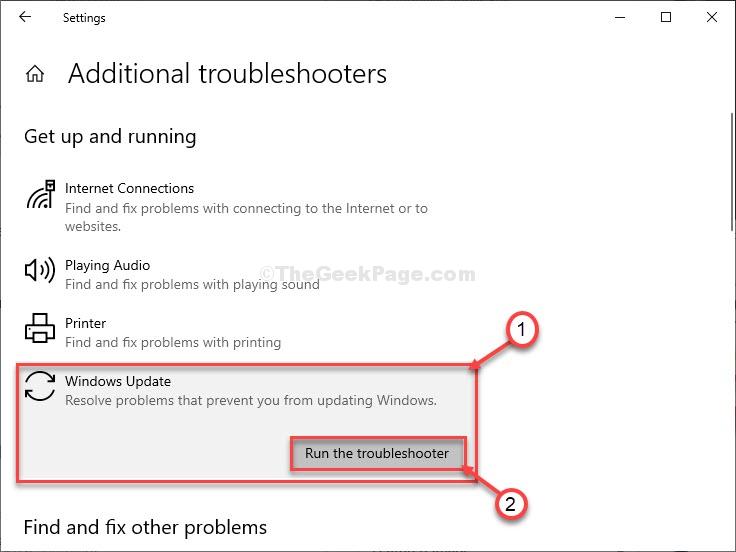
The troubleshooter will identify any hardware problem causing this issue.
Now try to install the update on your computer again.
Fix-2 Download the Feature Update with MCT-
1. At first, you need to visit the Microsoft Software Download website.
2. To download the installation media, click on the “Download tool now“.
3. Click on “Save“.
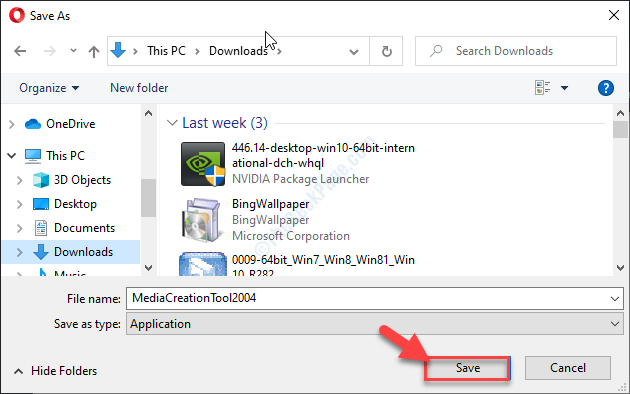
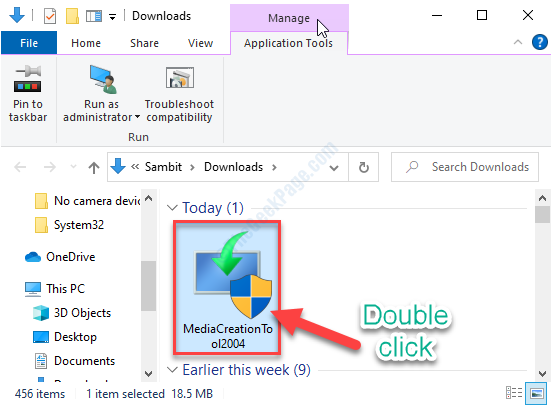
4. Go to the hard drive location where you have downloaded the installer.
5. Then, double click on “MediaCreationTool2004” to access it.
6. To accept the terms and conditions, click on “Accept“.
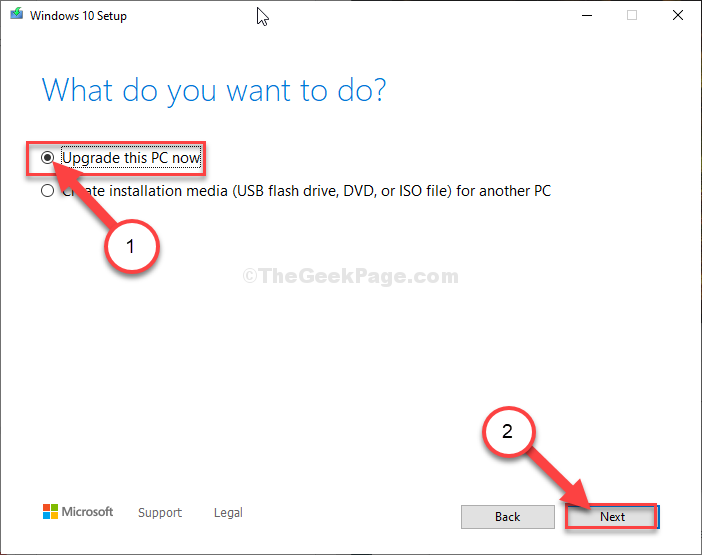
7. What you need to do is to choose the “Upgrade this PC now” option.
7. After that, click on “Next“.
Media Creation Tool will download and install it on your device.
Reboot your computer.
Additional Tip–
If you are trying to overclock the CPU on your system, that may cause this problem.

Sambit is a Mechanical Engineer By qualification who loves to write about Windows 10 and solutions to weirdest possible problems.
“Windows Setup could not configure Windows on this computer’s hardware” installation error on a Windows 7-based or a Windows Server 2008 R2-based computer
Symptoms
When you perform a clean installation of Windows 7 or of Windows Server 2008 R2, you may receive the following error message during the device-detection phase of setup:
Windows Setup could not configure Windows on this computer’s hardware.
This error can occur when you try to install Windows 7 or Windows Server 2008 R2 on a system if the following situation is true on your PC:
You are installing by using Windows 7 or Windows Server 2008 R2 RTM media.
Note: Windows 7 with Service Pack 1 (SP1) and Windows Server 2008 R2 with SP1 are not affected by this issue.
Your system has an Intel storage controller that is configured to «RAID» mode in the BIOS. (This is a standard setting for many PC manufacturers)
The hard drive you are installing to ia an «Advanced Format» disk.
Note Advanced Format disks have a physical sector size of 4 kilobytes and a logical emulated sector size of 512 bytes. «Advanced Format» is a new technology being adopted by PC manufacturers to increase media format efficiency which will lead to larger capacity hard drives. If you are replacing a hard drive in an older PC, you may be more likely to encounter this issue.
How do I know if I have this issue?
To determine whether your system is affected by this issue, follow these steps:
Insert a Windows 7 or Windows Server 2008 R2 DVD into your DVD drive, and then close the drive.
Restart your computer, and then press a key on the keyboard when you receive the following message:
Press any key to boot from CD or DVD
Set the following preferences, and then click Next.
Language to install
Time and currency format
Keyboard or input method
On the next screen, select Repair your computer.
In the System Recover Option dialog box, select the drive that you tried to install Windows 7 or Windows Server 2008 R2.
In the Choose a Recovery Tool box, select Command Prompt.
Change to the drive that you want to install Windows on. (In a standard installation, this is drive C.) Type Notepad, and then press ENTER.
In Notepad, click Open on the File menu, and then browse to %systemroot%\Panther.
Note On a standard installation to drive C, the path is C:\Windows\Panther. (On most PCs this will be the C:\Panther folder)
Open the file setuperr.log, and look for lines that resemble these:
2010-09-23 17:34:58, Error [0x0f0082] SYSPRP LaunchDll:Failure occurred while executing ‘C:\Windows\System32\scecli.dll,SceSysPrep’, returned error code 1208[gle=0x000003e5]
2010-09-23 17:34:59, Error [0x060435] IBS Callback_Specialize: An error occurred while either deciding if we need to specialize or while specializing; dwRet = 0x4b8
Note If these lines and errors exist, note the errors.
Open the setupact.log file that is located in the same directory, and then look for the line that resembles the following line:
2010-09-23 17:31:26, Info SYSPRP SPPNP: iaStorV is the function driver for device PCI\VEN_8086&DEV_2822&SUBSYS_2819103C&REV_02\3&33FD14CA&0&FA
Note If this line exists, it indicates that the drive on which you are trying to install Windows 7 or Windows Server 2008 R2 is configured in a RAID configuration.
Cause
This error occurs because of an issue with the Intel storage controller driver that’s included in the released versions of Windows 7 and of Windows Server 2008 R2. This issue is resolved in Windows 7 SP1 and in Windows Server 2008 R2 SP1.
Resolution
To help resolve this issue and install Windows 7 or Windows Server 2008 R2 on your computer, follow these steps. Method 1 is the easiest and preferred method. If you cannot complete method 1, try method 2.
Method 1: Download the appropriate drivers for your hard disk drive
Download and install the latest drivers for your Windows 7-based or Windows Server 2008 R2-based computer. To do this by using another computer, visit the following Intel website and download the appropriate drivers for your hard disk drive (either 32-bit or 64-bit) to a flash drive. Or, burn the drivers onto a CD or DVD. The flash drive or the disc will then be used during setup of Windows 7 or of Windows Server 2008 R2.
Go to another computer that has an internet connection and click the link below to download the driver for your hard disk drive (either 32-bit or 64-bit):
Save this downloaded driver to a DVD or USB flash drive or an external hard drive that can be taken to the PC that you’re installing Windows to.
Next, start the installation of Windows 7 or Windows Server 2008 R2 and watch for the Load Driver option. You will see this option on the Where do you want to install Windows? screen in the lower right corner.
Connect the USB flash or external drive to the computerthat you’re installing Windows or take the Windows DVD out of the drive and put the driver DVD into the drive. (You will put the Windows DVD back into that drive after the driver is loaded)
Click Load Driver, (clicking this option checks removable media for storage controller drivers)
Once the driver is loaded, continue with the Windows setup.
The Advanced Drive Format hard drive will be recognized and Setup will continue as expected.
Method 2: Change the BIOS hard disk drive setting to AHCI or IDE
Warning This procedure may involve changing your hard disk drive settings in the BIOS. Incorrect changes to the BIOS of your computer can result in serious problems. Microsoft cannot guarantee that problems that result from changes to the BIOS can be resolved. Change the BIOS settings at your own risk. Incorrect or corrupted BIOS settings can cause startup problems or shutdown problems.
You can change the hard disk drive setting in the BIOS to AHCI or to IDE if the hard disk drive setting is currently set to a RAID configuration. If you set the hard disk drive to AHCI or to IDE, you do not have to install the driver that you obtained in method 1.
Microsoft cannot provide specific instructions for how to change the BIOS settings because they are specific to your computer. For information about the correct BIOS settings for your computer and how to check and change these settings, see your computer documentation, or contact the manufacturer of your computer.
More Information
For more information about Windows 7 and Windows Server 2008 R2 compatibility with Advanced Format disks, click the following article number to view the article in the Microsoft Knowledge Base:
982018 An update that improves the compatibility of Windows 7 and Windows Server 2008 R2 with Advanced Format Disks is available Microsoft provides third-party contact information to help you find technical support. This contact information may change without notice. Microsoft does not guarantee the accuracy of this third-party contact information.
The third-party products that this article discusses are manufactured by companies that are independent of Microsoft. Microsoft makes no warranty, implied or otherwise, about the performance or reliability of these products.
Windows Setup could not configure windows to run on this computer’s hardware — Win 10 Pro 1709
So I am attempting to build an image for the company I work for. I have built the system as a VHD in VirtualBox. I mount and capture the VHD in powershell to a wim file allowing me to deploy via a USB flash drive. This works normally but when i attempt to sysprep (which i complete an OOBE /generalize and shut down) then capture and reapply i get the message above. both the sysprep and non-sysprep use the same diskpart script.
select disk 0
clean
convert gpt
rem == 1. System partition (260 for 4kn drives)=====
create partition primary size=260
format quick fs=fat32 label=»System»
assign letter=»S»
gpt attributes=0x8000000000000000
rem == 2. Microsoft Reserved (MSR) partition =======
create partition msr size=16
rem == 3. Windows partition ========================
create partition primary
shrink minimum=4096
format quick fs=ntfs label=»Windows»
assign letter=»W»
rem === 4. Recovery tools partition ================
create partition primary
format quick fs=NTFS label=»Recovery»
assign letter=»R»
set
gpt attributes=0x8000000000000001
select disk 1
list partition
select partition 2
assign letter=»H»
exit
my apply for sysprep and non-sysprep are only different in the file they are calling. One is in a folder called sysprep, the other in a folder called nosys.
diskpart /s diskparti.txt
ECHO Imaging System, please stand by.
Dism /Apply-Image /ImageFile:H:\Images\SysPrep\RDNTLT.wim /Index:1 /ApplyDir:W:\
bcdboot W:\Windows /s s: /f all
md R:\Recovery\WindowsRE
xcopy /h/i/s W:\Windows\System32\Recovery\Winre.wim R:\Recovery\WindowsRE\
W:\Windows\System32\Reagentc /Setreimage /Path R:\Recovery\WindowsRE /Target W:\Windows
W:\Windows\System32\Reagentc /Info /Target W:\Windows
i’m using a PC that is on windows 10 1709 with the 1709 ADK, which is what i built the winpe from. I see this question come up for windows 7 but i believe the issue is different. The purpose of this image is to quickly deploy laptops, we do not use MDT at our company and i’m not the person who would make that kind of move, i’m just trying to make this automated so i don’t have to continually manually build every station.


