- Install and set up Windows Terminal
- Installation
- First run
- Dynamic profiles
- Open a new tab
- Invoke the command palette
- Open a new pane
- Configuration
- Command line arguments
- Troubleshooting
- Tutorial: Set up Powerline in Windows Terminal
- Prerequisites
- Install a Powerline font
- Set up Powerline in PowerShell
- PowerShell prerequisites
- Customize your PowerShell prompt
- Set Cascadia Code PL as your font
- Set up Powerline in WSL Ubuntu
- WSL Ubuntu prerequisites
- Customize your Ubuntu prompt
- Installing PowerShell on Windows
- Prerequisites
- Download the installer package
- Installing the MSI package
- Administrative install from the command line
- Registry keys created during installation
- Installing the ZIP package
- Deploying on Windows 10 IoT Enterprise
- Deploying on Windows 10 IoT Core
- Deploying on Nano Server
- Offline Deployment of PowerShell
- Online Deployment of PowerShell
- Install as a .NET Global tool
- Install PowerShell via Winget
- Installing from the Microsoft Store
- Using the MSIX package
- How to create a remoting endpoint
- Upgrading an existing installation
- Installation support
Install and set up Windows Terminal
Installation
You can install Windows Terminal from the Microsoft Store.
If you don’t have access to the Microsoft Store, the builds are published on the GitHub releases page. If you install from GitHub, the terminal will not automatically update with new versions.
First run
After installation, when you open the terminal, it will start with PowerShell as the default profile in the open tab.

Dynamic profiles
The terminal will automatically create profiles for you if you have WSL distros or multiple versions of PowerShell installed. Learn more about dynamic profiles on the Dynamic profiles page.
Open a new tab
You can open a new tab of the default profile by pressing Ctrl + Shift + T or by selecting the + (plus) button. To open a different profile, select the Л… (arrow) next to the + button to open the dropdown menu. From there, you can select which profile to open.
Invoke the command palette
You can invoke most features of Windows Terminal through the command palette. The default key combination to invoke it is Ctrl + Shift + P .
Open a new pane
You can run multiple shells side-by-side using panes. To open a pane, you can use Alt + Shift + + for a vertical pane or Alt + Shift + — for a horizontal one. You can also use Alt + Shift + D to open a duplicate pane of your focused profile. Learn more about panes on the Panes page.
Configuration
To customize the settings of your Windows Terminal, select Settings in the dropdown menu. This will open the settings.json file in your default text editor. (The default text editor is defined in your Windows settings.)
The terminal supports customization of global properties that affect the whole application, profile properties that affect the settings of each profile, and actions that allow you to interact with the terminal using your keyboard or the command palette.
You can also use the settings UI to configure your settings if you are using Windows Terminal Preview. You can learn how to open the settings UI on the Actions page.
Command line arguments
You can launch the terminal in a specific configuration using command line arguments. These arguments let you open the terminal with specific tabs and panes with custom profile settings. Learn more about command line arguments on the Command line arguments page.
Troubleshooting
If you encounter any difficulties using the terminal, reference the Troubleshooting page. If you find any bugs or have a feature request, you can select the feedback link in the About menu of the terminal to go to the GitHub page where you can file a new issue.
Tutorial: Set up Powerline in Windows Terminal
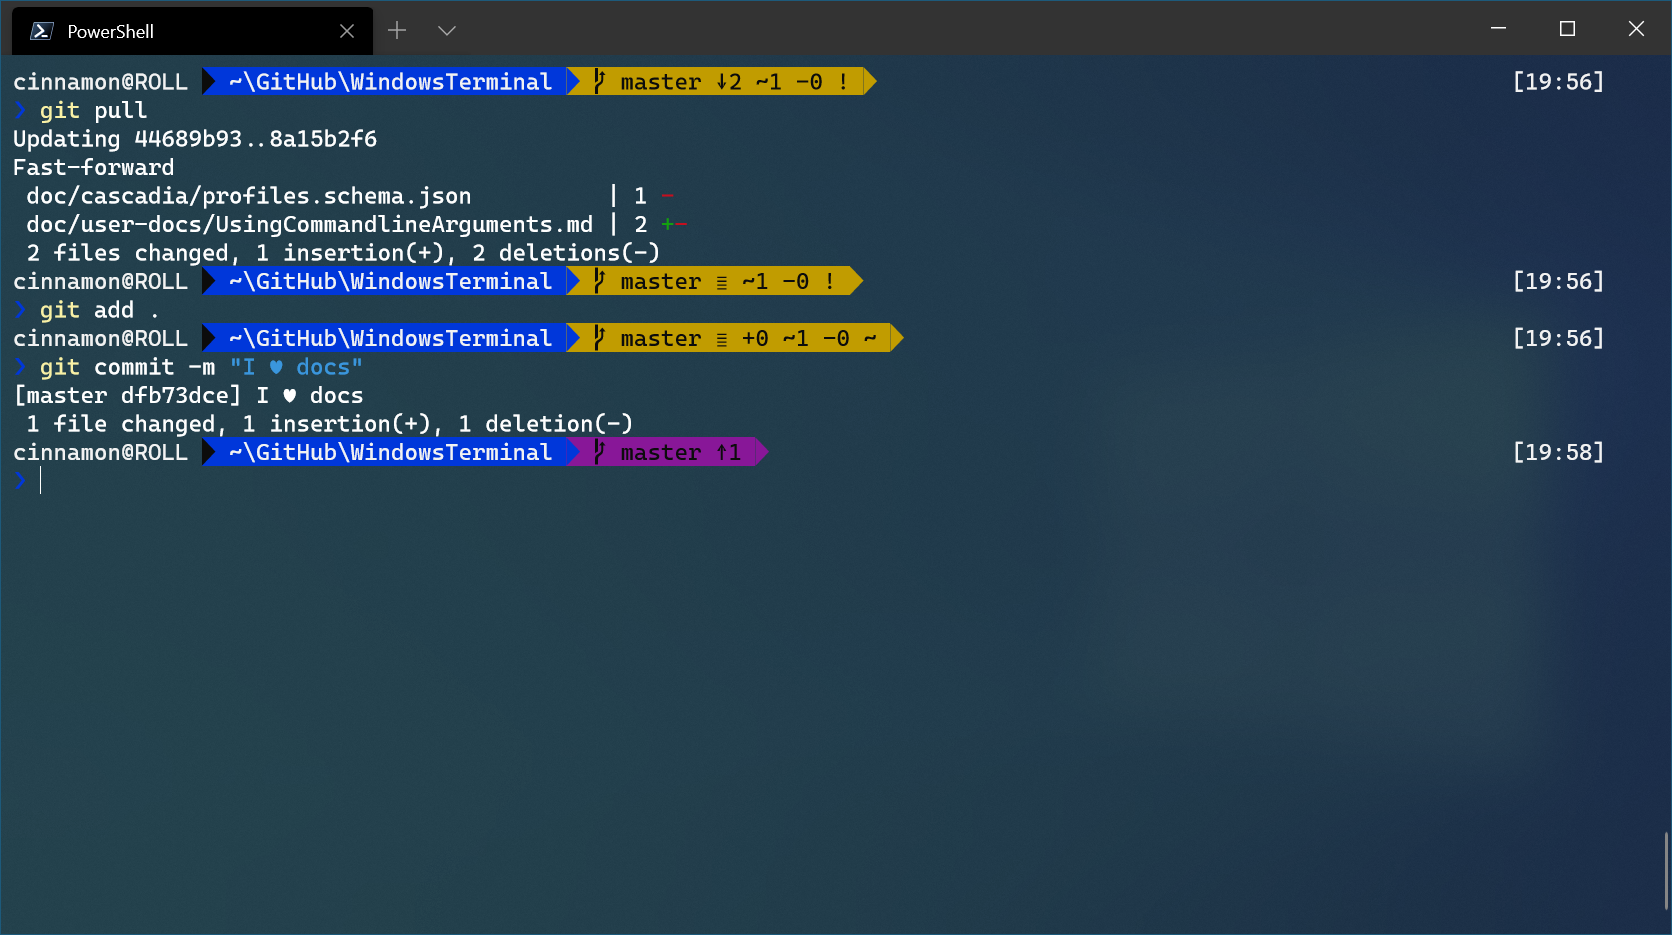
Powerline provides a customized command prompt experience providing Git status color-coding and prompts.
In this tutorial, you learn how to:
- Set up Powerline in PowerShell
- Set up Powerline in Ubuntu/WSL
- Add missing Powerline glyphs
Prerequisites
Install a Powerline font
Powerline uses glyphs in order to style the prompt. If your font does not include Powerline glyphs, you may see several Unicode replacement characters ‘в–Ї’ throughout your prompt. Though Cascadia Mono does not include Powerline glyphs, you can install Cascadia Code PL or Cascadia Mono PL, which have the Powerline glyphs included. These fonts can be installed from the Cascadia Code GitHub releases page.
Set up Powerline in PowerShell
PowerShell prerequisites
If you don’t already have it, install Git for Windows.
Using PowerShell, install Posh-Git and Oh-My-Posh:
You may need to install NuGet if you don’t already have it. Your PowerShell command line will ask if you want to install NuGet if this is the case. Select [Y] Yes. You may also need to approve that you are installing modules from PSGallery, an ‘untrusted repository’. Select [Y] Yes.
Posh-Git adds Git status information to your prompt as well as tab-completion for Git commands, parameters, remotes, and branch names. Oh-My-Posh provides theme capabilities for your PowerShell prompt.
If you are using PowerShell Core, install PSReadline:
PSReadline lets you customize the command line editing environment in PowerShell.
Customize your PowerShell prompt
Open your PowerShell profile with notepad $PROFILE or the text editor of your choice. This is not your Windows Terminal profile. Your PowerShell profile is a script that runs every time PowerShell starts. Learn more about PowerShell profiles.
In your PowerShell profile, add the following to the end of the file:
Now, each new instance starts by importing Posh-Git and Oh-My-Posh, then setting the Paradox theme from Oh-My-Posh. Oh-My-Posh comes with several built-in themes. If you decide to use Cascadia Code PL as a font, oh-my-posh themes that contain minimal function without the need for additional icons. You can also create a custom theme to match the font of your choice.
Script execution policy must be set to either RemoteSigned or Unrestricted in order for the profile script to run. Run this command to see your current execution policy Get-ExecutionPolicy . Learn more about Execution Policies
Set Cascadia Code PL as your font
To set the Cascadia Code PL font for use with PowerLine (after downloading, unzipping, and installing on your system), you will need to open your profile settings in your settings.json file by selecting Settings (Ctrl+,) from your Windows Terminal dropdown menu. This can also be done using the settings UI if you have it enabled.
Once your settings.json file opens, find the Windows PowerShell profile and add: «fontFace»: «Cascadia Code PL» to designate Cascadia Code PL as the font. This will provide those nice Cascadia Code Powerline glyphs. You should notice the change in your terminal as soon as you select Save in your editor.
Your Windows PowerShell profile settings.json file should now look like this:
For Powerline to work with the integrated terminal in Visual Studio Code, add «terminal.integrated.fontFamily»: «Cascadia Code PL» to your Visual Studio Code settings. For Visual Studio 2019, set the terminal font via Options > Font and Colors and choose Terminal in the dropdown menu. You can then select the Cascadia Code PL font to make sure Powerline works there, too.
Set up Powerline in WSL Ubuntu
WSL Ubuntu prerequisites
Ubuntu has several Powerline options to install from. This tutorial will be using oh-my-posh for Linux:
First, install oh-my-posh:
The second step is optonal. Oh-my-posh can use the same theme config regardless of the shell or evironment, so if you’re already using it on Windows Powershell for example, you can reuse that theme configuration rather than download the themes. If you plan to use it within Ubuntu WSL only, fetch the themes so you can get started right away:
If you’re using Ubuntu 18.04 or 16.04, you’ll need to first install the correct version of golang:
Customize your Ubuntu prompt
/.bashrc file with nano
/.bashrc or the text editor of your choice. This is a bash script that runs every time bash starts. Add the following (change the theme to the one you like):
Installing PowerShell on Windows
There are multiple ways to install PowerShell in Windows.
Prerequisites
The latest release of PowerShell is supported on Windows 7 SP1, Server 2008 R2, and later versions.
To enable PowerShell remoting over WSMan, the following prerequisites need to be met:
- Install the Universal C Runtime on Windows versions predating Windows 10. It’s available via direct download or Windows Update. Fully patched systems already have this package installed.
- Install the Windows Management Framework (WMF) 4.0 or newer on Windows 7 and Windows Server 2008 R2. For more information about WMF, see WMF Overview.
Download the installer package
To install PowerShell on Windows, download the latest install package from GitHub. You can also find the latest preview version. Scroll down to the Assets section of the Release page. The Assets section may be collapsed, so you may need to click to expand it.
Installing the MSI package
The MSI file looks like PowerShell- -win- .msi . For example:
Once downloaded, double-click the installer and follow the prompts.
The installer creates a shortcut in the Windows Start Menu.
- By default the package is installed to $env:ProgramFiles\PowerShell\
- You can launch PowerShell via the Start Menu or $env:ProgramFiles\PowerShell\ \pwsh.exe
PowerShell 7.1 installs to a new directory and runs side-by-side with Windows PowerShell 5.1. PowerShell 7.1 is an in-place upgrade that replaces PowerShell 6.x. or PowerShell 7.0.
- PowerShell 7.1 is installed to $env:ProgramFiles\PowerShell\7
- The $env:ProgramFiles\PowerShell\7 folder is added to $env:PATH
- The $env:ProgramFiles\PowerShell\6 folder is deleted
If you need to run PowerShell 7.1 side-by-side with other versions, use the ZIP install method to install the other version to a different folder.
Administrative install from the command line
MSI packages can be installed from the command line allowing administrators to deploy packages without user interaction. The MSI package includes the following properties to control the installation options:
- ADD_EXPLORER_CONTEXT_MENU_OPENPOWERSHELL — This property controls the option for adding the Open PowerShell item to the context menu in Windows Explorer.
- ADD_FILE_CONTEXT_MENU_RUNPOWERSHELL — This property controls the option for adding the Run with PowerShell item to the context menu in Windows Explorer.
- ENABLE_PSREMOTING — This property controls the option for enabling PowerShell remoting during installation.
- REGISTER_MANIFEST — This property controls the option for registering the Windows Event Logging manifest.
The following example shows how to silently install PowerShell with all the install options enabled.
For a full list of command-line options for Msiexec.exe , see Command line options.
Registry keys created during installation
Beginning in PowerShell 7.1, the MSI package creates registry keys that store the installation location and version of PowerShell. These values are located in HKLM\Software\Microsoft\PowerShellCore\InstalledVersions\ . The value of is unique for each build type (release or preview), major version, and architecture.
| Release | Architecture | Registry Key |
|---|---|---|
| 7.1.x Release | x86 | HKLM\Software\Microsoft\PowerShellCore\InstalledVersions\1d00683b-0f84-4db8-a64f-2f98ad42fe06 |
| 7.1.x Release | x64 | HKLM\Software\Microsoft\PowerShellCore\InstalledVersions\31ab5147-9a97-4452-8443-d9709f0516e1 |
| 7.1.x Preview | x86 | HKLM\Software\Microsoft\PowerShellCore\InstalledVersions\86abcfbd-1ccc-4a88-b8b2-0facfde29094 |
| 7.1.x Preview | x64 | HKLM\Software\Microsoft\PowerShellCore\InstalledVersions\39243d76-adaf-42b1-94fb-16ecf83237c8 |
This can be used by administrators and developers to find the path to PowerShell. The values will be the same for all preview and minor version releases. The values are changed for each major release.
Installing the ZIP package
PowerShell binary ZIP archives are provided to enable advanced deployment scenarios. Download one of the following ZIP archives from the [releases][releases] page.
- PowerShell-7.1.3-win-x64.zip
- PowerShell-7.1.3-win-x86.zip
- PowerShell-7.1.3-win-arm64.zip
- PowerShell-7.1.3-win-arm32.zip
Depending on how you download the file you may need to unblock the file using the Unblock-File cmdlet. Unzip the contents to the location of your choice and run pwsh.exe from there. Unlike installing the MSI packages, installing the ZIP archive doesn’t check for prerequisites. For remoting over WSMan to work properly, ensure that you’ve met the prerequisites.
Use this method to install the ARM-based version of PowerShell on computers like the Microsoft Surface Pro X. For best results, install PowerShell to the to $env:ProgramFiles\PowerShell\7 folder.
You can use this method to install any version of PowerShell including the latest:
Deploying on Windows 10 IoT Enterprise
Windows 10 IoT Enterprise comes with Windows PowerShell, which we can use to deploy PowerShell 7.
Create PSSession to target device
Copy the ZIP package to the device
Connect to the device and expand the archive
Set up remoting to PowerShell 7
Connect to PowerShell 7 endpoint on device
Deploying on Windows 10 IoT Core
Windows 10 IoT Core adds Windows PowerShell when you include IOT_POWERSHELL feature, which we can use to deploy PowerShell 7. The steps defined above for Windows 10 IoT Enterprise can be followed for IoT Core as well.
For adding the latest PowerShell in the shipping image, use Import-PSCoreRelease command to include the package in the workarea and add OPENSRC_POWERSHELL feature to your image.
For ARM64 architecture, Windows PowerShell is not added when you include IOT_POWERSHELL. So the zip based install will not work. You will need to use Import-PSCoreRelease command to add it in the image.
Deploying on Nano Server
These instructions assume that the Nano Server is a «headless» OS that has a version of PowerShell is already running on it. For more information, see the Nano Server Image Builder documentation.
PowerShell binaries can be deployed using two different methods.
- Offline — Mount the Nano Server VHD and unzip the contents of the zip file to your chosen location within the mounted image.
- Online — Transfer the zip file over a PowerShell Session and unzip it in your chosen location.
In both cases, you need the Windows 10 x64 ZIP release package. Run the commands within an «Administrator» instance of PowerShell.
Offline Deployment of PowerShell
- Use your favorite zip utility to unzip the package to a directory within the mounted Nano Server image.
- Unmount the image and boot it.
- Connect to the built-in instance of Windows PowerShell.
- Follow the instructions to create a remoting endpoint using the «another instance technique».
Online Deployment of PowerShell
Deploy PowerShell to Nano Server using the following steps.
Connect to the built-in instance of Windows PowerShell
Copy the file to the Nano Server instance
Enter the session
Extract the ZIP file
If you want WSMan-based remoting, follow the instructions to create a remoting endpoint using the «another instance technique».
Install as a .NET Global tool
If you already have the .NET Core SDK installed, it’s easy to install PowerShell as a .NET Global tool.
The dotnet tool installer adds $env:USERPROFILE\.dotnet\tools to your $env:PATH environment variable. However, the currently running shell doesn’t have the updated $env:PATH . You can start PowerShell from a new shell by typing pwsh .
Install PowerShell via Winget
The winget command-line tool enables developers to discover, install, upgrade, remove, and configure applications on Windows 10 computers. This tool is the client interface to the Windows Package Manager service.
The winget tool is currently a preview. Not all planned functionality is available at this time. You should not use this method in a production deployment scenario. See the winget documentation for a list of system requirements and install instructions.
The following commands can be used to install PowerShell using the published winget packages:
Search for the latest version of PowerShell
Install a version of PowerShell using the —exact parameter
Installing from the Microsoft Store
PowerShell 7.1 has been published to the Microsoft Store. You can find the PowerShell release on the Microsoft Store website or in the Store application in Windows.
Benefits of the Microsoft Store package:
- Automatic updates built right into Windows 10
- Integrates with other software distribution mechanisms like Intune and SCCM
MSIX packages run in an application sandbox that virtualizes access to some filesystem and registry locations.
- All registry changes under HKEY_CURRENT_USER are copied on write to a private, per-user, per-app location. Therefore, those values are not available to other applications.
- Any system-level configuration settings stored in $PSHOME cannot be modified. This includes the WSMAN configuration. This prevents remote sessions from connecting to Store-based installs of PowerShell. User-level configurations and SSH remoting are supported.
Using the MSIX package
The preview builds of PowerShell include an MSIX package. The MSIX package is not officially supported. The package is built for testing purposes during the preview period.
To manually install the MSIX package on a Windows 10 client, download the MSIX package from our GitHub [releases][releases] page. Scroll down to the Assets section of the Release you want to install. The Assets section may be collapsed, so you may need to click to expand it.
The MSIX file looks like this — PowerShell- -win- .msix
To install the package, you must use the Add-AppxPackage cmdlet.
How to create a remoting endpoint
PowerShell supports the PowerShell Remoting Protocol (PSRP) over both WSMan and SSH. For more information, see:
Upgrading an existing installation
For best results when upgrading, you should use the same install method you used when you first installed PowerShell. Each installation method installs PowerShell in a different location. If you are not sure how PowerShell was installed, you can compare the installed location with the package information in this article. If you installed via the MSI package, that information appears in the Programs and Features Control Panel.
Installation support
Microsoft supports the installation methods in this document. There may be other methods of installation available from other sources. While those tools and methods may work, Microsoft cannot support those methods.


