- How to Add an App or Program to Startup in Windows 10: Startup Folder, Registry, Scheduler
- Windows 10 Startup Folder Location
- How to Quickly Open the Startup Folder in Windows 10, 8, 7
- Method 1
- Method 2
- How To Add Programs To Startup In Windows 10 For The Current User
- Add a Startup Program For All Users At Once
- Alternative Method To Create A Shortcut In Windows 10 Startup Folder
- How to Make Modern Apps Run on Startup in Windows 10
- How to Disable Startup Apps in Windows 10
- Method 1: Use Settings
- Method 2: Use Task Manager
- Add or Remove Startup Apps / Programs in the Task Scheduler
- Use Registry Editor to Manage Windows 10 Startup Apps & Programs
- How to Add Programs to Startup Using the Registry Editor
- Manage Startup Apps & Programs Using the Autoruns Utility
- The Conclusion
- What is “Program” in Task Manager Startup Tab
- What is “Program” in Task Manager Startup Tab
- Windows 10 Startup Folder [Location, Access, Items]
- Where is the Startup folder in Windows 10?
- How to Open the Startup Folder With Run
- How to Add Software to the Startup Folder
- How to Remove Software From the Startup Folder
How to Add an App or Program to Startup in Windows 10: Startup Folder, Registry, Scheduler
Not all programs have such an option in their settings that lets you enable or disable its automatic start when you turn on your PC.
But you may want to add apps and programs to startup in Windows 10 and make them automatically launch when the PC boots up to a user account.
By the way, it’s not only about apps. You can do the same even with a document, URL address or folder if you need.
Here is an ultimate guide on how to find the startup folder for a particular user or for all users and make any program run at startup in Windows 10.
[Quick Navigation]:
Before we start explaining the boring process, it should be mentioned that some programs have a special option in their settings called “load when Windows starts”, “launch when system starts” or something alike.
Thus, all you need to do is go to the program’s setting, enable the auto-start option and that’s all. No shortcuts needed:
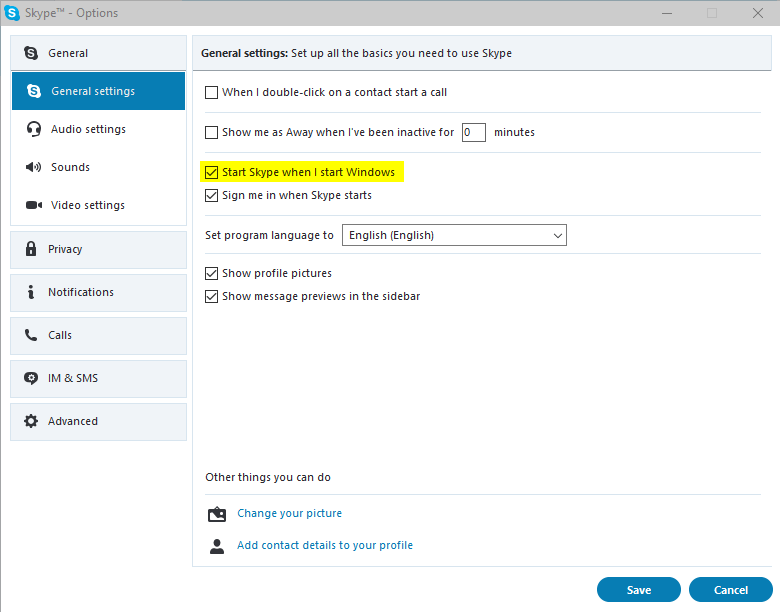 Make program run on startup in Windows 10
For programs that don’t have such parameter read the rest of the tutorial on how to find the startup folder and change startup programs in Windows 10.
Note that in the latest versions of Windows 10 all programs that were running at the moment when you shut down or rebooted your computer, automatically start the next time you log in.
This in any case doesn’t mean that those programs are added to Windows 10 startup folder, scheduler, or whatever. This is a standalone feature of Windows 10 which is enabled by default.
Windows 10 Startup Folder Location
If you want to add a program, app, URL or document to startup you should place its shortcut to user startup folder. By default it is located in:
How to Quickly Open the Startup Folder in Windows 10, 8, 7
Method 1
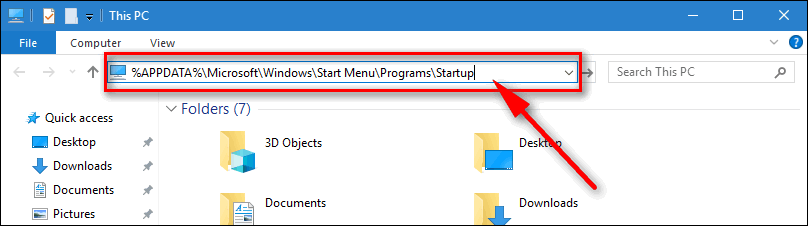
- Copy this address: %APPDATA%\Microsoft\Windows\Start Menu\Programs\Startup
- Press Win+E to open Windows 10 Explorer.
- Paste it into the address bar:

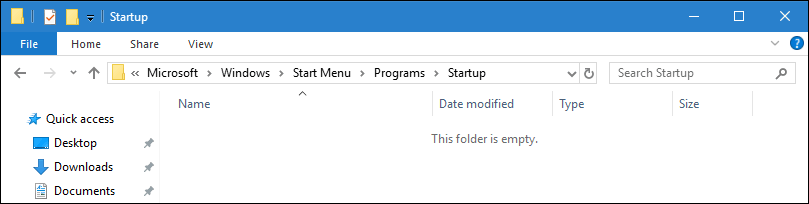
- Hit Enter :
Method 2
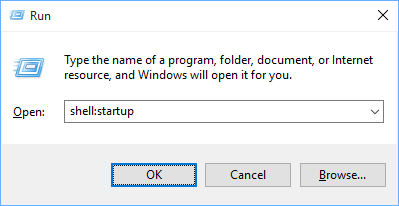
Another way to open Windows 10 startup folder is to use the Run dialogue:
- Press Win+R
- Type
- Click OK or press Enter :
How To Add Programs To Startup In Windows 10 For The Current User
You may put shortcuts to various items into this directory. But be cautious: adding too many programs to the startup folder can make your PC boot slowly (especially if you are still using a classic hard disk drive as your system disk).
Perform the following steps:
STEP 1. Open the Startup Folder using any method explained above.
STEP 2. Copy a program, app, folder, document, link or anything else: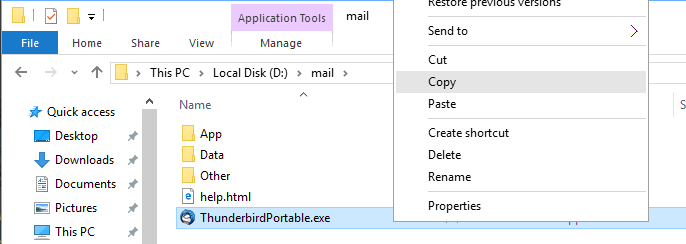
STEP 3. Paste the shortcut to startup folder: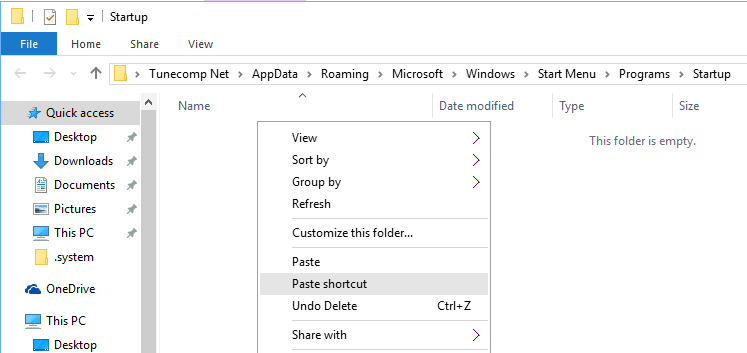
This is how it should look like: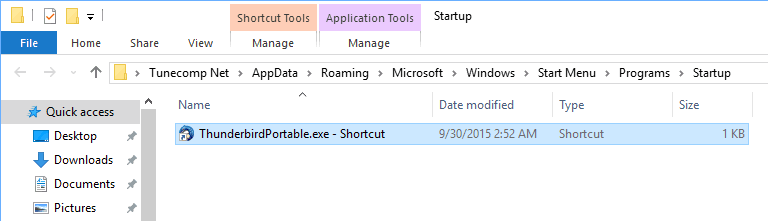
The same steps in the video guide:
Add a Startup Program For All Users At Once
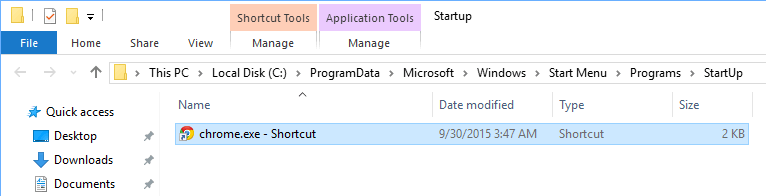
If you wish to set a program to run on startup for all users accounts, create its shortcut in common startup folder. In Windows 10 its default location is:
You can open it by the path: %ProgramData%\Microsoft\Windows\Start Menu\Programs\StartUp or using the Run dialogue as we explain below.
- Press Win+R .
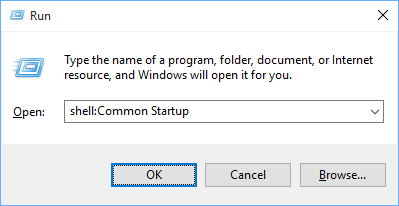
- Type
- Press Enter :
- Copy the executive file or document.
- Use Paste or Paste shortcut to place one to Common startup folder:
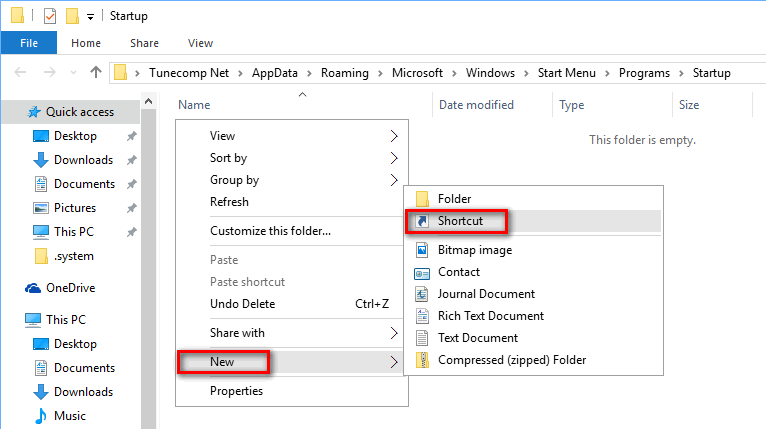
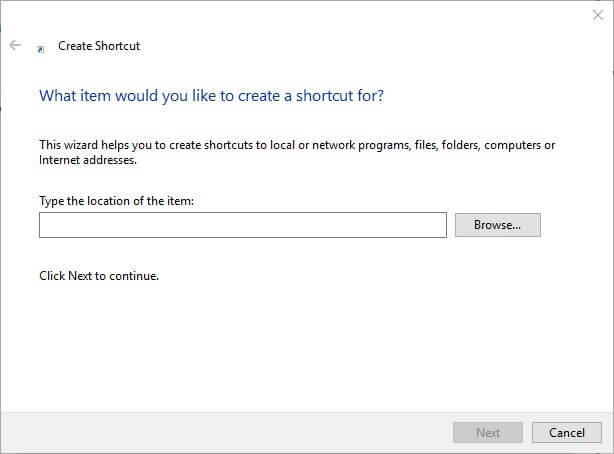
Alternative Method To Create A Shortcut In Windows 10 Startup Folder
- Right-click the empty area and select New -> Shortcut :
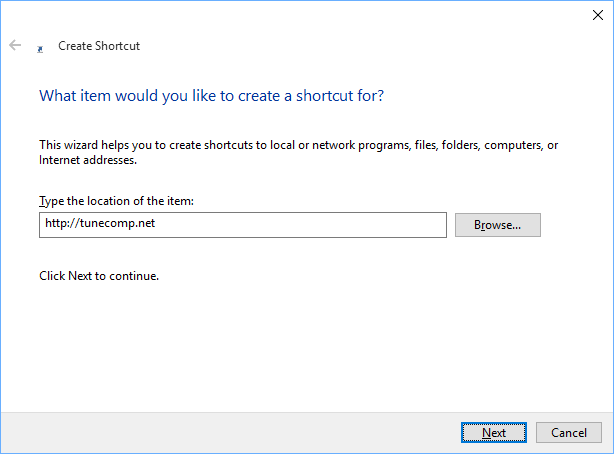
- Browse the file or folder or enter URL and press Next :
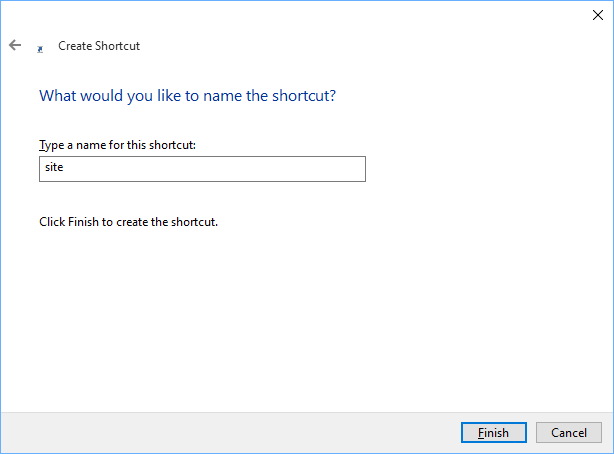
- Give a name to your new shortcut and press OK :
How to Make Modern Apps Run on Startup in Windows 10
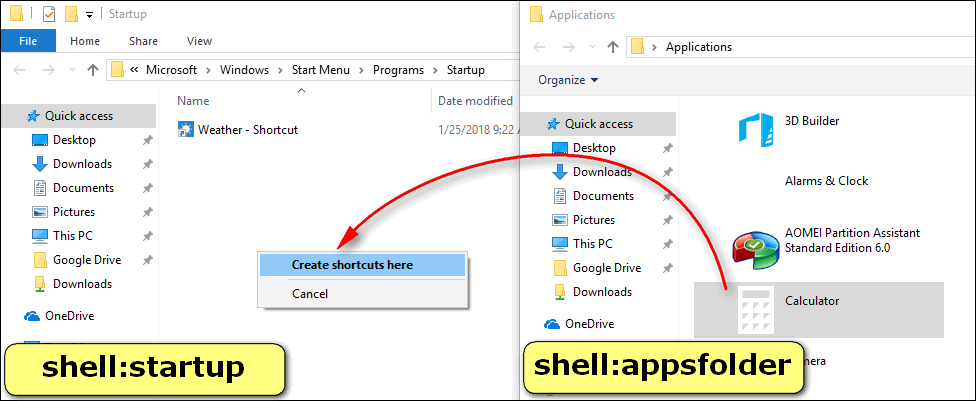
You can also add Modern apps from Microsoft Store to startup folder. Follow the steps:
-
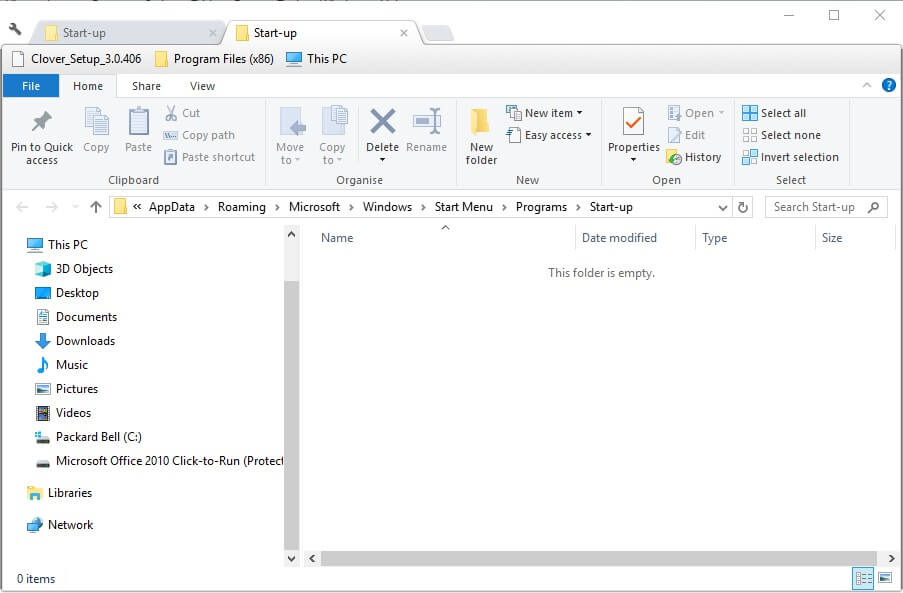
- Open the startup folder: press Win+R , type shell:startup , hit Enter .
- Open the Modern apps folder: press Win+R , type shell:appsfolder , press Enter .
- Drag the apps you need to launch on startup from the first to the second folder and select Create shortcut:
Now restart your computer and check if your program, app or another item you specified runs correctly as you log in to the user account (or as soon as your PC signs in automatically as we explained here).
How to Disable Startup Apps in Windows 10
As you might know, the more apps are added to startup, the longer you have to wait before you start using your PC.
That’s why users often apply the following steps to disable unnecessary programs from being launched at log in.
Here is how to stop programs from running at startup in Windows 10.
Method 1: Use Settings
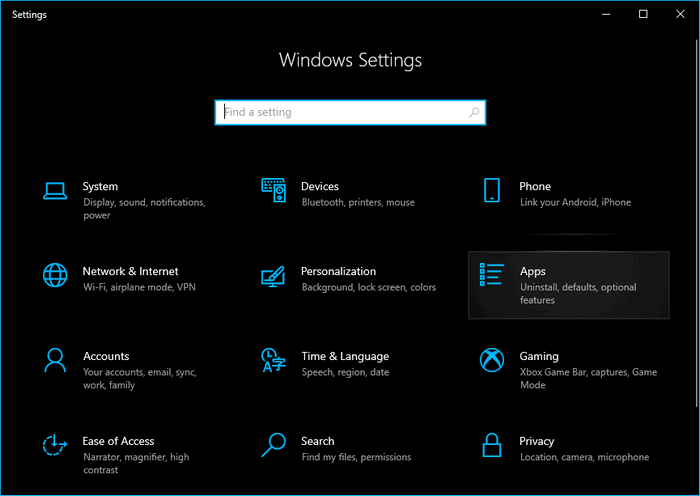
- Press Win+I on your keyboard to launch Windows 10 Settings;
- Dive into the Apps category:
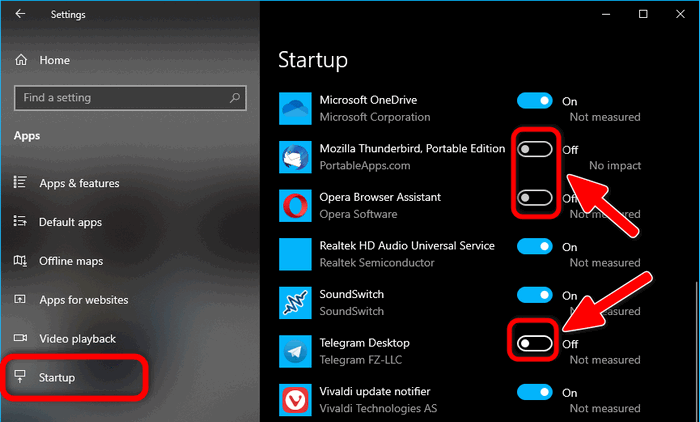
- Select Startup in the left pane;
- Disable apps you don’t want to be launched when you log in to your user account:
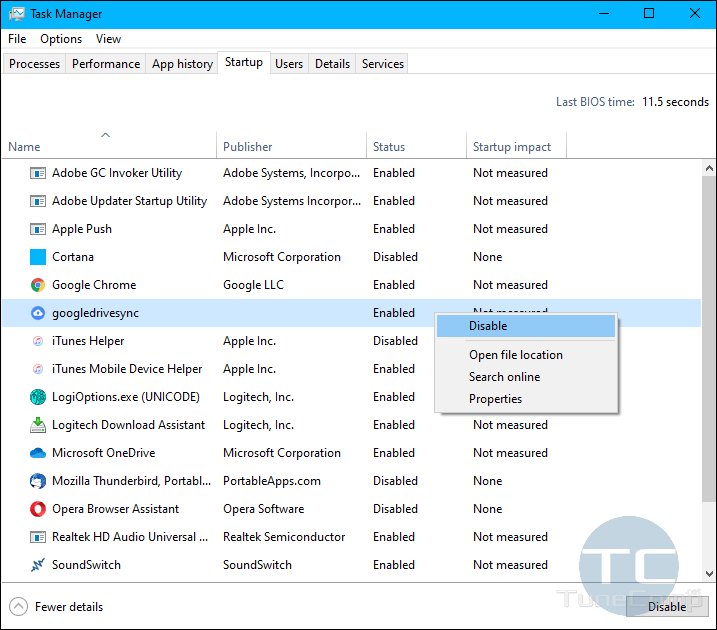
Method 2: Use Task Manager
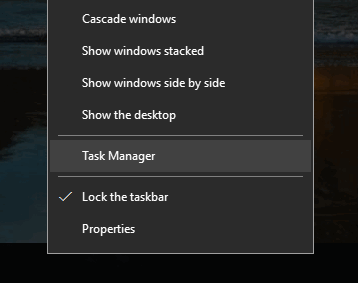
- Right-click the Taskbar and click Task Manager :
- Go to the Startup tab;
- Select the app you wish to disable from auto launching;
- Click Disable :
Here is the video guide:
Add or Remove Startup Apps / Programs in the Task Scheduler
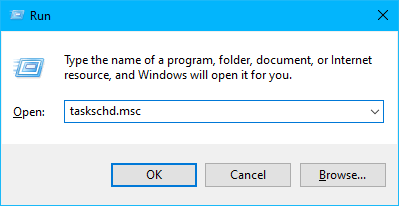
The simplest way to open the Task Scheduler in Windows 10 is to press “Win+R”, type “taskschd.msc” and hit “Enter”.
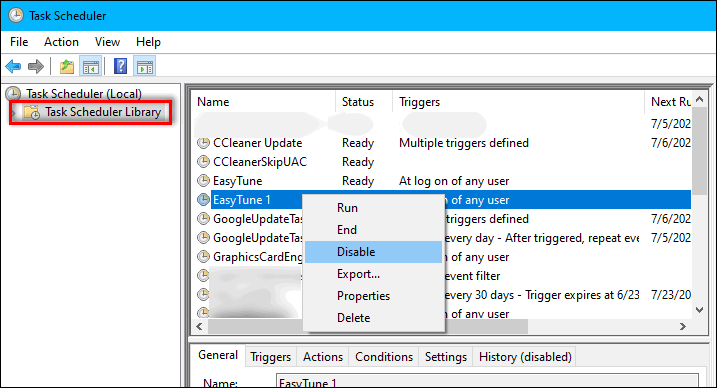 Disable startup programs in the Task Scheduler
Here you can look through the list of auto-start items, add new or remove existing. Using the Task Scheduler requires some experience. So, be careful while using it.
If you are not sure what to do with a certain startup item, first opt to “Disable” it and check the result rather than “Delete”.
Use Registry Editor to Manage Windows 10 Startup Apps & Programs
The system registry is yet another way to add or remove auto-start apps in Windows 10. Feel free to use it if this option is more preferable.
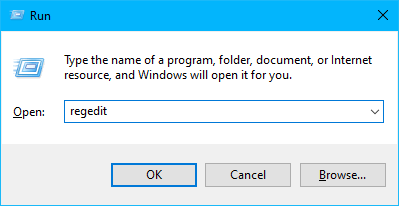
Launch the registry editor: press “Win+R”, type “regedit” and hit “Enter”.
Here you will see all programs that start when the current user logs in.
If you didn’t find the app you expected, check another registry key responsible for the common startup (for all users on the current PC):
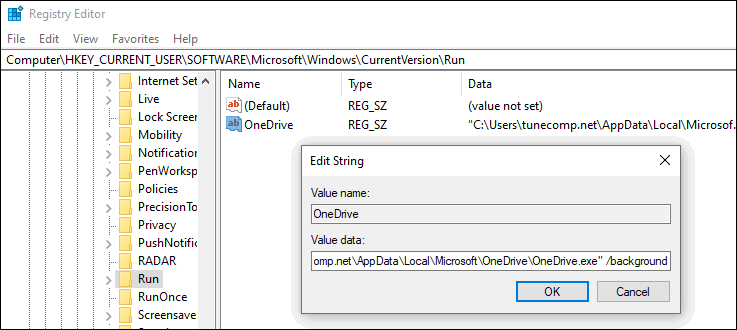
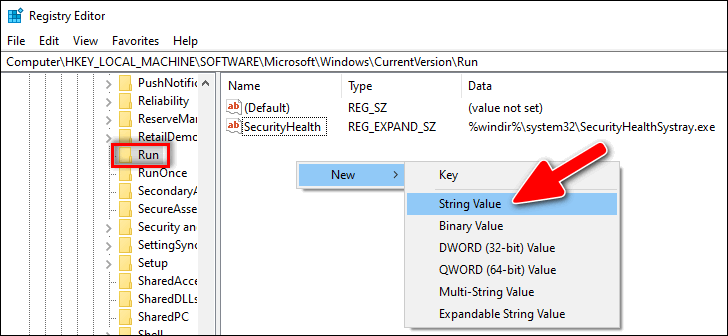
How to Add Programs to Startup Using the Registry Editor
First, you need to decide either you want to run the program when the current user logs in, or all users on the computer at once. Depending on your decision, navigate to the one of the mentioned above registry keys.
Then, in the right part of the Registry Editor window right-click on the empty area and select New > String value
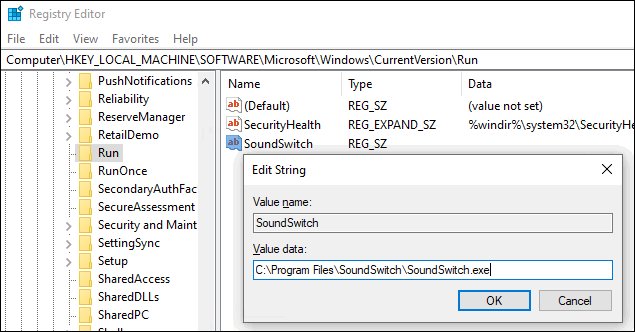
Give it a name, enter the path to the program you wish to add to Windows 10 startup and click “OK”.
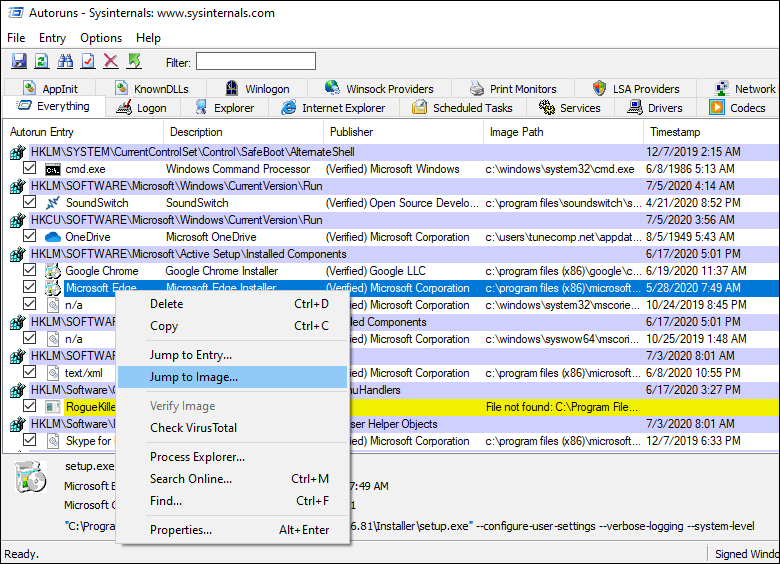
Manage Startup Apps & Programs Using the Autoruns Utility
Sysinternals Autorun is a free utility that you can download from its official website https://docs.microsoft.com/en-us/sysinternals/downloads/autoruns
It doesn’t require the installation – you need just to launch the exe file.
With the help of the Autoruns utility you can:
- view the list of everything that automatically starts on your PC and remove startup items;
- use the Jump to Image option to reveal the location of the program;
- use the Jump to entry option to find out the way how the particular program added to auto-start (startup folder, registry key, scheduler, etc);
- scan startup items for viruses using VirusTotal in 1 click and see the result in the corresponding field of the program;
- and much more.
The Conclusion
If you know how to achieve the same result in easier ways, please drop a comment below. We will also be very grateful if you share this article on social networks. Thank you and good luck!
What is “Program” in Task Manager Startup Tab
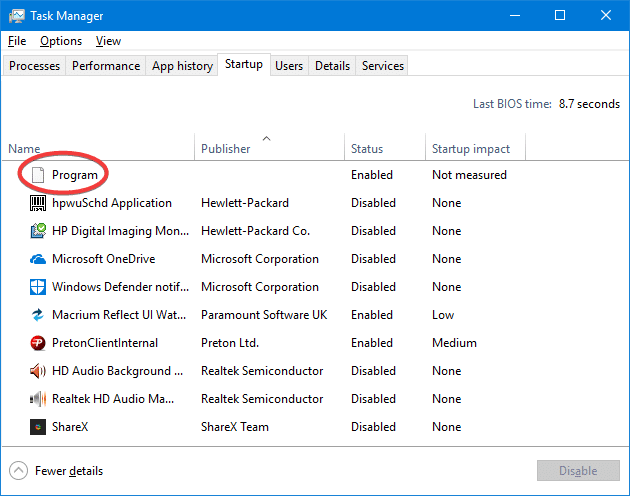
When you open Task Manager and click on the Startup tab to manage auto-start entries, you may notice one or more entries showing up as “Program” showing up with a blank or generic icon and without any Publisher information.
The unknown “Program” entries are most likely caused if both of the following conditions are true:
- The startup entry refers to an invalid or non-existent file under “Program Files” folder.
- The registry value data corresponding to that startup entry is not enclosed within double-quotes.
This article tells what does the “Program” entries in the Startup tab mean and how to get rid of those entries.
What is “Program” in Task Manager Startup Tab
To identify and fix the unknown “Program” entries in the Startup tab of Task Manager, follow these steps:
- Start Task Manager ( Ctrl + Shift + Esc ), and select the Startup tab
- Right-click on the column header and enable these two options: Startup type and Command line
Now the origin of the “Program” entries are displayed. You can now see the full path and command-line of that startup entry.
Fix 1: If the program (.exe) file is NOT present in the specified folder, then see article Remove invalid entries from Task Manager Startup tab to know how to remove the orphaned Startup entry in Task Manager via the Registry Editor or using the Autoruns utility from Microsoft.
In one example, the entry Realtek was causing the problem. The registry Run key had this entry:
The application had long back been uninstalled but the orphaned Startup entry remains.
The Startup entry could be located in any one of the following registry locations.
Note that the “Disabled” startup entries in Task Manager are stored in this part of the registry:
Fix 2: If the program (.exe) file is present in the specified folder (less likely):
- Start the Registry Editor ( regedit.exe ) and go to each of the Run registry keys mentioned above.
- Locate the corresponding startup entry, double-click on it and add double-quotes around the file path.
- Exit the Registry Editor.Now, the Startup item shows up as below:
If the Publisher info is missing and the entry shows up as a generic icon as in the above screenshot, then the program is most likely missing. In that case, you may delete the orphaned Startup entry using the steps listed in Remove invalid entries from Task Manager Startup tab.
That’s it! You’ve now fixed/eliminated the suspicious “Program” entry from Task Manager Startup tab.
Windows 10 Startup Folder [Location, Access, Items]

- The Task Manager’s Startup tab provides you enough insights on what exactly are the apps that launch at startup. But this tool comes in handy for inspection purposes only and you’ll need to find other ways to add programs for example.
- You can do this by adding software directly to the Startup folder. If you’re wondering how to find it, look no further, we have it sorted out for you right here.
- Check out more handy fixes on our Windows 10 Guides.
- Don’t be shy to explore the Tutorials Hub as well for more tech tricks and tips.
Windows 10’s Task Manager utility includes a Startup tab. That is Windows 10’s default startup manager with which users can disable startup software.
However, the Task Manager’s tab doesn’t include any options for users to add programs to the startup. So, some users might look for startup settings on software windows to add new programs to the system startup.
Yet, Windows 10 includes a Startup folder to which users can add programs and files. All software and programs within that folder will run automatically when Windows starts. That folder is buried within a series of subfolders.
Consequently, some users might wonder found to find it exactly.
Where is the Startup folder in Windows 10?
For most users, the Startup folder is located at this address:
There is also a second All Users Startup folder that should be located under:
How to Open the Startup Folder With Run
As you can see, the full path for the Startup folder is this:
Users will need to replace USERNAME with their actual user account name, and then enter that path in File Explorer. That path will open the folder shown in the snapshot directly below.
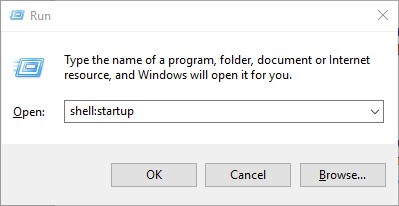
However, it’s better to open the Startup folder with Run. To do that, press the Windows key + R hotkey. Then enter shell:startup in the Run text box. That will open the Startup folder when users press the OK button.
To open the all user Startup folder, enter shell:common startup in Run and click OK.
How to Add Software to the Startup Folder
With the Startup folder open in File Explorer, users can now add new program shortcuts to the system startup. In addition, users can also include file shortcuts within that folder.
Then the files the Startup folder includes will usually open with their default software. This is how users can add shortcuts to the Windows Startup folder.
- Right-click an empty space within the Startup folder and select New >Shortcut.
- Click the Browse button to open the window in the snapshot directly below.
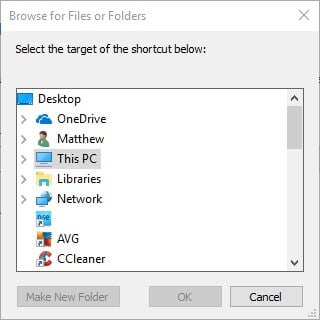
- Select a program or document to include in the startup, and press the OK button.
- Press the Next button.
- Then press the Finish button. The Startup folder will now include the selected software or file.
- The software in the Startup folder will open after you’ve restarted Windows.
How to Remove Software From the Startup Folder
Users can remove programs in the Startup folder by deleting them. To do that, select a program in that folder and click the Delete button. That will probably erase the shortcut to the Recycle Bin.
Users can also press the Ctrl + A keyboard shortcut to select all shortcuts within the Startup folder. Then press File Explorer’s Delete button to erase them. Task Manager’s Start-up tab in Windows 10 will also list the programs that users have added to the Startup folder.
Therefore, users can disable the programs with that utility by right-clicking the taskbar and selecting Task Manager.
Click the Start-up tab on that utility’s window. Then users can select the required program and click Disable. 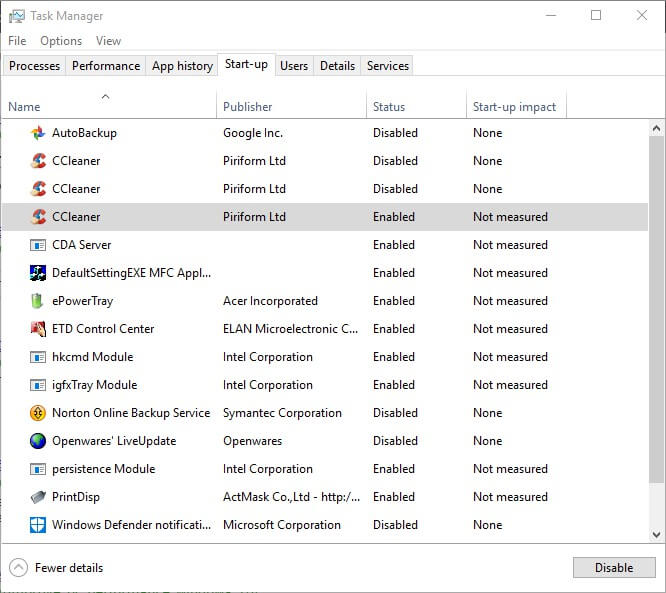
Note: Task Manager doesn’t include a Start-up tab in Windows 7. However, Win 7 users can open the startup manager by entering msconfig in Run and clicking OK. Then select the Startup tab on the System Configuration window.
Windows 7 users can uncheck the item checkboxes on that tab to disable programs starting during startup. So, that’s how users can add new software and files to Windows’ Startup folder.
However, filling that folder up will slow down the system startup. Lots of startup software will also drain system resources. Therefore, don’t add too many things to the folder.
There you go, these solutions should help you manage the startup folder adequately. Let us know if you found them useful by hitting the comments section below.
Note: You will need to replace the USERNAME value with your actual user account name.
- What is Startup folder?
The Startup folder is an in-built Windows feature (first introduced in Windows 95) that allows users to set up those particular apps and programs that will automatically run when Windows starts.


