- Скачать бесплатно USB Burning Tool 2.1.2
- Первый взгляд
- Процесс перепрошивки
- Преимущества
- Недостатки
- Windows USB/DVD Download Tool
- Overview
- Installation
- Using the Windows USB/DVD Download Tool
- Frequently Asked Questions
- Troubleshooting
- USB Burning Tool 3.1.0 для прошивки Android через ПК
- Описание и возможности
- Как пользоваться
- Загрузка и установка
- Инструкция по работе
- Достоинства и недостатки
- Похожие приложения
- Системные требования
- Скачать
- Видеообзор
- Вопросы и ответы
Скачать бесплатно USB Burning Tool 2.1.2

Растущие в числе умные гаджеты и миникомпьютеры зачастую требуют обновления и смены прошивки, в чем поможет специальная программа USB Burning Tool для компьютера. С ее помощью можно сменить версию операционной системы смарт-телевизоров, видеоприставок, модемов, планшетов, смартфонов и прочих устройств на базе Amlogic.
Рассмотрим возможности данной утилиты на примере обновления мобильного устройства.
Первый взгляд
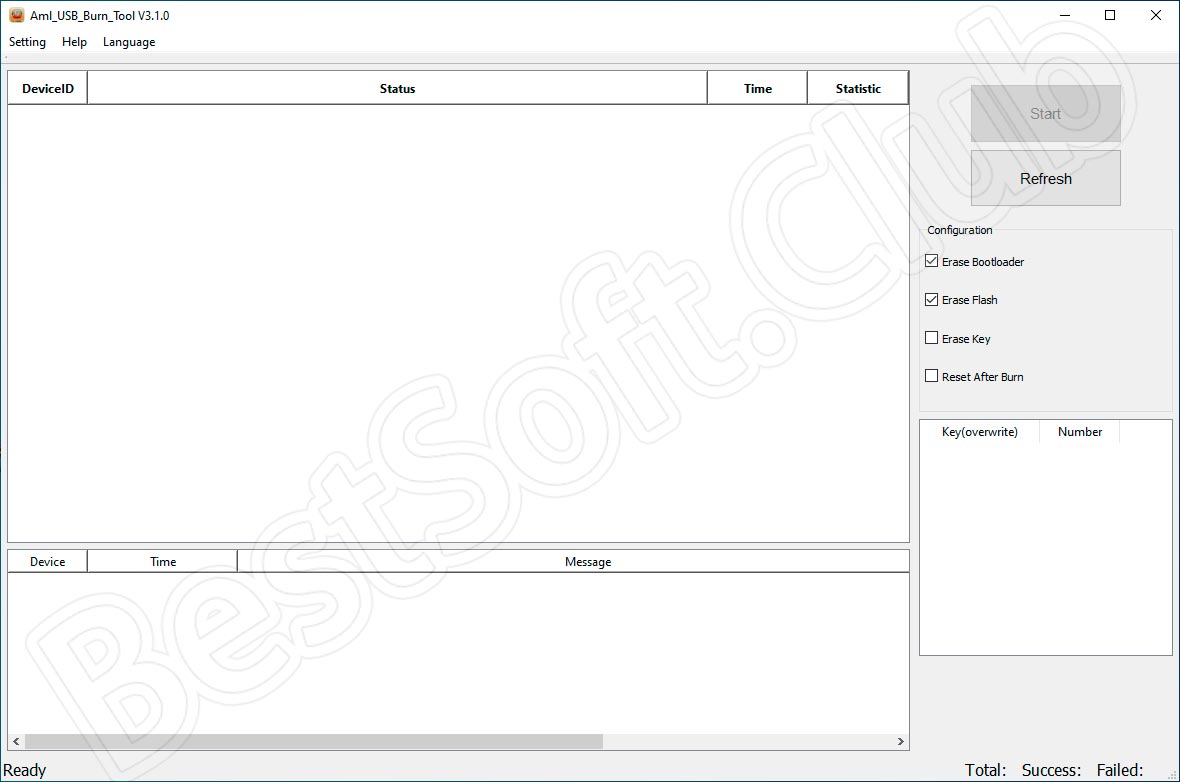
После установки и запуска перед нами открывается рабочее окно, разделенное на две части. Под левую часть отведен список подключенных устройств, а под правую – функциональные кнопки. Язык интерфейса – только английский.
USB Burning Tool дает возможность полностью стирать старую операционку с (или без) загрузочной областью. Это необходимо перед установкой новой прошивки «начисто».
Процесс перепрошивки
Для начала работы c программой нужно иметь:
— Amlogic-устройство;
— USB кабель (Type A);
— файл актуальной прошивки с расширением «.img».
Первым делом нужно установить скачанную последнюю версию утилиты и сменить язык с китайского на английский. Теперь открываем меню «File/Import image» и запускаем прошивку.
Следующий шаг — подключить устройство к ПК. После подключения процесс перепрошивки запускается в автоматическом режиме, а в списке окна появится новый ID и индикатор прогресса установки.
После окончания работы индикатор окрасится в зеленый цвет, а надпись поменяется на «Burning Successfully». После этого можно отсоединить USB-кабель и перезагрузить гаджет.
Преимущества
• очень простая в управлении программа;
• быстрый процесс установки ОС;
• бесплатная лицензия.
Недостатки
• нет русскоязычной версии.
Чтобы скачать бесплатно USB Burning Tool – перейдите по ссылке под статьей.
Windows USB/DVD Download Tool
Overview
When you download Windows from Microsoft Store, you have two options: You can download a collection of compressed files, or you can download an ISO file. An ISO file combines all the Windows installation files into a single uncompressed file.
If you choose to download an ISO file so you can create a bootable file from a DVD or USB drive, copy the Windows ISO file onto your drive and then run the Windows USB/DVD Download Tool. Then simply install Windows onto your computer directly from your USB or DVD drive.
When you download the ISO file, you must copy it onto a USB or DVD. When you’re ready to install Windows, insert the USB drive or DVD with the ISO file on it and then run Setup.exe from the root folder on the drive.
This allows you to install Windows onto your machine without having to first run an existing operating system. If you change the boot order of drives in your computer’s BIOS, you can run the Windows installation directly from your USB drive or DVD when you first turn on your computer. Please see the documentation for your computer for information about how to change the BIOS boot order of drives.
Making copies
To install the software, you can make one copy of the ISO file on a disc, USB flash drive, or other media.
After you’ve installed the software and accepted the license terms that accompany the software, those license terms apply to your use of the software. The license terms for Windows permit you to make one copy of the software as a back-up copy for re-installation on the licensed computer. If you do not delete your copy of the ISO file after installing the Windows software, the copy of the ISO file counts as your one back-up copy.
If you need to download the software again, you can go to your Download Purchase History in your Microsoft Store account and access the download there.
Installation
To install the Windows USB/DVD Download Tool:
2. Click Download then Run.
3. Follow the steps in the setup dialogs. You’ll have the option to specify where to install the Windows USB/DVD Download Tool.
You must be an administrator on the computer on which you are installing the Windows USB/DVD Download tool. It requires the Microsoft .NET Framework version 2.0 or higher.
System requirements
Windows XP SP2, Windows Vista, or Windows 7 (32-bit or 64-bit)
Pentium 233-megahertz (MHz) processor or faster (300MHz is recommended)
50MB of free space on your hard drive
DVD-R drive or 4GB removable USB drive
For Windows XP users
The following applications must be installed prior to installing the tool:
Microsoft .NET Framework 2.0 must be installed. It can be downloaded here.
Microsoft Image Mastering API v2 must be installed. It can be downloaded here.
Using the Windows USB/DVD Download Tool
Before you run the Download Tool, make sure you have purchased the Windows ISO download from Microsoft Store and downloaded the Windows ISO file to your drive. If you have purchased Windows but have not yet downloaded the ISO file, you can download the ISO file from your Microsoft Store Account.
To make a copy of your Windows ISO file:
1. Click the Windows START button, and click WINDOWS USB/DVD DOWNLOAD TOOL in the ALL PROGRAMS list to open the Windows USB/DVD Download Tool.
2. In the SOURCE FILE box, type the name and path of your Windows ISO file, or click BROWSE and select the file from the OPEN dialog box. Click NEXT.
3. Select USB DEVICE to create a copy on a USB flash drive or select DVD disk to create a copy on a DVD disk.
4. If you are copying the file to a USB flash drive, select your USB device in the drop-down list and click BEGIN COPYING. If you are copying the file up to a DVD, click BEGIN BURNING.
When your Windows ISO file is copied to your drive, install Windows by moving to the root folder of your DVD or USB drive, and then double-click Setup.exe.
Frequently Asked Questions
Where can I download .NET framework 2.0?
The .NET framework can be downloaded here.
Where can I download Image Mastering API 2.0?
The Image Mastering API can be downloaded here.
What size USB drive is required?
You need a USB drive with a minimum of 4GB of free space.
Can I use my newly created USB drive to install Windows on someone else’s computer?
No. The Windows ISO file on the USB drive is only intended to be used to install Windows on the licensed user’s own computer.
Can I back up to a CD-ROM?
No. The Windows ISO file is too large to fit on a CD.
Can I back up to a Blu-ray Disc?
Yes, as long as your DVD drive can write to a Blu-ray Disc.
IfI have other files on the USB drive will the Windows USB/DVD download tool delete them?
This tool requires the USB drive to be completely blank before the Windows files are copied. This helps ensure that the device is bootable after the copying has completed.
Can I backup to an external hard drive or other device with enough free disk space?
Yes, but this is not recommended. The device must be formatted in order for the device to be bootable. A dedicated USB flash drive would be a better option.
Can I use the Windows USB/DVD Download Tool to back up other files?
No. This tool is only for use with the Windows ISO file purchased from Microsoft Store.
Does the tool support dual-layer DVD discs for burning?
No. Currently, the tool does not support dual-layer DVD discs.
Troubleshooting
The tool is asking me to install the .NET framework and Image Mastering API before I install the tool
If you’re running Windows XP, you must install the .NET Framework 2.0 and the Image Mastering API 2.0 before installing the tool. You can download .NET framework here and you can download the Image Mastering API here.
A restart may be required after installing the .NET framework and the Image Mastering API.
When creating a bootable USB device, I am getting an error about bootsect
To make the USB drive bootable, you need to run a tool named bootsect.exe. In some cases, this tool needs to be downloaded from your Microsoft Store account. This may happen if you’re trying to create a 64-bit bootable USB device from a 32-bit version of Windows. To download bootsect:
1. Login to your Microsoft Store account to view your purchase history.
2. Look for your Windows purchase.
3. Next to Windows, there is an Additional download options drop-down menu.
4. In the drop-down menu, select 32-bit ISO.
5. Right-click the link, and then save the bootsect.exe file to the location where you installed the Windows USB/DVD Download Tool (e.g. C:\Users\username\AppData\Local\Apps\Windows USB DVD Download Tool).
6. Once the file has been saved, go back to the Windows USB/DVD Download Tool to create your bootable USB device.
My USB drive is not in the list of available devices
If you don’t see your USB drive in the list of available devices, please make sure the drive is inserted in the USB port, and then click the Refresh button beside the list of available drives.
I inserted a blank DVD in my DVD-ROM drive, but the Windows USB/DVD Download Tool doesn’t recognize it
If there are multiple drives on the system, the tool will select the first one that is capable of burning DVDs. If you have multiple DVD-R drives, try inserting the blank DVD into another DVD-R drive. If that doesn’t help, please make sure that your disc isn’t damaged and that your DVD-R drive is operational. Contact Product Support if issues continue to arise.
I inserted a blank DVD in my DVD-ROM drive, but the tool won’t let me burn it
Make sure the disc isn’t a dual-layer DVD disc. Currently, dual-layer discs are not supported within the tool.
USB Burning Tool 3.1.0 для прошивки Android через ПК

Американская технологическая компания Amlogic Inc славится своими Смарт и ТВ приставками на системе Android. Если вы хотите прошить такое устройство, поможет в этом специальное программное обеспечение. На нашем портале можно бесплатно скачать последнюю версию программы USB Burning Tool 3.1.0 для Windows 7, 8 или 10 с разрядностью 32/64 Bit. Утилита предназначена для прошивки Андроид через ПК, впрочем, давайте обо всем по порядку.
Описание и возможности
Софт, о котором пойдет речь в данном обзоре, широко применяется для прошивки устройств, работающих на базе процессора Amlogic. Главное условие для того, чтобы прошить приставку, наличие USB-порта. Сразу отметим, что не все ТВ-боксы обладают последним. Если с этим проблем нет, можно пробовать. Прошивку для той или иной модели можно найти в интернете на соответствующих ресурсах или на официальном сайте разработчика. К ключевым особенностям программы можно отнести:
- Работает с прошивками, записанными в виде файла IMG.
- Поддерживает устройства, работающие на базе процессоров Amlogic.
- Для прошивки необходим USB-кабель.
- Обновление утилиты производится в автоматическом режиме.
По отзывам пользователей, работает программа очень нестабильно и часто не видит подключенное к ней устройство.
Как пользоваться
С предназначением приложения мы немного разобрались, поэтому самое время перейти к следующему вопросу и узнать, как загрузить его на ПК или ноутбук. Подробная инструкция на эту тему находится немного ниже.
Загрузка и установка
Для получения программы с официального сайта необходимо выполнить несколько максимально простых шагов. Переходим к делу:
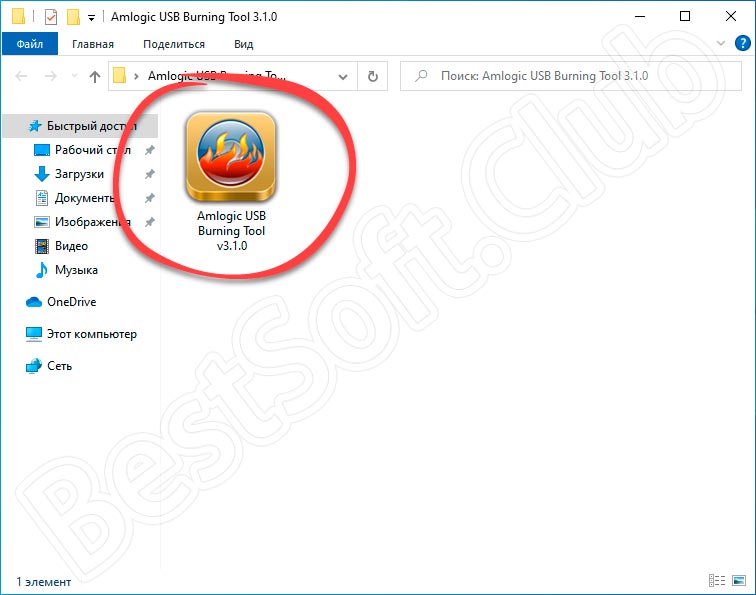
- Для начала загрузим установочный дистрибутив по ссылке, расположенной в разделе скачивания. После распаковки полученного архива запускаем инсталляцию при помощи файла, обозначенного на скриншоте ниже.
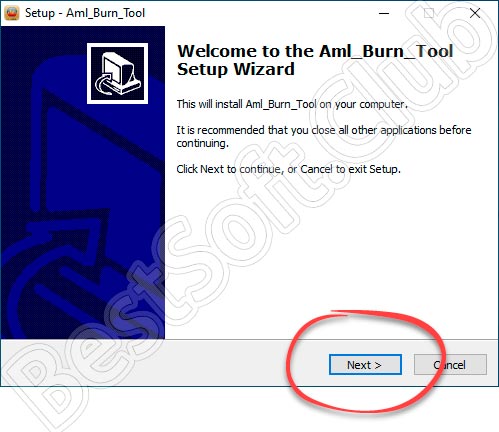
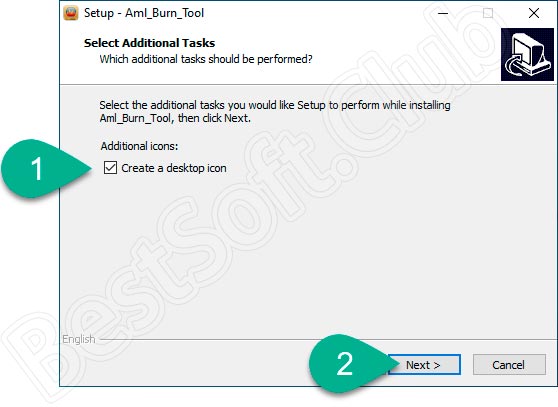
- В следующем окошке просто переходим далее, кликнув по кнопке «Next».
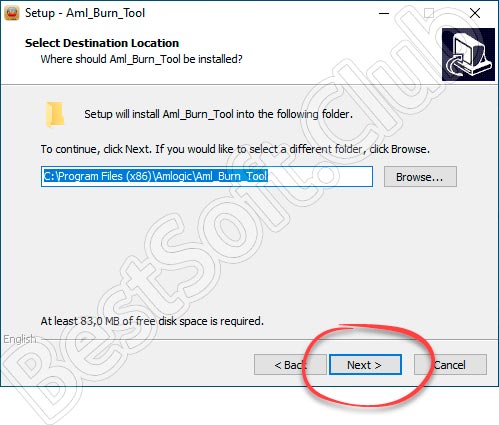
- Меняем путь установки приложения. Если все устраивает, просто кликаем по обозначенной на скриншоте кнопке.
- Если нужно, создаем ярлык на рабочем столе, отметив галочкой соответствующую строку.
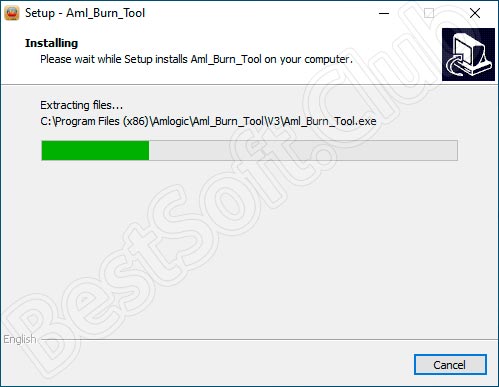
- Ждем несколько секунд, пока процесс инсталляции будет завершен.
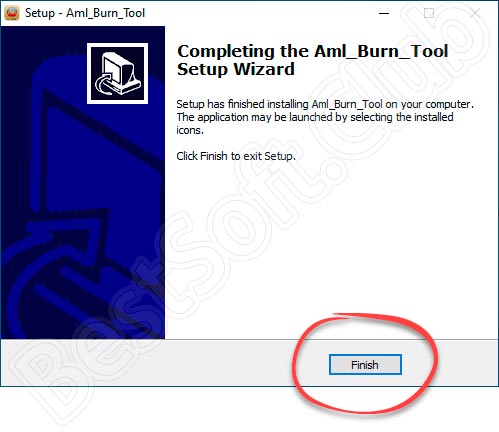
- Кликаем по «Finish», чтобы закончить установку утилиты.
Программа готова к работе. Немного ниже мы рассмотрим, как пользоваться инструментом для прошивки ТВ-приставок.
Инструкция по работе
На русском языке USB Burning Tool пока нет. Несмотря на это, разобраться с использованием инструмента будет несложно. Ниже приведен краткий алгоритм работы:
- Запускаем нашу программу на ПК.
- Переходим в опции и кликаем по «File», а потом по «Import image».
- В открывшемся окошке выбираем прошивку, загруженную ранее. После этого произойдет ее импорт.

Для предупреждения неприятностей во время работы рекомендуем найти в сети инструкцию по прошивке от официального производителя именно вашего устройства.
Достоинства и недостатки
Движемся далее и переходим к рассмотрению плюсов и минусов описываемого программного обеспечения.
- Быстрая и простая инсталляция.
- Невысокие требования к компьютеру.
- Официальная поддержка программы от разработчиков.
- Простота в применении.
- Совместимость со всеми версиями Windows.
- Быстрая работа.
- Бесплатное распространение.
- Довольно сложно выставить опции приложения.
- Англоязычный интерфейс.
- Часто выдает ошибку «Key file configurate wrong USB Burning Tool».
Похожие приложения
К аналогичным инструментам можно отнести, например, приложение RockChip Batch Tool. Будьте внимательны при использовании подобных решений. При неаккуратном обращении с устройством можно навсегда вывести его из строя.
Системные требования
Софт вполне комфортно будет работать при наличии таких системных характеристик:
- Центральный процессор: от 1 ГГц и выше.
- Оперативная память: от 512 МБ.
- Пространство на жестком диске: начиная от 50 Мб и выше.
- Платформа: Microsoft Windows 32/64 Bit.
Скачать
Читаем дополнительную информацию об утилите в табличке, а сразу после этого приступаем к ее загрузке и установке.
| Версия: | 3.1.0 |
| Разработчик: | Amlogic |
| Информация обновлена и актуальна на: | 2021 год |
| Название: | USB Burning Tool |
| Платформа: | Microsoft Windows XP, 7, 8 или 10 |
| Язык: | Английский |
| Лицензия: | Бесплатно |
| Пароль к архиву: | bestsoft.club |
Видеообзор
Советуем просмотреть этот ролик, который поможет лучше разобраться с данной темой.
Вопросы и ответы
Надеемся, наша инструкция была полезной для вас. Пишите комментарии и задавайте вопросы, если в этом появится необходимость.


