- Как установить Wine на Linux Mint 20
- Как установить Wine на Linux Mint 20
- Установите Wine на Linux Mint 20
- Шаг 1. Перед запуском приведенного ниже руководства важно убедиться, что ваша система обновлена, выполнив следующие apt команды в терминале:
- Шаг 2. Установка Wine на Linux Mint 20.
- Шаг 3. Как использовать Wine для запуска приложений Windows.
- Установка Wine Linux Mint
- Установка wine в Linux Mint
- Установка Winetricks в Linux Mint
- Настройка Wine в Linux Mint
- Выводы
- How to Install Wine on Linux Mint for Windows Compatibility
- Installing Wine on Linux Mint
- Verifying installation
- Using Wine
- Notepad++
- Prime95
- Final thoughts
- About the author
- Sidratul Muntaha
- Install WINE on Linux Mint 20
- Wine Installation on Linux Mint from Default Mint Repositories
- Wine Installation on Linux Mint using from the WineHQ Repository
- Wine Configuration
- Uninstall Wine
- About the author
- Karim Buzdar
Как установить Wine на Linux Mint 20

Как установить Wine на Linux Mint 20
В этом руководстве мы покажем вам, как установить Wine на Linux Mint 20. Для тех из вас, кто не знал, Wine — это бесплатное приложение с открытым исходным кодом, которое позволяет пользователям запускать приложения Windows в среде Linux. В настоящее время Wine — незаменимый инструмент для пользователей Linux, которые не хотят отказываться от собственных приложений Windows, особенно геймеров.
В этой статье предполагается, что у вас есть хотя бы базовые знания Linux, вы знаете, как использовать оболочку, и, что наиболее важно, вы размещаете свой сайт на собственном VPS. Установка довольно проста и предполагает, что вы работаете с учетной записью root, в противном случае вам может потребоваться добавить ‘ sudo ‘ к командам для получения привилегий root. Я покажу вам пошаговую установку Wine на Linux Mint 20 (Ульяна).
Установите Wine на Linux Mint 20
Шаг 1. Перед запуском приведенного ниже руководства важно убедиться, что ваша система обновлена, выполнив следующие apt команды в терминале:
Шаг 2. Установка Wine на Linux Mint 20.
Перед установкой Wine вам необходимо включить поддержку 32-битных приложений:
Теперь мы добавляем репозиторий Wine в систему Linux Mint:
После успешного добавления репозитория установите Wine, используя следующую команду:
Вы можете проверить установку, используя следующую команду в Терминале:
Шаг 3. Как использовать Wine для запуска приложений Windows.
Чтобы запустить программу Wine, необходимо указать полный путь к программе. Например, запустим программу Notepad ++ через вино: . exe
Используйте вино для установки загруженного приложения: . exe
Поздравляю! Вы успешно установили Wine . Благодарим за использование этого руководства для установки последней версии Wine в системе Linux Mint. Для получения дополнительной помощи или полезной информации мы рекомендуем вам посетить официальный сайт Wine .
Источник
Установка Wine Linux Mint
Wine — свободное программное обеспечение, позволяющее пользователям GNU/Linux, *BSD и OSX исполнять приложения, в том числе и игры, написанные эксклюзивно для Windows. Так же существует реализация Wine для windows, но рассматривать его в этой статье мы не будем. Wine — рекурсивный акроним «Wine Is Not an Emulator». Это альтернативная реализация Win32 API.
В данной статье мы рассмотрим как выполняется установка wine linux mint, а также winetricks и настройку программы.
Установка wine в Linux Mint
Подробно про установку Wine в разные ОС можно узнать прочитать на официальном сайте. Нас интересует Ubuntu, так как Linux Mint основан на ней.

Сперва добавим поддержку 32-битных приложений, если вы используете x86_64 систему. Для этого выполните:
sudo dpkg —add-architecture i386

Теперь нам необходимо добавить репозиторий. Чтобы сделать это вам необходимо выполнить в терминале следующие команды:
wget -nc https://dl.winehq.org/wine-builds/Release.key
sudo apt-key add Release.key

Теперь важный момент! Если вы используете Linux Mint версии 17.x, то добавьте репозиторий этой командой:
sudo apt-add-repository ‘deb https://dl.winehq.org/wine-builds/ubuntu/ trusty main’
sudo apt-add-repository ‘deb https://dl.winehq.org/wine-builds/ubuntu/ xenial main’

Теперь необходимо обновить индексы пакетов:
sudo apt update

Далее в зависимости от той ветки, которую вы хотите установить, используйте нужную команду.
Предупреждение! Ветка Staging(Промежуточная) больше не поддерживается.
Стабильная ветка:
Не стабильная ветка:
sudo apt-get install —install-recommends winehq-devel
Промежуточная ветка
sudo apt-get install —install-recommends winehq-staging
Установка wine в Linux Mint 18 завершена теперь настройка wine в linux mint.
Установка Winetricks в Linux Mint
Сначала нам необходимо его скачать:

Теперь дадим права на запуск:
sudo chmod +x winetricks
Для удобства переместим Winetricks в директорию /usr/bin:
sudo mv -v winetricks /usr/bin

Теперь Winetricks можно запустить просто набрав в терминале, но не советую сразу делать этого. Лучше сначала настройте wine:

Теперь вы знаете, как установить wine в Linux Mint, теперь поговорим о настройке.
Настройка Wine в Linux Mint
Внимание! Установите пакет cabextract, в противном случае вы можете получить ту же ошибку, что и в видео. Делается это командой:
sudo apt install cabextract
Для начала укажем, что необходимо 32-битный префикс:
Теперь для настройки Wine введите:

Здесь в поле «Версия Windows» укажите желаемую. Рекомендую ставить Windows 7 или 10.
Теперь запустите Winetricks и укажите «Выберите путь для wine по умолчанию» и нажмите «ОК». И в следующем окне укажите «Установить шрифт» и жмите «ОК»:

Здесь укажите «allfonts» и нажмите «ОК». Это установит сразу все шрифты. Если будут ошибки, тогда ставьте шрифты по очереди по одному:

После завершения вам опять откроют окно «Что вы хотите сделать с этим wineprefix». И теперь тут укажите «Установить библиотеку DLL или компонент Windows» и нажимайте «ОК». Здесь устанавливайте нужные вам библиотеки. Можете ставить все. Но надо ставить по одной! При установке нескольких разом, могут быть ошибки. Советую сразу установить DirectX и Net Framework.

Выводы
В этой статье мы разобрали, как выполняется установка Wine в Linux Mint 18. Если у вас остались вопросы, спрашивайте в комментариях!
Источник
How to Install Wine on Linux Mint for Windows Compatibility
Windows is definitely one of the most dominant platforms in the market. With more than 70% market share over the desktop, it’s a force to reckon with. As a result, the software ecosystem around Windows is quite mature and enriched. This gives the rise of the Wine.
Because of such a big ecosystem, there are numerous awesome Windows apps. Some of them are Windows exclusive; no support for Linux. In such case, Wine can benefit greatly.
Wine is a clever answer to the “chicken-or-egg” problem in terms of Linux on the desktop. Unless Linux offers Windows-like robust applications, its usage will not increase. Again, if the usage of Linux isn’t good, then software developers won’t bother offering Linux variants of their apps. Wine can be the perfect answer to break this evil cycle.
Only because of Wine, Linux can effectively become a suitable alternative to Windows. If you’re interested, feel free to check out the official Wine page on “Importance of Wine”.
Without further ado, let’s get started with Wine on Linux Mint!
Installing Wine on Linux Mint
The installation process is a bit tedious. Just follow the steps properly. The steps were performed on Linux Mint 19.2 fresh install with latest updates.
We need 32-bit support of your OS to run Wine. If you’re running 64-bit, run the following command.

Now, we have to add the repository key for Wine. At first, make sure that your system has “wget”.

Grab the key and add it to your system.

Next up, add the Wine repository.

Update the APT cache. This will rebuild the cache with data from the Wine repo.

Finally, your system is ready to install Wine. Tell APT to perform the installation. Depending on your internet connection, it might take a while, so please be patient.


Verifying installation
Once the installation completes, it’s time to test it. Run the following command.

It’ll print out the current version of Wine installed on your system.
Using Wine
In this demo, I’ll be showcasing the usage of 2 different popular tools that are exclusive to Windows: Notepad++ (one of the most powerful text editors) and Prime95 (a tool for stress-testing CPU and finding Mersenne prime numbers).
Notepad++
Head to the official website of Notepad++ and download the latest installer. Make sure to get the 32-bit installer!
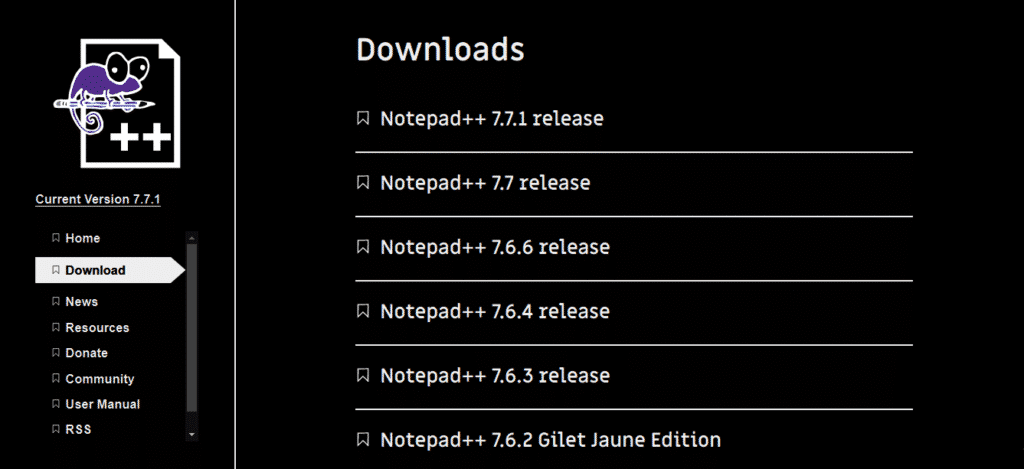


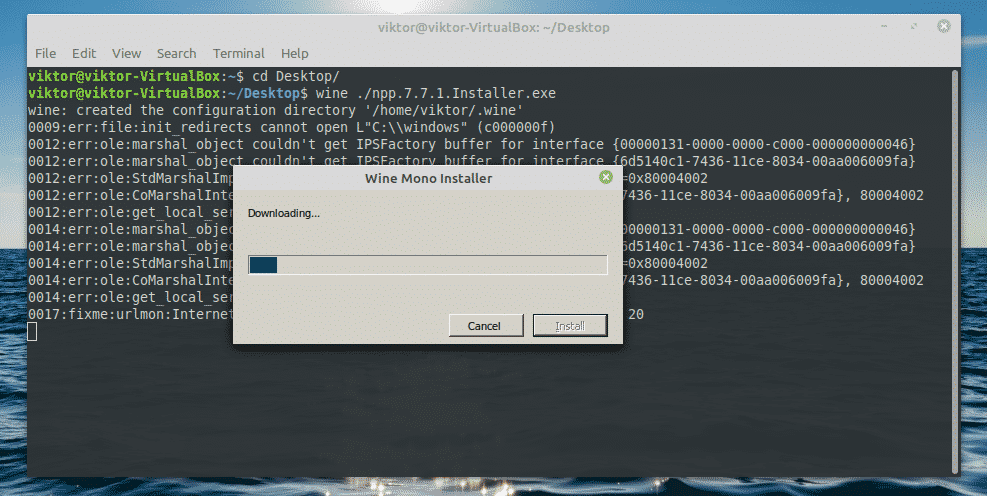
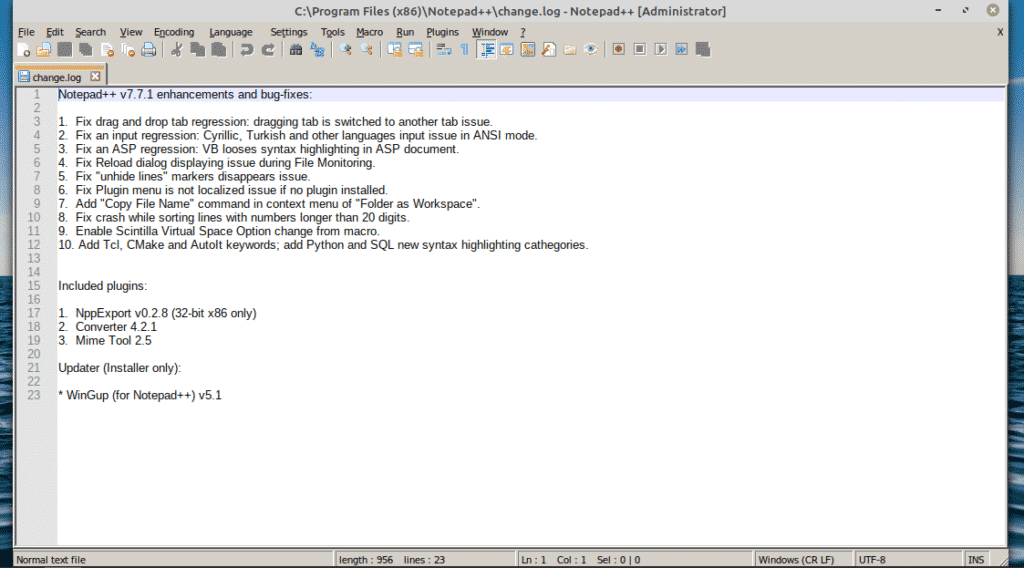
Now, use Wine to run the installer.
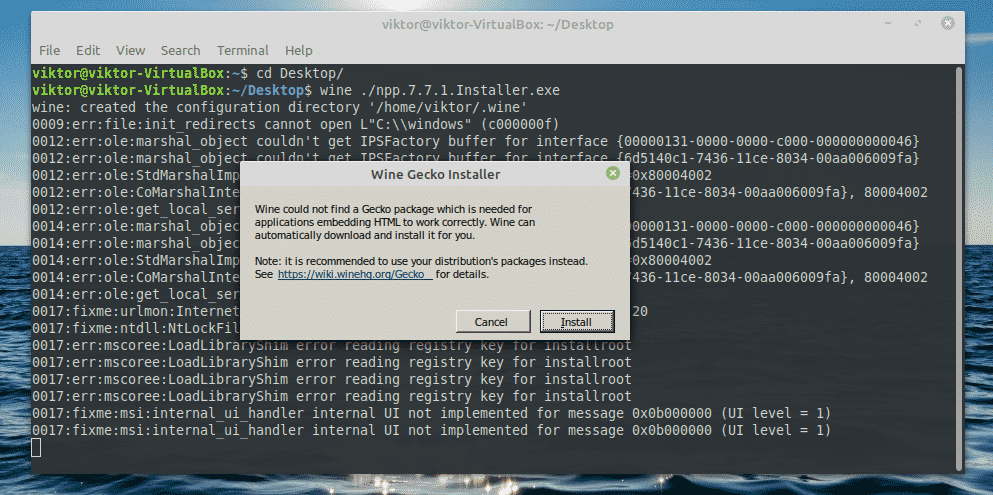
As it’s the first run, the warning messages will pop up. Click “Install” in each case.


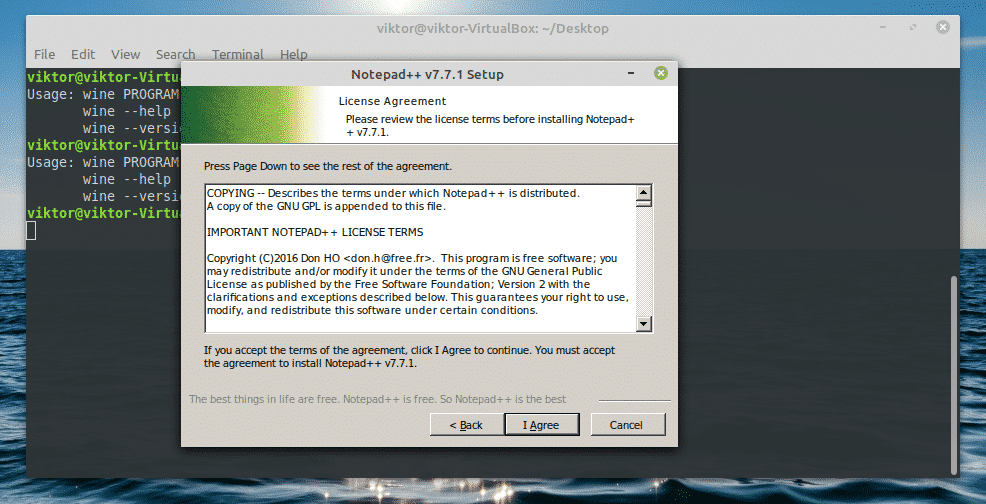
Now, the installer will start running. At first, select the language.

The welcome screen will pop up. Click “Next”.

Accept the license agreement.
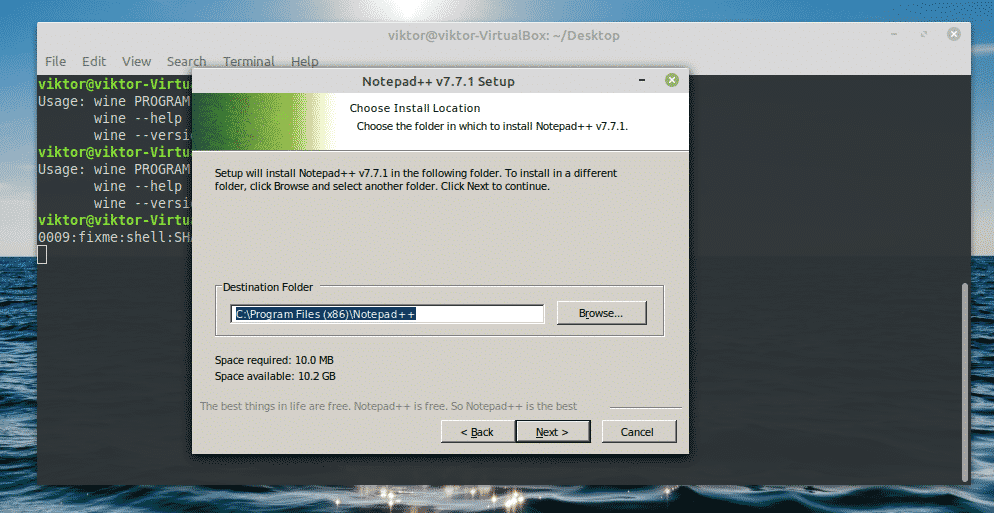
As of the installation location, keep the default one. Wine is managing the location automatically, so no need to change that.
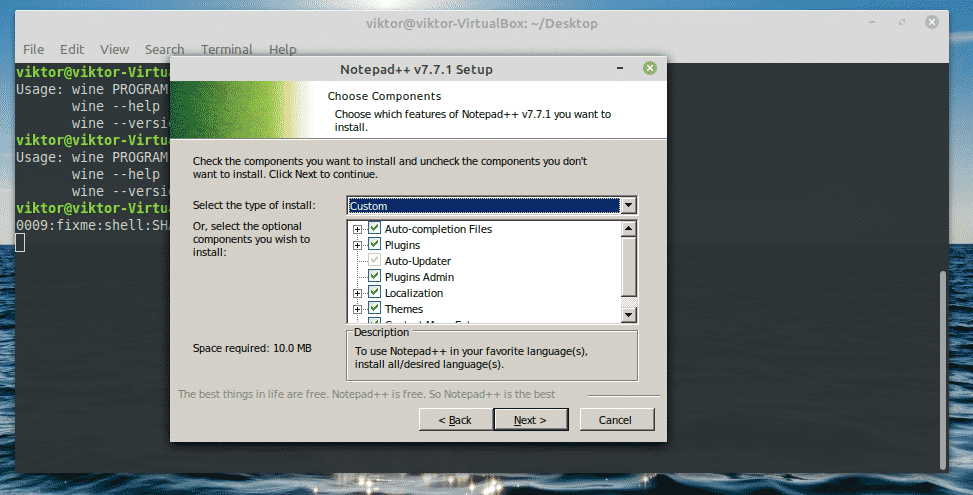
Select the features you’d like to enjoy.
Next up, the options are for creating a desktop shortcut and using %APPDATA% for hosting the configuration files. The second one won’t be available.
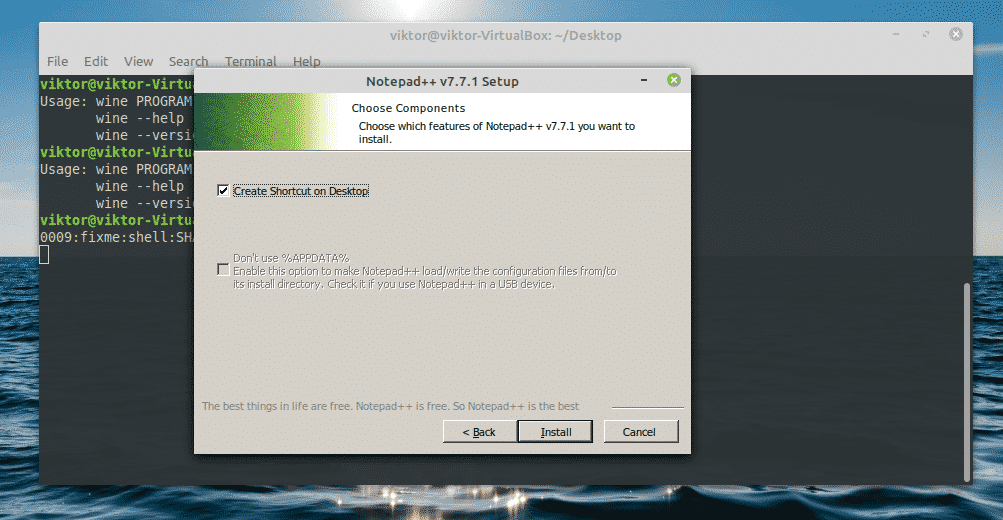
Click “Finish” to complete the installation.

Prime95
Download the tool from GIMPS. Get the Windows for showcasing the usage of Wine.
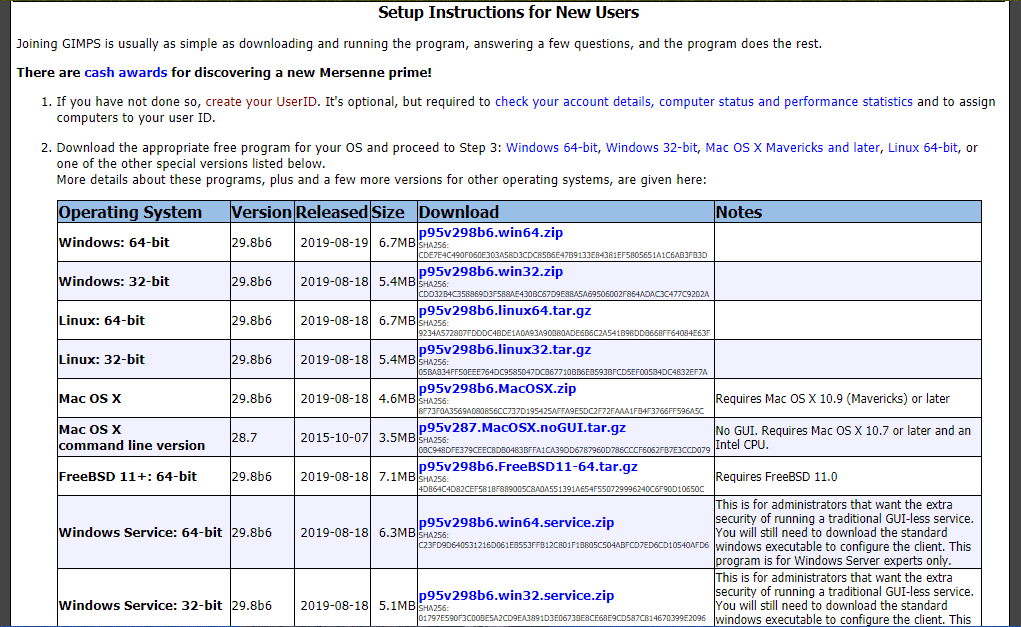

Extract the ZIP file.

Use Wine to run the tool.
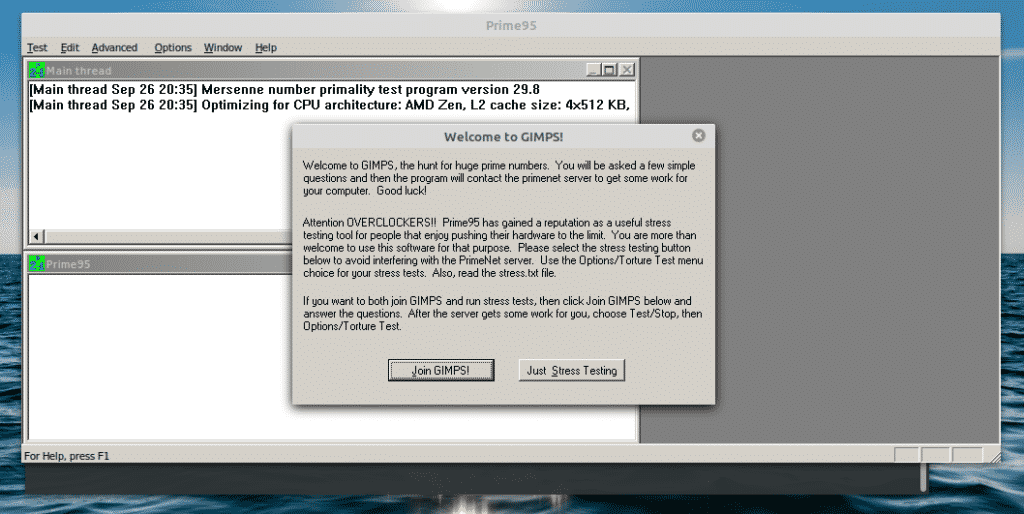
Select “Just Stress Testing”.
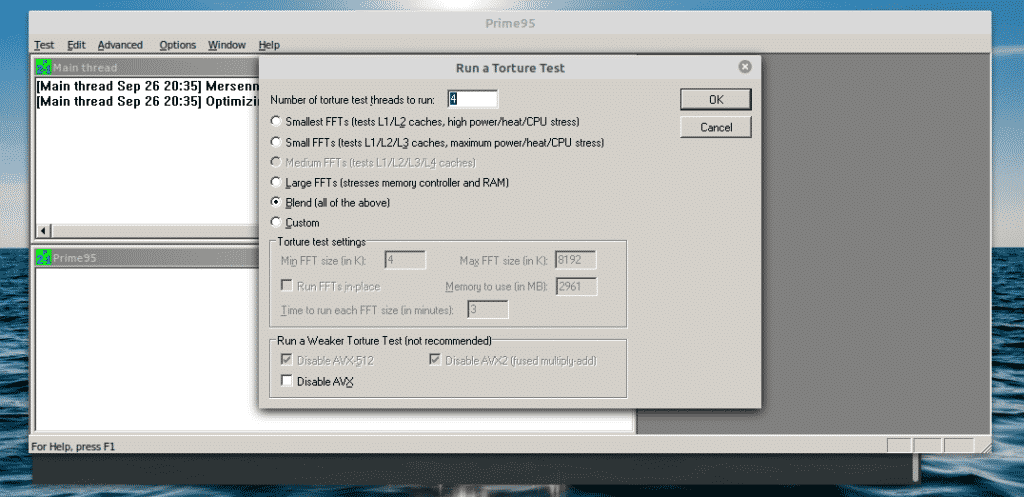
There are multiple levels of stress testing. Depending on your necessity, you can choose which one to go for. You can also define your own stress level.
Final thoughts
Wine is one of the most essential tools Linux users need to have. While I understand the sentiment of some Linux enthusiasts against the tool, it’s a necessary evil to help the world make the transition towards this “open” platform.
Interested in gaming? Windows is no longer the only platform where you can game. Check out some of the best games available directly on Linux.
About the author

Sidratul Muntaha
Student of CSE. I love Linux and playing with tech and gadgets. I use both Ubuntu and Linux Mint.
Источник
Install WINE on Linux Mint 20
Fortunately, Linux OS allows you to install your favorite Windows applications and games using the Wine program. Wine is a computability layer that enables you to install and run Windows programs on Linux systems. Initially, Wine does not support much of Windows applications, but now it supports a large number of Windows applications. Wine is not only supported on Linux but also macOS and FreeBSD.
In this article, we will explain how to install Wine on Linux Mint OS using two different ways. We will describe the installation of Wine using the command line Terminal application.
Note:
- We have explained the procedure and commands on Linux Mint 20 OS. More or less the same procedure can be followed in older Mint versions.
- For installing or removing any package in any Linux distribution including Linux Mint, you must be root user or normal user with sudo privileges.
Wine Installation on Linux Mint from Default Mint Repositories
Wine package is available in the default Mint repositories. Therefore, we can easily install it using the apt package manager. Follow the below steps to install Wine using default repositories in Mint OS:
Step 1: Wine is available in 32-bit and 64-bit versions. Before the installation of Wine, you will need to check if you are running a 32-bit or 64-bit Mint system. Follow the below steps to do so:
Open the command-line Terminal using the Ctrl+Alt+T keyboard shortcut and then issue the following command in it:
You will see a similar output:
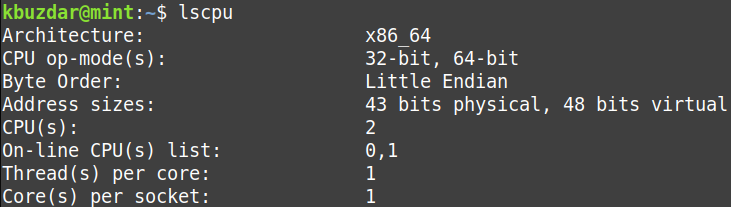
By looking at the CPU op-mode(s) value, you can find out the flavor of the Mint system. The 32-bit value indicates that you are running a 32-bit system, while the 32-bit, the 64-bit value indicates that you are running a 64-bit OS.
Step 2: To install Wine on a 64-bit Mint system, issue the following command in Terminal:
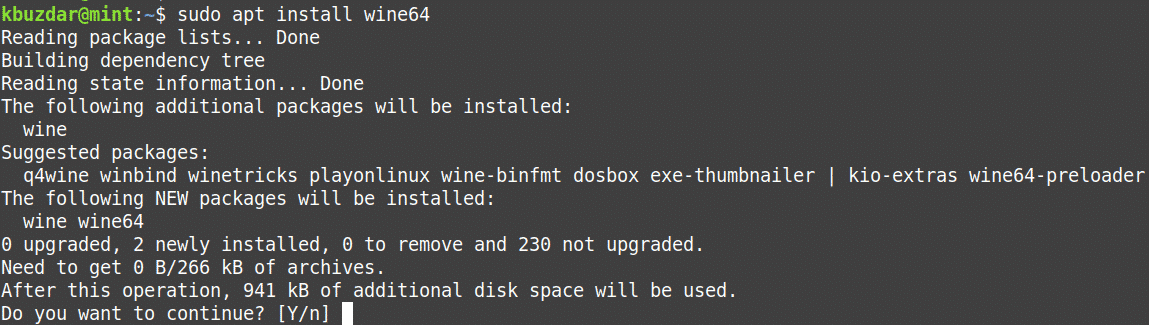
After running the above command, the system might ask for confirmation that if you want to continue the installation or not. Press y to continue, after that, Wine will be installed on your system.
To install Wine on a 32-bit Mint system, issue the following command in Terminal:
Once the installation of Wine is completed, you can verify it using the following command in Terminal:
With the above command, you can also check the installed version of Wine.

Wine Installation on Linux Mint using from the WineHQ Repository
You can also install Wine from the Wine HQ repository. Follow the below steps in order to do so:
Step 1: First, you will need to enable 32-bit architecture support. Issue the following command in Terminal in order to do so:
When prompted for the password, enter the sudo password.

Step 2: Now you will need to import the Wine HQ signing key. Issue the following command in the Terminal to do so:

The “OK” in the above output indicates that the key has been imported successfully.
Step 3: Add Wine repository using the following command in Terminal:

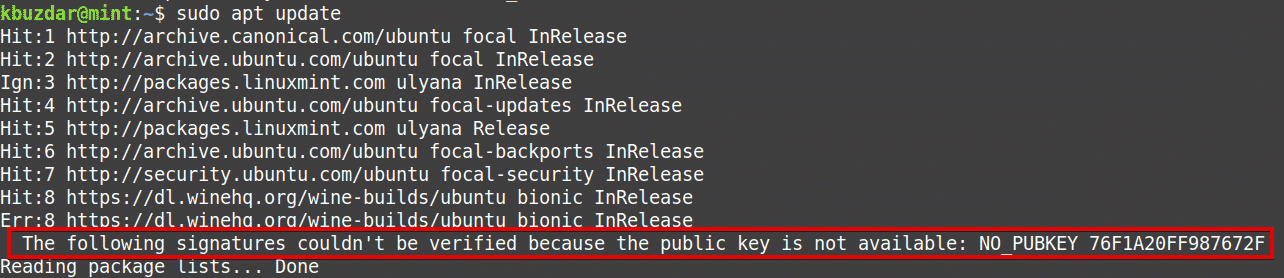
Step 4: Now update the system repository index using the following command:
After running this command, you might receive the following error:
“The following signatures couldn’t be verified
because the public key is not available: NO_PUBKEY 76F1A20FF987672F”
You can solve this error by adding another key for the WineHQ repository. Issue the following command in the Terminal to do so:

Now again run the update command as follows:
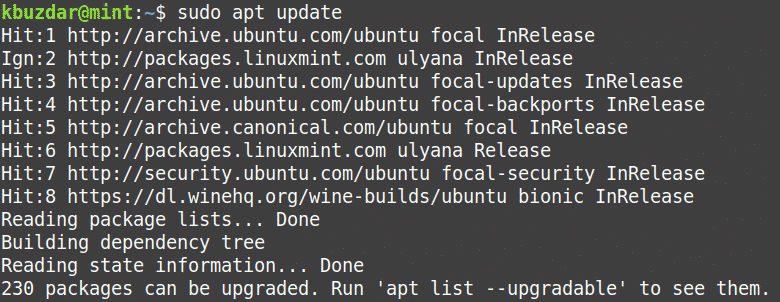
This time hopefully you will not receive any error.
Step 5: Now install Wine stable release using the following command in the Terminal:
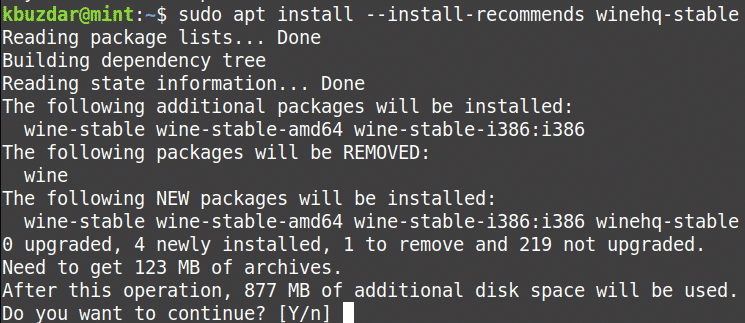
After running the above command, the system might ask for confirmation that if you want to continue the installation or not. Press y to continue, after that, Wine will be installed on your system.
There is another more recent version of Wine available is known as “WineHQ Development” but it is not a much stable version of Wine. However, as a developer, if you want to install this package, you can install it as follows:
Step 6: Once the installation of Wine is completed, you can verify it using the following command in Terminal:
With the above command, you can also check the installed version of Wine.

Wine Configuration
After the Wine is installed, set up the Wine environment. To do so, issue the following command in Terminal:
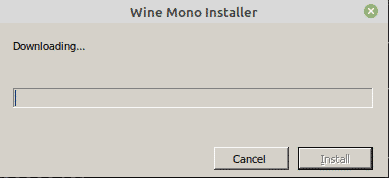
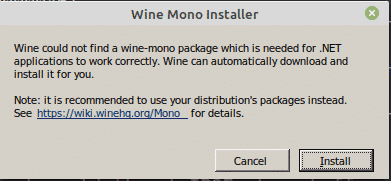
After running the above command, you will be prompted to install wine-mono and Gecko packages. These packages are required for certain applications and components to work properly.
First, you will be prompted for installing the wine-mono package. Click the Install button to install it.
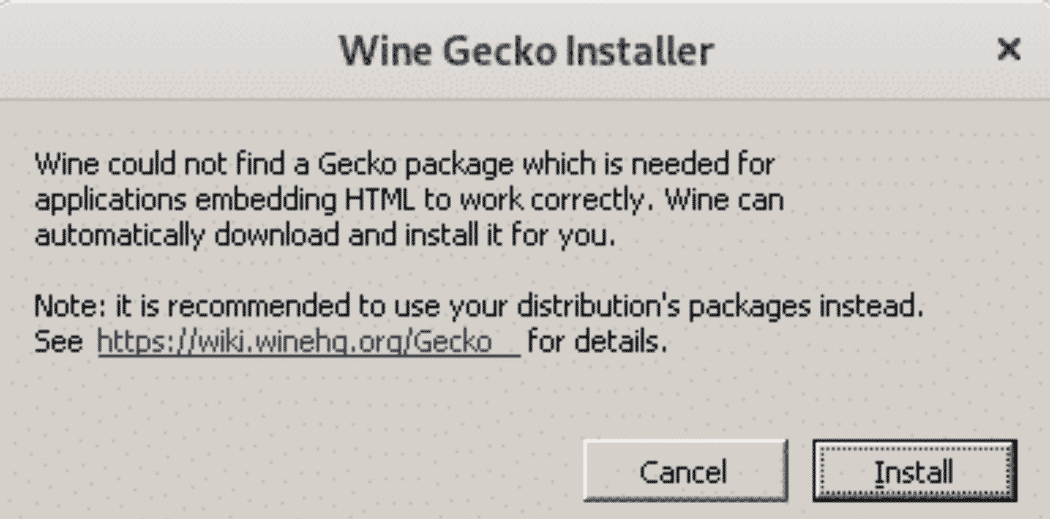
After the installation of the wine-mono package is completed, you will be prompted to install Gecko. Click the Install button to install it.
Once Gecko is installed, the Wine configuration window will appear which allows you to configure various settings. After configuring required settings, close the configuration window. Now you have Wine installed and configured on your system.
Uninstall Wine
If you want to uninstall Wine from your system; you can do so with the following command in Terminal:
That is all there is to it! Now that you have learned how to install Wine on Linux Mint 20 system, you can easily install and run your favorite Windows applications and games on Linux system. I hope you liked the article!
About the author

Karim Buzdar
Karim Buzdar holds a degree in telecommunication engineering and holds several sysadmin certifications. As an IT engineer and technical author, he writes for various web sites. He blogs at LinuxWays.
Источник


