- Install WordPress on IIS
- Introduction
- Prerequisites
- Download and Unpack the Application
- Set Up the Database
- Modify the Configuration File
- Setup and Configure the Application
- Enable «Pretty Permalinks»
- Create Rewrite Rule
- Test the Rewrite Rule
- Установка WordPress на Windows Server 2012 / Windows 8
- Автоматическая установка WordPress
- Ручная установка WordPress на IIS
- IT Blog
- written by Zeljko Medic
- How To: Install WordPress On Windows Server 2012 R2 (with IIS)
- IIS
- PHP
- MySQL
- WordPress
- Conclusion:
Install WordPress on IIS
by Eric Woersching
Introduction
WordPress is a blog publishing application and content management system. According to wordpress.org,WordPress is «a state-of-the-art semantic personal publishing platform with a focus on aesthetics, Web standards, and usability.» The following sections describe how to install and configure WordPress for use with FastCGI on Internet Information Services 7 (IIS 7) and above. This document assumes that you have completed the setup and configuration of the FastCGI extension and PHP libraries.
The easiest way to install WordPress is by downloading it from the WindowsВ® Web App Gallery. If you need the MicrosoftВ® Web Platform, you can install the components with the MicrosoftВ® Web Platform Installer (Web PI), which is also available at the Windows Web App Gallery.
The following article provides guidance for installing WordPress manually. The instructions have been tested and found to work in the following configurations:
- Windows ServerВ® 2008 operating system
- IIS 7
- PHP 5.2.9
- MySQL 5.1.34
- WordPress 2.8.5
Prerequisites
From the base default configuration file provided by PHP, modify the following lines in your Php.ini configuration:
- Define extension\_dir as c:\php\ext (for example, the location of your php extensions directory).
- Uncomment extension=php\_mysql.dll in the extensions list to enable MySQL support.
Download and Unpack the Application
First, download the latest stable release of WordPress. For this article, WordPress version 2.8.5 was used. Uncompress the WordPress files and copy the files to C:\Inetpub\wwwroot\wordpress or another directory of your choosing. There is no need to modify permissions on the WordPress Web directory, because the default permissions suffice.
Set Up the Database
Before starting the installation procedure for WordPress, you must create a database on your server. Also create a user and grant this user «db ownership» permission to the database. This article uses the following database information:
- Database name: wordpress
- Database user: wordpress
- Account password: wordpress
Modify the Configuration File
Modify the WordPress configuration file to connect to the database.
- From WindowsВ® Explorer, navigate to the installation directory C:\inetpub\wwwroot\wordpress , and rename the file wp-config-sample.php to wp-config.php.
- Edit wp-config.php; change the DB_NAME, DB_USER, DB_PASSWORD, and DB_HOST values as follows:
Setup and Configure the Application
From WindowsВ® Internet ExplorerВ®, go to http://localhost/wordpress/wp-admin/install.php .
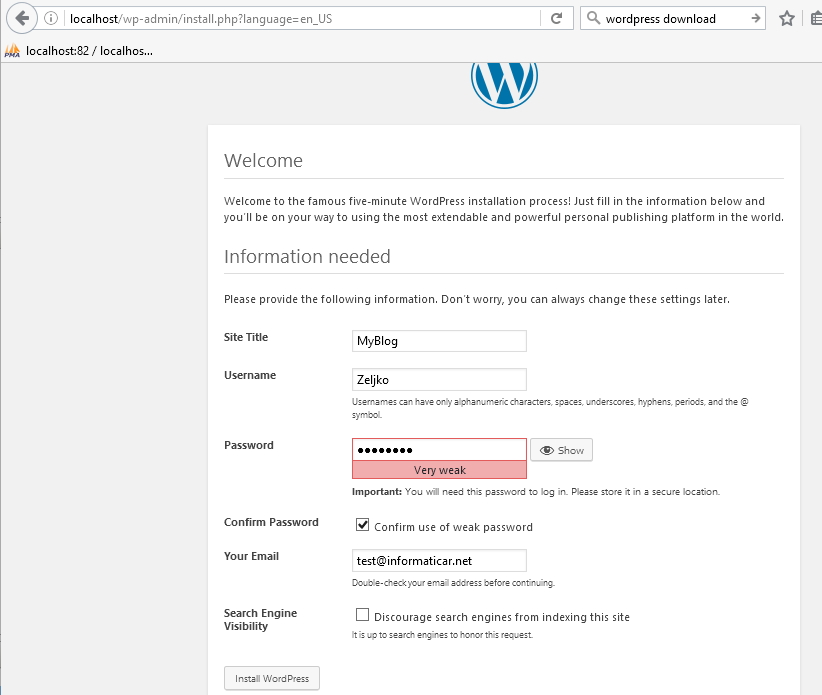
Type the name of your blog and your e-mail address, and then click Install WordPress.

Figure 1: Enter information
Note the temporary password assigned for the administrator account.

Figure 2: Note the administrator password

Figure 3: Log on to blog
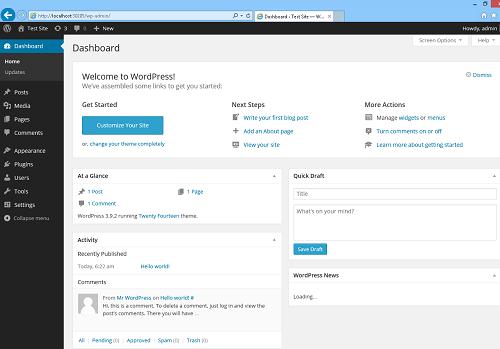
The Welcome page appears.

Figure 4: Welcome page
Enable «Pretty Permalinks»
Typically, WordPress users must use «almost pretty» URLs (for example, http://contoso.com/index.php/yyyy/mm/dd/post-name/ ). With the URL Rewrite module, you can create «Pretty Permalinks» (for example, http://example.com/year/month/day/post-name/ ) for WordPress blogs hosted on IIS.
The steps that follow assume that WordPress is installed in a Web site root directory. If WordPress is installed in a subdirectory, then the rewrite rules must be included in the Web.config file located within the same subdirectory as the WordPress files.
Install URL Rewrite Go Live release.
Log on to WordPress as an administrator.
Click the Settings button.
Click the Permalinks tab for the Customize Permalink Structure page.
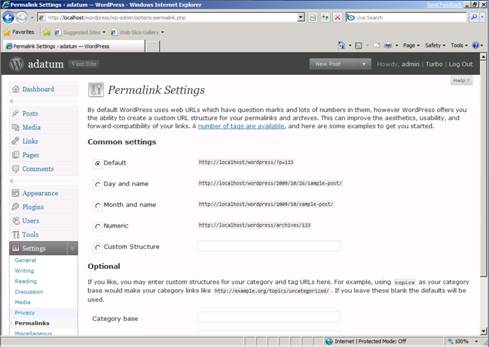
Figure 5: Customize permalink structure page
Select Custom Structure, and then type
/%year%/%monthnum%/%day%/%postname%/ in the Custom Structure text box.
Click Save Changes. You will see that all the blog post links have URLs that follow the format you have specified; however, if you click any link, the Web server returns a 404 — File Not Found error, because WordPress relies on a URL rewriting capability within a server to rewrite requests that have «pretty permalinks» to an Index.php file.
Create Rewrite Rule
Open the Web.config file (located in the same directory as the WordPress files). If you do not have a Web.config file in the WordPress directory, create it.
Copy and paste the following XML section into the system.webServer element:
This rule matches any requested URL; if the URL does not correspond to a file or a folder on a file system, then the rule rewrites the URL to Index.php and determines which content to serve based on the REQUEST_URI server variable that contains the original URL before it was modified by the rule.
Test the Rewrite Rule
After the rewrite rule is saved to the Web.config file, open a Web browser, and then click any one of the permalinks in WordPress blog. You should see the correct content returned by the Web server for every permalink.

Figure 6: Blog welcome page
This article updates » WordPress on IIS» by Eric Woersching, published on September 11, 2008.
Установка WordPress на Windows Server 2012 / Windows 8
В этой заключительной статье цикла, описывающего развертывание веб-сайта на базе IIS с поддержкой PHP и MySQL, мы опишем типовой сценарий установки на нашем сервере «движка» сайта на примере самой популярной на данный момент системы управления контентом (CMS) блогового типа — WordPress.
Итак, предполагается, что на нашем сервере уже установлены:
- IIS с поддержкой PHP (Установка IIS с PHP на Windows)
- Система управления БД MySQL (Установка MySQL на Windows)
- Опционально, для удобства работы с базами данных MySQL можно установить скрипт phpMyAdmin.
Автоматическая установка WordPress
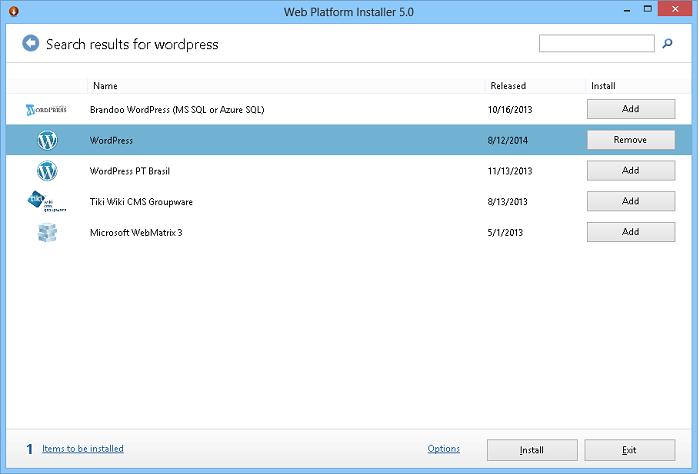
Проще всего развернуть сайт с WordPress с помощью, уже знакомого нам по предыдущим статьям цикла, универсального установщика Microsoft Web Platform Installer (Web PI). Запускаем его и в поле поиска вбиваем wordpress.
Находим в списке продуктов WorpPress, нажимаем Add, а затем Install.
В процессе развертывания сайта WordPress, Web PI автоматически создаст новую базу данных MySQL и пользователя (имя БД, пользователя и его пароль будут отображены на экране установки, в случае необходимости их можно сохранить).

Также будет создан отдельный сайт IIS, живущий на определенном порту (номер порта генерируется установщиком). В нашем примере был создан сайт на порту 30205 с адресом http://localhost:30205 .
После завершения установки в браузере автоматически откроется новое окно, в котором необходимо заполнить следующие поля: заголовок сайта, имя администратора сайта, пароль и e-mail администратора сайта WordPress.
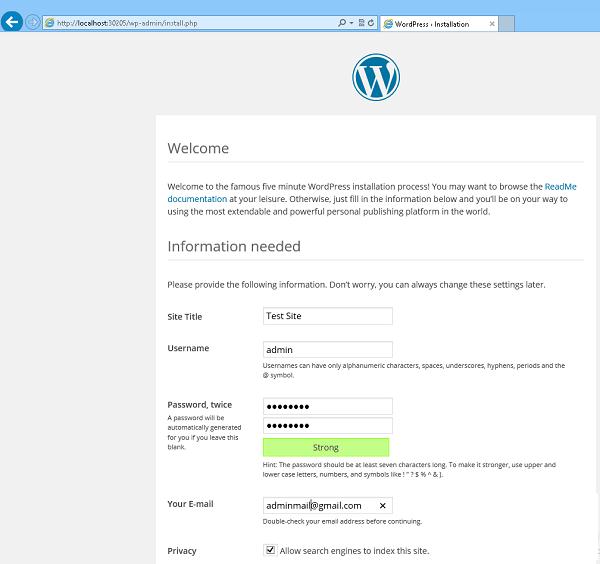
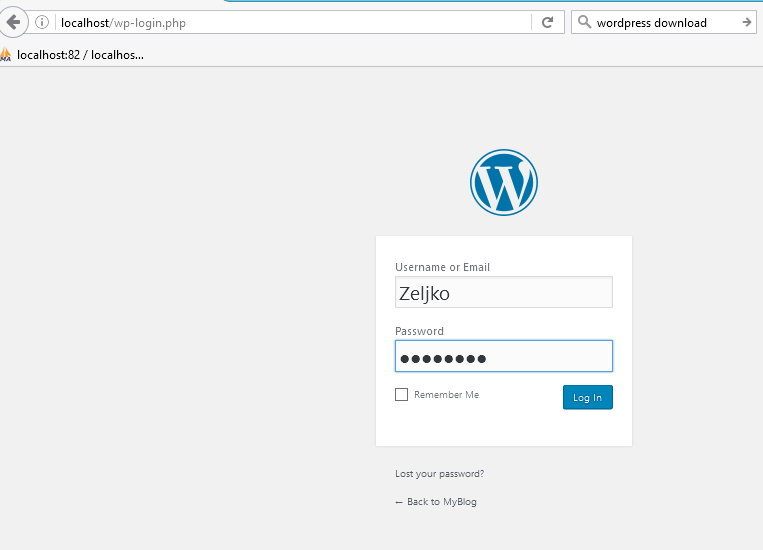
Для завершения установки осталось нажать кнопку Install Wordpress. Дождитесь выполнения скрипта, после чего можно перейти в панель управления WordPress по адресу http://localhost:30205/wp-login.php
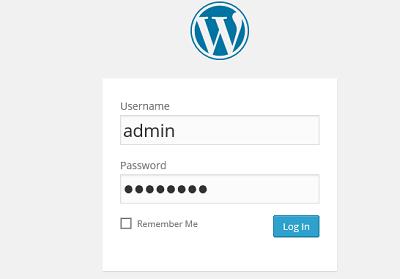
Итак, перед нами открылась административная панель WordPress (админка) и можно приступать непосредственно к настройке и наполнению сайта.
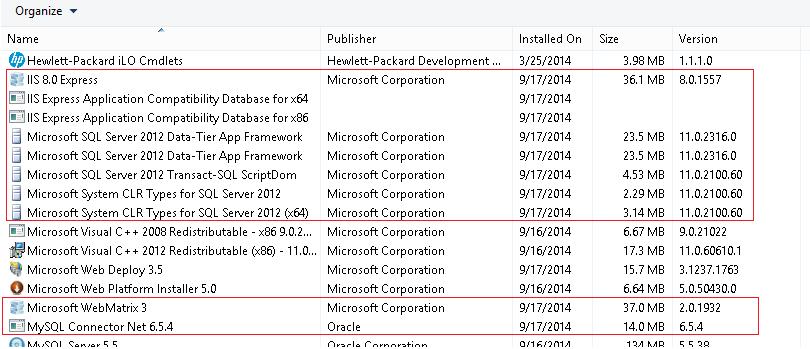
Существенный недостаток установки WordPress с помощью WebPI – большое количество «лишних» компонентов, которые устанавливаются вместе с ним.
На скриншоте выделены компоненты, которые были установлены вместе с CMS WordPress. Как видите, их не мало.
И самое главное, вместо нашего «родного» сервера IIS для установленного сайта будет использоваться отдельный инстанс IIS Express 8.0.
Ручная установка WordPress на IIS
Прежде, чем приступить к ручной установке WordPress на Windows 8, нужно выполнить ряд подготовительных операций.
В первую очередь необходимо создать базу данных для хранения данных WordPress и пользователя с правами доступа к этой базе данных. Создать базу и пользователя можно через phpMyAdmin, либо непосредственно из командной строки MySQL.
Открываем командную оболочку MySQL (MySQL Command Line Shell), указываем пароль администратора сервера MySQL (root) и последовательно выполняем такие команды:
mysql> CREATE DATABASE wordpressdb;
mysql> CREATE USER ‘wordpressdb_user’@’localhost’ IDENTIFIED BY ‘DbP@ssw0rd’;
mysql> GRANT ALL ON wordpressdb.* TO ‘wordpressdb_user’@’localhost’ IDENTIFIED BY ‘DbP@ssw0rd’;
Итак, мы создали БД wordpressdb и дали на нее полные права пользователю wordpressdb_user.
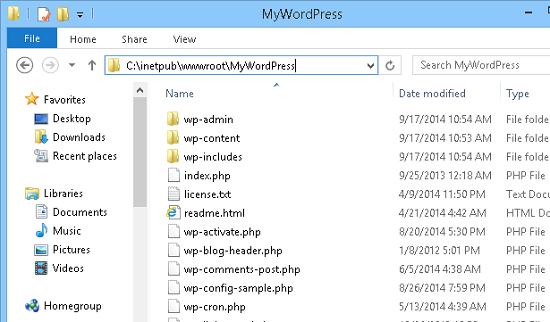
Следующий этап — создание отдельного сайта на IIS. Создадим новый каталог (например, с именем MyWordPress) в папке C:\inetpub\wwwroot\ .
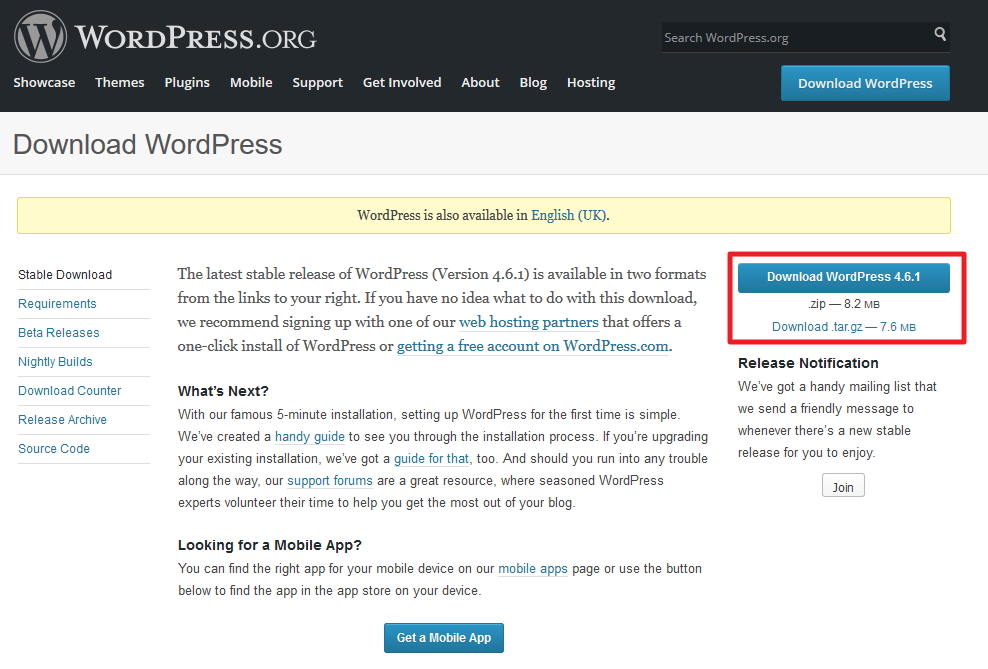
Качаем архив с последней версией WordPress с этой страницы https://wordpress.org/download/ (на момент написания статьи это WordPress 4.0) и распаковываем его содержимое в каталог C:\inetpub\wwwroot\MyWordPress.
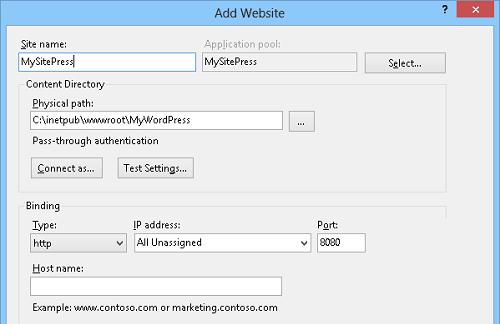
Откроем консоль управления IIS (Internet Informations Services Manager — C:\WINDOWS\system32\inetsrv\iis.msc) и щелкнув по разделу Sites, выберем Add Website.
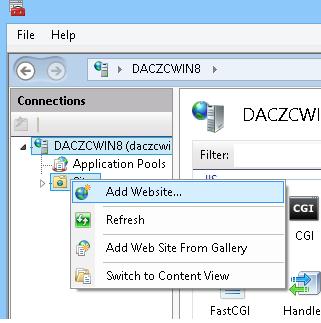 В окне указываем имя сайта, путь к каталогу сайта и порт (мы запустим сайт на порту 8080).
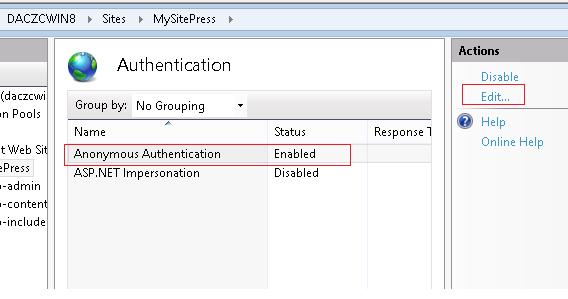
Затем в консоли перейдем на созданный сайт (MySitePress) и дважды щелкнем по пункту Authentication.

В разделе аутентификации выберем пункт Anonymous Authentication и в панели Actions нажмите Edit..
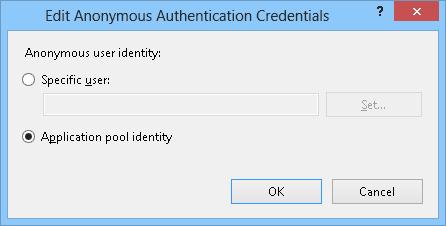
В открывшемся окне изменить настройку на Application Pool Identity.
Далее предоставим нашему пулу приложения права записи на каталог, в котором находится сайт WordPress. Сделать это можно командой:
icacls «C:\inetpub\wwwroot\MyWordPress» /grant «IIS APPPOOL\MySitePress»:(OI)(CI)(RX,W) 
Итак, мы настроили IIS, и можно переходить непосредственно к установке «движка» WordPress.
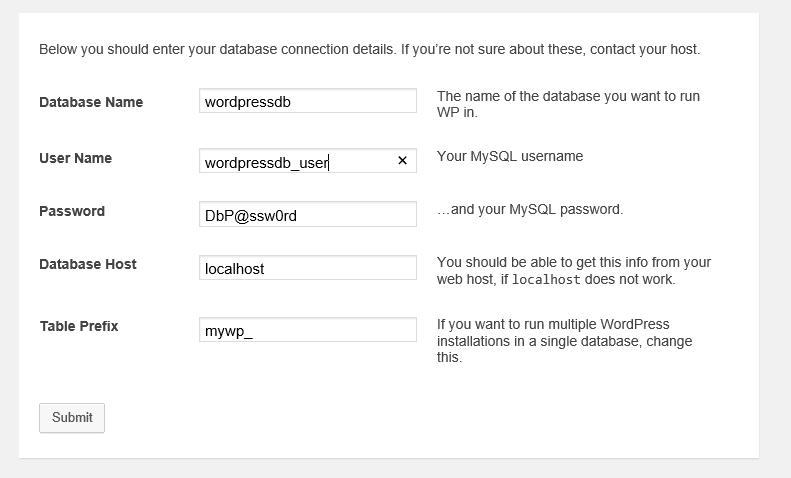
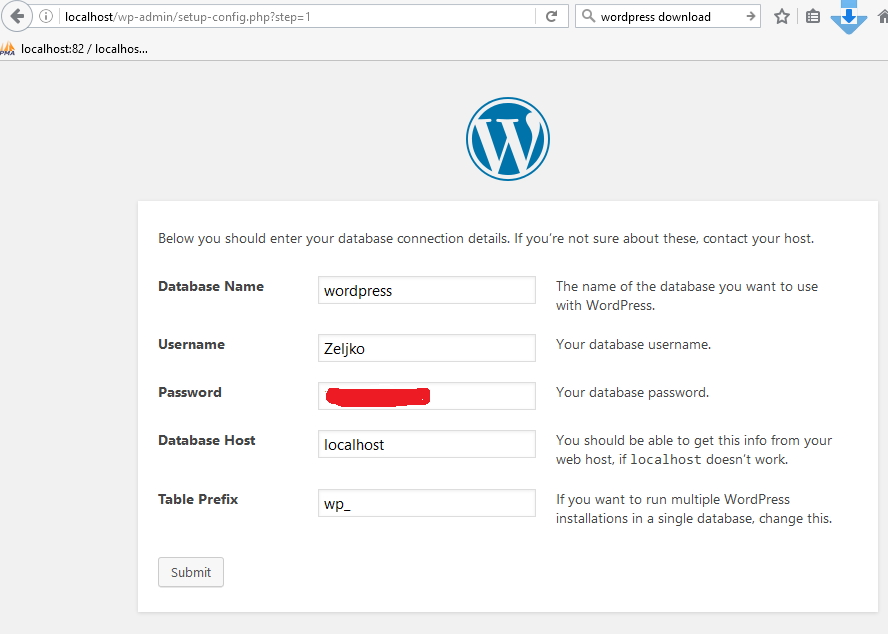
Откроем наш сайт в браузере ( http://localhost:8080 ) В открывшемся окне заполним параметры подключения к БД:
Database name : wordpressdb
Database username : wordpressdb_user
Database password : DbP@ssw0rd
Database host : localhost
Table prefix : mywp_ (префикс в общем-то произвольный и нужен, если в дальнейшем в этой же базе будут находится таблицы других сайтов WordPress )
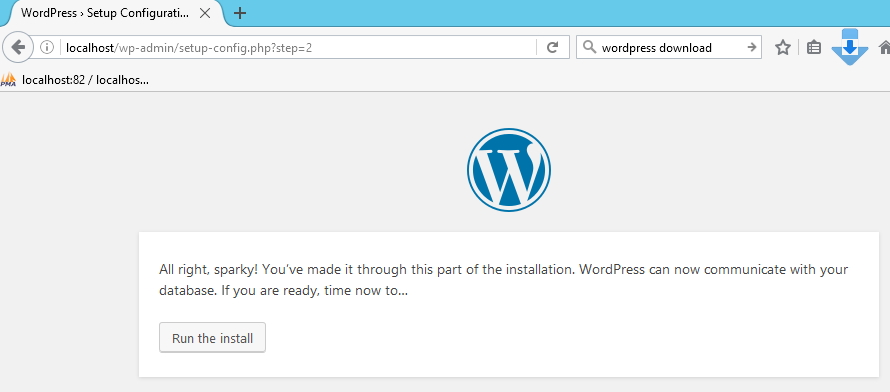
После этого должно открыться окно, аналогичное представленному на 3 скриншоте. Далее все по аналогии.
- Для ускорения выполнения скриптов PHP в IIS рекомендуется установить специальный модуль-акселератор – Windows Cache Extension (или аналог)
- Для формирования SEO-friendly URL адресов нужно установить модуль IIS URL Rewrite
IT Blog
written by Zeljko Medic
How To: Install WordPress On Windows Server 2012 R2 (with IIS)
This tutorial will cover setting up WordPress on Windows Server 2012 R2 with IIS, PHP and MySQL. Topic is only installation procedure (since it can be tricky on Windows Server 2012R2) not the security or WordPress configuration.
You can use xampp or lamp bundles, but I find this better and more secure.
First, let’s install IIS.
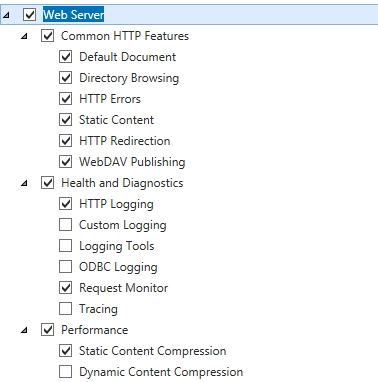
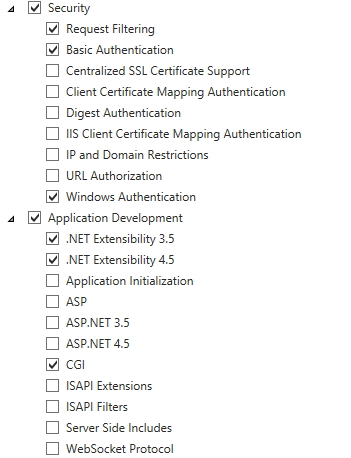
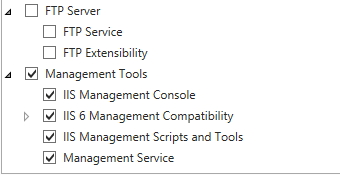
IIS
Server Manager |Manage | Add Roles and Features | Next |Next |Under Server Roles choose Web Server (IIS) |choose all options from the screenshots | Next | Install |After setup is done – Close

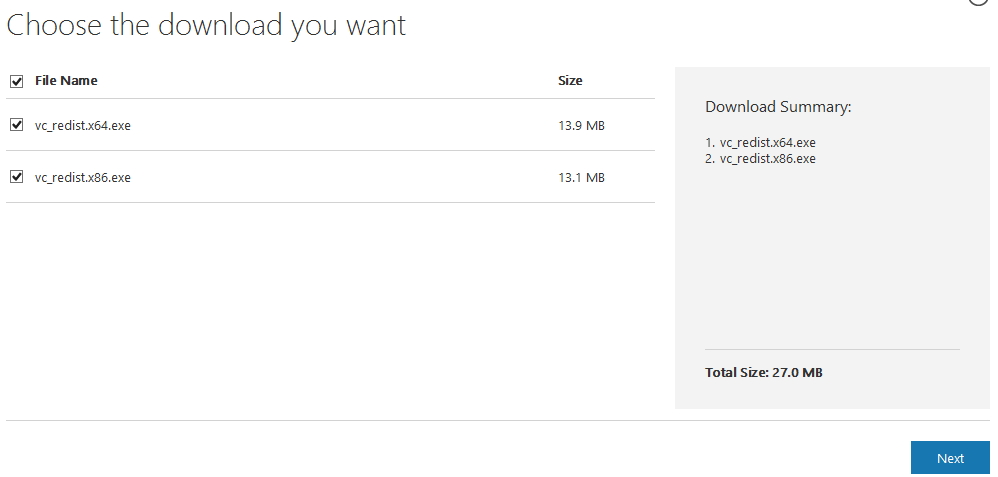
Visual C++ Redistributable for Visual Studio 2015 – we need both x32 and x64 versions installed
Installation is simple (Next – Next) and I won`t be covering it.
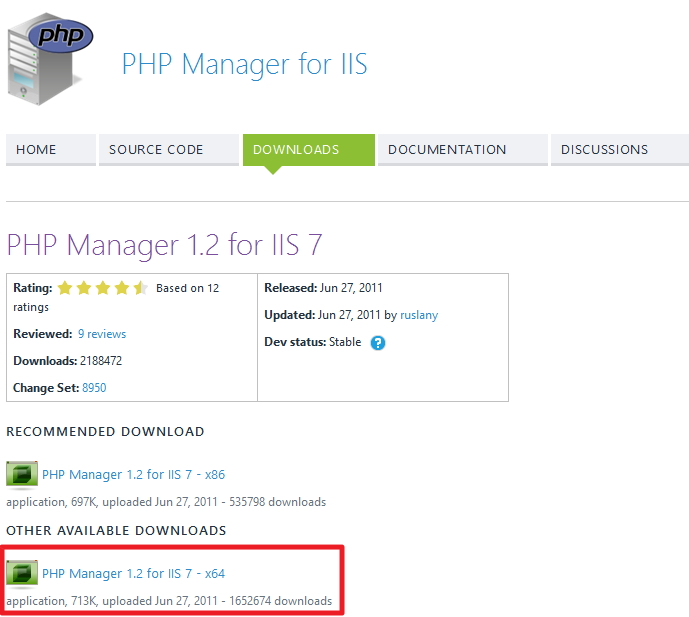
PHP Manager for IIS – installation is also pretty simple and I won`t be covering it. You only need x64bit version of installation
PHP
PHP 7.0 is current version. We need VC14 x64 Non Thread Safe in ZIP version
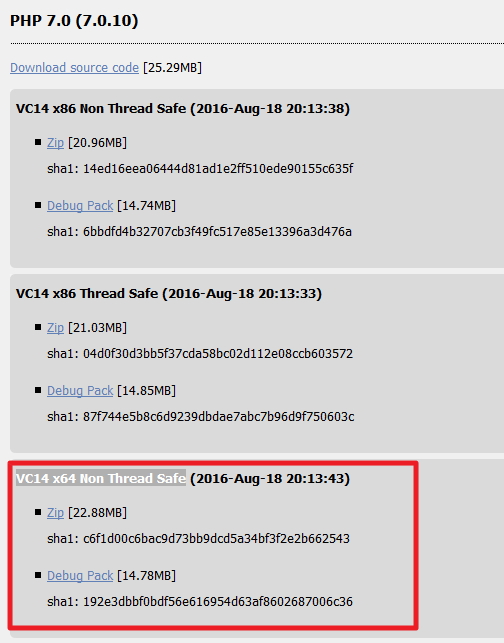
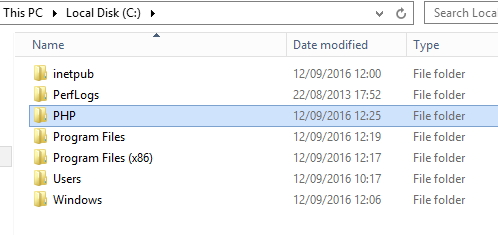
After downloading ZIP, extract it to your disk (root or sub directory it is up to you) I`ll be extracting mine to C:\PHP
MySQL
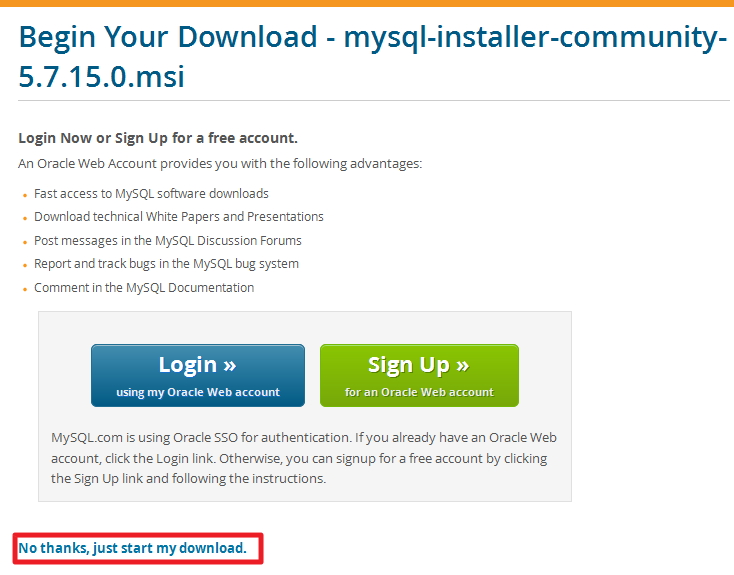
Choose MYSQL Community Server | MySQL Installer MSI
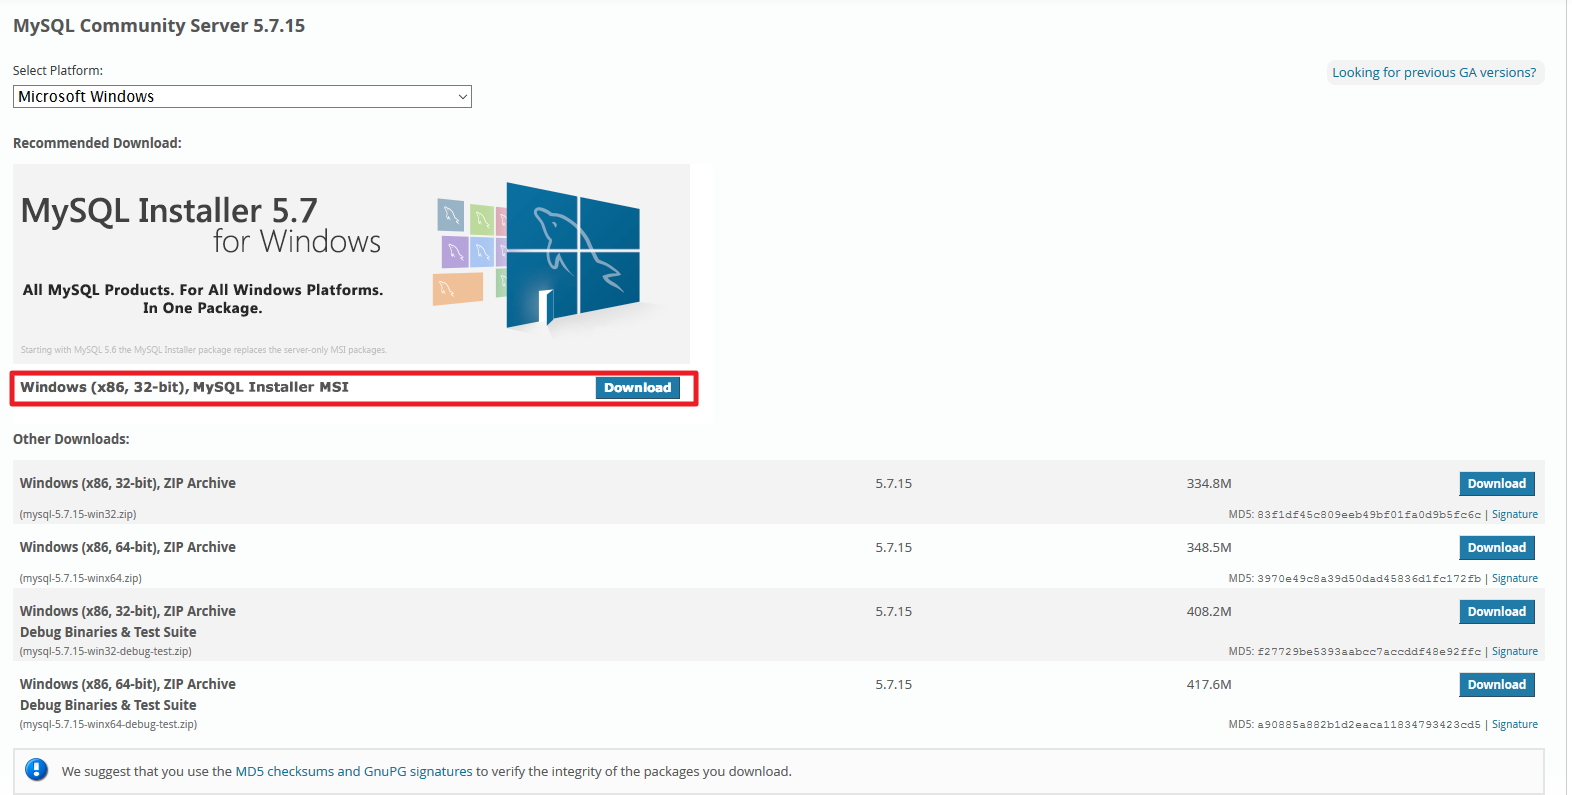
Before download starts, you`ll be asked to Login or Sign UP. Don`t bother, there is smaller text bellow that says “No thanks, just start my download.”
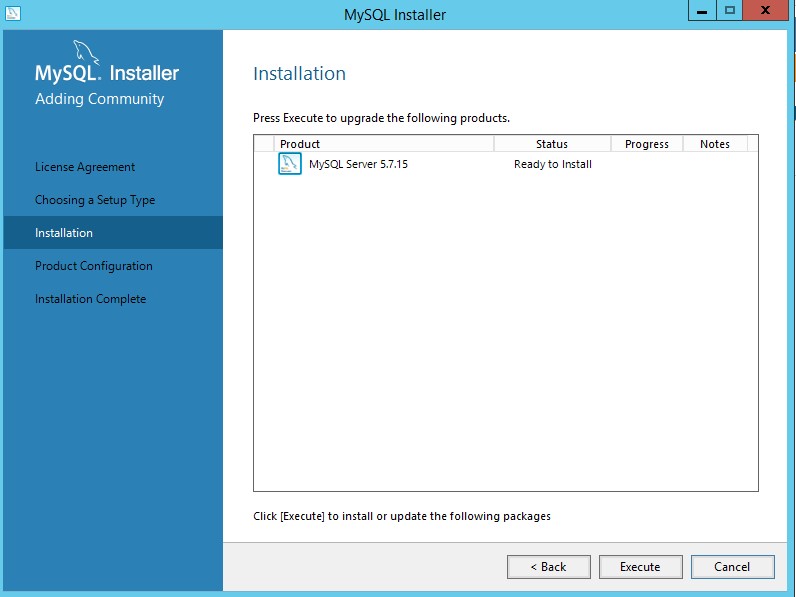
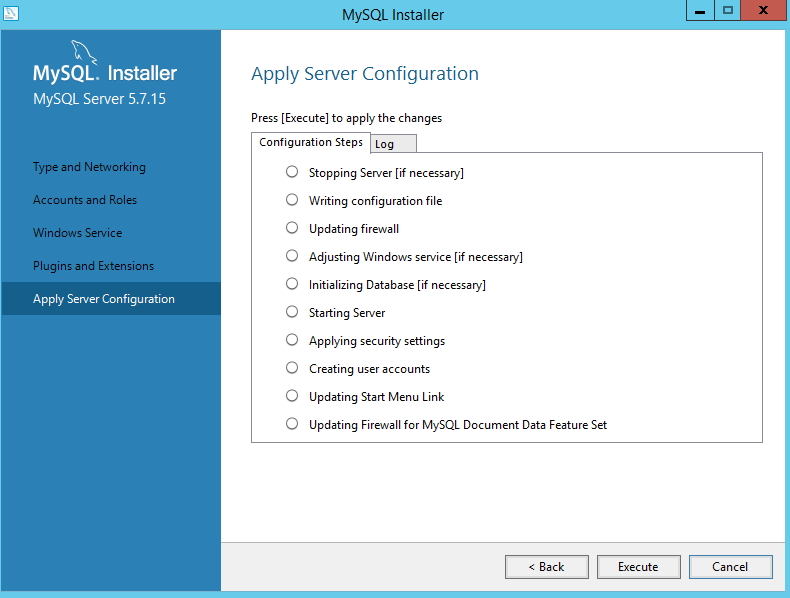
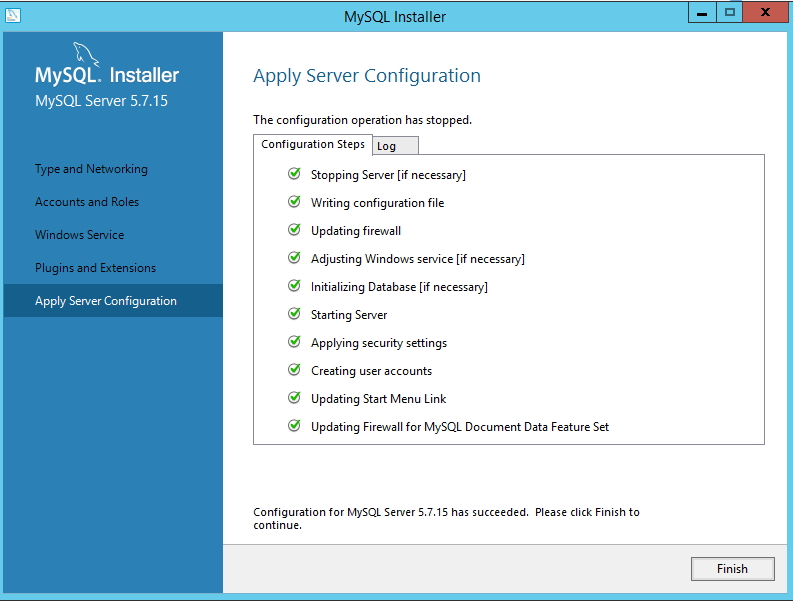
I won`t be going through whole install procedure, I will just mention important things.
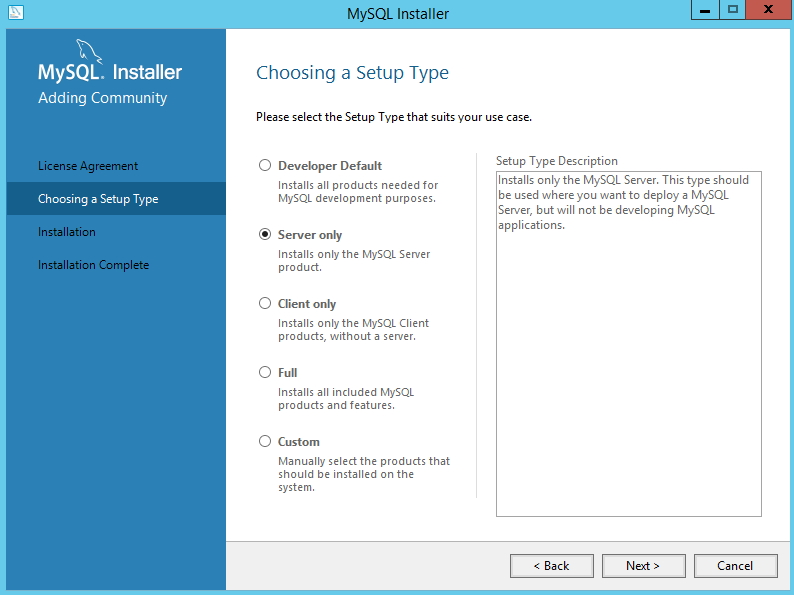
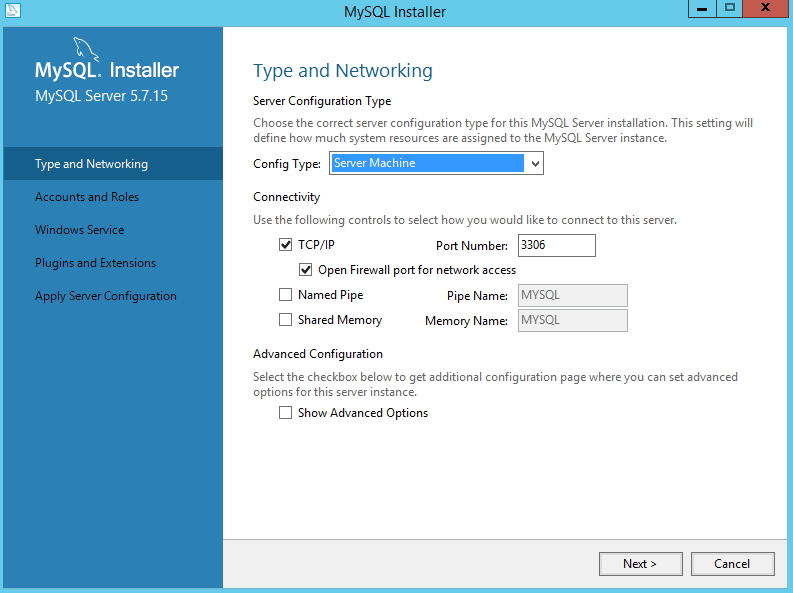
For this tutorial I choose Server only install |Next

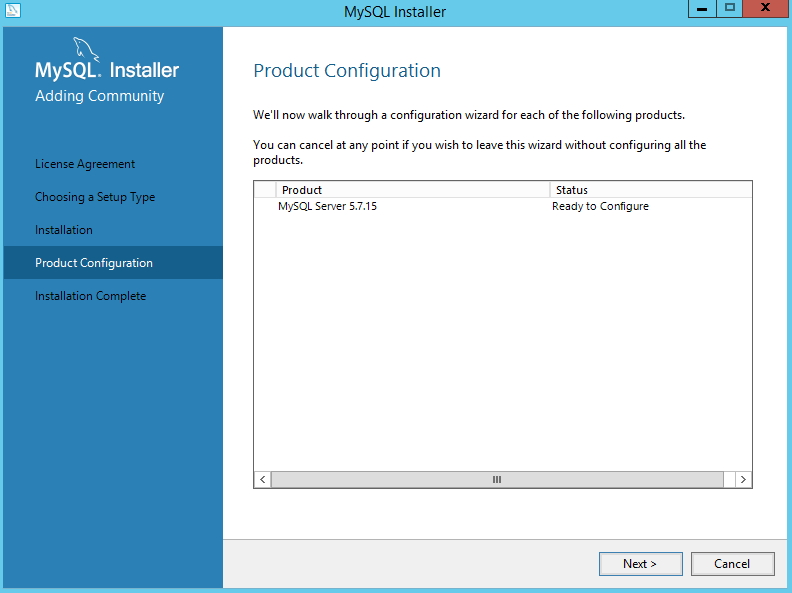
Config Type – Server Machine | Connectivity – TCP/IP – Port Number 3306 |Next
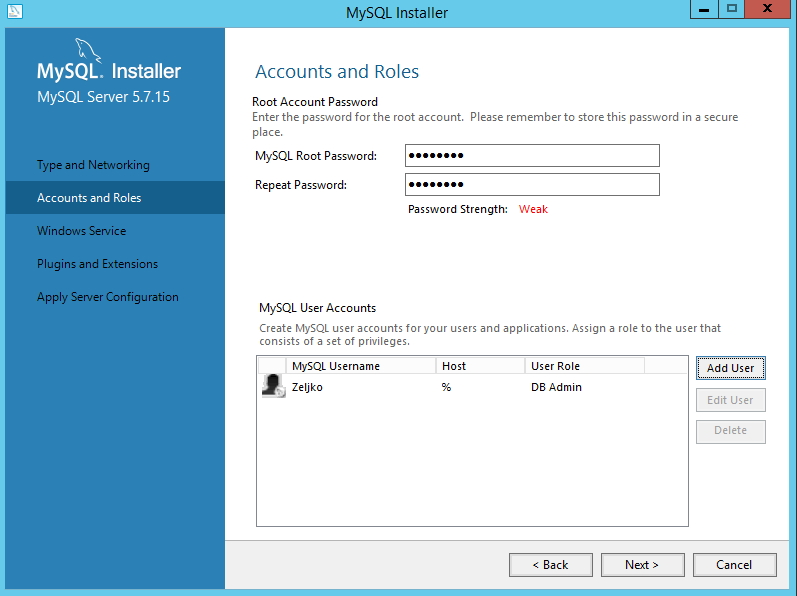
You need to define root account password. Under MySQL User Accounts field define other accounts for your DB so that you don`t have to use root account for your DBs.
Ignore my password strength – it is easier and faster in the lab environment with simple password, but for your production environment you should always use strong passwords.
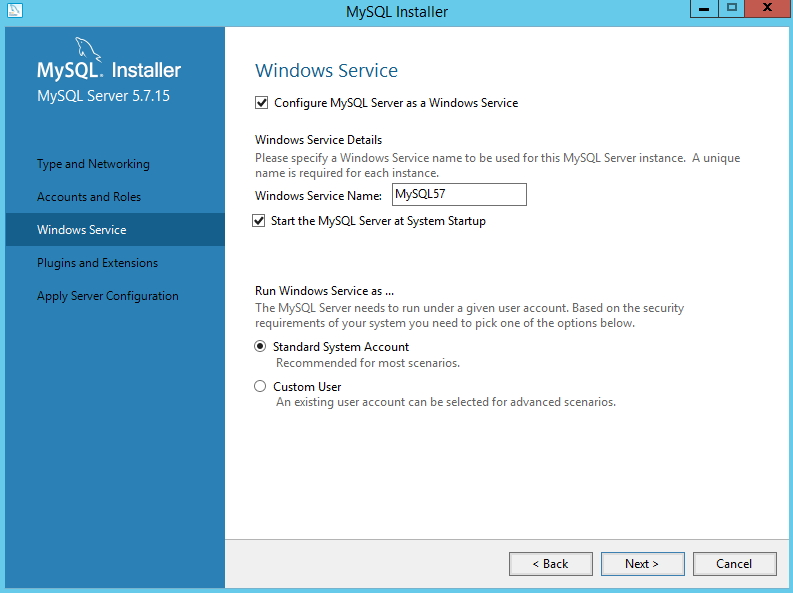
I recommend that you Configure MySQL Server as a Windows Service. You can also define custom user account for that service (recommended).
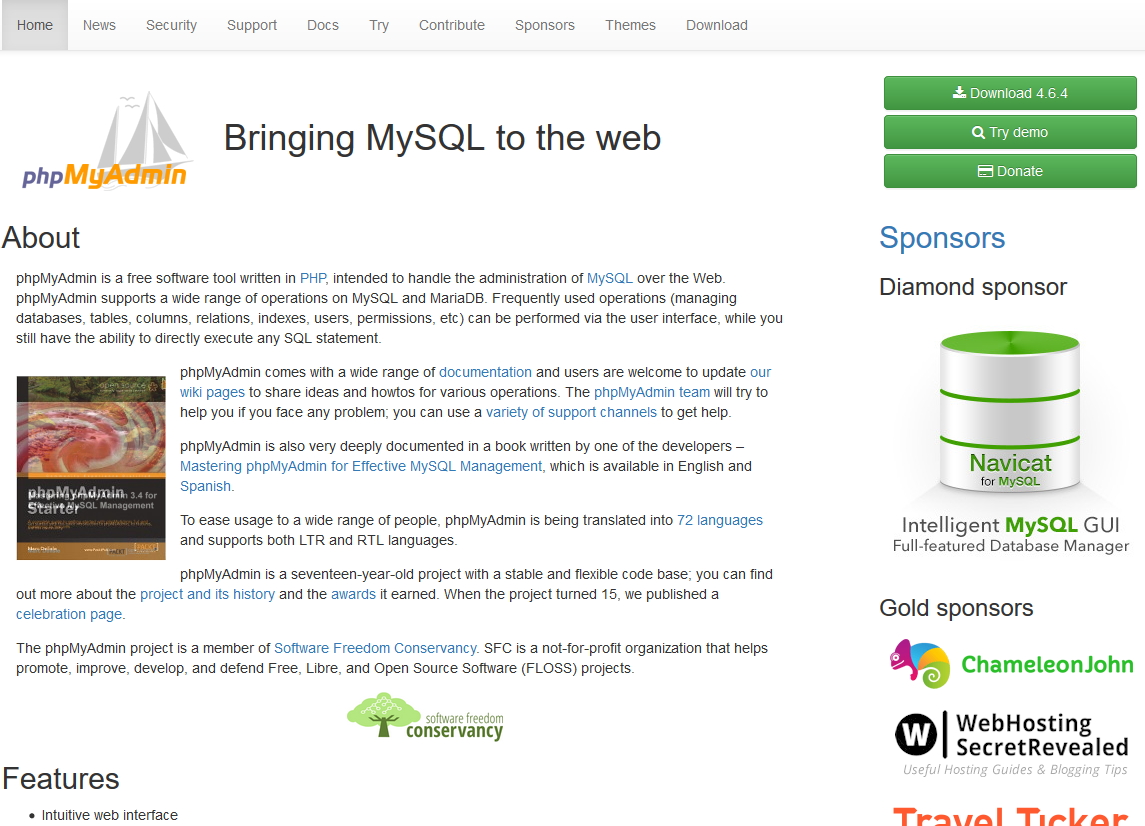
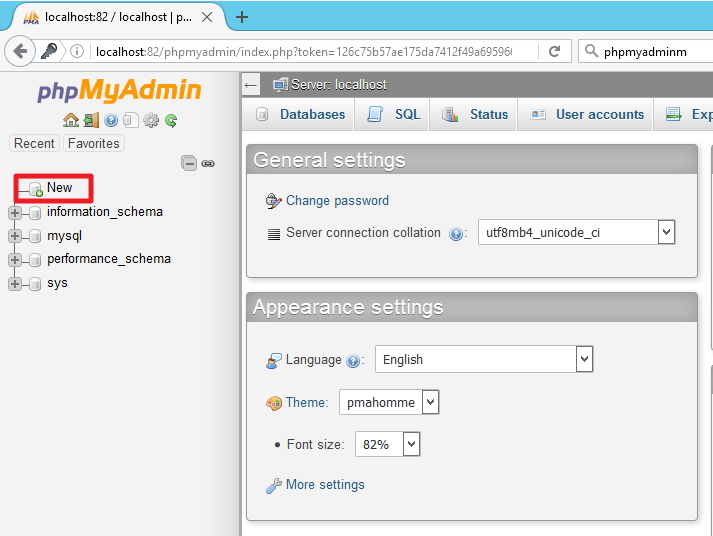
For easier management of MySQL I installed phpMyAdmin
I don`t want my phpMyAdmin to be accessible from the internet so I done following:
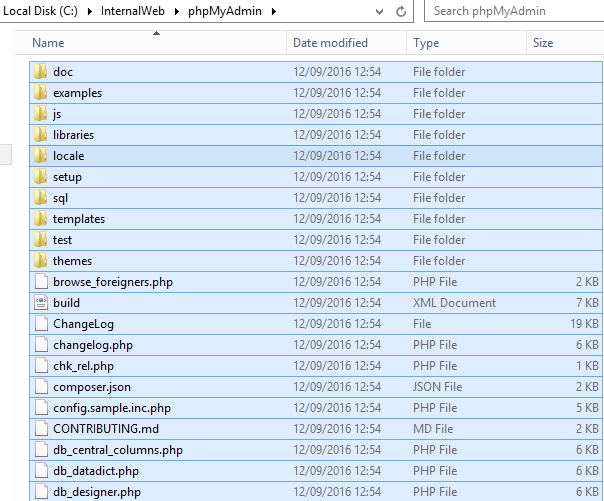
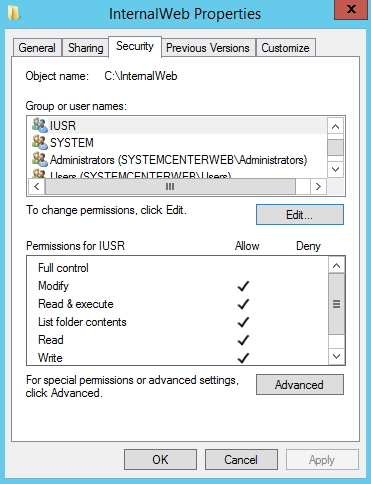
In the root of my C disk I created new folder called InternalWeb. In InternalWeb folder I created subfolder phpMyAdmin
I copied all from downloaded phpMyAdmin.zip into created folder.
I gave Modify permissions to user IUSR to folder InternalWeb and subfolder myPhpAdmin
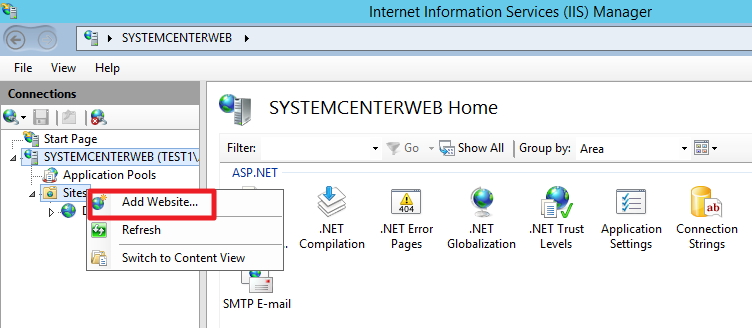
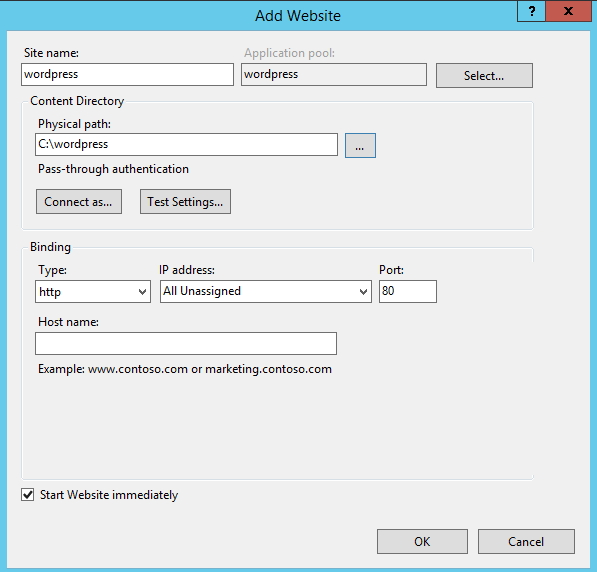
Open IIS Manager |expand Server |right click on Sites |Add Website
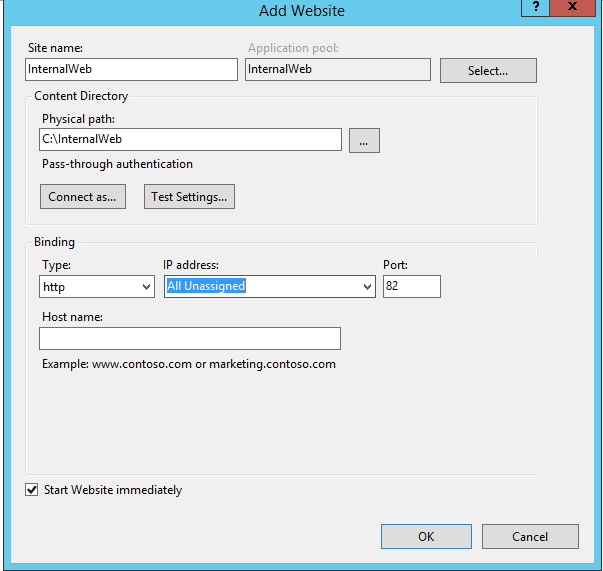
I added Site name, path to site and changed port to 82. That port is closed on firewall and phpMyAdmin will only be accessible for management on server. You can also choose IP address instead of All Unassigned |OK
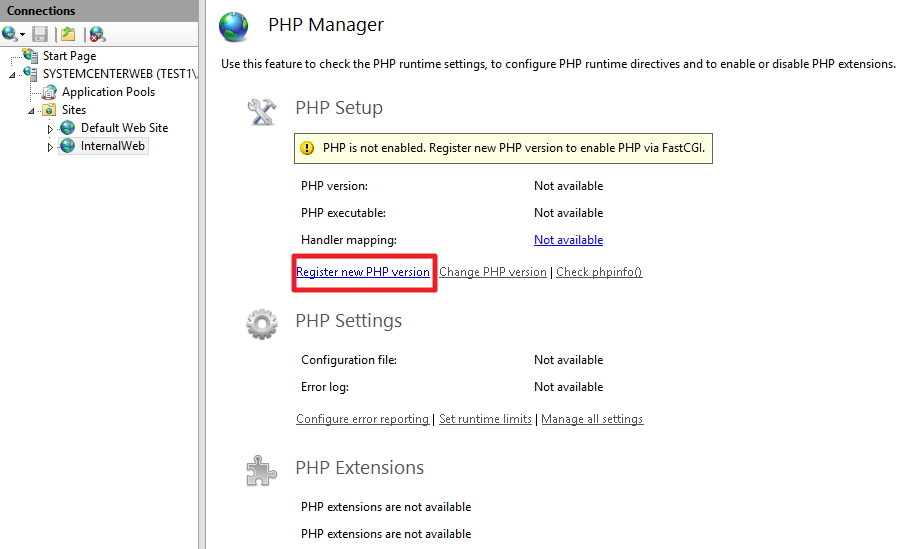
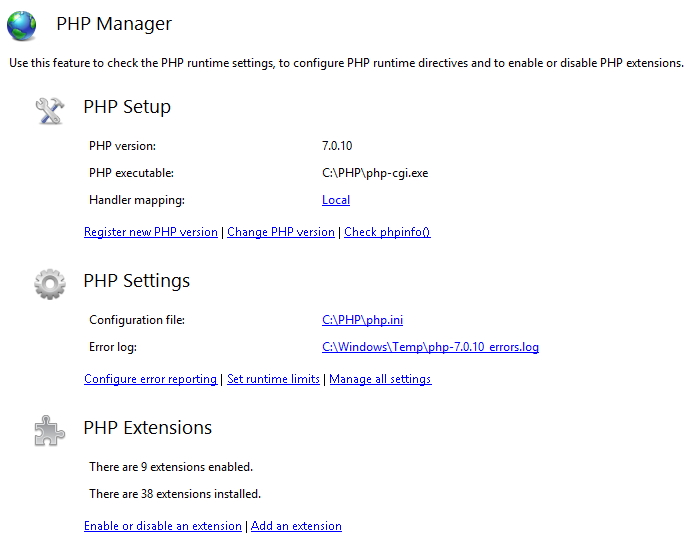
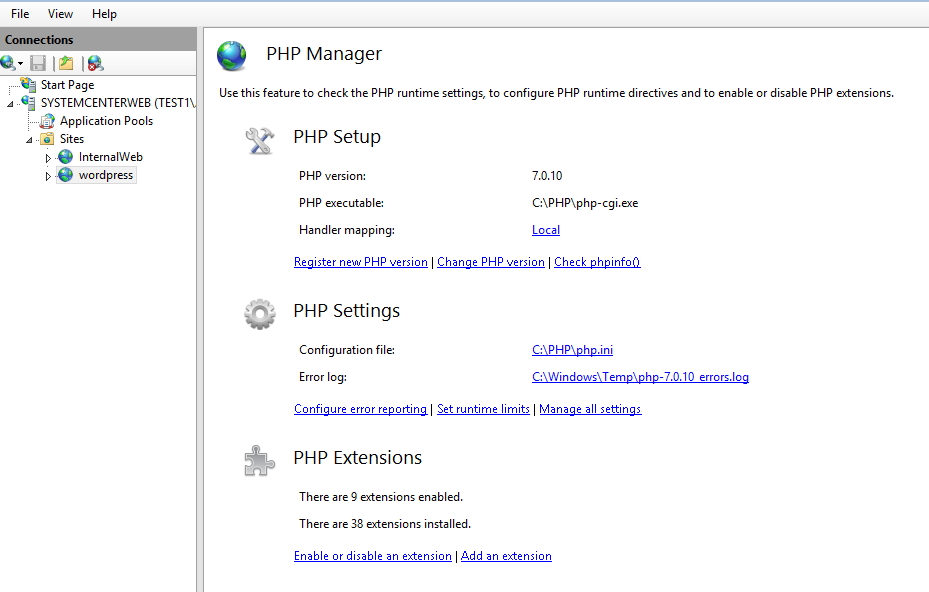
New website is created | Click on it and choose PHP manager from the middle

PHP is not enabled. We have to enable it.
Choose Register new PHP version
Choose php-cgi.exe from the folder you extracted PHP installation in the beginning
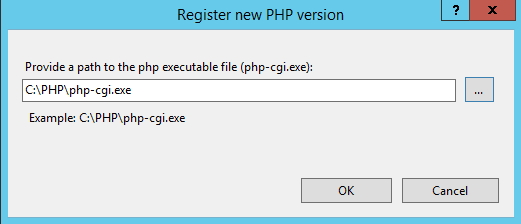
We registered PHP
After this step, head on to your web browser and depending on where and how you put your phpmyadmin enter address in URL
Enter username and password you created during MySQL installation |GO
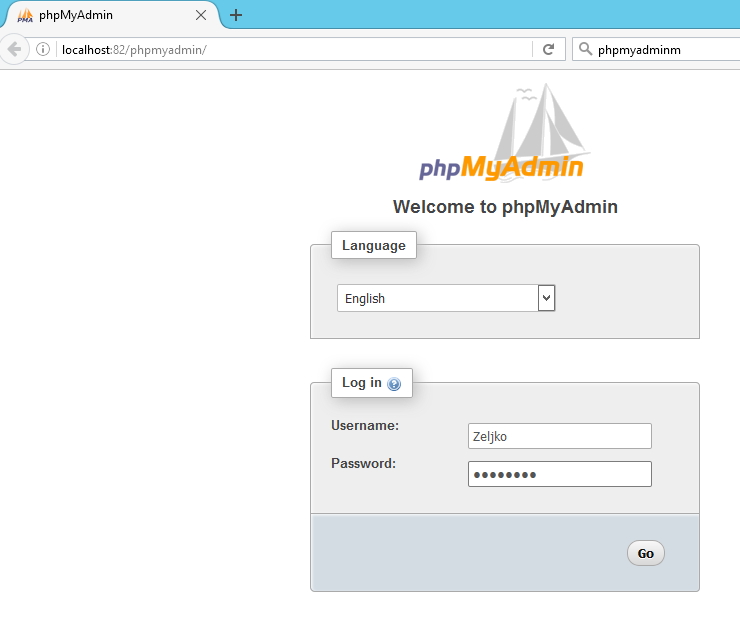
If you done everything exactly as described in this tutorial so far you`ll be able to login
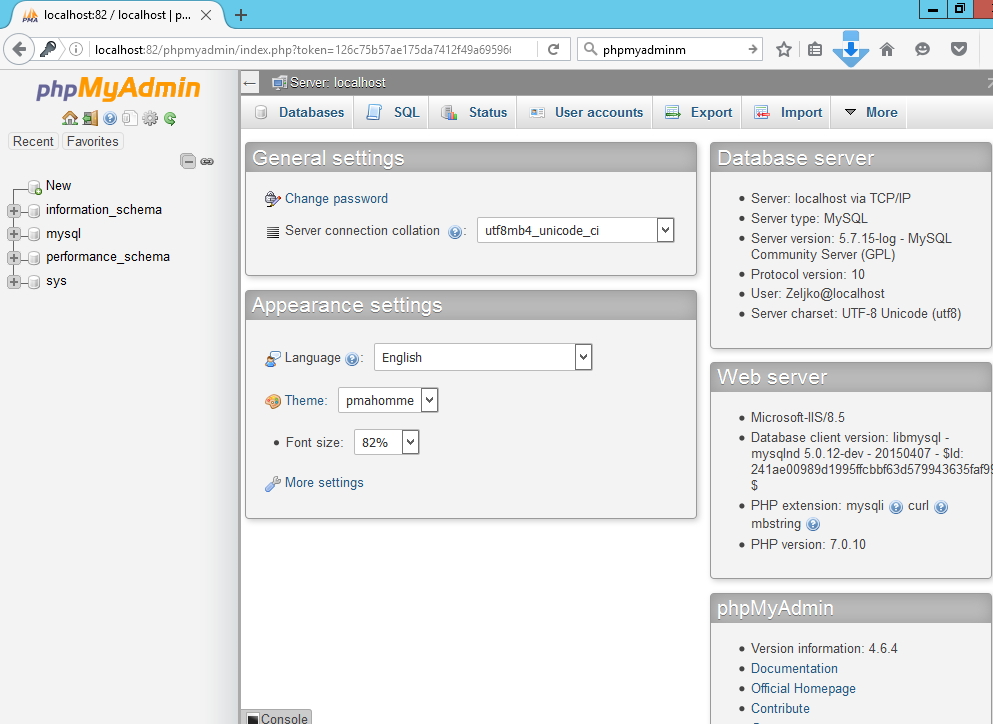
Now, while we are still here let`s create database for our WordPress installation
I entered “wordpress” for DB name and left all other settings as default (you can of course adapt settings to your needs) |Create
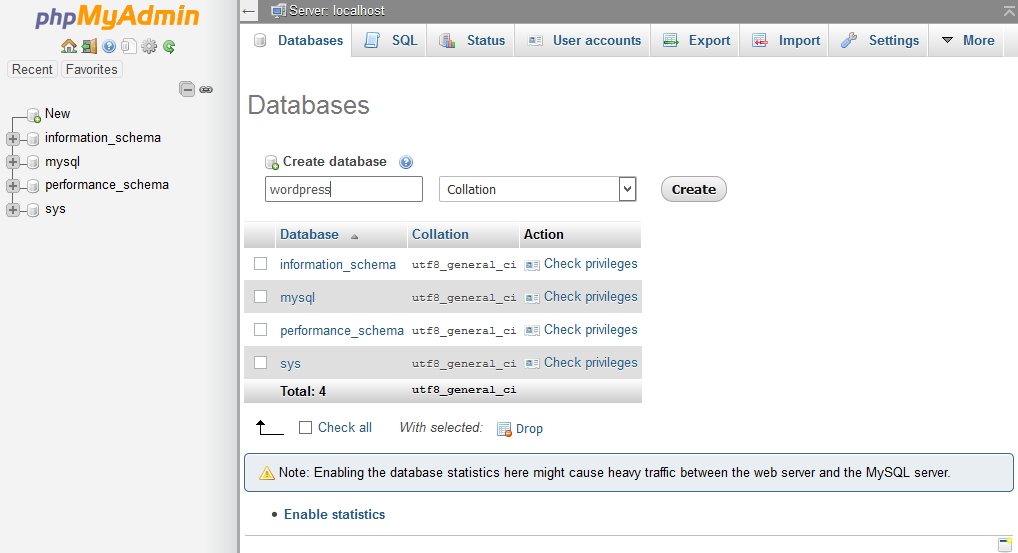
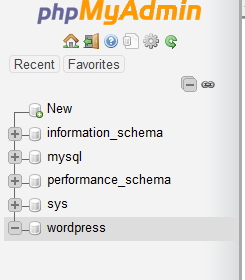
Database wordpress is created
WordPress
Download latest ZIP from here
Generally, I don`t user inetpub folder (supplied by IIS) for my websites. It is old habit I have since Server 2003 when it was vulnerability and all the attacks were usually pointed to that folder.
I will create folder in the root of C:\ named wordpress and extract wordpress install files into it. User IUSR should have permissions on it (see phpMyAdmin directory example above).
This time before creating new website in IIS I`ll do something else first.
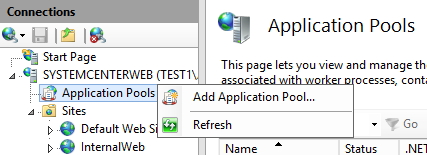
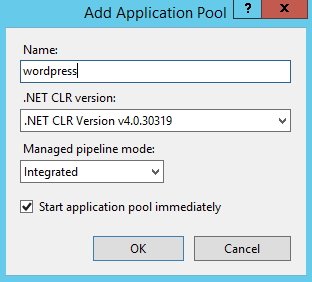
Open IIS Manager |expand Server |right click on Application Pools |Add Application Pool
I just entered name and left all the other options as default | OK
Application Pool “wordpress” should be created and Started
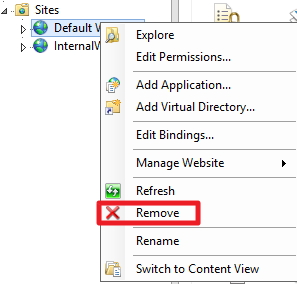
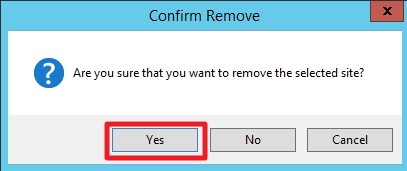
Before creating new website go to Sites |Default Web Site |right click | Remove |Yes . I don`t usually want default website to be active. Be sure to check if you have any webs or apps in it already before deleting it.
Now, follow procedure for creating new website that I already covered in this tutorial (phpmyadmin). Be sure to select “wordpress” Application Pool (or however you called it) – you can also choose IP address instead of All Unassigned |OK
Check once again PHP Manager and enable it for new website in case you already haven`t (see IIS settings for myphpadmin above).
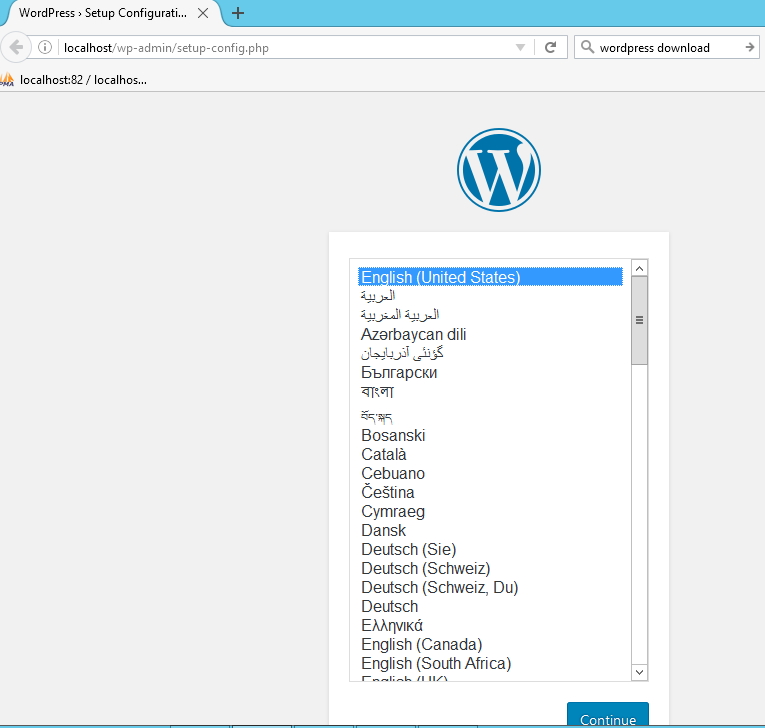
And now final step – in your web browser enter localhost – you should be greeted with setup procedure | choose language | Continue
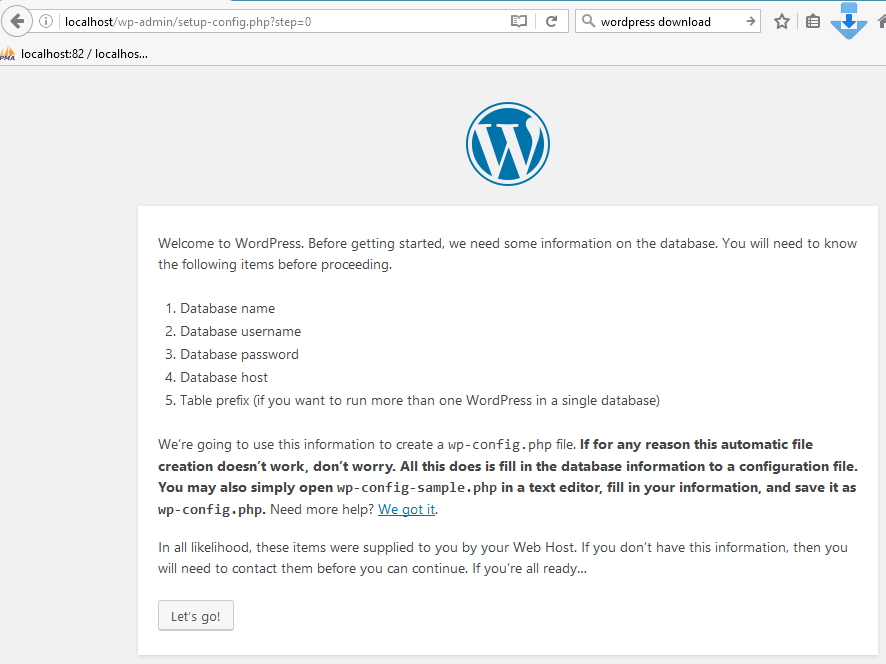
Enter DB name (you already created database in phpmyadmin) username and password for DB (created in MySQL setup) |Submit
Run the install
Enter parameters for your new website – username and password are for wordpress administration. Use only strong passwords (long with special characters included) because this part is accessible from the internet. |Install WordPress
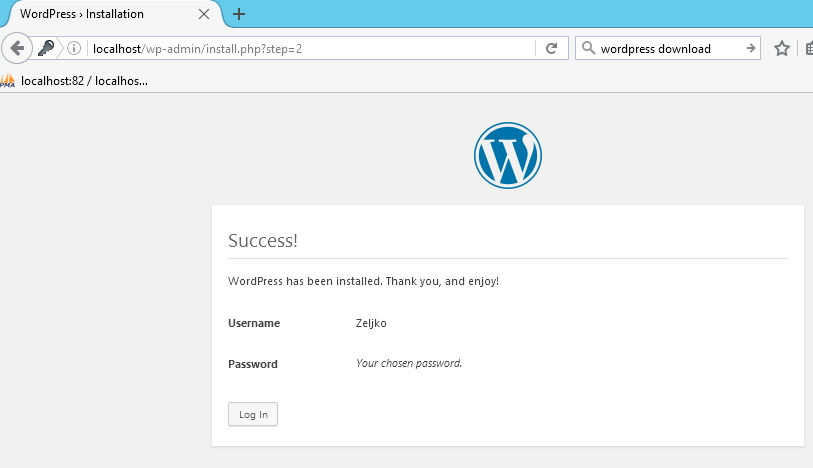
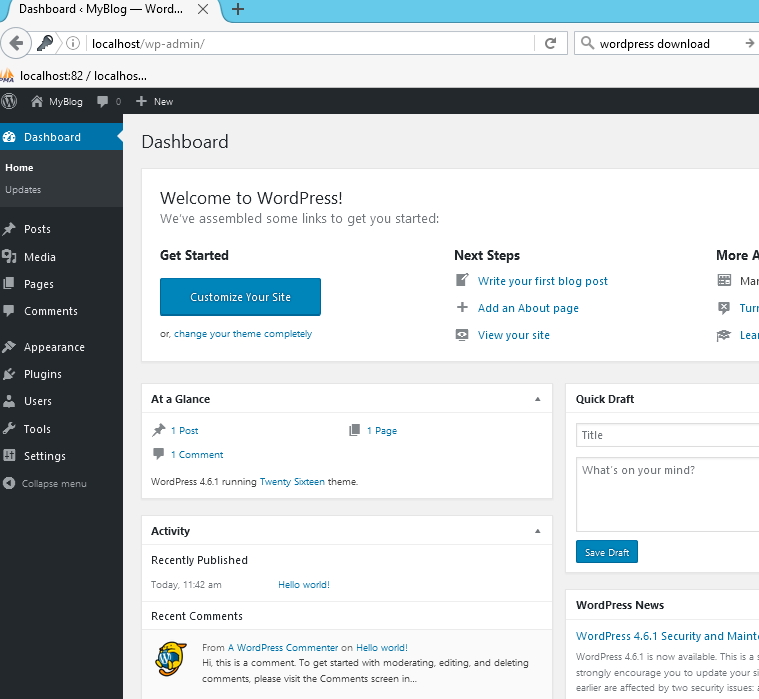
You are now taken to the administration part of your WordPress installation (login with user and pass just defined)
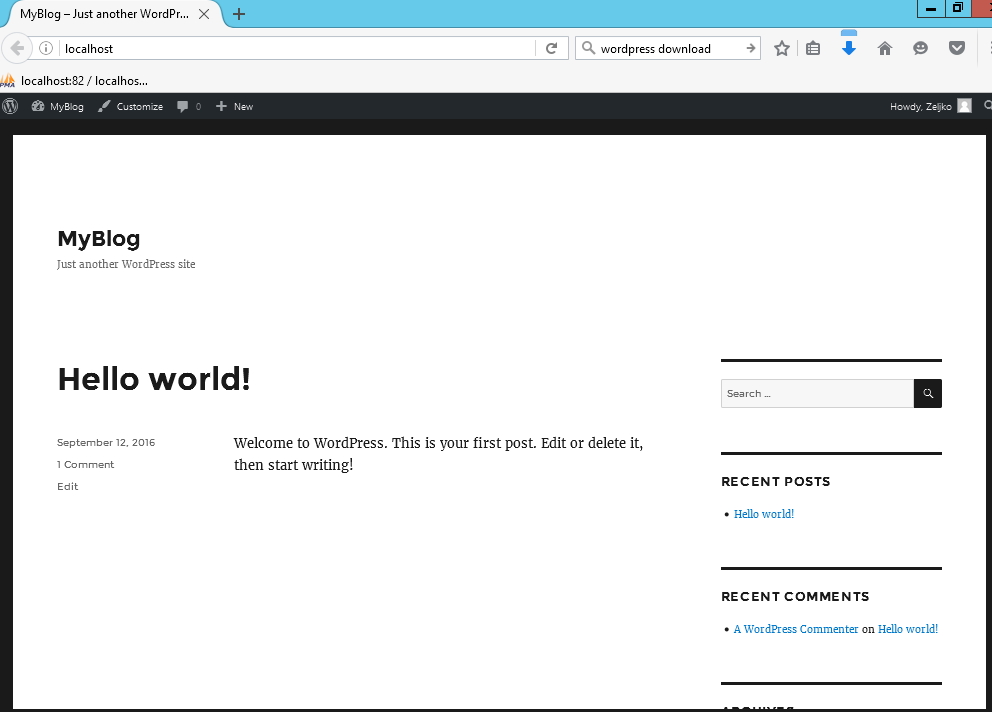
And If you enter just localhost you`ll be greeted with your new shiny website
Delete install.php from your wordpress/wp-admin folder after install finishes.
Conclusion:
There you go, WordPress is installed and working on your Windows Server 2012 R2. Security and configuration is another topic and I haven`t touched it here in details. Be sure to always stay up to date with all your installs, have AV installed, firewall in place and remember – always use strong passwords. There is no absolute security, but this with these little security measures you`ll be better protected.


