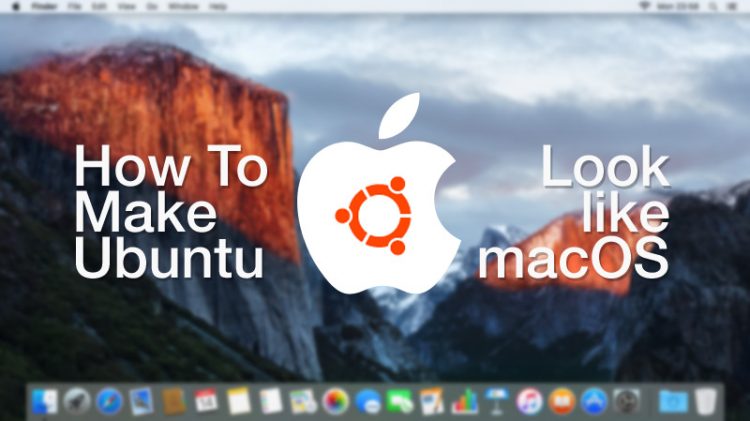
- How To Make Ubuntu Look Like Mac (In 5 Steps)
- How To Make Ubuntu Look like a Mac
- 1. Pick the Right Desktop Environment
- GNOME Shell
- 2. Install a Mac GTK Theme
- Tip: How To Install GTK Themes
- 3. Install a Mac Icon Set
- How to Install Icon Themes
- 4. Change the System Font
- 5. Add a Desktop Dock
- Plank Dock
- MacBuntu 20.04, или как сделать ubuntu похожей на macOS
- Как сделать Ubuntu 20.04 похожей на macos
- Скачиваем тему и иконки MacOS
- Скачать MacBuntu 20.04 основанную на Ubuntu 20.04
- How to Make Ubuntu Look Like macOS in 5 Easy Steps
- How to give your Ubuntu Linux a macOS makeover
- Prerequisites: GNOME Tweaks and GNOME Extensions
- Step 1: Install a macOS inspired GTK theme
- Step 2: Install macOS like icons
- Step 3: Add macOS like dock
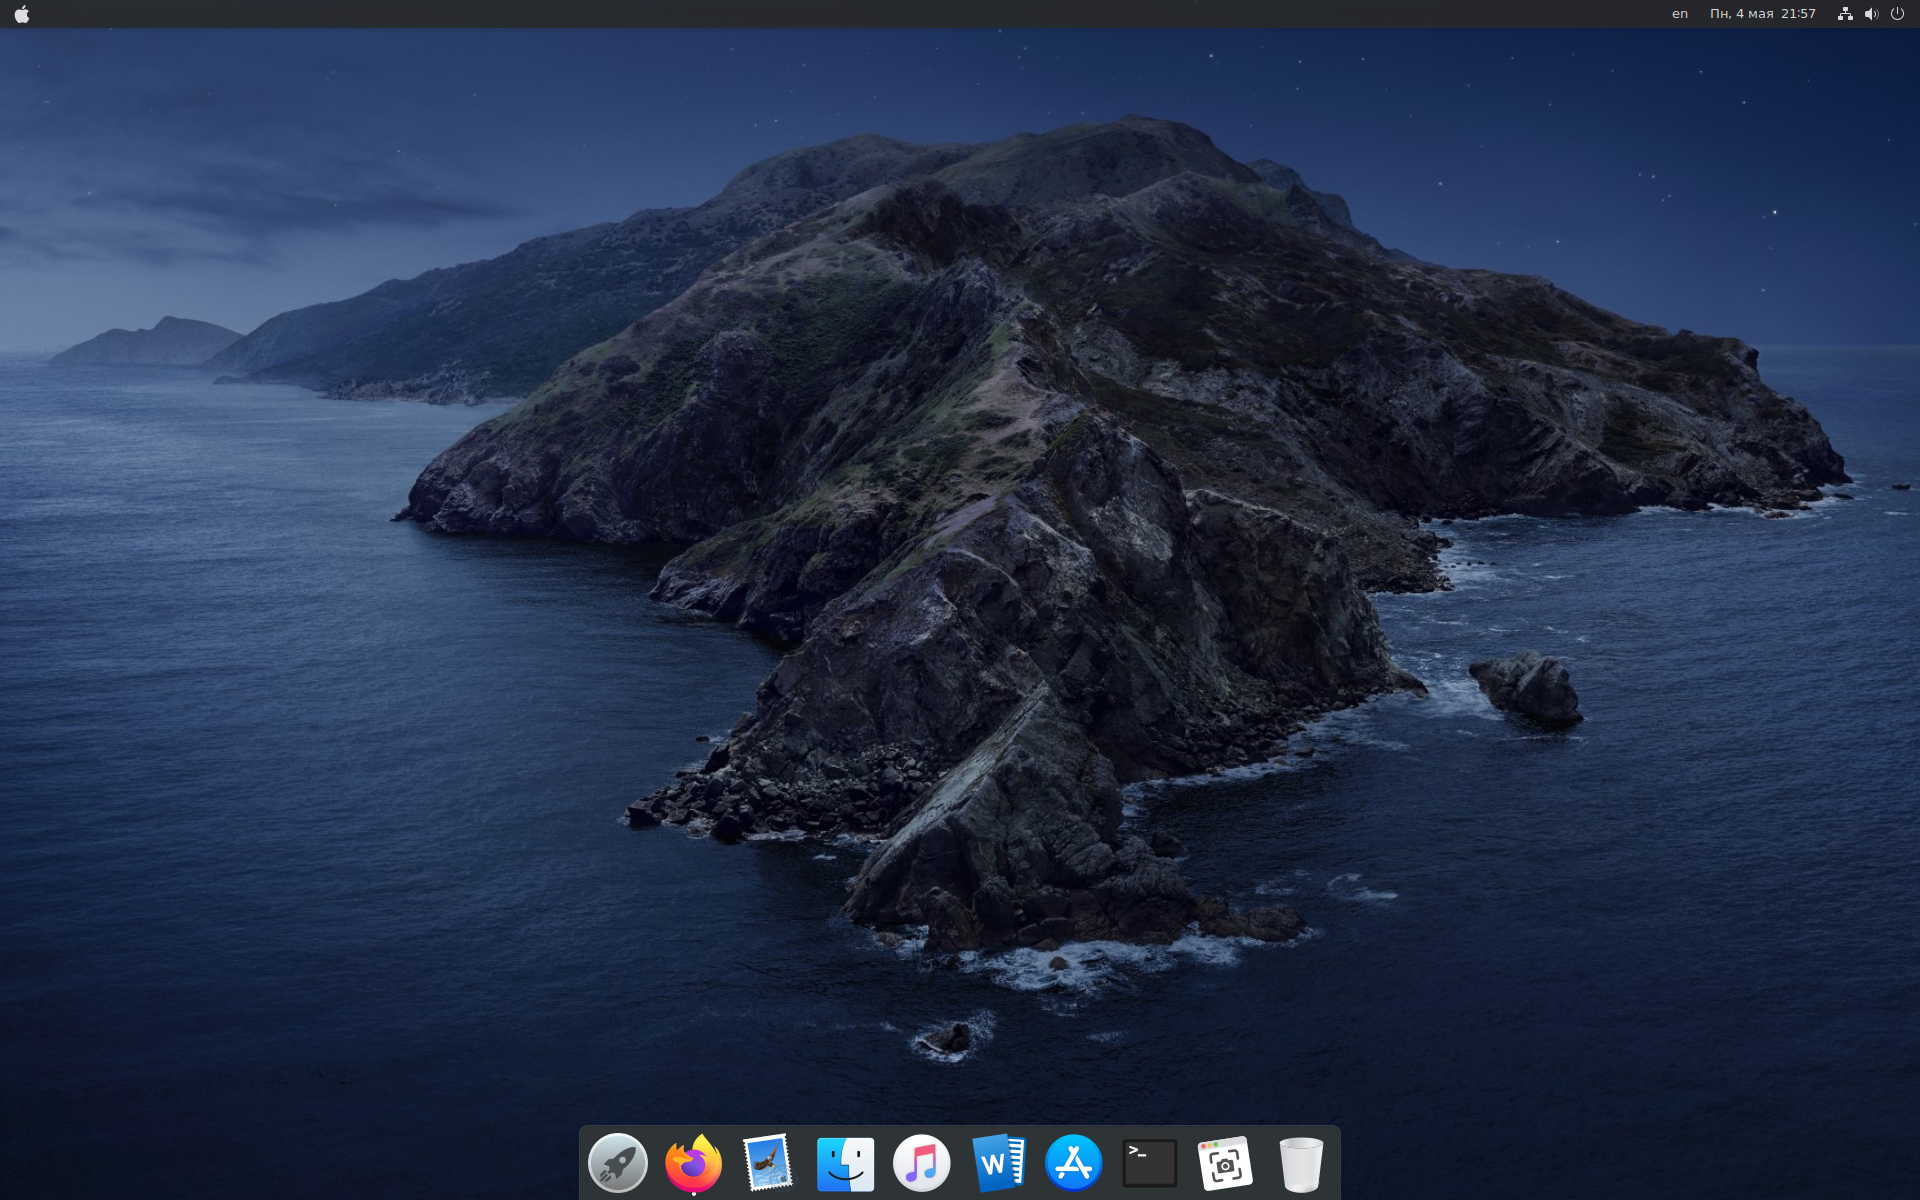
- Step 4: Use macOS wallpaper
- Step 5: Change system fonts
- Bonus Tip: Spotlight like app launcher (if you want to go the extra mile)
How To Make Ubuntu Look Like Mac (In 5 Steps)
Do you want to make Ubuntu look like Mac OS X? If so, we’re going to show you how to do it, step-by-step.
The whole point of using Linux is that you can do things like this
Whether you have a bad case of Apple envy or you just appreciate the design aesthetic of Apple’s OS; there’s nothing wrong with aping the appearance of a rival operating system.
After all, the whole point of using Linux is that you are free to do things like this — you certainly can’t make macOS look like Ubuntu!
How To Make Ubuntu Look like a Mac
A stack of Mac GTK themes, icon sets, fonts and cursors are available for Linux, most a quick Google away.
Below you’ll find the Mac GTK and icon themes we think give you the best Mac-like look on your Linux box. But don’t be afraid to explore DeviantArt, GitHub, and other avenues if our choices don’t quite match up with your tastes.
1. Pick the Right Desktop Environment
GNOME Shell

To achieve the most Mac-like look on Linux you need to use the most appropriate desktop environment, and that is GNOME Shell.
This is not a slight against other desktop environments (DEs) as Unity, Budgie, MATE, Cinnamon and more can be made to resemble Cupertino’s computing OS too.
But GNOME Shell is the most customisable desktop environment as it lets you theme and re-arrange everything you need to with the least amount hackery or fuss.
If you’re using Ubuntu 18.04 LTS or later you already have GNOME Shell, so you can skip ahead.
But if you don’t have GNOME Shell installed you will need to install it first.
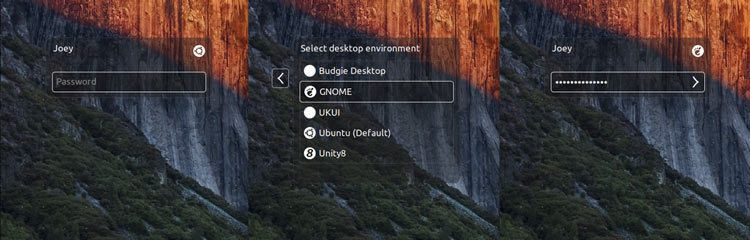
This is easy. Just click the button below and follow in the on-screen prompts (select ‘lightdm’ as the display manager when asked):
You’re also going to need to the GNOME Tweaks tool in a few steps time, so install that now too:
Once both installations are complete you need to logout and select the ‘GNOME Shell’ session from the Unity Greeter:
2. Install a Mac GTK Theme
The easiest way to make Ubuntu look like a Mac is to install a Mac GTK theme.
Our top recommendation is the ‘macOS Mojave’ theme by Vinceluice. This is a near-enough pixel-perfect clone of Apple’s OS skin, and is available in light and dark versions. It’s one of the best designed Mac GTK themes out there (it also has a matching GNOME Shell theme).
The ‘macOS Mojave’ theme requires GNOME 3.20 or later, so you’ll need to be running Ubuntu 16.10 or later to use it.
If you’re running the older Ubuntu 16.04 LTS release you can use the competent ‘macOS Sierra’ clone created by the B00merang project:
Looking for something more similar to Big Sur? We’ll be updating this post soon!
Tip: How To Install GTK Themes

Once you download your chosen macOS theme from the link(s) above, you will need to install it.
To install themes in Ubuntu first extract the contents of the archive you downloaded, then move the folder inside to the
/.themes folder in your Home directory.
If you do not see this folder press Ctrl + H to reveal hidden folders. Next, find the .themes folder or create it if it doesn’t exist. Move the extract folder mentioned above to this folder.
Finally, to change theme, open GNOME Tweak Tool > Appearance and select your chosen theme (and the GNOME Shell theme, if you also downloaded one).
3. Install a Mac Icon Set

Next grab some a Mac Icon set for Linux. A quick Google will throw up a bunch of results. Most, sadly, aren’t complete enough to function as a full icon set, so you’ll also want to use (and in some cases manually specify) a fall back icon theme like Faba, or Papirus.
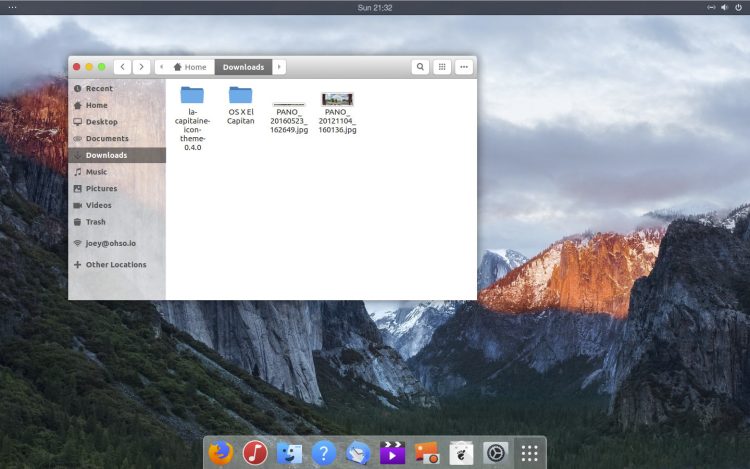
To avoid all of that hassle you may wish to use the fabulous ‘La Capitaine‘ icon pack.
What’s great about La Capitaine is that it’s a proper Linux icon set, with custom macOS inspired icons for many Linux apps and not just a direct port of mac icons to Linux. It’s also totally open-source, and is available to download from Github.
How to Install Icon Themes
Once you’ve downloaded your chosen theme from the link(s) above you need to install it. To do this first extract the contents of the archive you download, then move the folder inside to the
/.icons folder in your Home directory.
If you don’t see this folder press Ctrl + H to view hidden folders. Next, find the .icons folder or create it if it doesn’t exist. Move the extract folder mentioned above to this folder.
Finally, to apply, open GNOME Tweak Tool > Appearance and select your chosen theme.
4. Change the System Font
If you’ve used Mac OS X / macOS at some point in the past few years you’ll know it has clean, crisp system typography.
‘Lucida Grande’ is the familiar Mac system font, though Apple uses a system font called ‘San Franciso’ in recent releases of macOS.
A quick Google should turn up plenty more information (and links to download San Francisco font) but be aware that neither font is not licensed for distribution — so we can’t link you to it, sorry!
Thankfully there’s an open-source alternative to ‘Lucida Grande’ called Garuda. It’s even pre-installed out of the box on Ubuntu, so you don’t need to go on a font safari to find it.

Head to GNOME Tweak Tool > Fonts and set the ‘Windows Titles’ and ‘Interface’ fonts to Garuda Regular (or any other font you wish).
If you use Unity you can use Unity Tweak Tool to change the font on Ubuntu.
5. Add a Desktop Dock
Ask people what a Mac desktop looks like and chances are they will mention its ubiqutious desktop dock. This is a combined application launcher and window switcher.
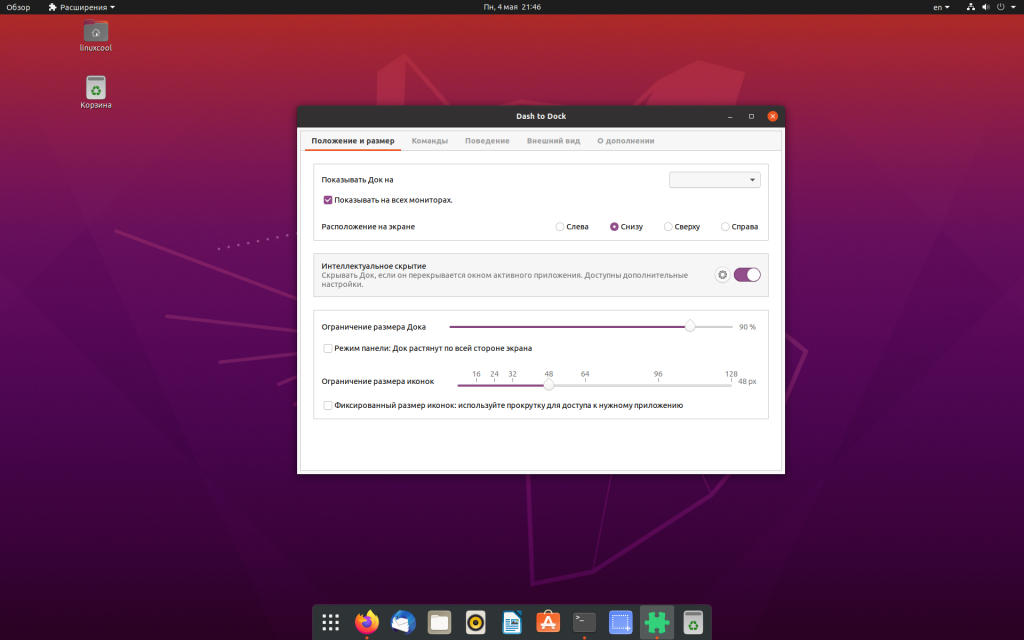
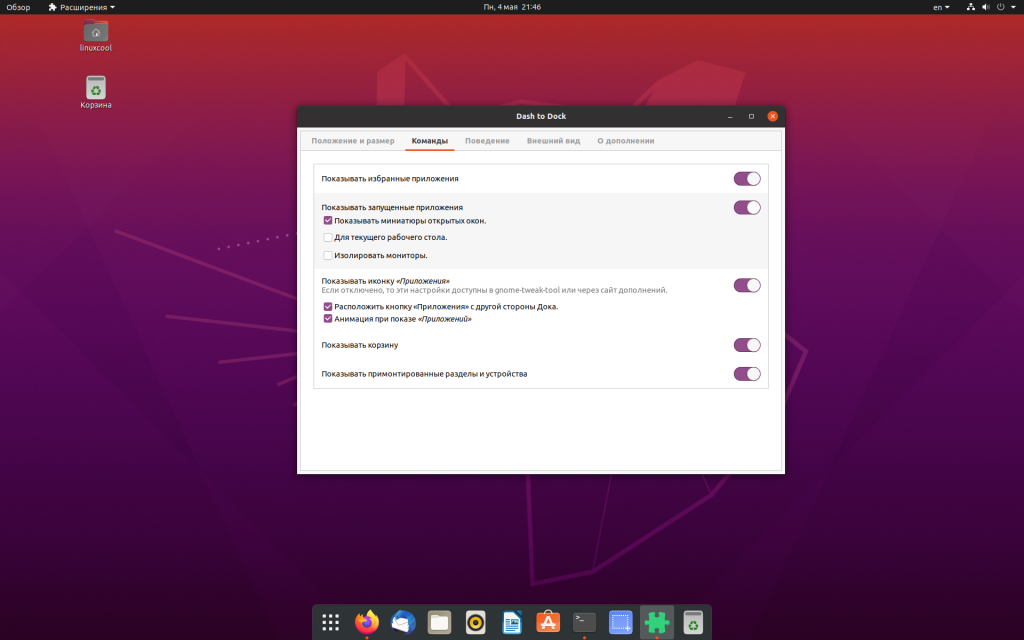
If you opted to use GNOME Shell back in Step 1 install the excellent Dash to Dock extension from the GNOME extensions site. This dock can be adjusted, tweaked and tune to look exactly like its macOS counterpart.
Dash to Dock doesn’t look very mac-ish by default so you will want to dive in to the GNOME Tweak Tool > Extensions > Dash to Dock > Appearance to change the colour to white, and lower the opacity.
Plank Dock
If you chose to stick with the Unity desktop you can set the Unity Launcher to hide ( System Settings > Desktop > Behaviour ) and install Plank, a desktop dock, to handle app launching and window switching:
Plank can be configured with all sorts of themes too, making it easy to replicate the Mac OS X experience. Gnosemite is a faithful mac Plank theme worth a look.
That’s it; we’ve achieved our aim to make Ubuntu look like a Mac — now it’s your turn.
We’d love to see a screenshot of your mac-inspired creation so do feel free to share one in the comments.
Home » How To » How To Make Ubuntu Look Like Mac (In 5 Steps)
Источник
MacBuntu 20.04, или как сделать ubuntu похожей на macOS
Привет всем! Я продолжаю рубрику macbuntu, и на этот раз, я покажу вам, как сделать Ubuntu 20.04 похожей на MacOS, а также в конце вы найдете ссылку для скачивания готовой сборки.
Очень многим людям нравится внешний вид операционной системы MacOS, и если посмотреть на сайт gnome-look (это сайт где выкладывают расширения, темы, иконки для Ubuntu), то в первых строчках рейтинга вы найдете тему и иконки именно MacOS.
Как сделать Ubuntu 20.04 похожей на macos
Первое с чего я начну, это установка дополнительных расширений. В прошлой статье, я уже показывал как установить расширение в Ubuntu 20.04, поэтому повторяться я не буду. Вы можете перейти по ссылке выше, и еще раз посмотреть инструкцию.
Какие расширения нужны?
Для начала, этого будет достаточно.
Открываем настройки Dash to Dock, и проделываем некоторые манипуляции. Перемещаем боковую панель вниз, а также меняем место кнопки “Приложения” , на другую сторону дока.
Скачиваем тему и иконки MacOS
Чтобы легче было устанавливать темы, иконки, и другие дополнения с сайта gnome-look, я советую установить OCS-URL. Для этого перейдите по этой ссылке, и скачайте deb-пакет приложения. Установите с помощью терминала
После установки, перейдите по ссылкам ниже на сайт gnome-look, чтобы установить тему и иконки
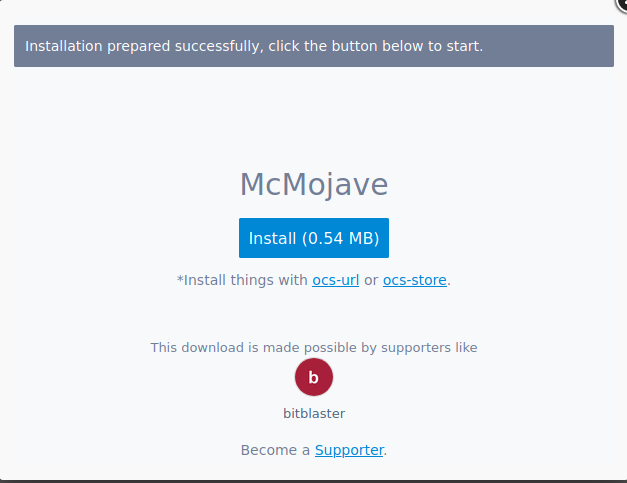
На вкладке “Files”, просто нажмите кнопку “Install”
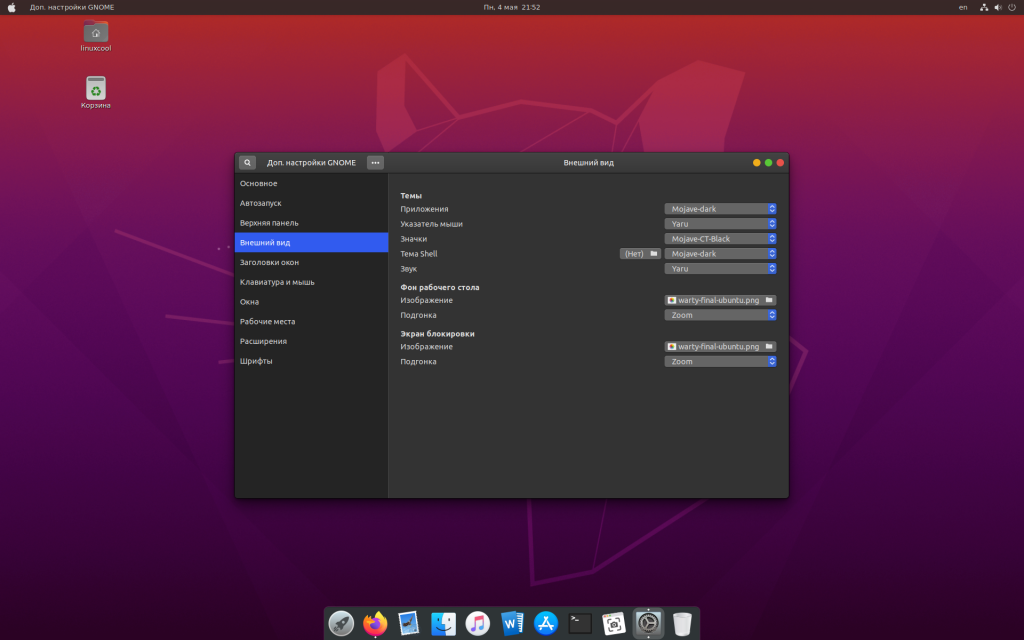
Найдите в меню приложений программу Gnome Tweak Tool, которую вы установили ранее, и перейдите на вкладку “Внешний вид”
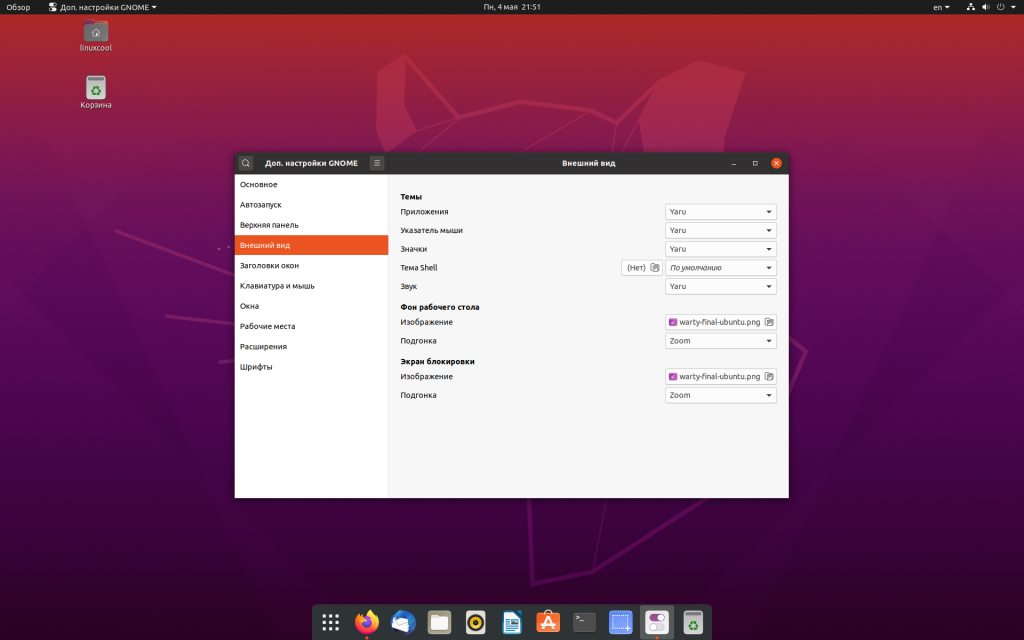
Измените “Приложения” и “Тема Shell” с Yaru на Mojave-dark, а “Значки” на Mojave CT Black
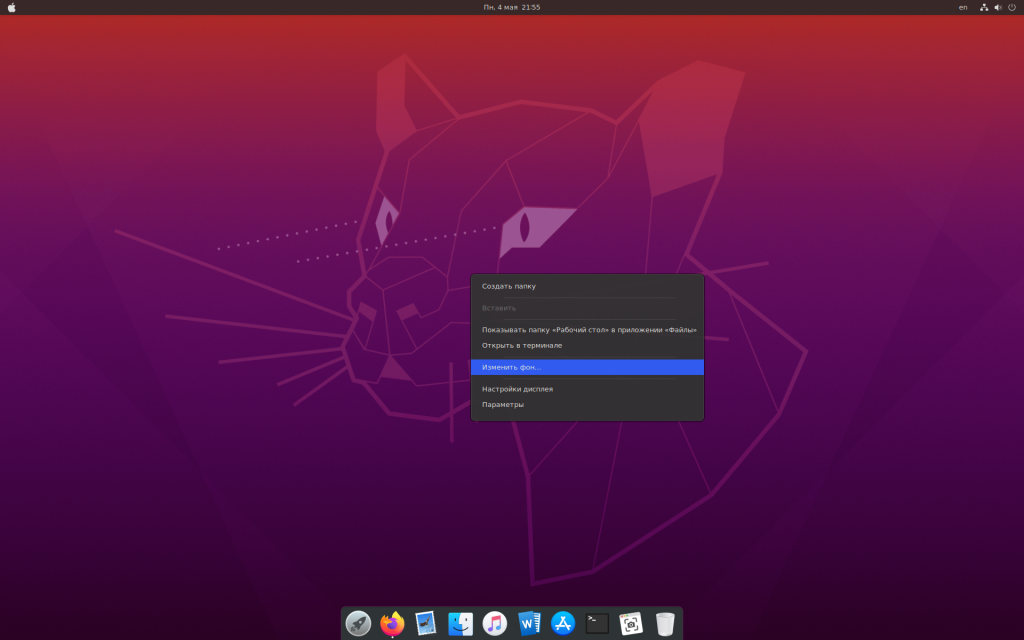
Осталось совсем немного, а именно установить обои на рабочий стол.
Вот что у меня получилось
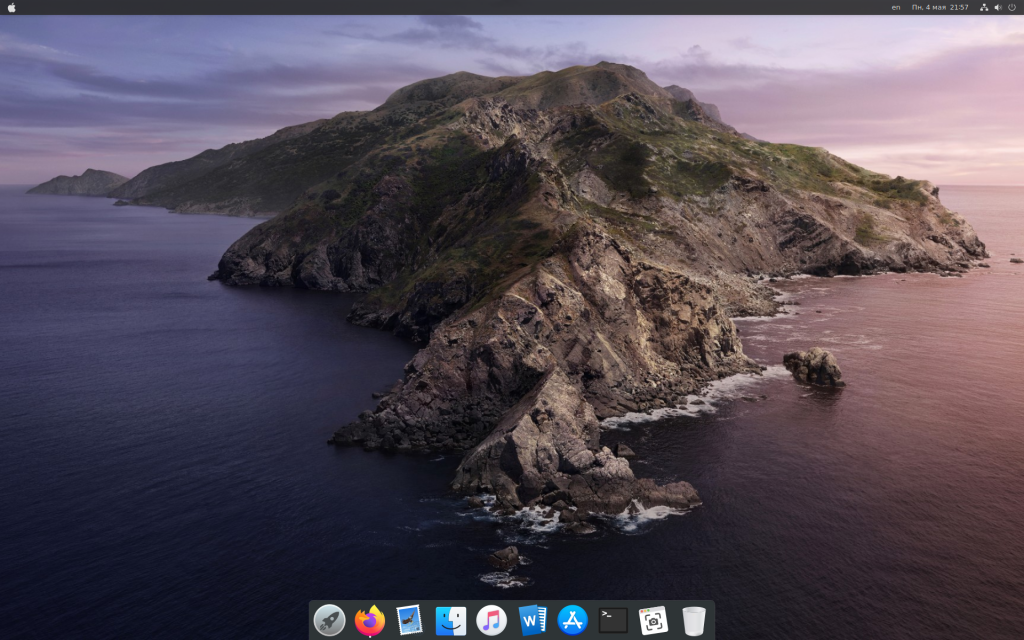
Скачать MacBuntu 20.04 основанную на Ubuntu 20.04
Если вам лень все это делать, я собрал готовую сборку, в которой уже установлена тема, иконки, а также некоторые полезные приложения, например: Google Chrome, Stacer – утилита для оптимизации и очистки системы, и другие.
После скачивания, установите как обычный дистрибутив Ubuntu, и наслаждайтесь.
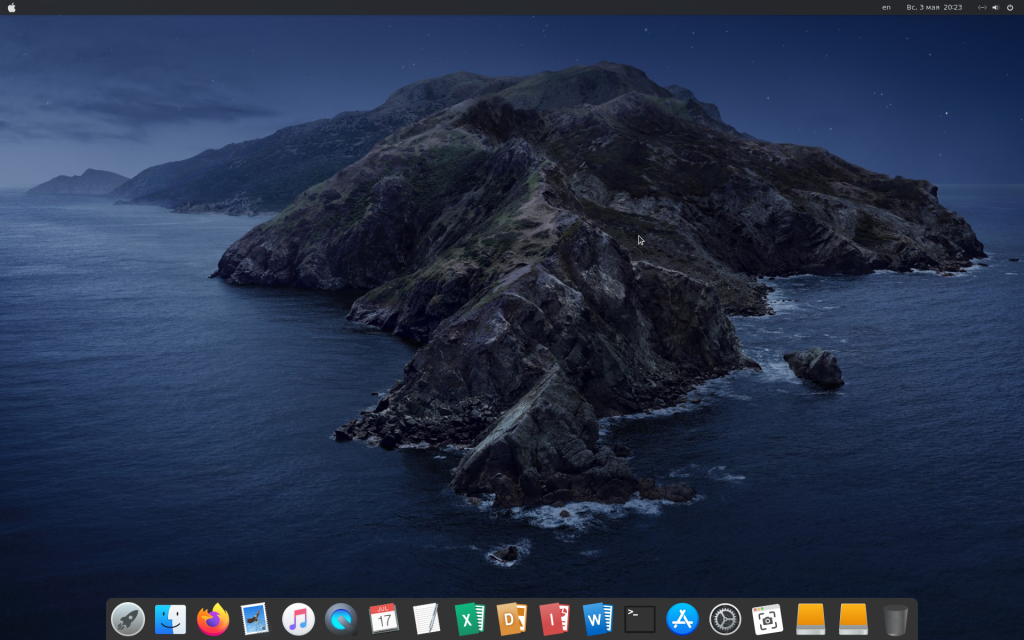
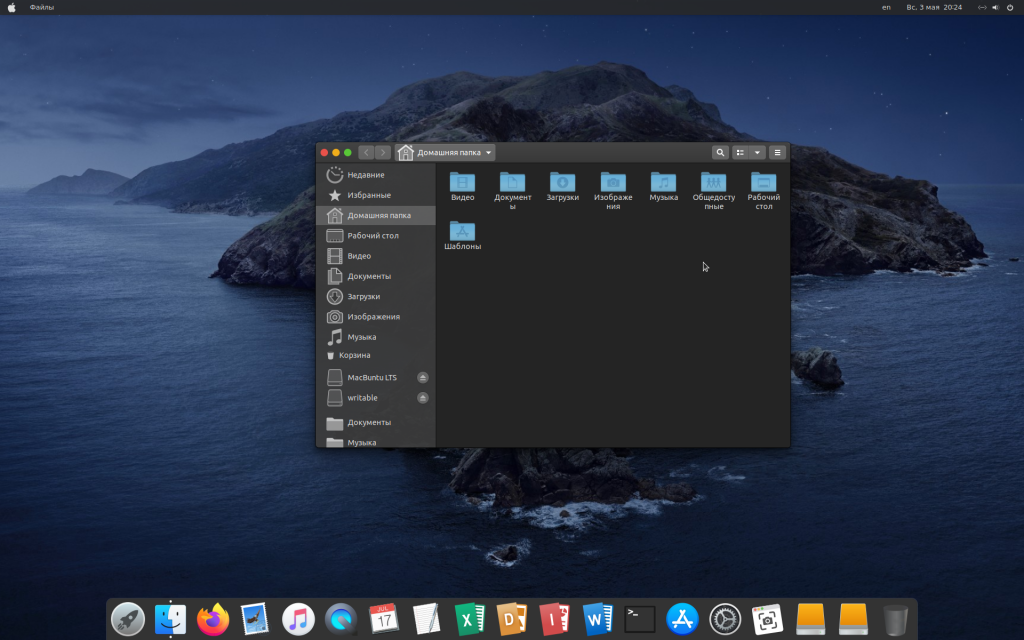
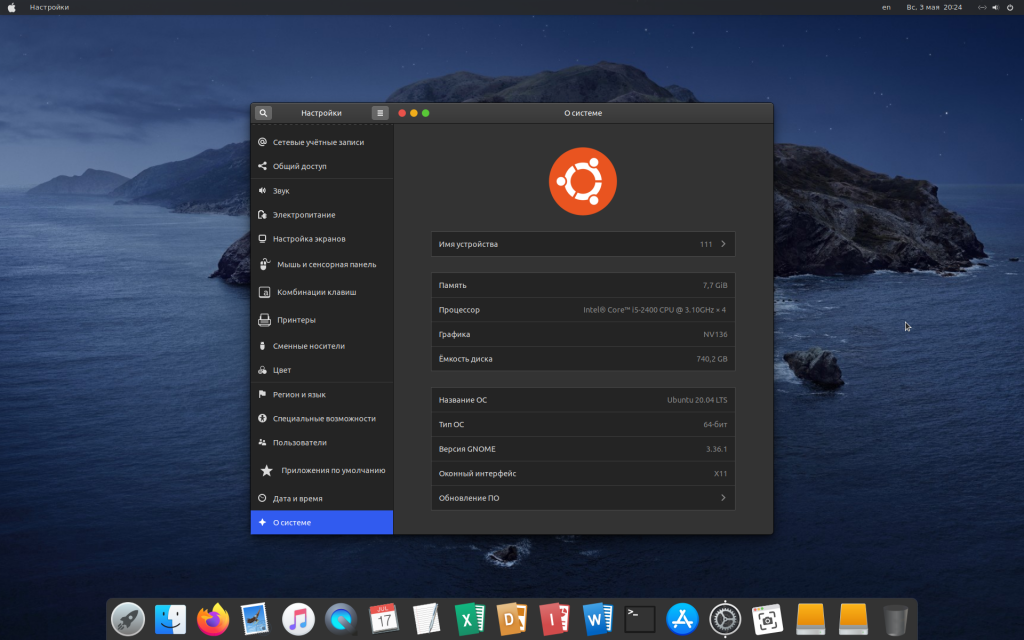
Несколько скринов сборки
Если у вас остались вопросы, не стесняйтесь, задавайте в комментариях ниже.
Источник
How to Make Ubuntu Look Like macOS in 5 Easy Steps
Last updated October 1, 2020 By Community 55 Comments
Customization is one of the main reasons why I use Linux. There is no end to the kind of customization you can do to your desktop Linux. You can change icons, themes, change fonts, change terminals, add screenlets, indicator applets, extensions and what not.
We have covered numerous desktop customization tips and tricks on It’s FOSS. In this one, I’ll show you how to make Ubuntu look like macOS.
Many people use macOS because of its simplistic and elegant look. You may disagree with it but it remains a popular opinion. Even there are Linux distributions that have macOS like look and feel.
One of the readers requested us to show how to make Ubuntu look like macOS and hence we’ve created this tutorial. In fact, this is a good example to show the customization capability of desktop Linux.
No, you don’t have to install a new distribution just for customizing the looks. You can do some tweaking on your own and give your system mac-like looks.
How to give your Ubuntu Linux a macOS makeover
Although this article suggests it’s for Ubuntu, you can follow it for other distributions with GNOME desktop with little or no changes. Please make sure to check your desktop environment.
To be honest, even if you are using some other desktop environment, you can still take some hints about what changes to do. But you have to make sure to follow the steps using your DE’s tools.
Prerequisites: GNOME Tweaks and GNOME Extensions
Please make sure to install GNOME Tweaks tool. You’ll need it for changing the themes and icons.
You’ll also need to enable GNOME Extensions for changing GNOME Shell and adding planks.
After you enable GNOME Extension, you need to install “user themes” extension from Gnome extensions or just go to this link and click on the switch to turn it on.
I also expect you to have some knowledge about installing themes in Ubuntu. I’ll briefly touch on this subject, though.
Let’s see the steps one by one.
Step 1: Install a macOS inspired GTK theme
Since the focus is on making GNOME look like macOS, you should choose a macOS like theme. There are plenty of themes which are macOS like.
Download a theme of your choice
You can go to Gnome-look site, and look for themes for GTK3. Don’t worry if you see “Pling” written on the Gnome-look website, they both are from same providers.
You can choose any theme you want. Here are some macOS themes I think you should take a look at:
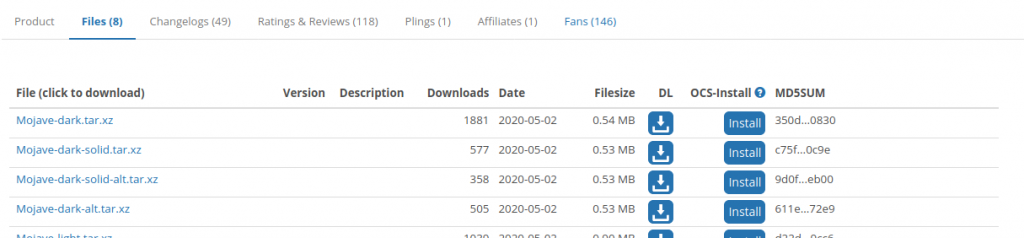
I shall be using “McMojave” in this article. You can choose any theme you want. You will find dropdown download button on the right side of website, click on it.
Here you may find various “.tar.xz” files. These different files contain same theme with small differences. Like in “McMojave” we have variations like dark and light theme. You can try them all, or just pick anyone you like from the carousel given in middle.
Set downloaded theme
Extract the downloaded theme and copy this extracted theme folder to .local/share/themes folder.
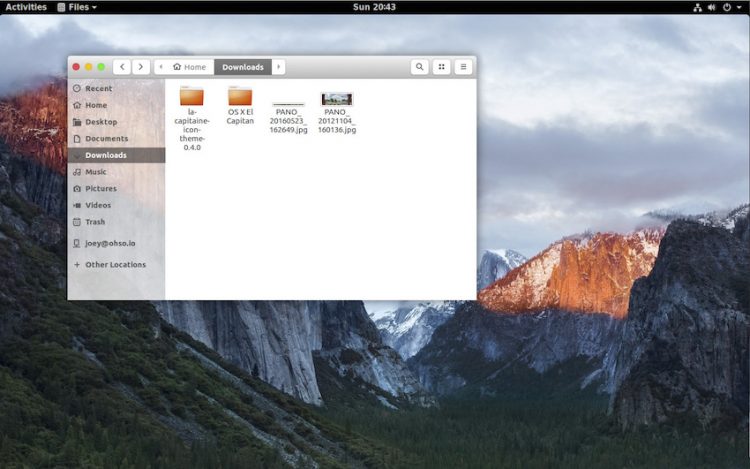
Open GNOME Tweak tool and change the Application and Shell theme. As soon as you change the themes, you can see those three yellow, green and red buttons, and that Apple logo on upper left corner. You can also notice come changes on panel items.
Step 2: Install macOS like icons
The next step in this macOS makeover is to use macOS like icons.
Download icon set
Here are some icon sets I suggest that you can download from Gnome-look website:
I shall be using “McMojave-circle” in this article, feel free to use any icons you like.
Just like the theme, you can download it from “download” dropdown button from right side. Here you may also find various different versions of same icons.
Set icon
Now set the downloaded icon. For that extarct the download folder and copy it to .icons folder in your home directory. See this article on installing icon themes in Ubuntu.
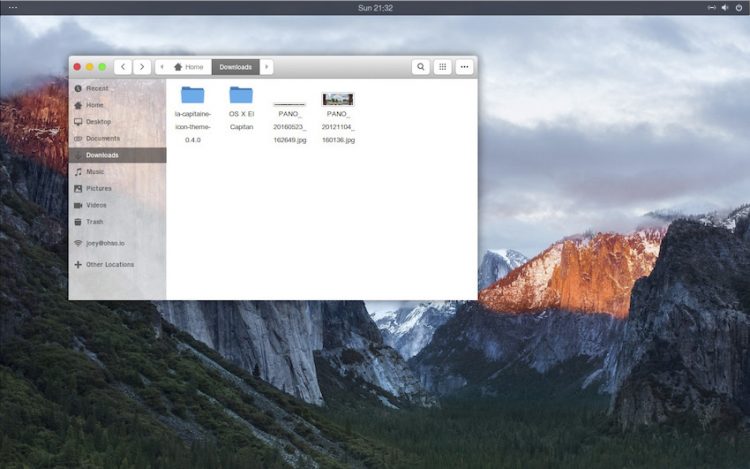
This is what this icon looks like:
Mcmojave Circle Icons Look
Step 3: Add macOS like dock
Without macOS like dock, your Ubuntu will not look like macOS. There are various docks available for Linux. I like Dash to Dock and I am going to use it here.
Dash to Dock is a GNOME extension. By now you are familar with GNOME Extensions. Just go to this link and click on toggle button to install it. Your native dock will be automatically replaced with dash-to-dock.
You can change settings by right clicking on “show applications” button (rightmost menu button), and selecting “Dash to dock settings”.
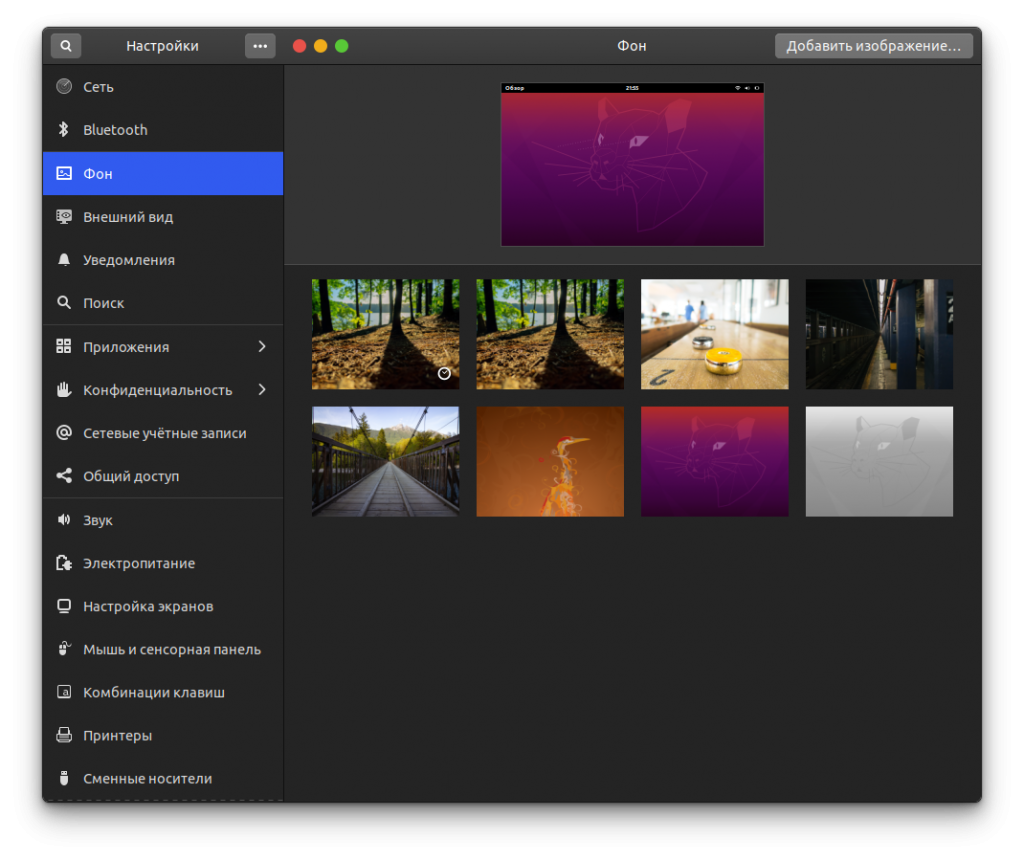
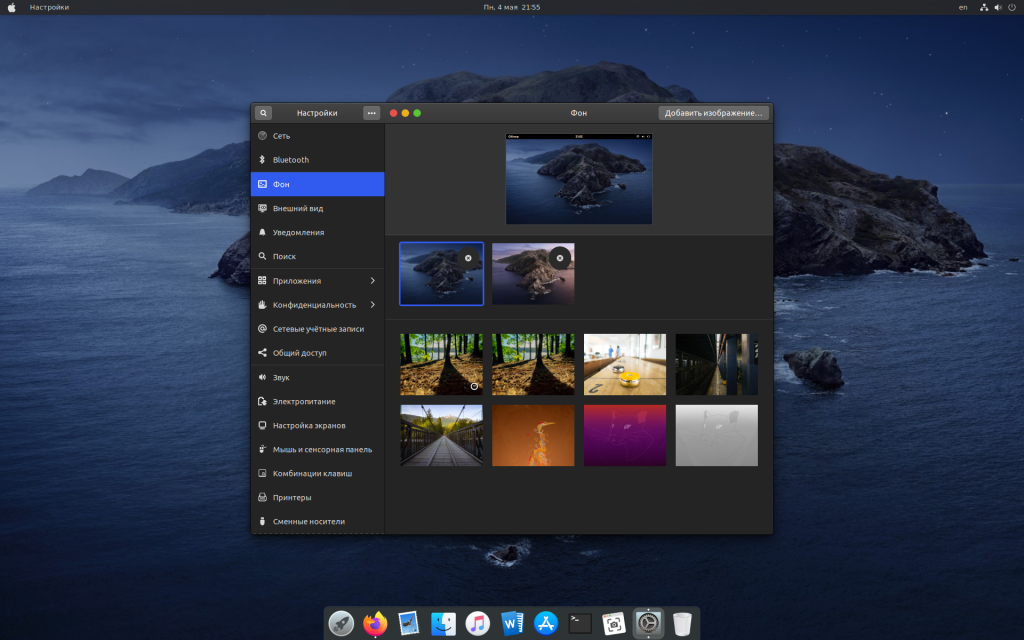
Step 4: Use macOS wallpaper
Most of the complicated stuff are done. Now it’s time to set macOS wallpaper. You can download macOS default wallpapers from the link below:
Change the desktop background
I shall be using “Mojave Day” wallpaper. Right click on the downloaded image and select ‘Set As Wallpaper’ option to change the wallpaper.
After setting this wallpaper, this is how my system looks like:
Change the lock screen Wallpaper
The lock screen background option is removed from the settings of Ubuntu 20.04. Now it uses blurred desktop wallpaper as the background of lock screen.
To set a custom lock screen wallpaper, you can use “Lock screen background” extension.
Open “Lock screen background” extension setting, and set lock screen wallpaper.
This is how the lockscreen looks now. If you are wondering, here’s how to take screenshot of lockscreen in Ubuntu.
Step 5: Change system fonts
For several years, the primary system font in macOS is ‘San Francisco’. But this San Francisco font is not public domain but proprietary like so many other things in the Apple ecosystem. For this reason, you cannot use this font.
What you can do is to use an open source font that looks similar to the San Francisco fonts. I recommend using Roboto font by Google or Source Sans Pro by Adobe.
Installing fonts is straightforward in Ubuntu. Download the zip files of the fonts and just double-click on the ttf files in the extracted folder. It will give you the option to install the fonts one by one.
If you want to save time and install all the fonts at once, extract all fonts in it to the “.fonts” directory in your home folder (
Once you have installed the fonts, you can change the system wide font using GNOME Tweaks tool.
Bonus Tip: Spotlight like app launcher (if you want to go the extra mile)
If you are a fan of macOS Spotlight launcher, you may have something similar on Linux also. My favorite package for getting this kind of launcher is “Albert“.
After installing; open “Albert” and set hotkey (key combination you want for opening launcher) and you are good to go. I think in macOS, the Command+Space is to launch Spotlight. You may set Super+Space keyboard shortcut in Ubuntu.
You will get many themes in built, in picture below I’ve used “Spotlight dark”.
Albert won’t be able to launch apps directly, you have to give it permissions for where it can look for search results.
After setting up, this is how it looks:
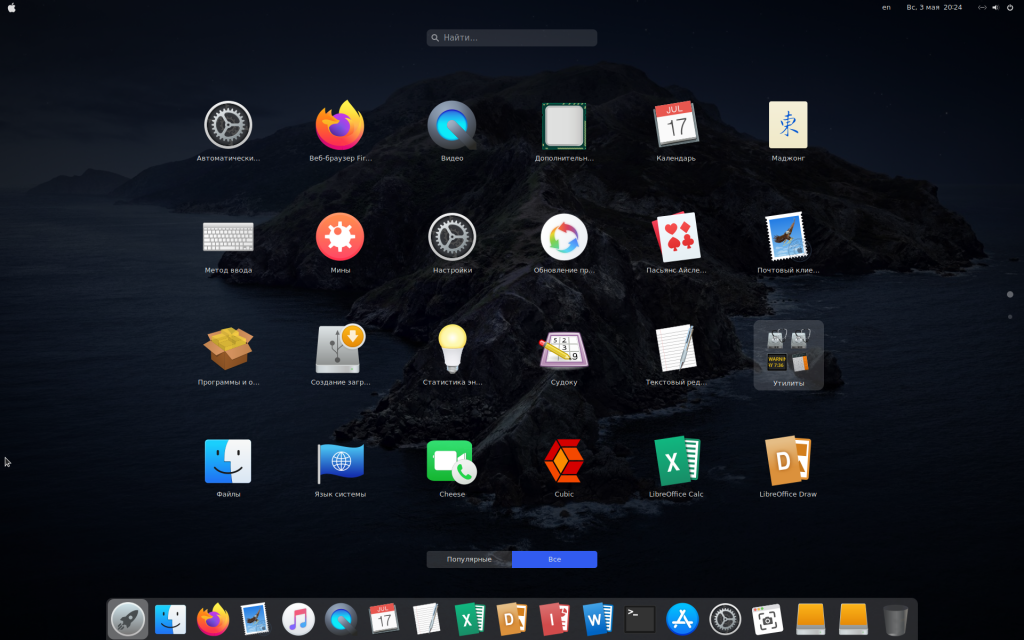
This is how my Ubuntu 20.04 looks like after making all the customizations. Does it look like macOS? You be the judge.
So, this is how you can make your GNOME desktop look like macOS. As I said in the beginning, this is a good example of Linux desktop’s customization capability.
If you have any new ideas or have any queries; the comment section is all yours.
Written by Sumeet with additional inputs from Abhishek Prakash.
Like what you read? Please share it with others.
Источник


