- Install ZSH on Linux and make it your default Shell
- How to install and configure Zsh on Linux
- 1. Z Shell
- 2. Oh-My-Zsh & plugins
- 2. Configuring Zsh
- 4. Make Zsh default
- yovko / ohmyzsh.md
- This comment has been minimized.
- irvv17 commented Jan 26, 2021
- This comment has been minimized.
- 117503445 commented Feb 25, 2021
- This comment has been minimized.
- yovko commented Feb 25, 2021
- This comment has been minimized.
- ANGlTHUB commented Apr 11, 2021
- This comment has been minimized.
- ramy-gendy commented Apr 16, 2021
- This comment has been minimized.
- yovko commented Apr 16, 2021 •
- This comment has been minimized.
- ijuanfe commented Apr 21, 2021
- This comment has been minimized.
- Empty-stu commented May 31, 2021
- This comment has been minimized.
- DesKevinMendez commented Jul 11, 2021
- This comment has been minimized.
- AltusJVR commented Aug 4, 2021
- This comment has been minimized.
- harshil-darji commented Aug 24, 2021
- This comment has been minimized.
- ardian-sah commented Aug 28, 2021
- Настройка Zsh и Oh my Zsh
- Установка Zsh
- Настройка Zsh
- 1. Настройка истории
- 2. Автодополнение
- 3. Раскладка клавиатуры
- 4. Другие опции
- 5. Сохранение настроек
- 6. Приглашение оболочки
- 7. Установка oh my zsh
- 8. Настройка темы
- 9. Оболочка по умолчанию
- Выводы
Install ZSH on Linux and make it your default Shell
How to install and configure Zsh on Linux

B ash ( Bourne Again Shell) is the default command-line shell on many distributions. Zsh ( Z Shell) is a powerful shell that operates as both an interactive shell and as a scripting language interpreter.
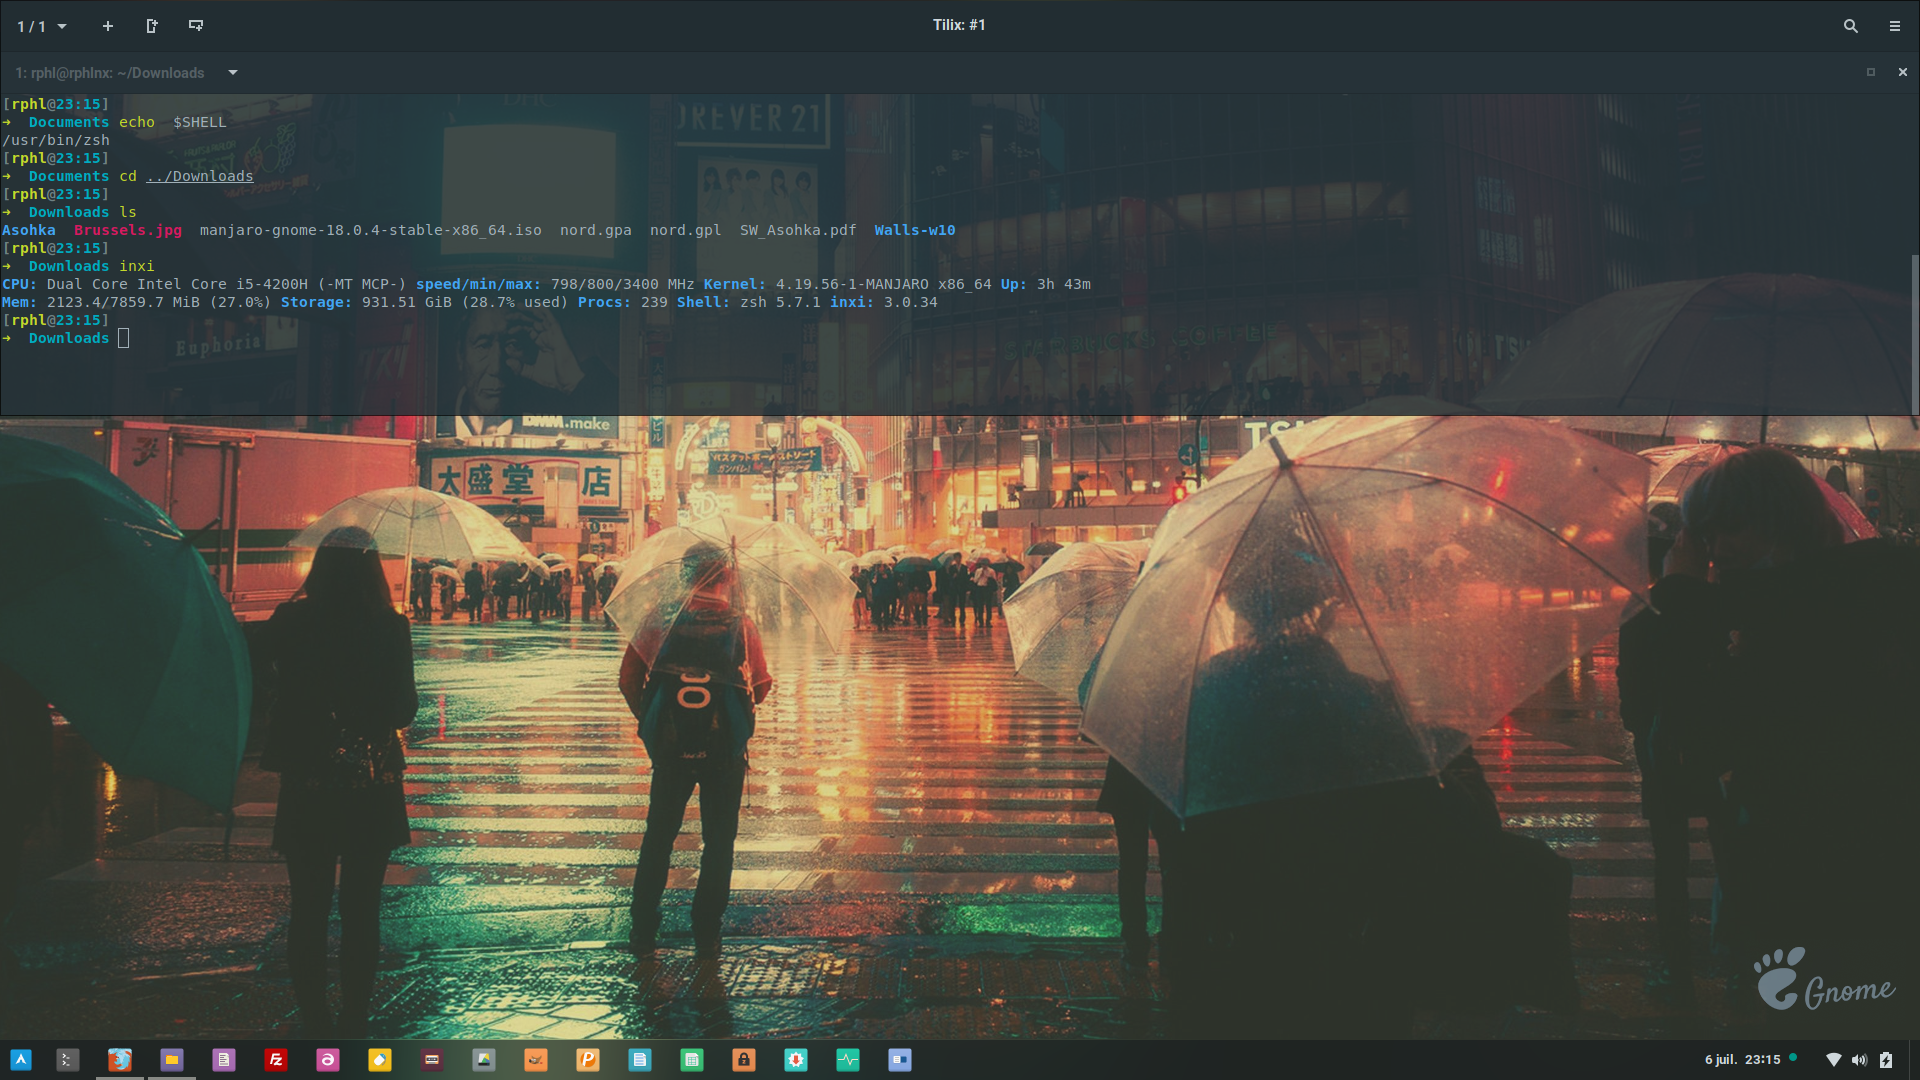
Check your current shell:
1. Z Shell
Please replace pacman in the following codelines by your distro package manager: apt, dnf etc.
Install the zsh package:
Test it by running zsh in your terminal. If you were using bash, you’ll switch to the zsh prompt. The prompt model will be different, since you’re using a different config file, not your classic .bashrc:
For basic configuration run the following command:
Follow the recommended options, save and exit.
2. Oh-My-Zsh & plugins
Now, let’s install a powerful additional program: Oh My Zsh
A delightful community-driven (with 1,300+ contributors) framework for managing your zsh configuration. Includes 200+ optional plugins, over 140 themes to spice up your morning, and an auto-update tool so that makes it easy to keep up with the latest updates from the community.
This framework will easily make Zsh friendlier by improving its usability, through plugins and themes.
zsh , wget and git should be installed first. Install the program:
I recommend installing 4 additional plugins that we’ll activate later through OMZ configuration file :
Fantastic search tool combined with fd
You’ll need to add the following lines at the end of .zshrc
2. Configuring Zsh
For advanced configuration, modify the
./zshrc config file.
- Plugins (list of plugins): OMZ comes with a large list of plugins waiting to be activated by entering their names in the plugins section, as follow. In this section, add the name of the additional plugins we installed manually, in bold:
- Theming (list of themes): enter the name of your favorite theme in the ZSH_THEME section:
Would you want to modify some theme colors, ZSH use Spectrum. Get a list of colors code withb spectrum_ls
Copy your aliases from the .bashrc file into .zshrc, as well as other commands you may have created.
Tip: Apply the changes without needing to logout and then back in by running source
4. Make Zsh default
On Manjaro, Fedora, Ubuntu… :
Log out and log in back for the changes to take effect.
Источник
yovko / ohmyzsh.md
ZSH (using Oh My ZSH) on Manjaro Linux
0. If ZSH is not already installed on your Manjaro system you can do it with the command:
You do not need to install manjaro-zsh-config and all the other related packages like zsh-syntax-highlighting , zsh-history-substring-search , zsh-autosuggestions , etc., as we will use Oh My Zsh.
2. Installation of two important plugins I can’t live without
3. Configuring zsh
/.zshrc config file editting plugins section like this:
Change the theme to agnoster:
4. Logout/logon or apply the changes with:
5. Make zsh default if you haven’t already:
This comment has been minimized.
Copy link Quote reply
irvv17 commented Jan 26, 2021
Thanks, very helpful 🙂
This comment has been minimized.
Copy link Quote reply
117503445 commented Feb 25, 2021
./zshrc should be
This comment has been minimized.
Copy link Quote reply
yovko commented Feb 25, 2021
Sure. Of course. Thanks!
This comment has been minimized.
Copy link Quote reply
ANGlTHUB commented Apr 11, 2021
chsh -s $(which zsh)
Changing shell for an.
Password:
chsh: Shell not changed.
This comment has been minimized.
Copy link Quote reply
ramy-gendy commented Apr 16, 2021
Same issue, did you find a fix?
This comment has been minimized.
Copy link Quote reply
yovko commented Apr 16, 2021 •
There is no need to change the shell in the Gnome edition of Manjaro as zsh is already the default one. I’m not sure if this is the case. Actually, the default zsh setup in the latest Manjaro/Gnome is wonderful, and I will not recommend Oh-My-ZSH anymore.
This comment has been minimized.
Copy link Quote reply
ijuanfe commented Apr 21, 2021
Hello guys, do not forget that by default Manjaro uses the Konsole terminal. Open a Konsole > Settings > Configure Konsole. > Profiles > edit your current profile or create a new one > General > in Command add «/usr/bin/zsh» (without quotation marks). You probably are running bash shell by default in your Konsole profile. Do not forget to logout and login back to your Manjaro account to load the config. If it keeps printing «chsh: Shell not changed.» maybe your shell is already Zsh, use the command «echo $0» to print your current shell and verify that.
This comment has been minimized.
Copy link Quote reply
Empty-stu commented May 31, 2021
Thx!
Btw, above solution is correct!
This comment has been minimized.
Copy link Quote reply
DesKevinMendez commented Jul 11, 2021
Hello guys, do not forget that by default Manjaro uses the Konsole terminal. Open a Konsole > Settings > Configure Konsole. > Profiles > edit your current profile or create a new one > General > in Command add «/usr/bin/zsh» (without quotation marks). You probably are running bash shell by default in your Konsole profile. Do not forget to logout and login back to your Manjaro account to load the config. If it keeps printing «chsh: Shell not changed.» maybe your shell is already Zsh, use the command «echo $0» to print your current shell and verify that.
Thanks, it s working for me
This comment has been minimized.
Copy link Quote reply
AltusJVR commented Aug 4, 2021
Hello guys, do not forget that by default Manjaro uses the Konsole terminal. Open a Konsole > Settings > Configure Konsole. > Profiles > edit your current profile or create a new one > General > in Command add «/usr/bin/zsh» (without quotation marks). You probably are running bash shell by default in your Konsole profile. Do not forget to logout and login back to your Manjaro account to load the config. If it keeps printing «chsh: Shell not changed.» maybe your shell is already Zsh, use the command «echo $0» to print your current shell and verify that.
This comment has been minimized.
Copy link Quote reply
harshil-darji commented Aug 24, 2021
Hello guys, do not forget that by default Manjaro uses the Konsole terminal. Open a Konsole > Settings > Configure Konsole. > Profiles > edit your current profile or create a new one > General > in Command add «/usr/bin/zsh» (without quotation marks). You probably are running bash shell by default in your Konsole profile. Do not forget to logout and login back to your Manjaro account to load the config. If it keeps printing «chsh: Shell not changed.» maybe your shell is already Zsh, use the command «echo $0» to print your current shell and verify that.
Worked perfectly. Thanks!
This comment has been minimized.
Copy link Quote reply
ardian-sah commented Aug 28, 2021
chsh -s $(which zsh)
Changing shell for an.
Password:
chsh: Shell not changed.
yep same with me as a working at XFCE not changing anymore in Manjaro 21.1.1
You can’t perform that action at this time.
You signed in with another tab or window. Reload to refresh your session. You signed out in another tab or window. Reload to refresh your session.
Источник
Настройка Zsh и Oh my Zsh
Z-shell (или Zsh) — это интерактивная оболочка для операционных систем на базе ядра Linux. Даже если вы начинающий пользователь, скорее всего, вы уже несколько раз открывали терминал и выполняли там какие-либо команды. То место, где вы это делали называется командная оболочка. Оболочка, используемая по умолчанию в большинстве дистрибутивов Linux называется Bash.
Оболочка Zsh по своей сути такая же как и Bash, только намного интереснее. Она поддерживает интерактивное автодополнение по Tab, автоматический поиск файлов, интегрированные регулярные выражения, а также красивые темы. В этой статье мы рассмотрим как установить и настроить Zsh.
Установка Zsh
Для установки Zsh в Ubuntu выполните такую команду:
sudo apt install zsh
Чтобы установить Zsh в Fedora или CentOS используйте пакетный менеджер dnf:
sudo dnf install zsh
После этого вы можете запустить командную оболочку.
Настройка Zsh
Для запуска командной оболочки выполните такую команду:
При первом запуске Zsh предложит вам настроить вашу оболочку. Здесь вам нужно нажать клавишу 1 чтобы попасть в меню настройки:

1. Настройка истории
В этом меню давайте начнём с первого пункта. Там находятся настройки истории команд. Нажмите 1, затем, чтобы изменить количество команд, которые будут хранится в истории нажмите 3 (Number of lines of history to save to $HISTFILE) и введите нужное число:

Например, я увеличил количество хранимых строк до 5000. Чтобы вернуться в главное меню нажмите 0 (Remember changes and return to main menu).
2. Автодополнение
Дальше надо настроить автодополнение. Здесь можно выбрать пункт 1 чтобы оставить все настройки по умолчанию — Turn on completion with default options:

3. Раскладка клавиатуры
В третьем пункте настроек можно изменить как будут обрабатываться нажатия клавиш клавиатуры во время набора и редактирования команд. По умолчанию используется стиль Emacs, однако, вы можете включить стиль Vim если вы используете этот редактор. Для этого сначала нажмите 3, затем 1 для редактирования раскладки и выберите v для Vim:

4. Другие опции
В четвёртом пункте собраны другие опции оболочки. Их можно включить или отключить:
- Change directory given just path — менять директорию если вы введете в терминале путь к не исполняемому файлу;
- Use additional pattern matching features — разрешить использовать дополнительные символы при составлении шаблонов поиска совпадений, сюда входят символы #,
и ^, кроме стандартных * и ?;
Чтобы активировать опцию нажмите её цифру, а затем нажмите s (set), для деактивации нажмите u (unset).

5. Сохранение настроек
Когда завершите, возвращайтесь в главное меню. Там, для сохранения всех изменений нажмите 0. Утилита предупредит, что в конфигурационный файл были добавлены строки настройки и редактировать их не стоит, можно редактировать только то, что до или после них. Если же вы захотите исправить что-то в них, снова запустите команду zsh-newuser-install.

После завершения настройки вы попадёте в оболочку.
6. Приглашение оболочки
Наверное, визитная карточка любой оболочки — это приглашение ввода. Именно его мы постоянно видим во время работы с оболочкой. По умолчанию приглашение выглядит слишком просто. Шаблон основного приглашения находится в переменной $PS1 или $PROMPT. Это приглашение ввода показывается при вводе любой команды и его интереснее всего настроить. Доступны такие переменные:
- %m — имя хоста;
- %n — имя пользователя;
- %? — код возврата последней команды;
- %d — текущая директория;
Кроме того, здесь поддерживаются различные цвета. Цвет может быть задан для фона или для текста. Следовательно синтаксис установки цвета такой:
В качестве назначения можно использовать fg, fg_bold или bg. А в качестве цвета:
- white — белый;
- black — чёрный;
- green — зеленый;
- cyan — фиолетовый;
- red — красный;
- yellow — желтый;
- magenta — оранжевый.
Для сброса цвета используйте конструкцию % . Дальше можно собрать своё приглашение ввода, например:
Для того чтобы это заработало в файл
/.zshrc надо добавить не только эту строчку, но и следующую:
autoload -U colors && colors
В результате вы получите такое приглашение ввода:

7. Установка oh my zsh
Если всего этого вам мало, то можно установить скрипт oh my zsh, который реализует множество дополнительных возможностей в zsh. Тут можно выбирать различные темы приглашения, добавлять плагины, например, git, добавлены различные возможности автодополнения и многое другое. Для установки этого скрипта выполните:
curl -L https://raw.github.com/robbyrussell/oh-my-zsh/master/tools/install.sh | sh
Скрипт установит все плагины и темы oh my zsh в вашу домашнюю папку, а также полностью заменит файл .zshrc на свой:

8. Настройка темы
Одна из самых интересных возможностей oh my zsh — темы. Темы определяют цвета текста, внешний вид приглашения и многое другое. Все доступные темы можно найти в папке

Посмотреть как выглядит та или иная тема можно на этой странице. Чтобы выбрать тему откройте файл
/.zshrc и пропишите имя темы в строчке ZSH_THEME. Именно так выполняется настройка oh my zsh. Мне, например, нравиться тема agnoster, поэтому:
Затем можно перезапустить zsh:

Но для работы конкретно этой темы надо установить пакет шрифтов:
sudo apt install fonts-powerline
9. Оболочка по умолчанию
Когда вы завершите с настройкой останется только установить zsh как оболочку по умолчанию для вашего пользователя. Для этого используйте команду chsh:
Утилита попросит пароль, а затем путь к исполняемому файлу оболочки, которую вы хотите использовать:

После этого, для текущего пользователя будет использоваться оболочка zsh по умолчанию.
Выводы
В этой небольшой статье мы рассмотрели два способа настроить zsh для личного использования. Это отличная оболочка, которая может предложить вам намного больше, чем Bash. А какая командная оболочка нравиться больше всего вам? Напишите в комментариях!
Источник


